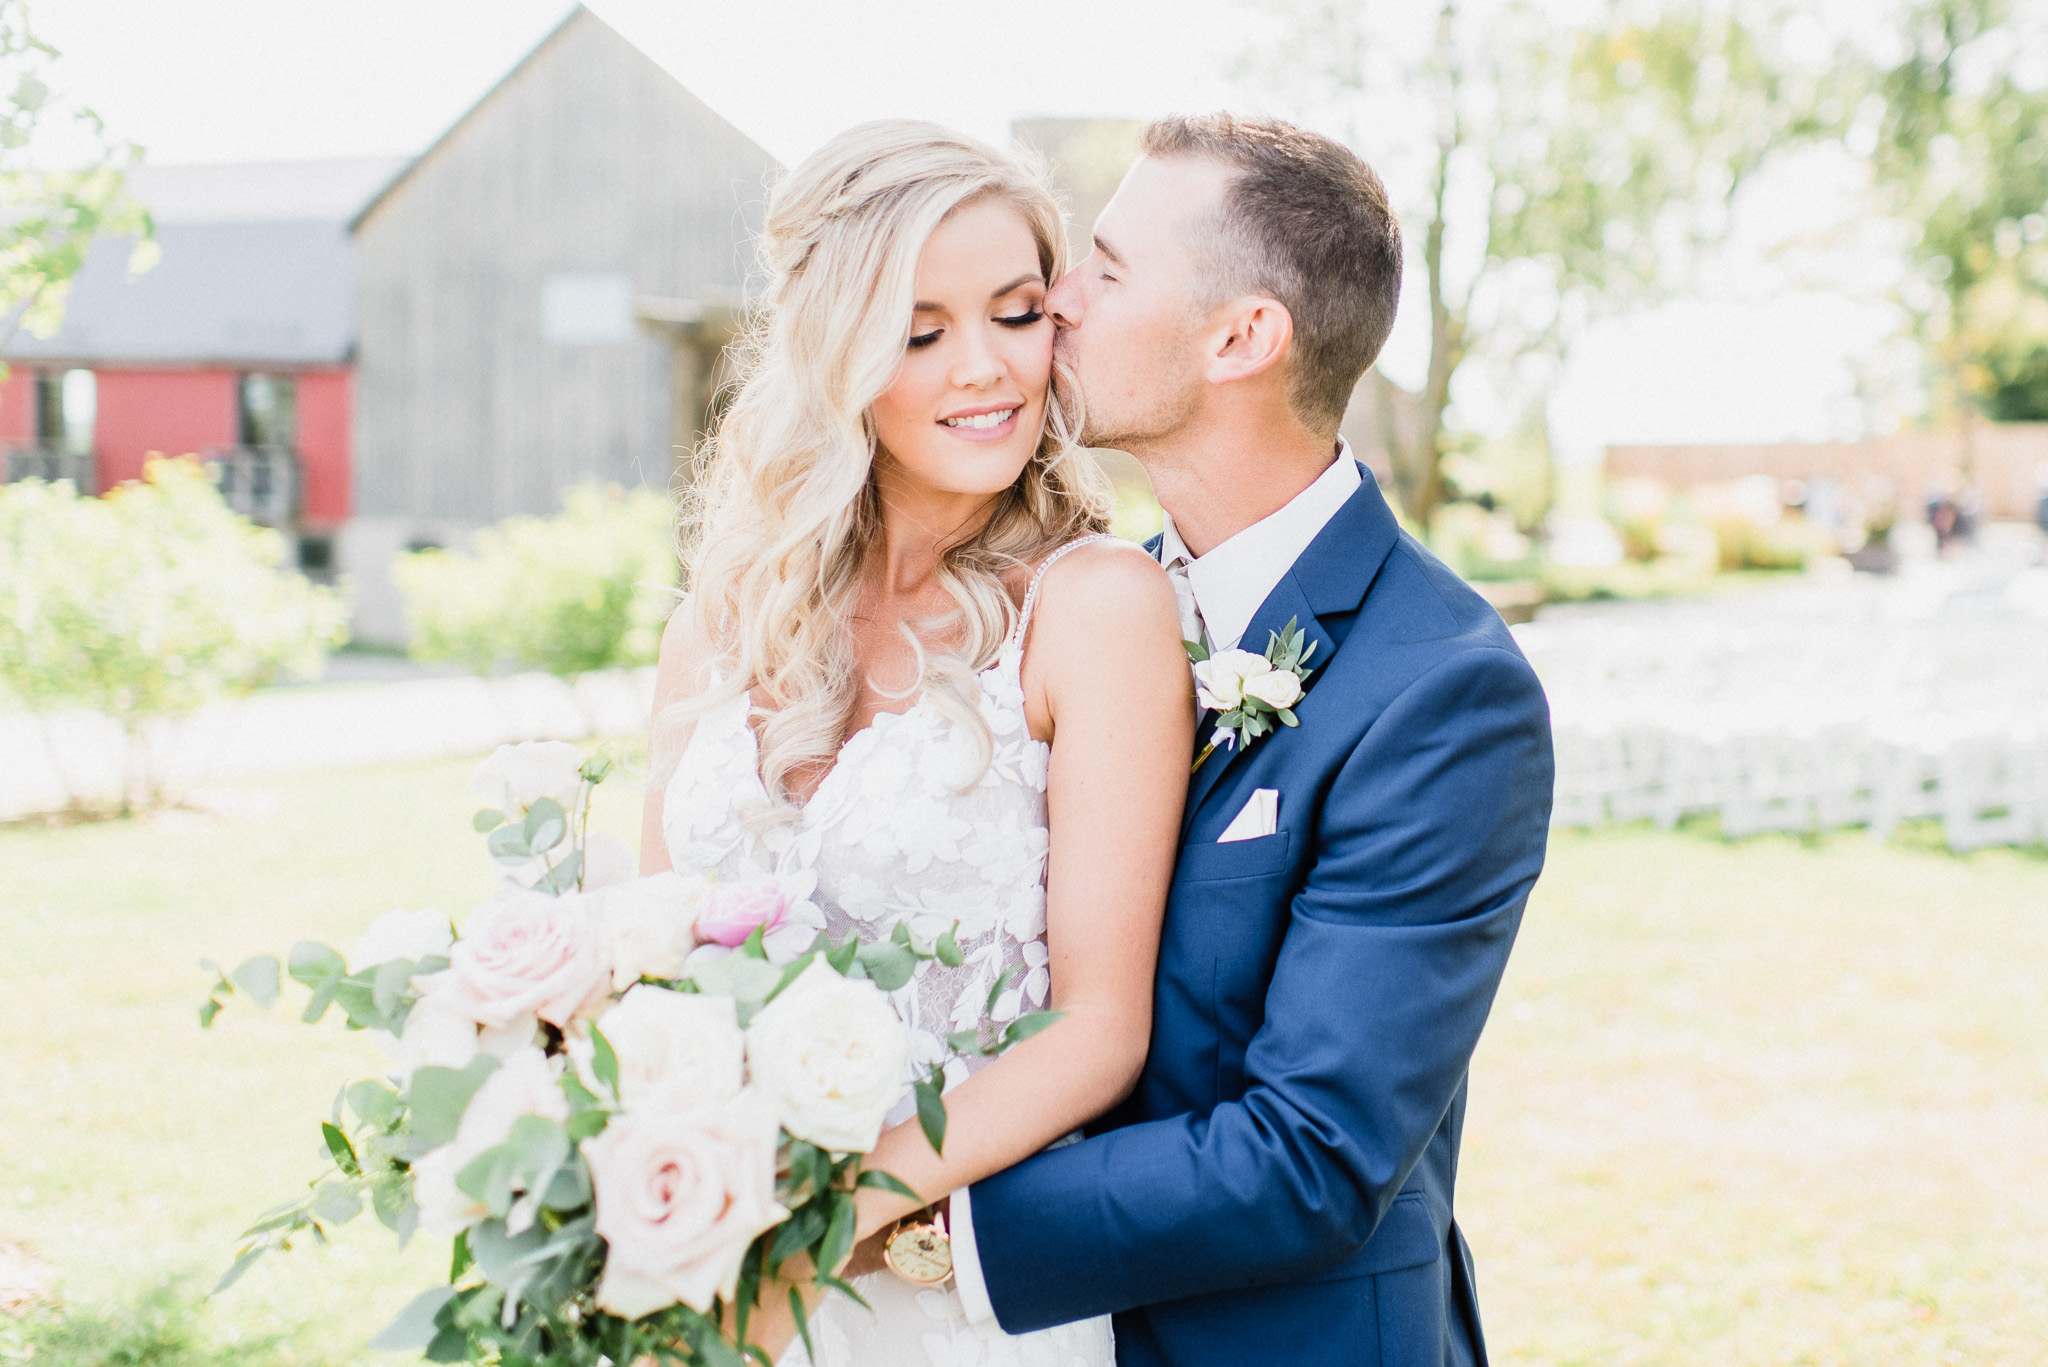
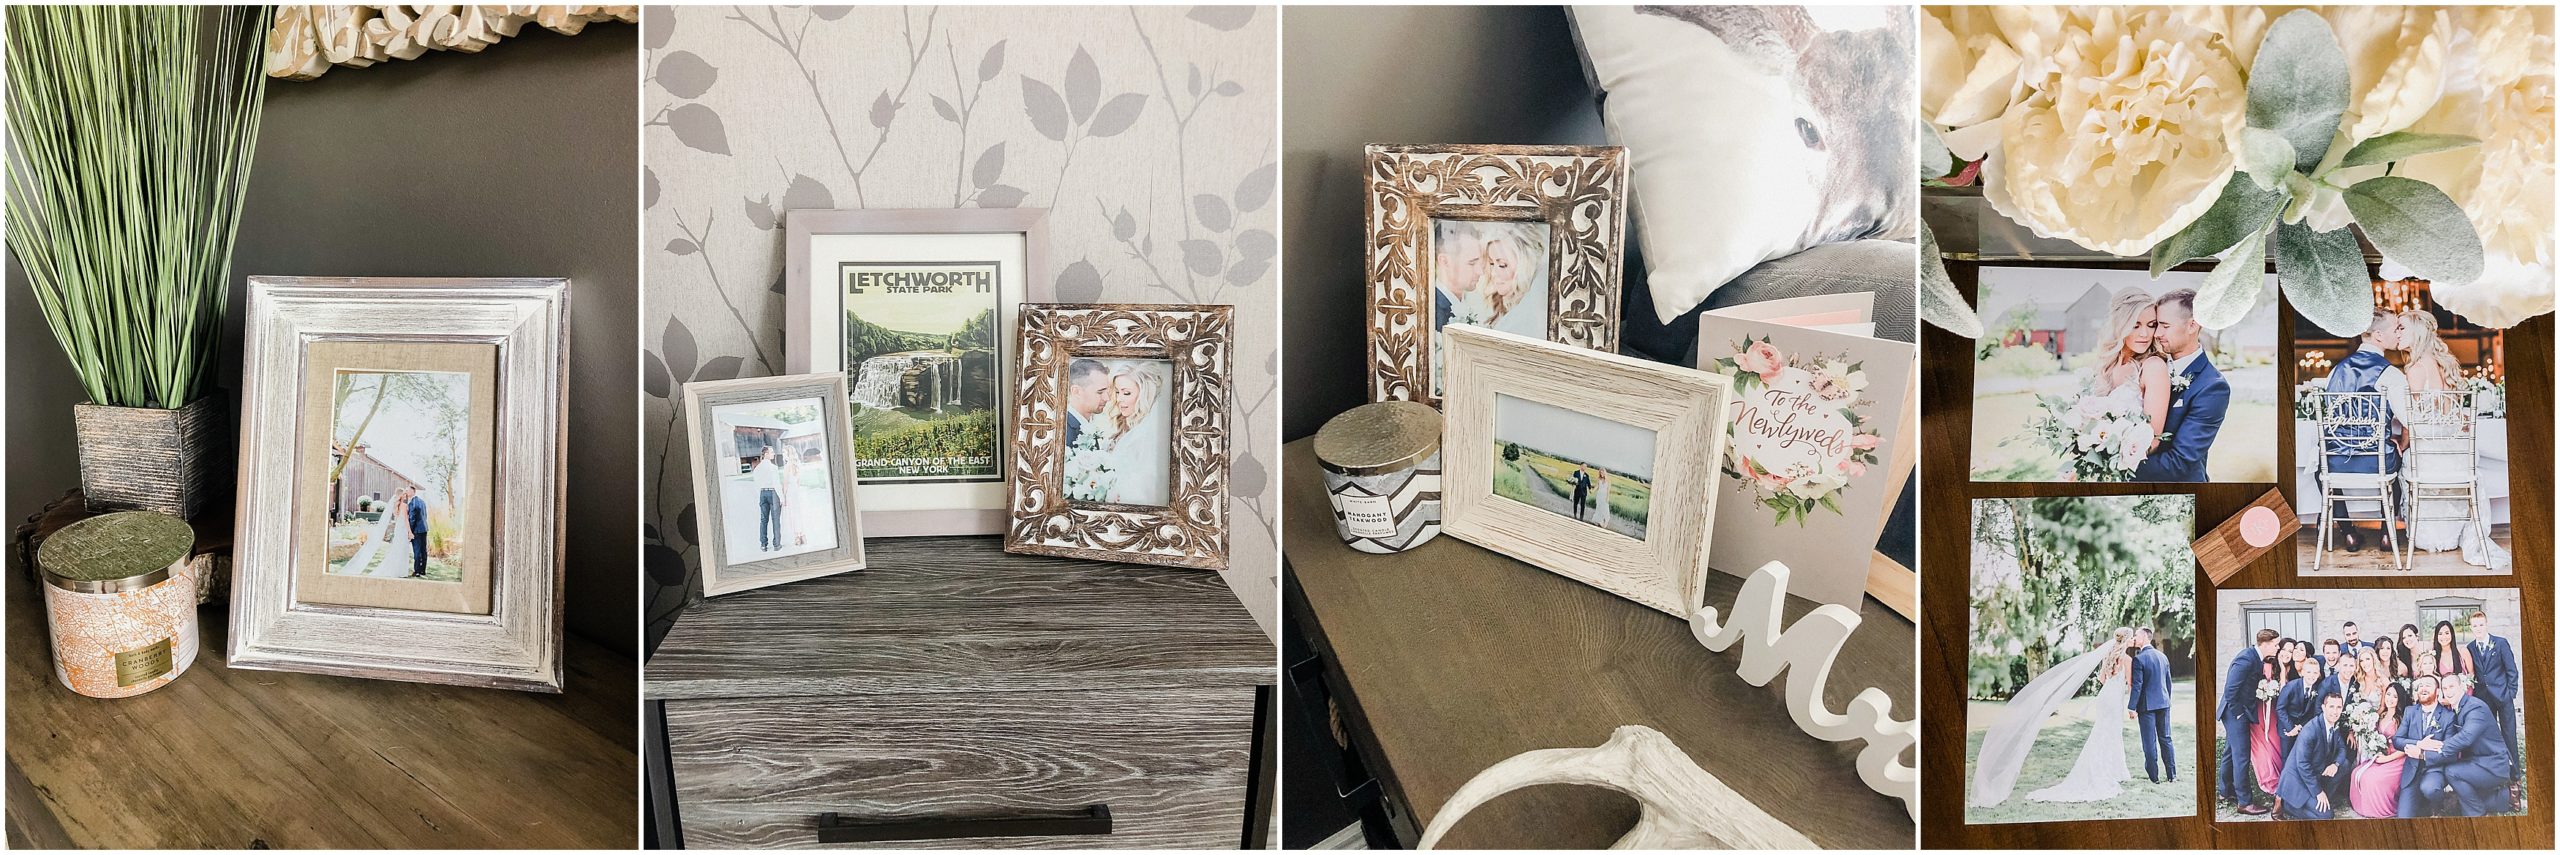
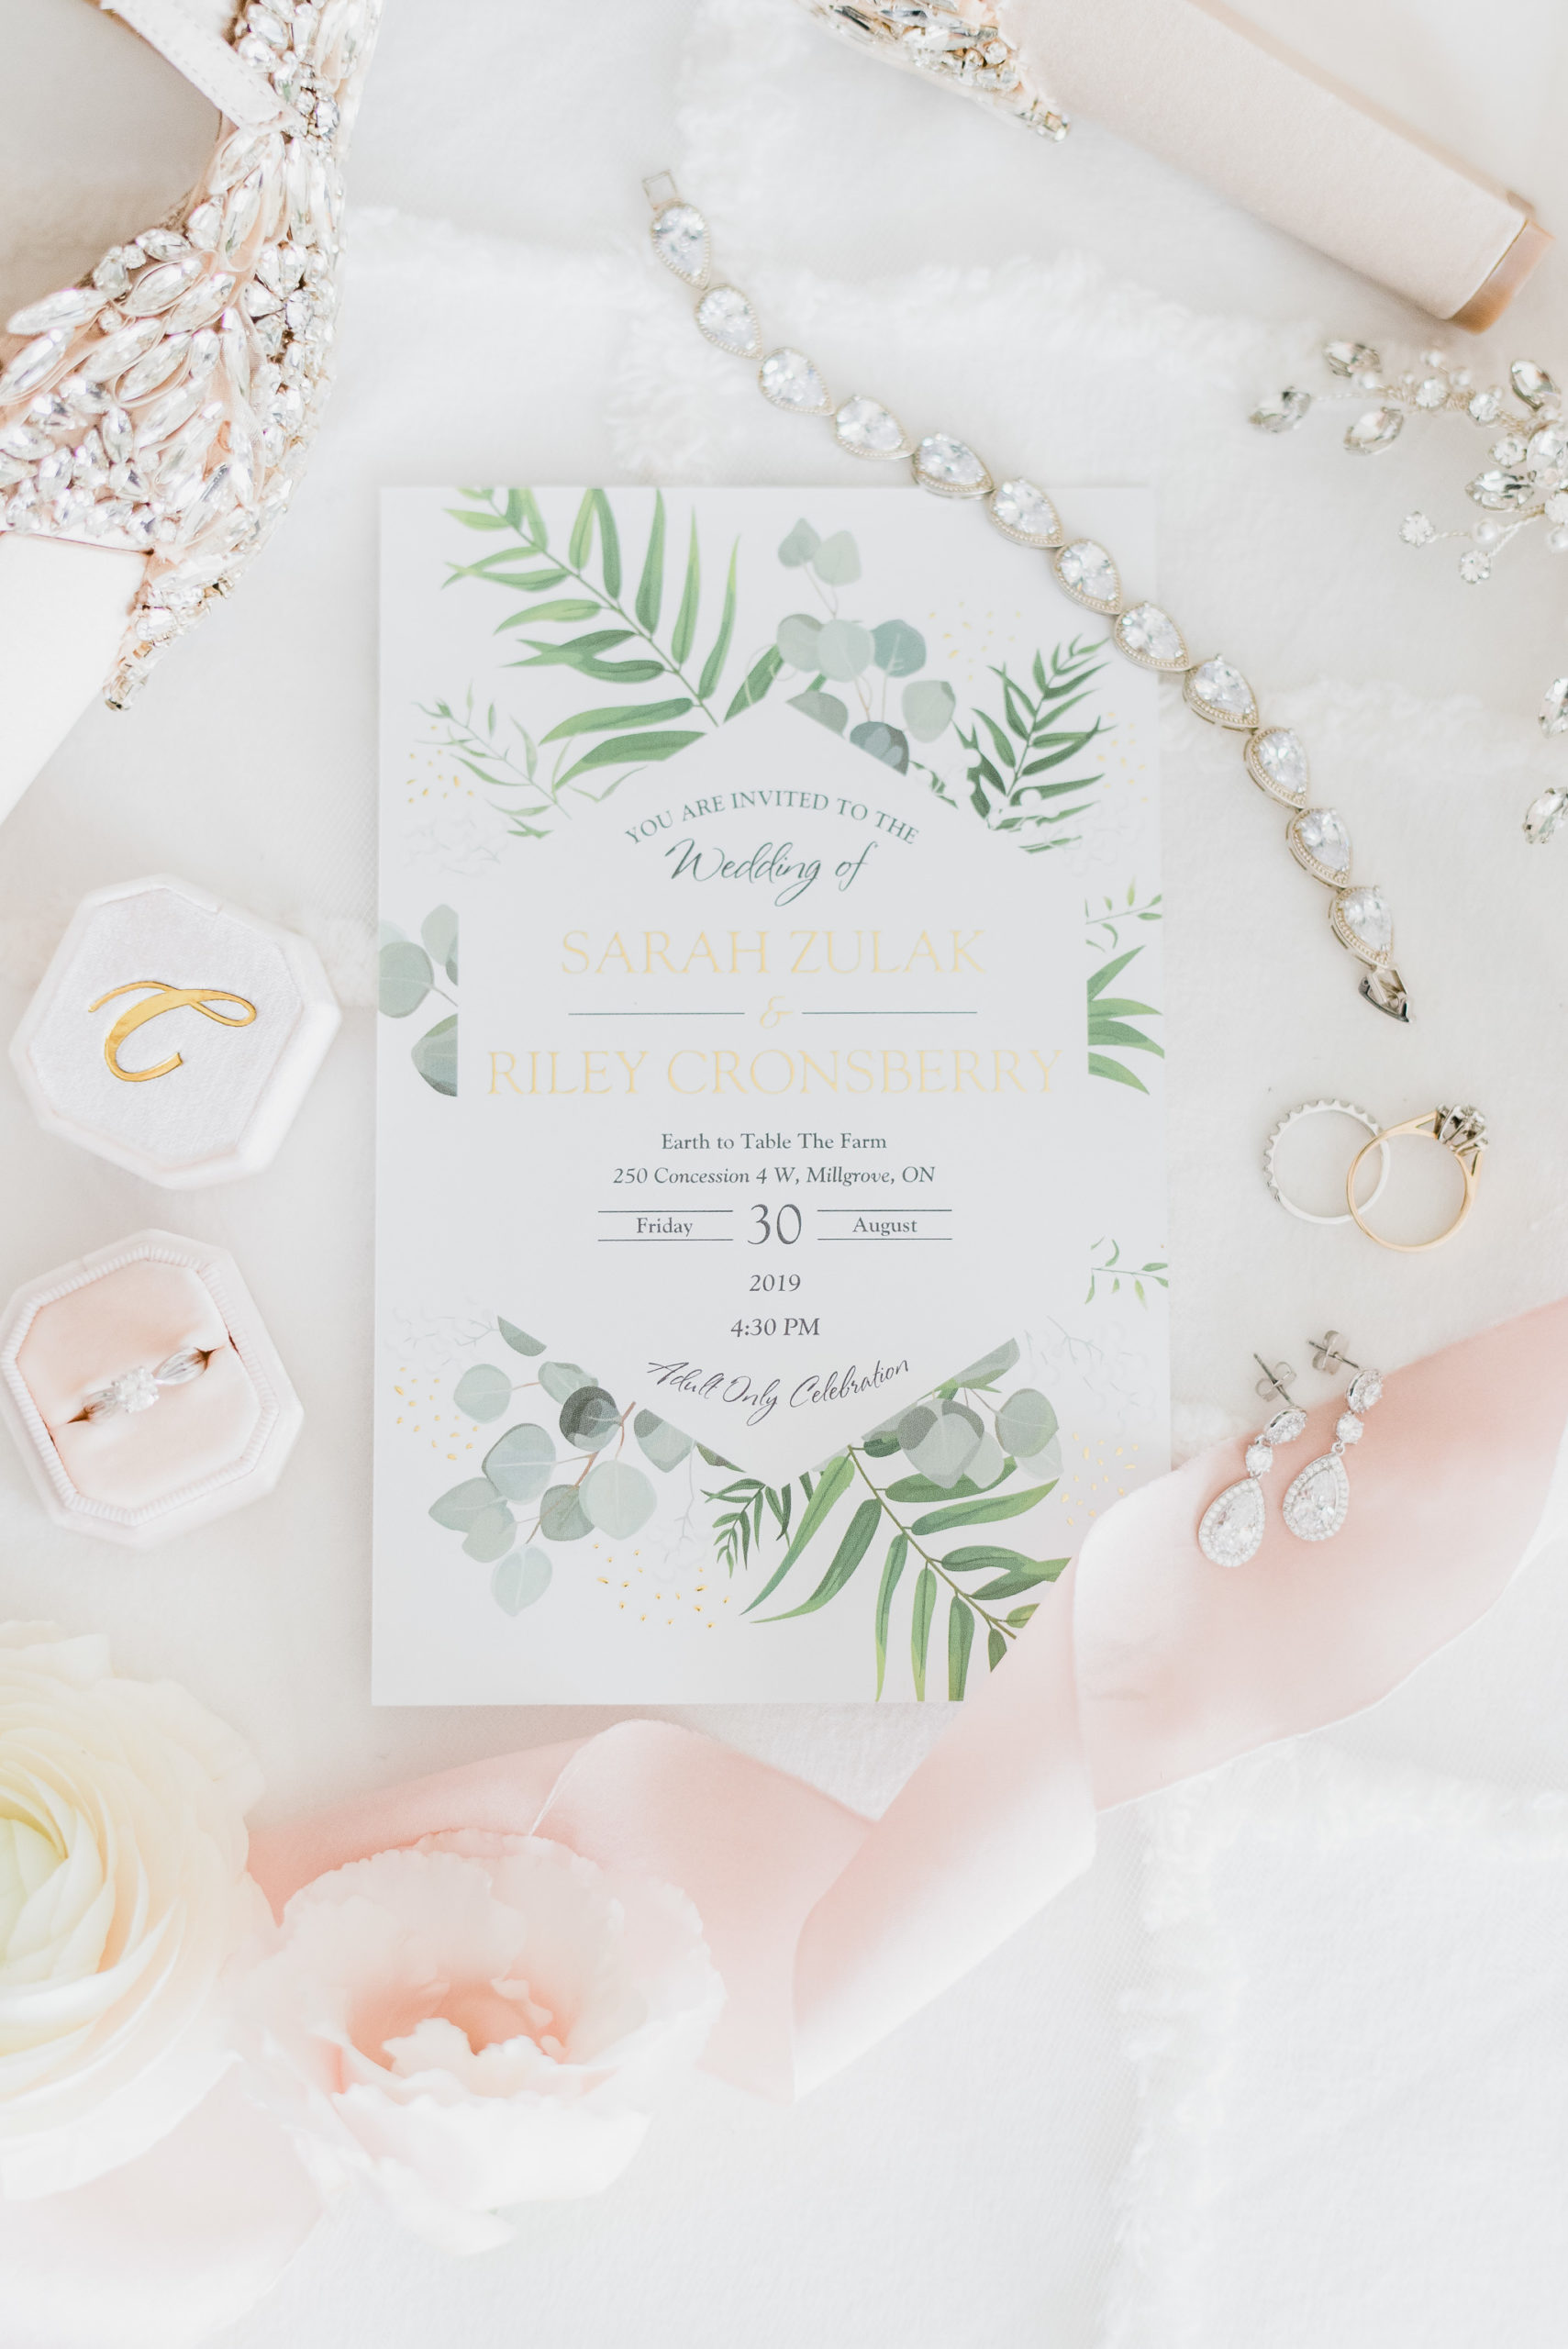
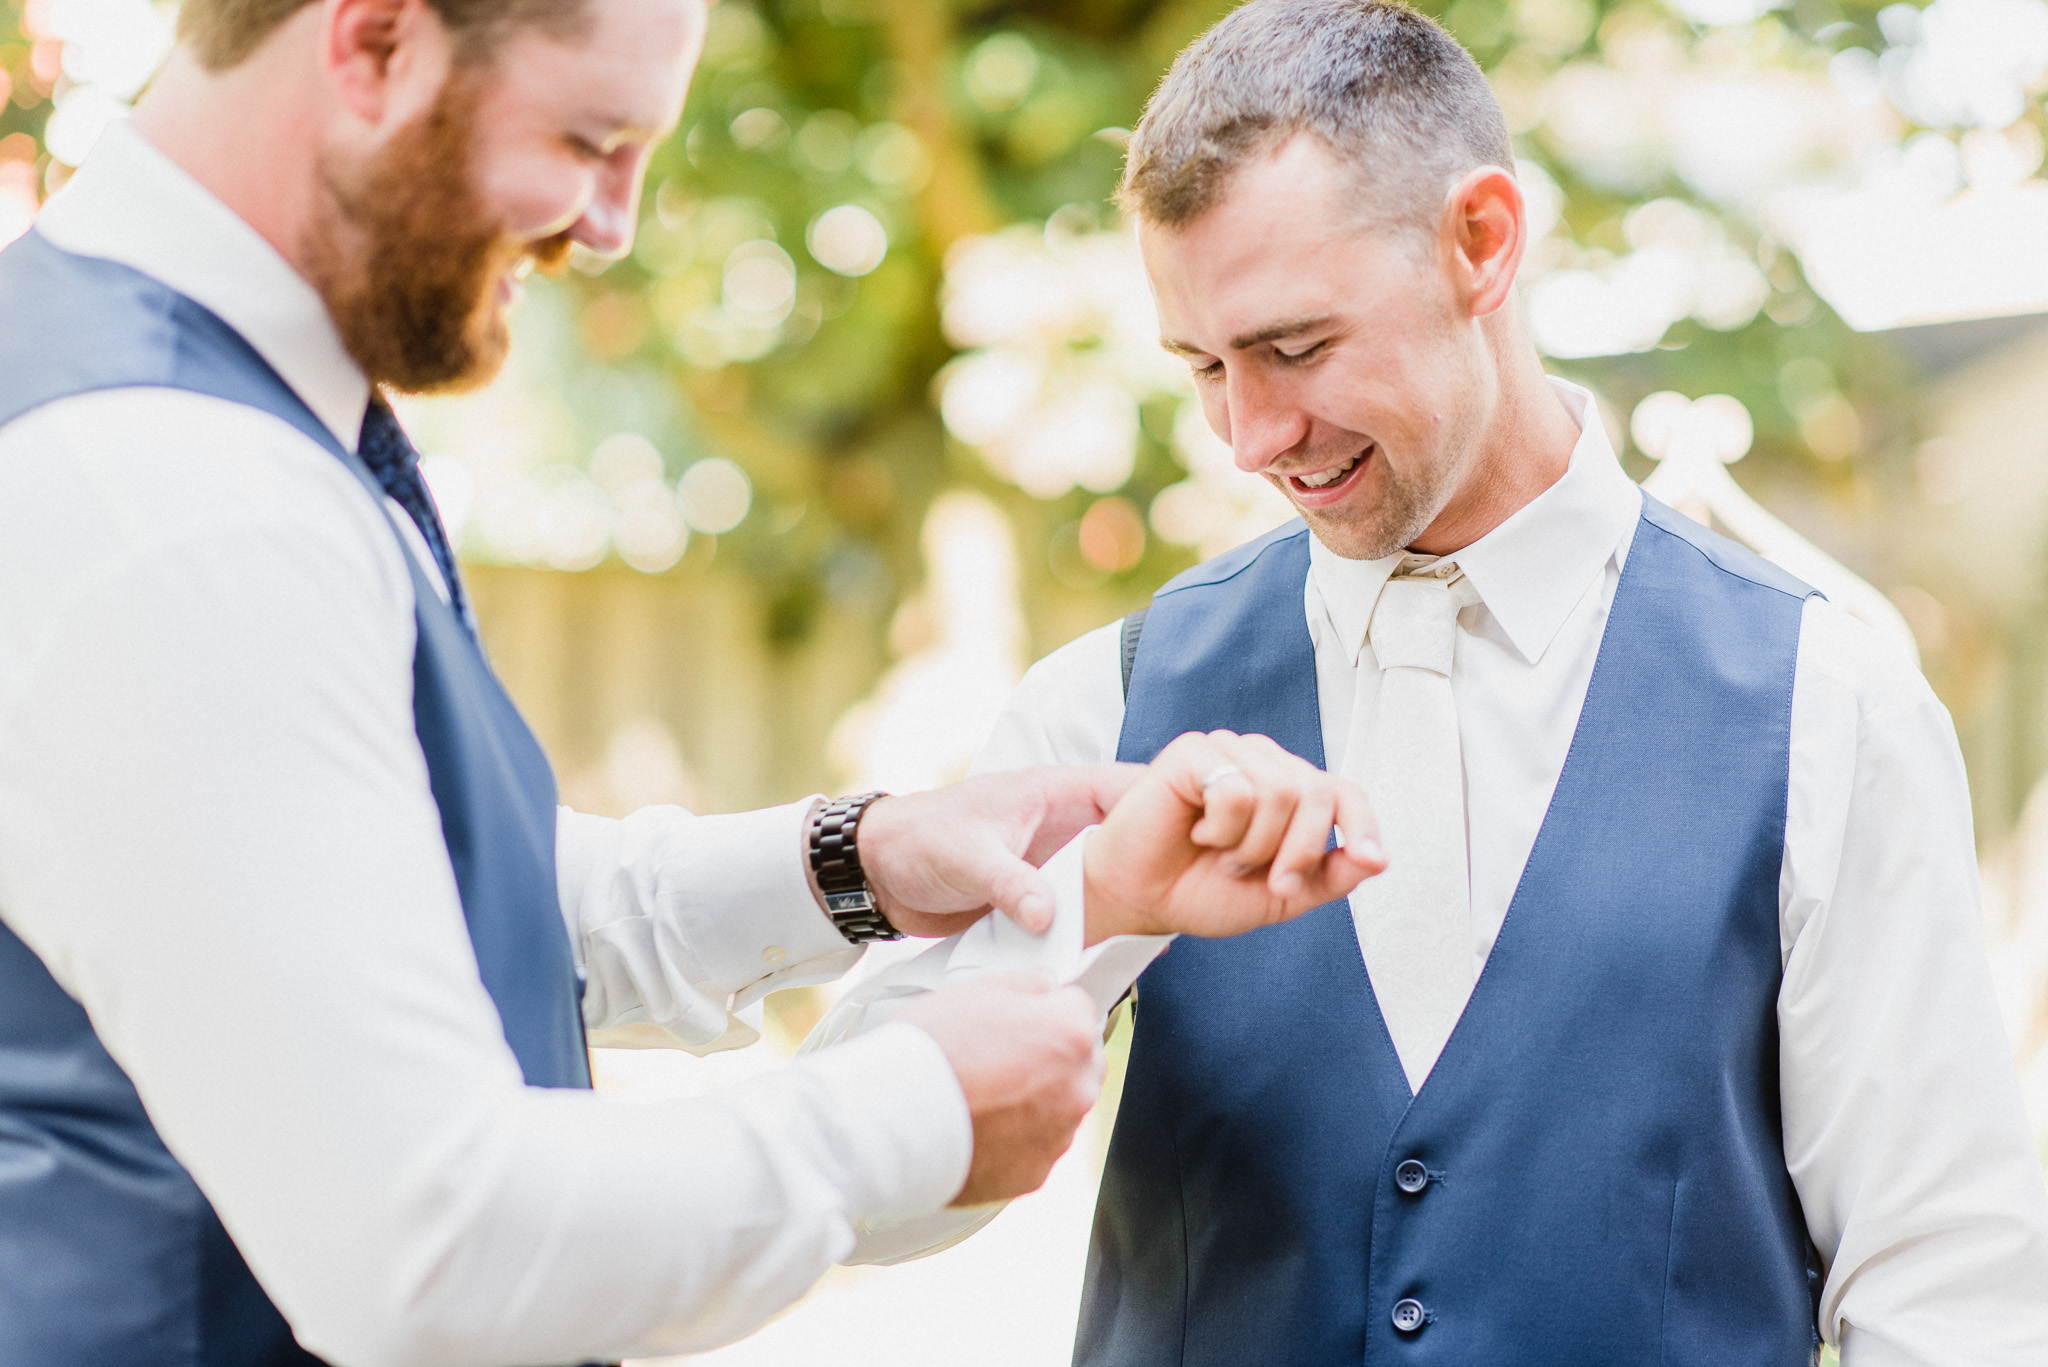
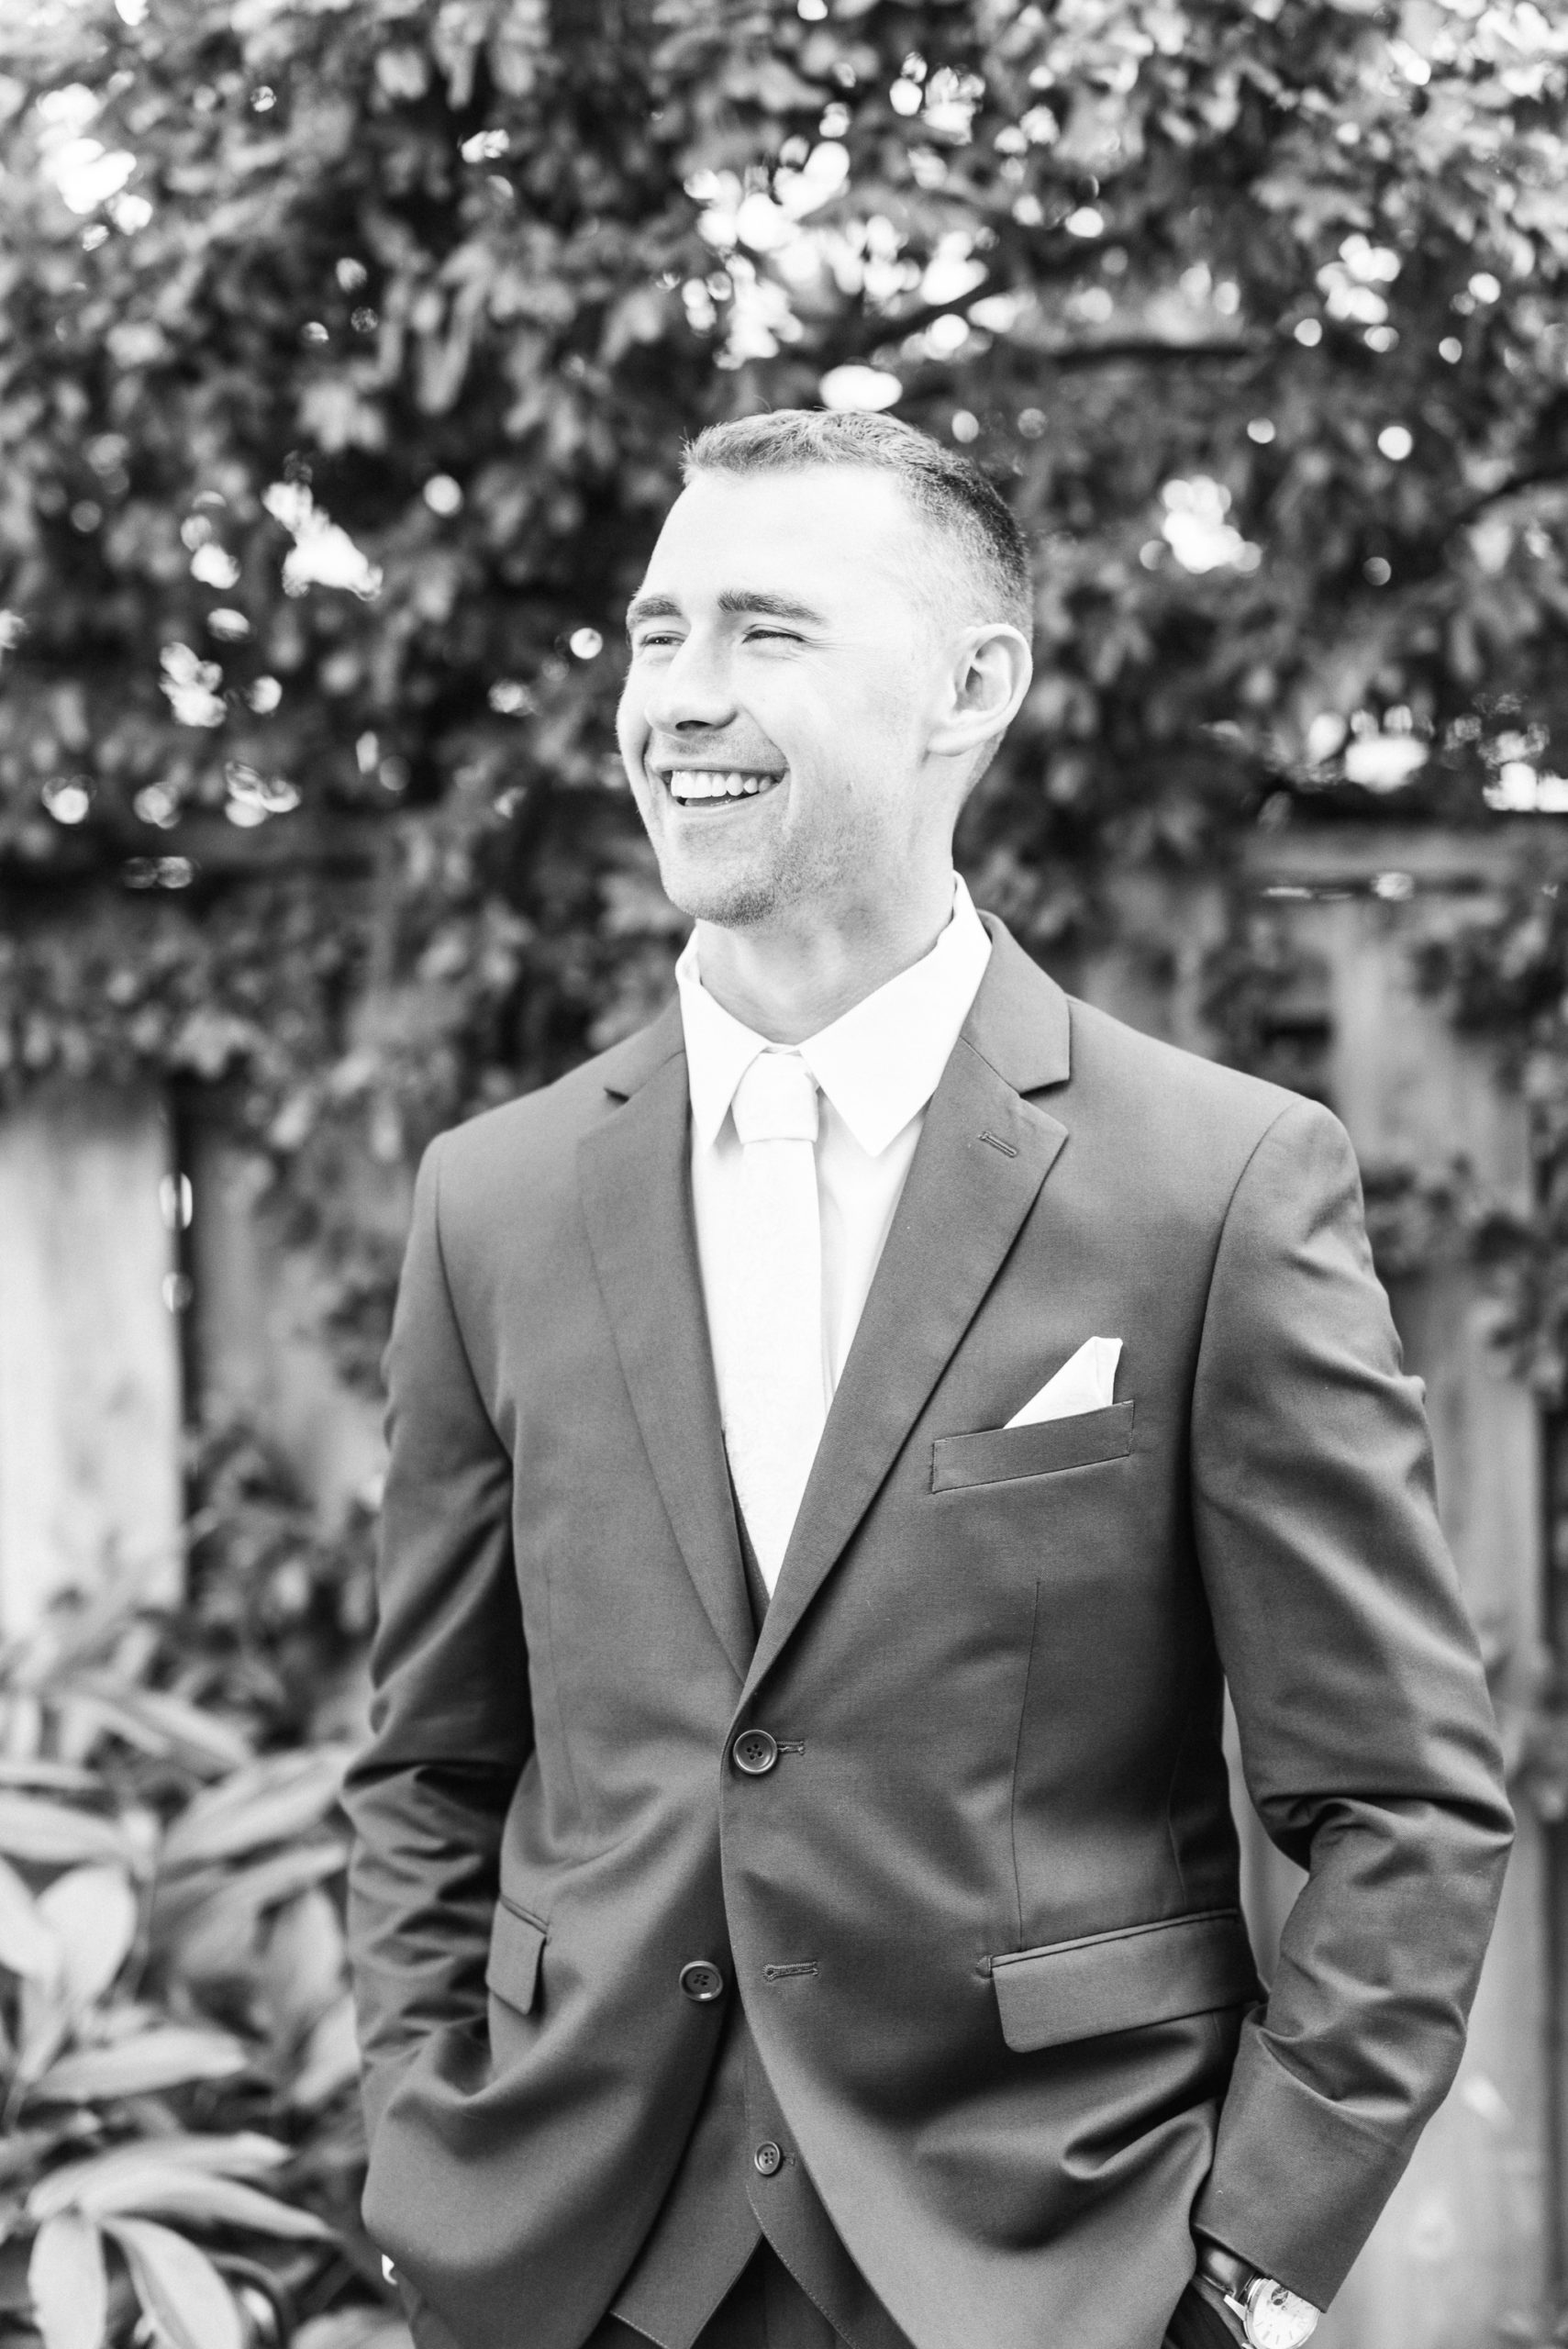
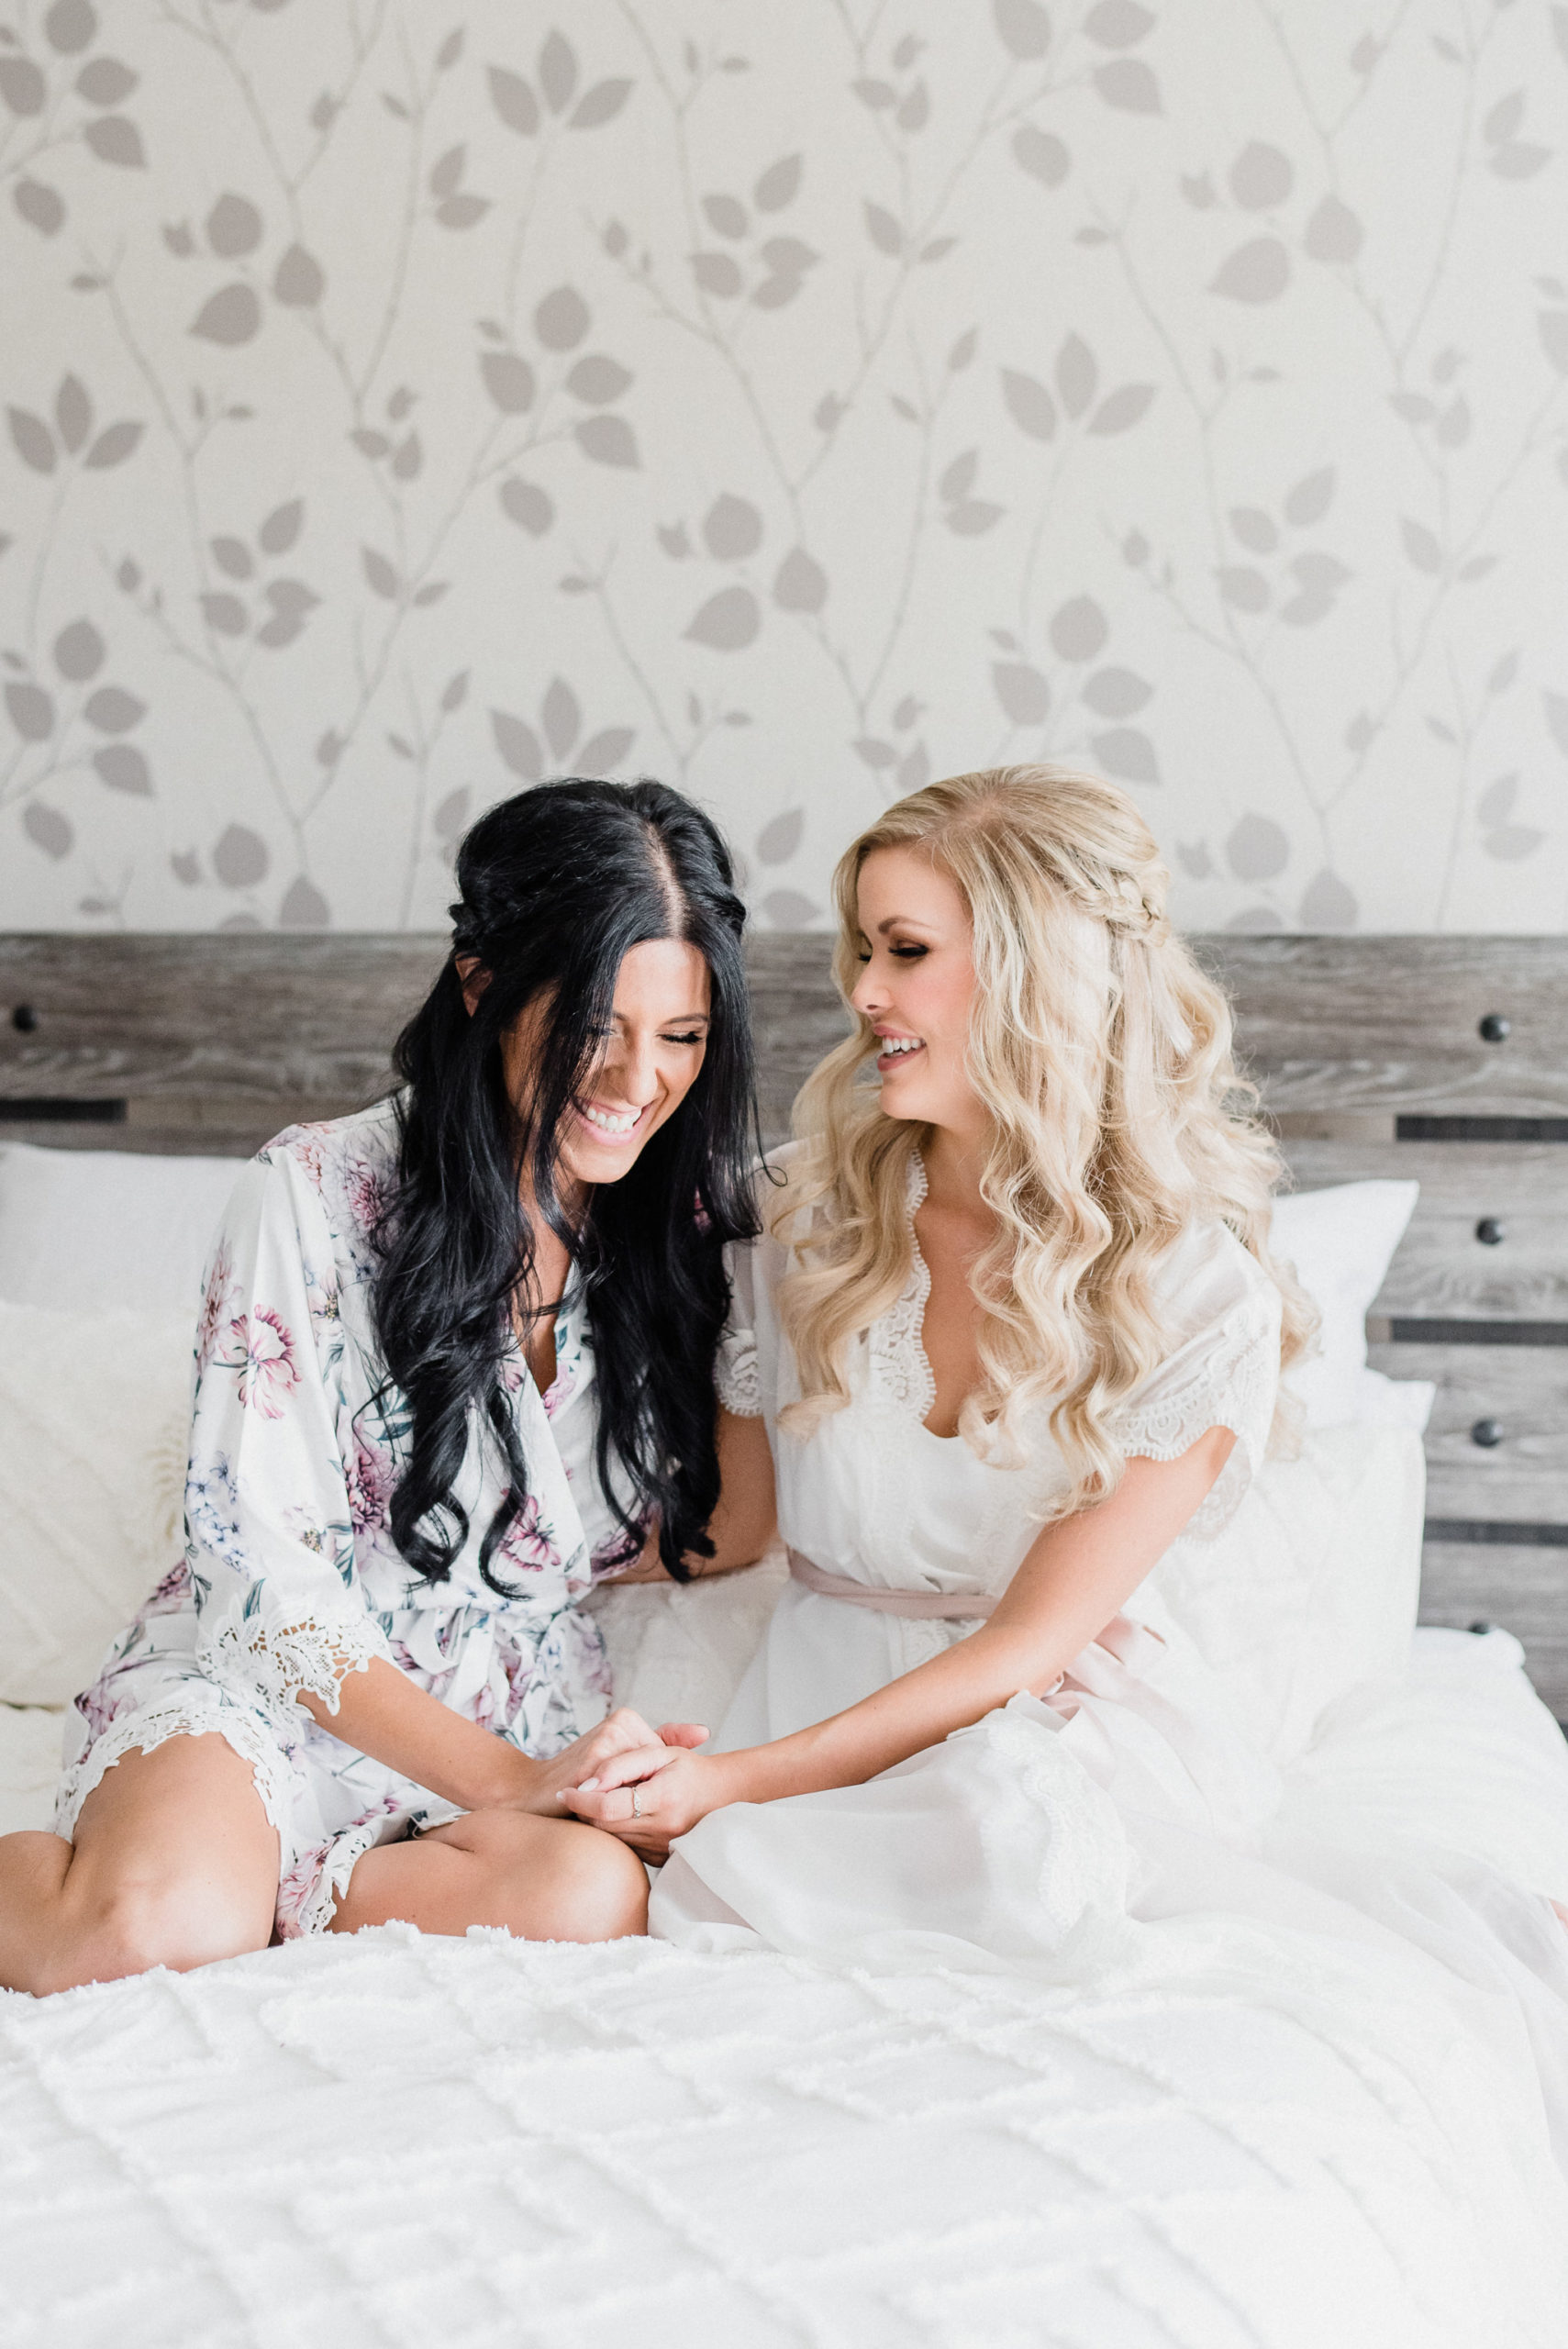
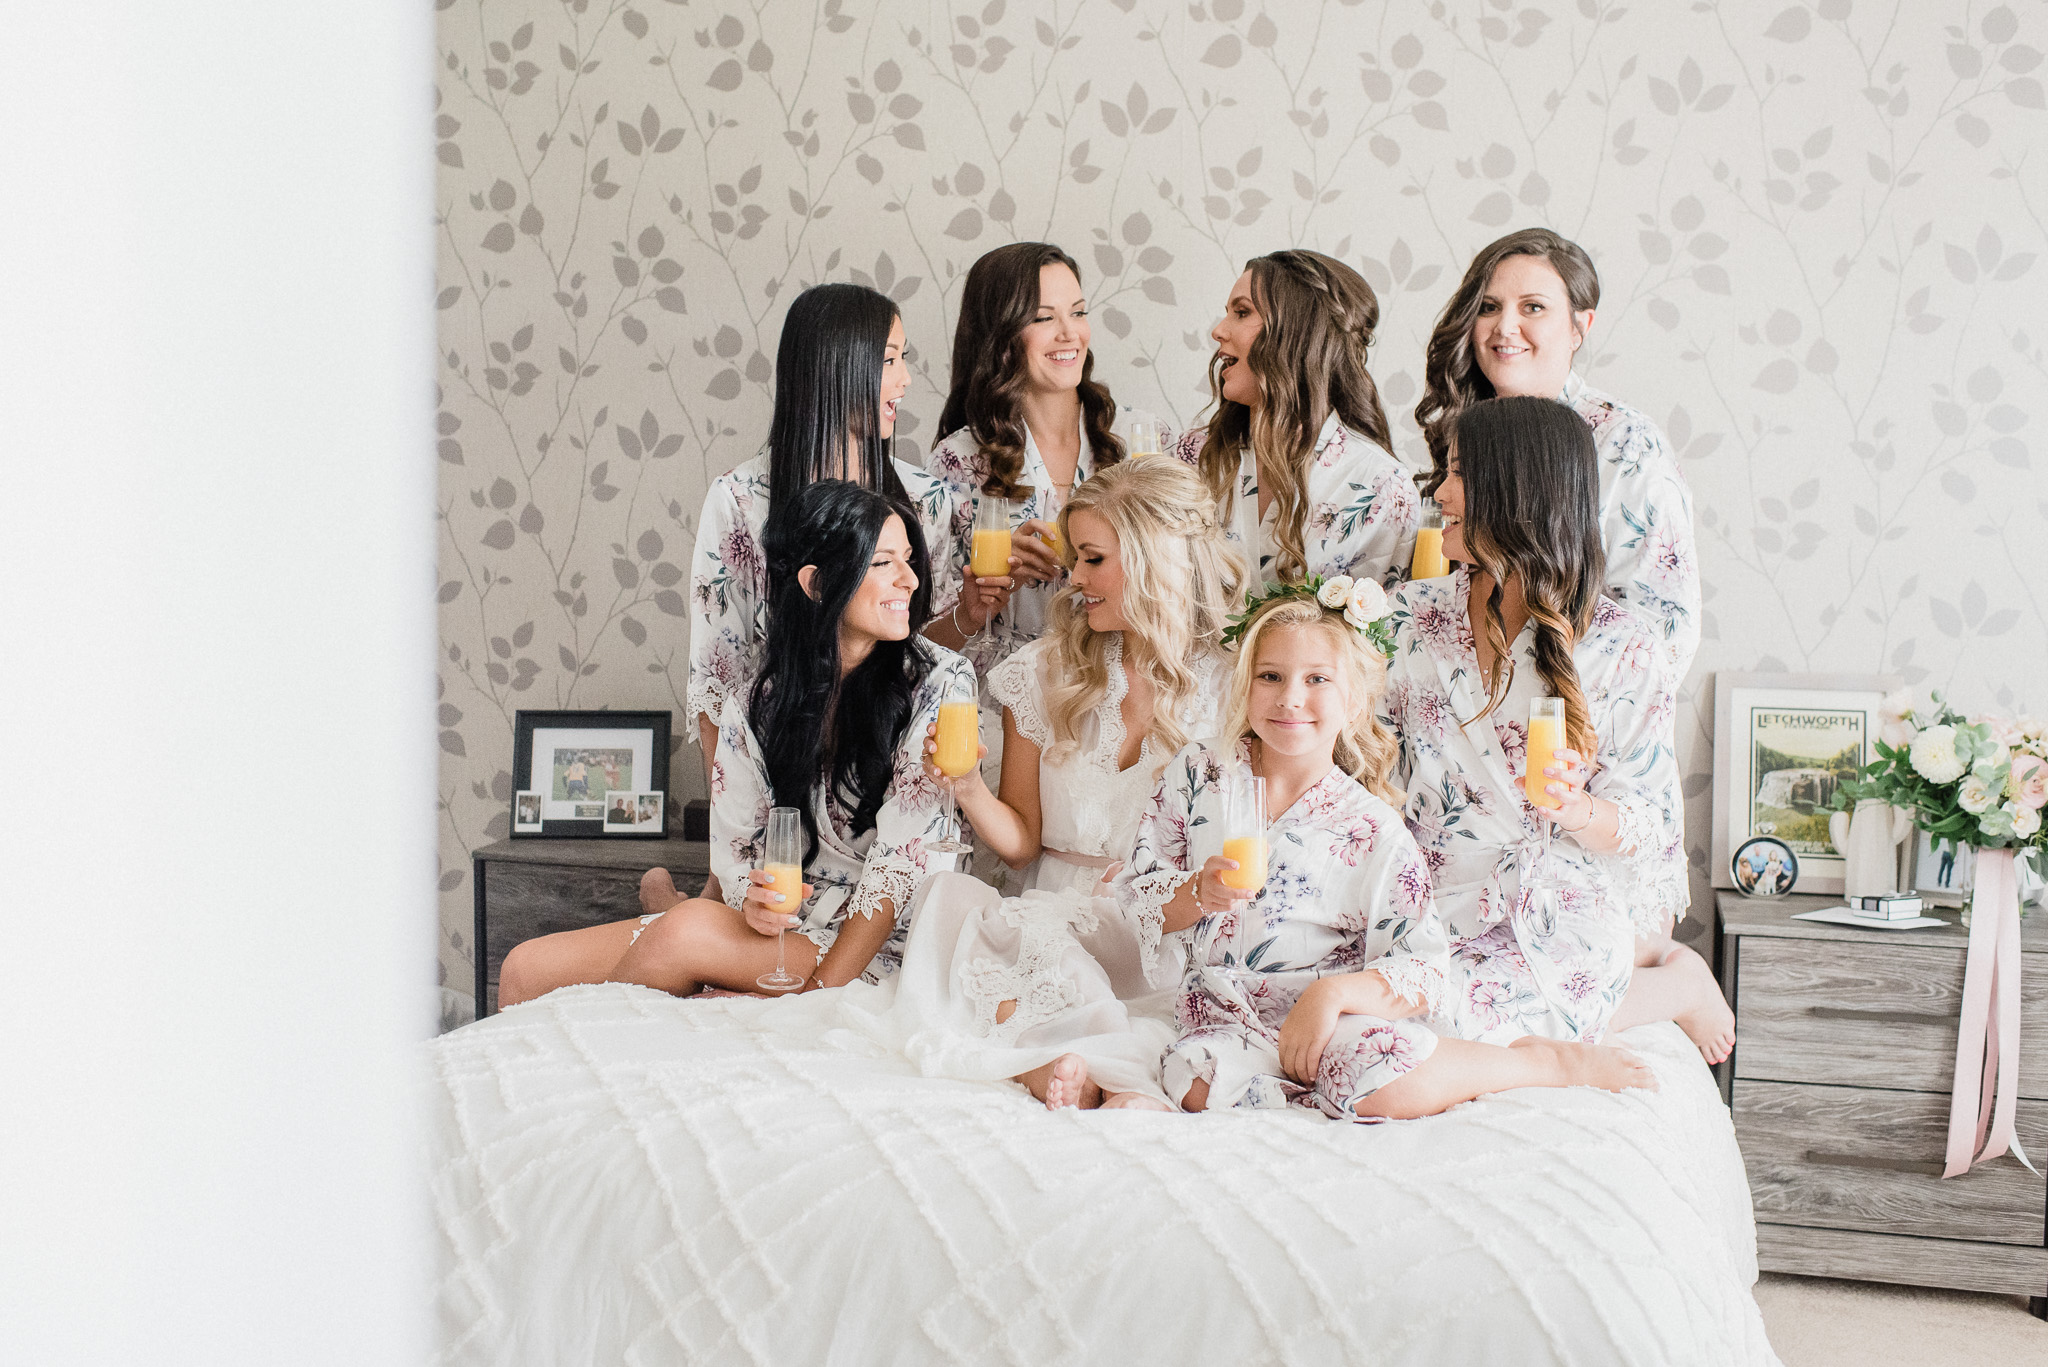
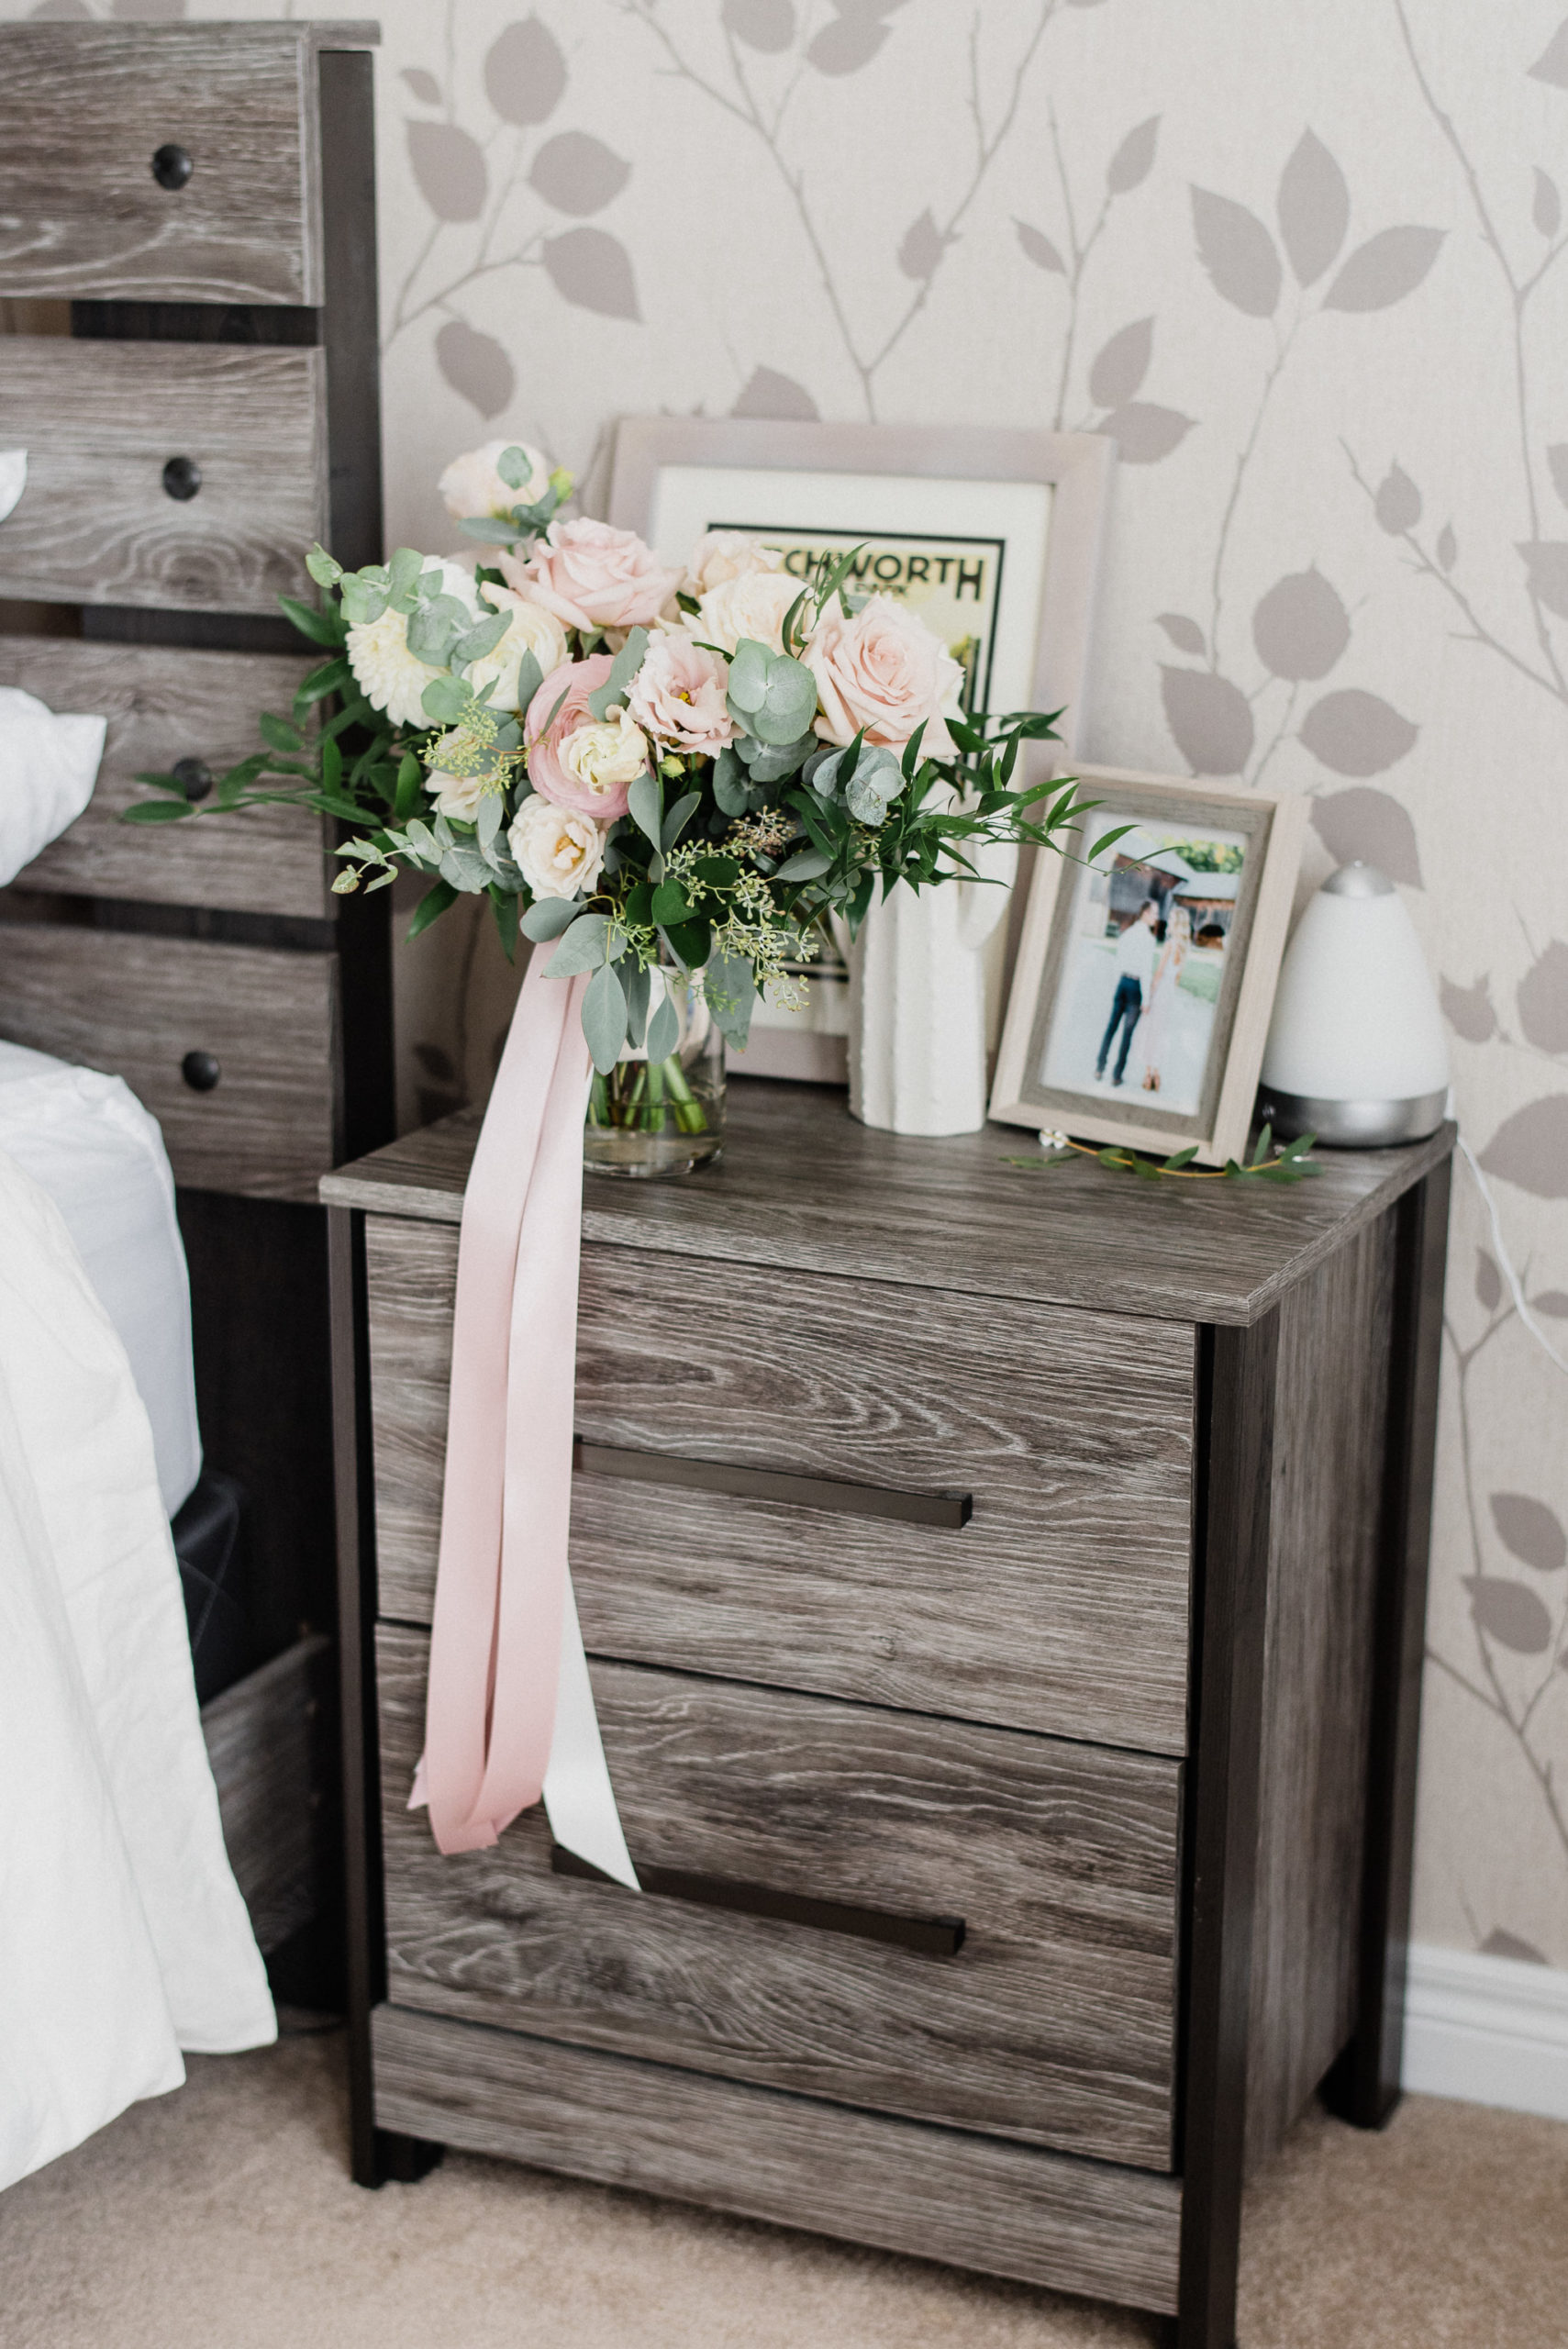
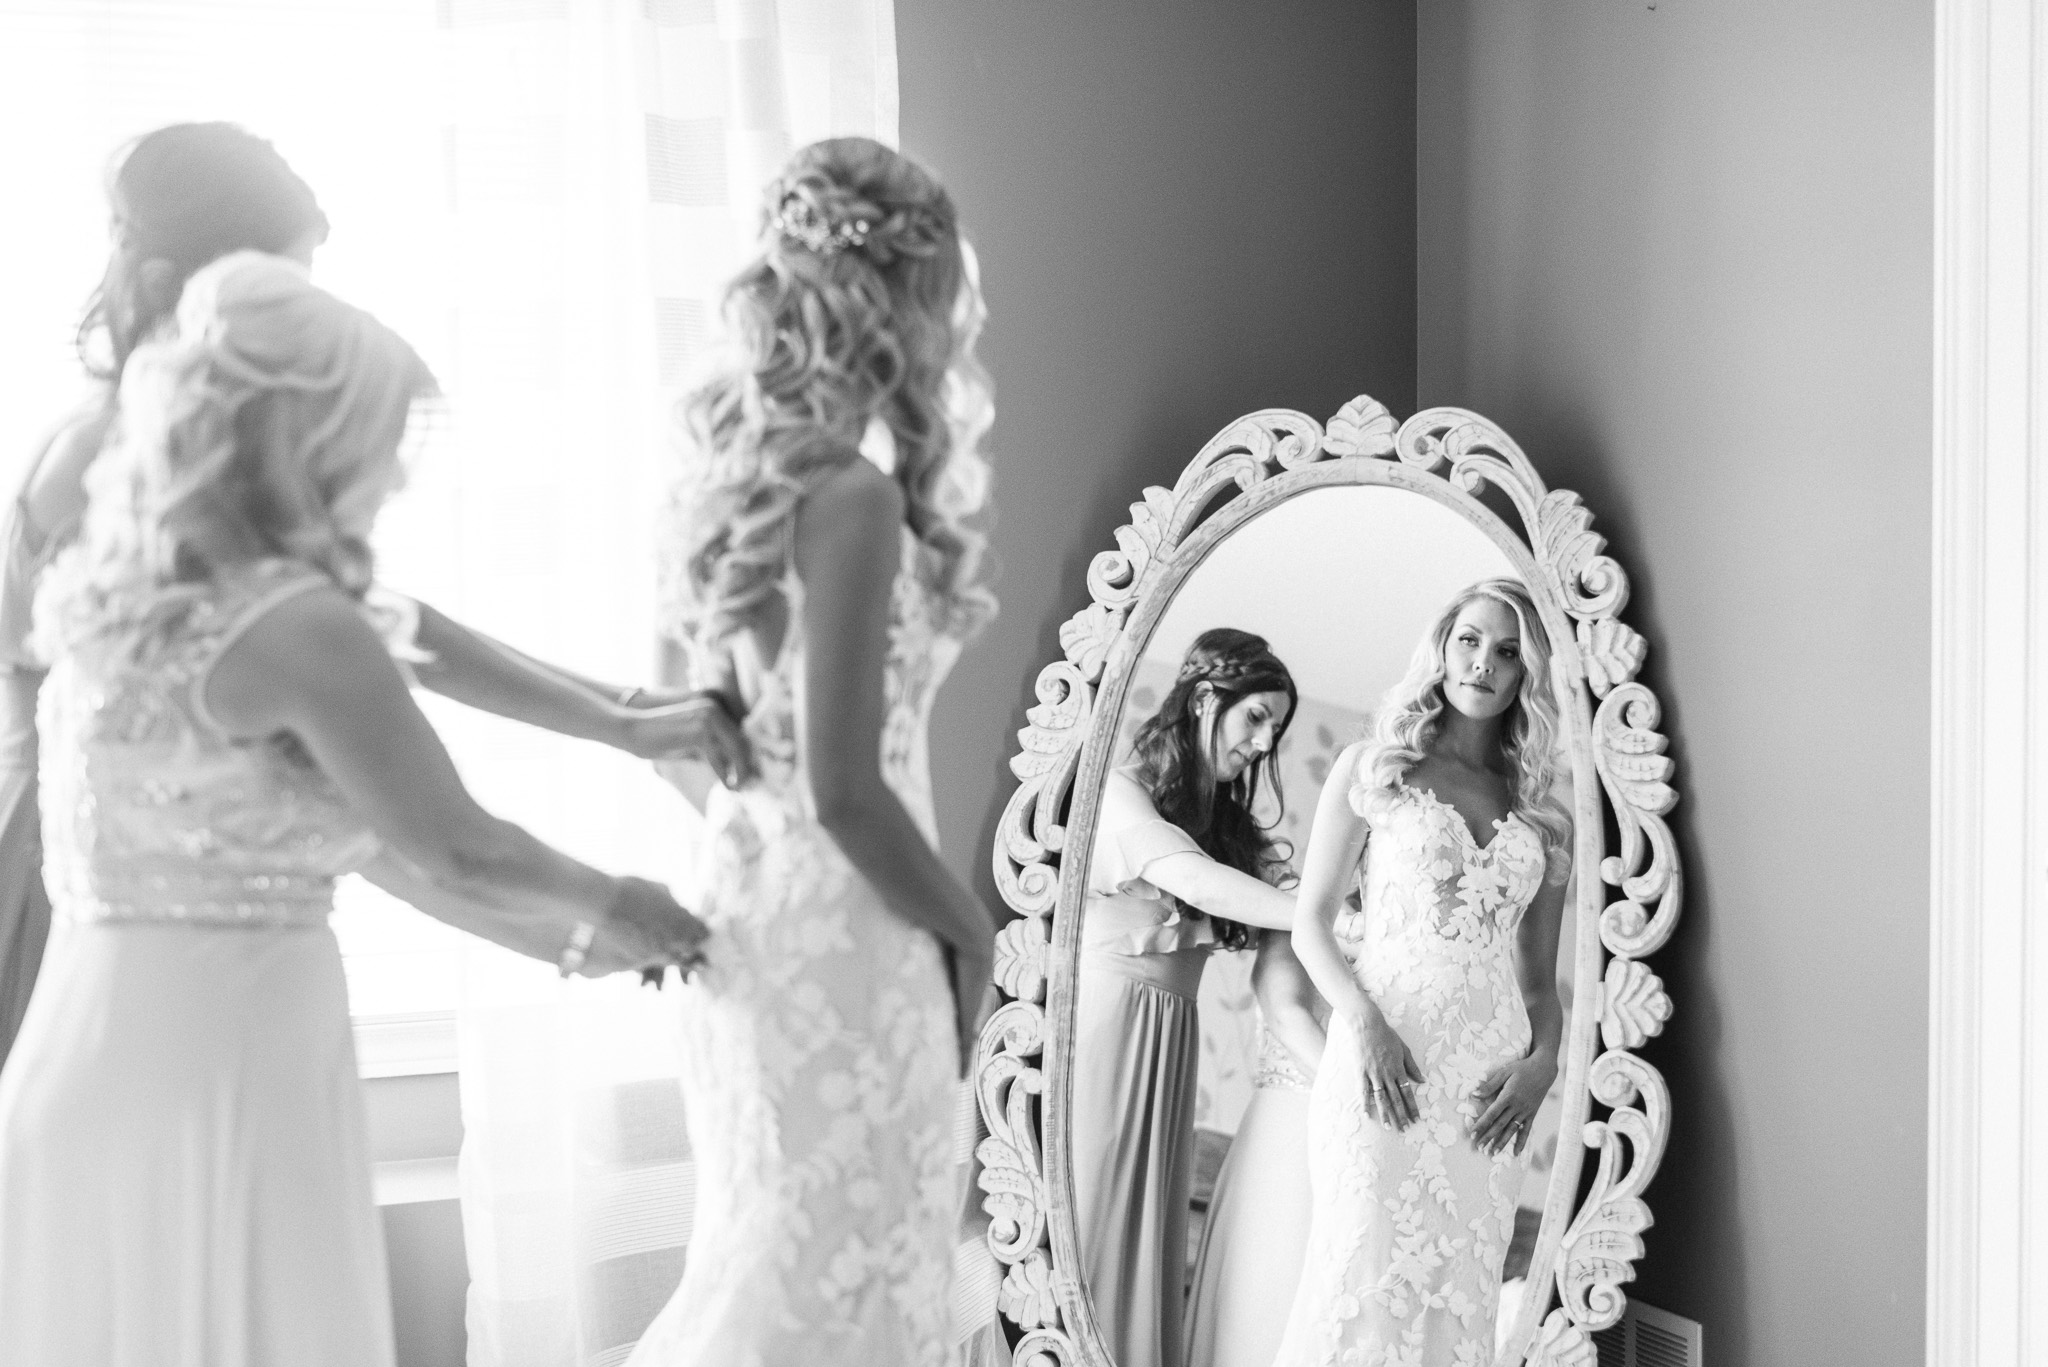
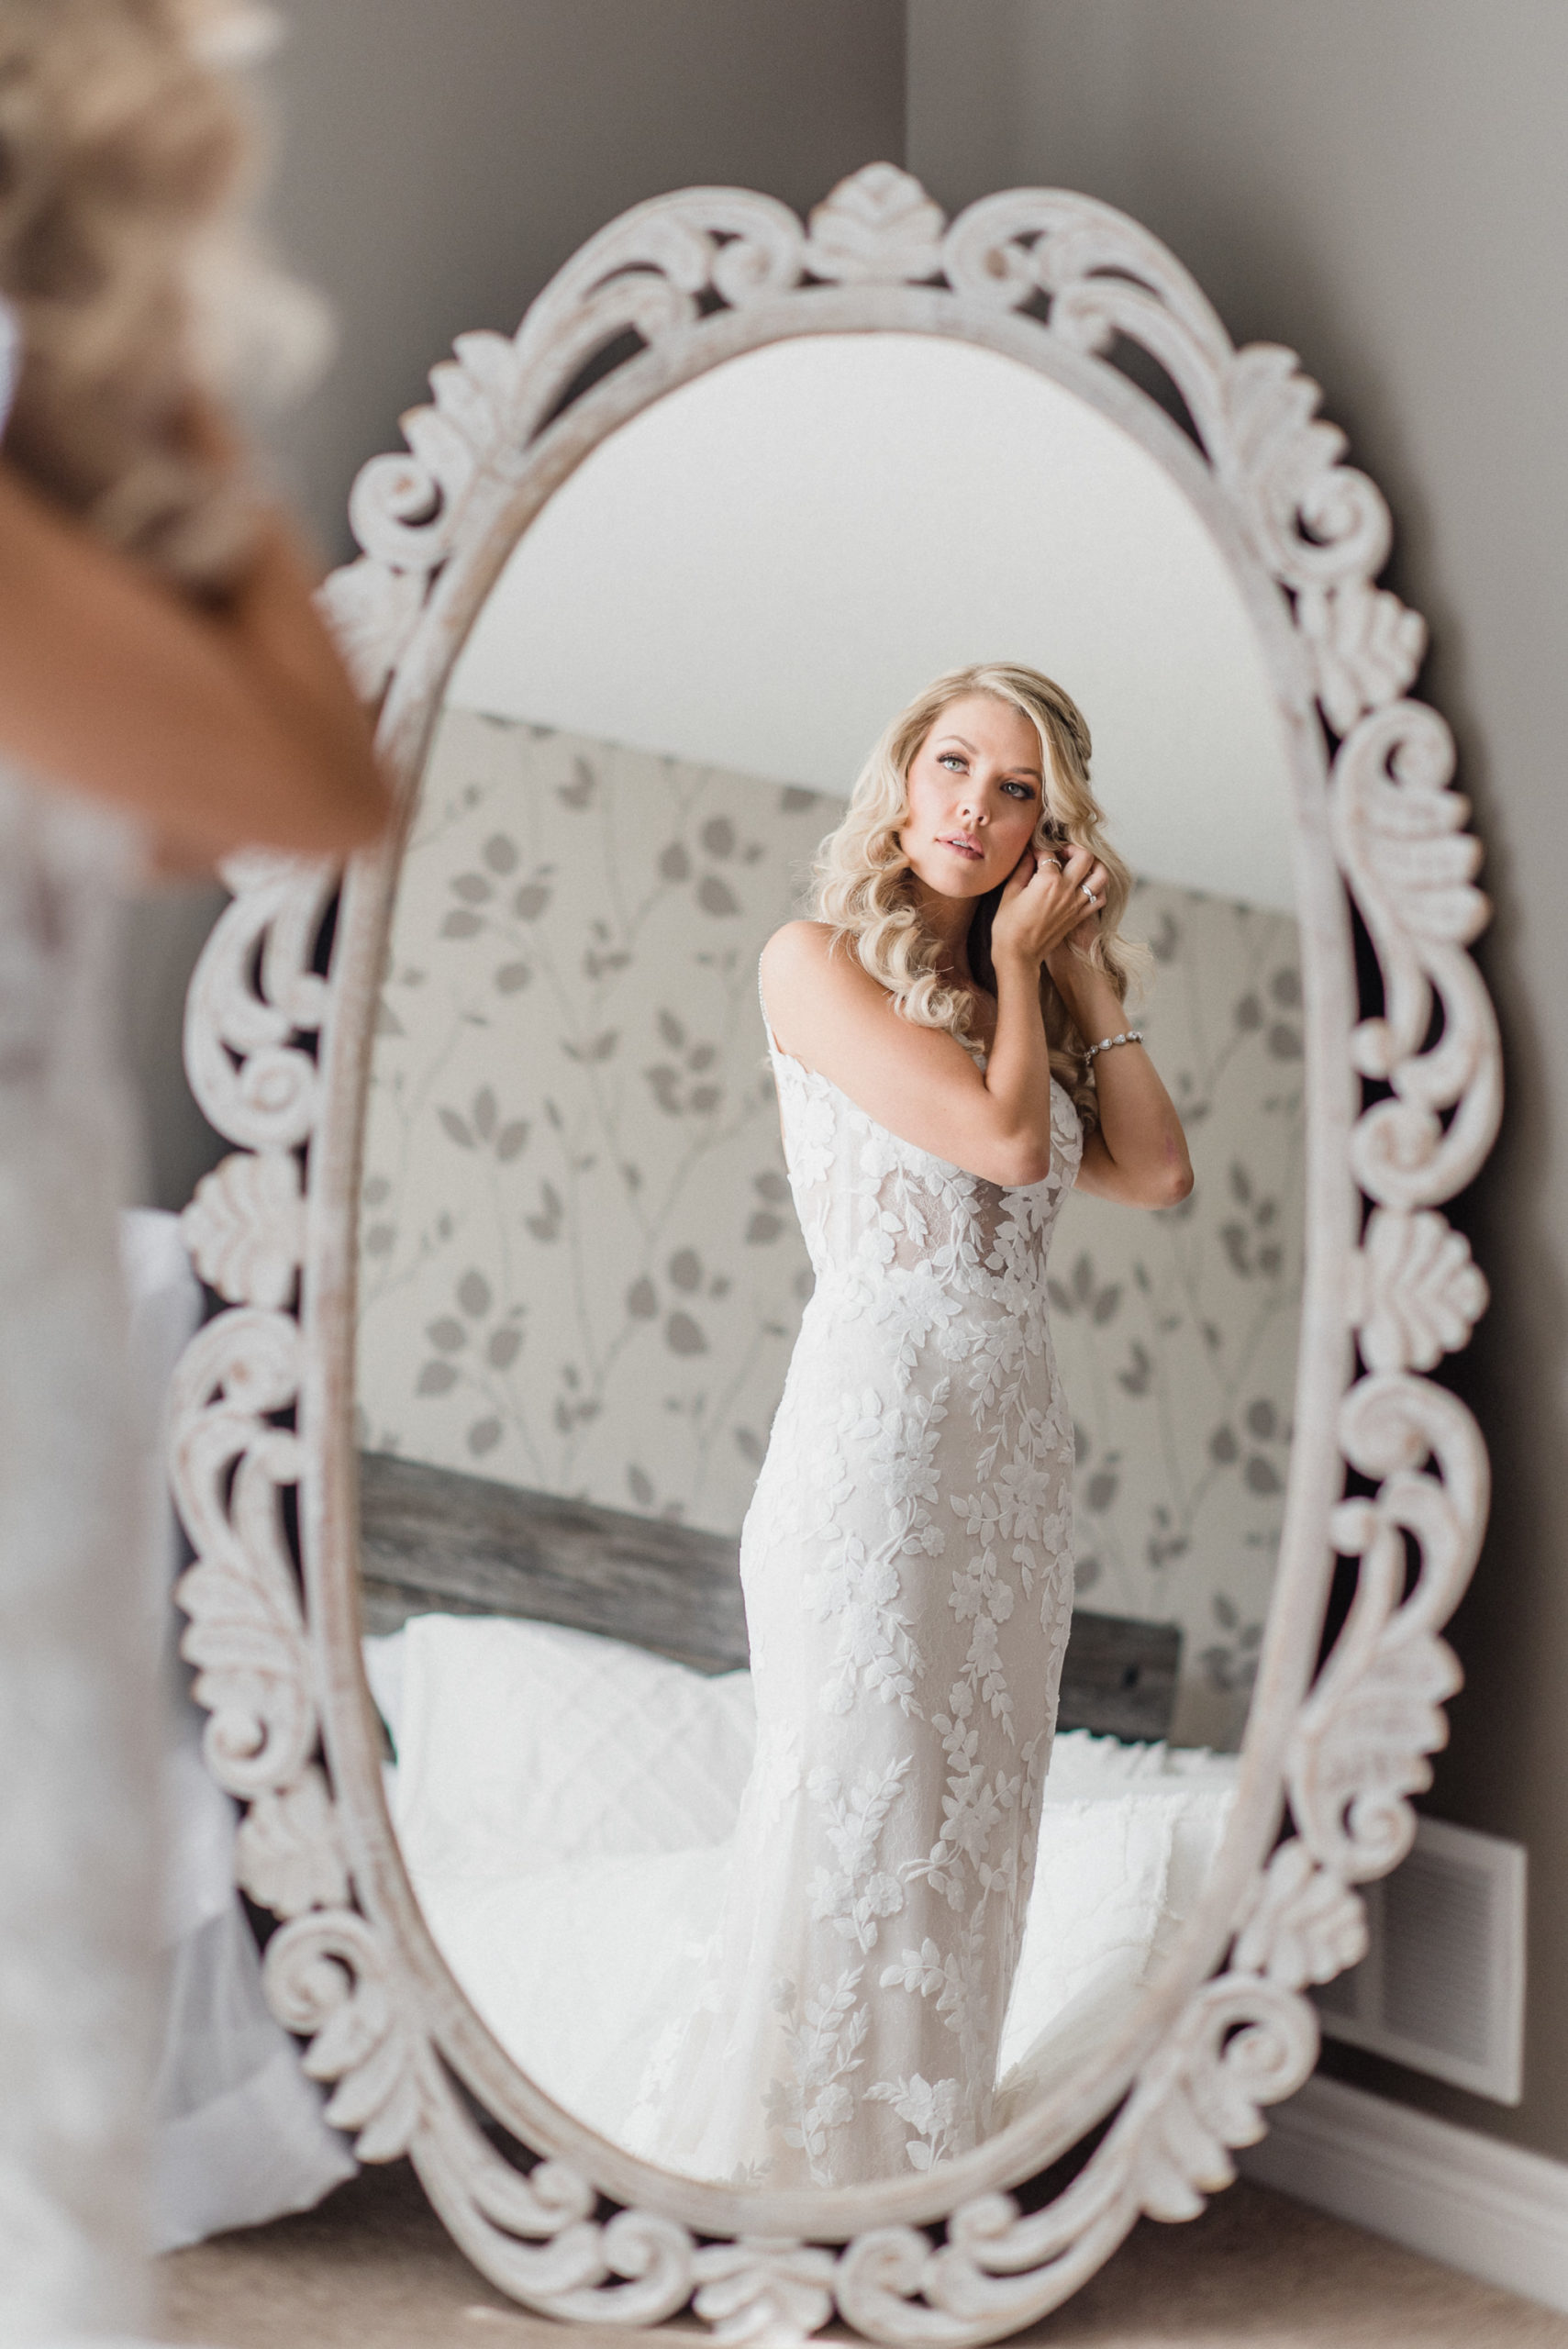
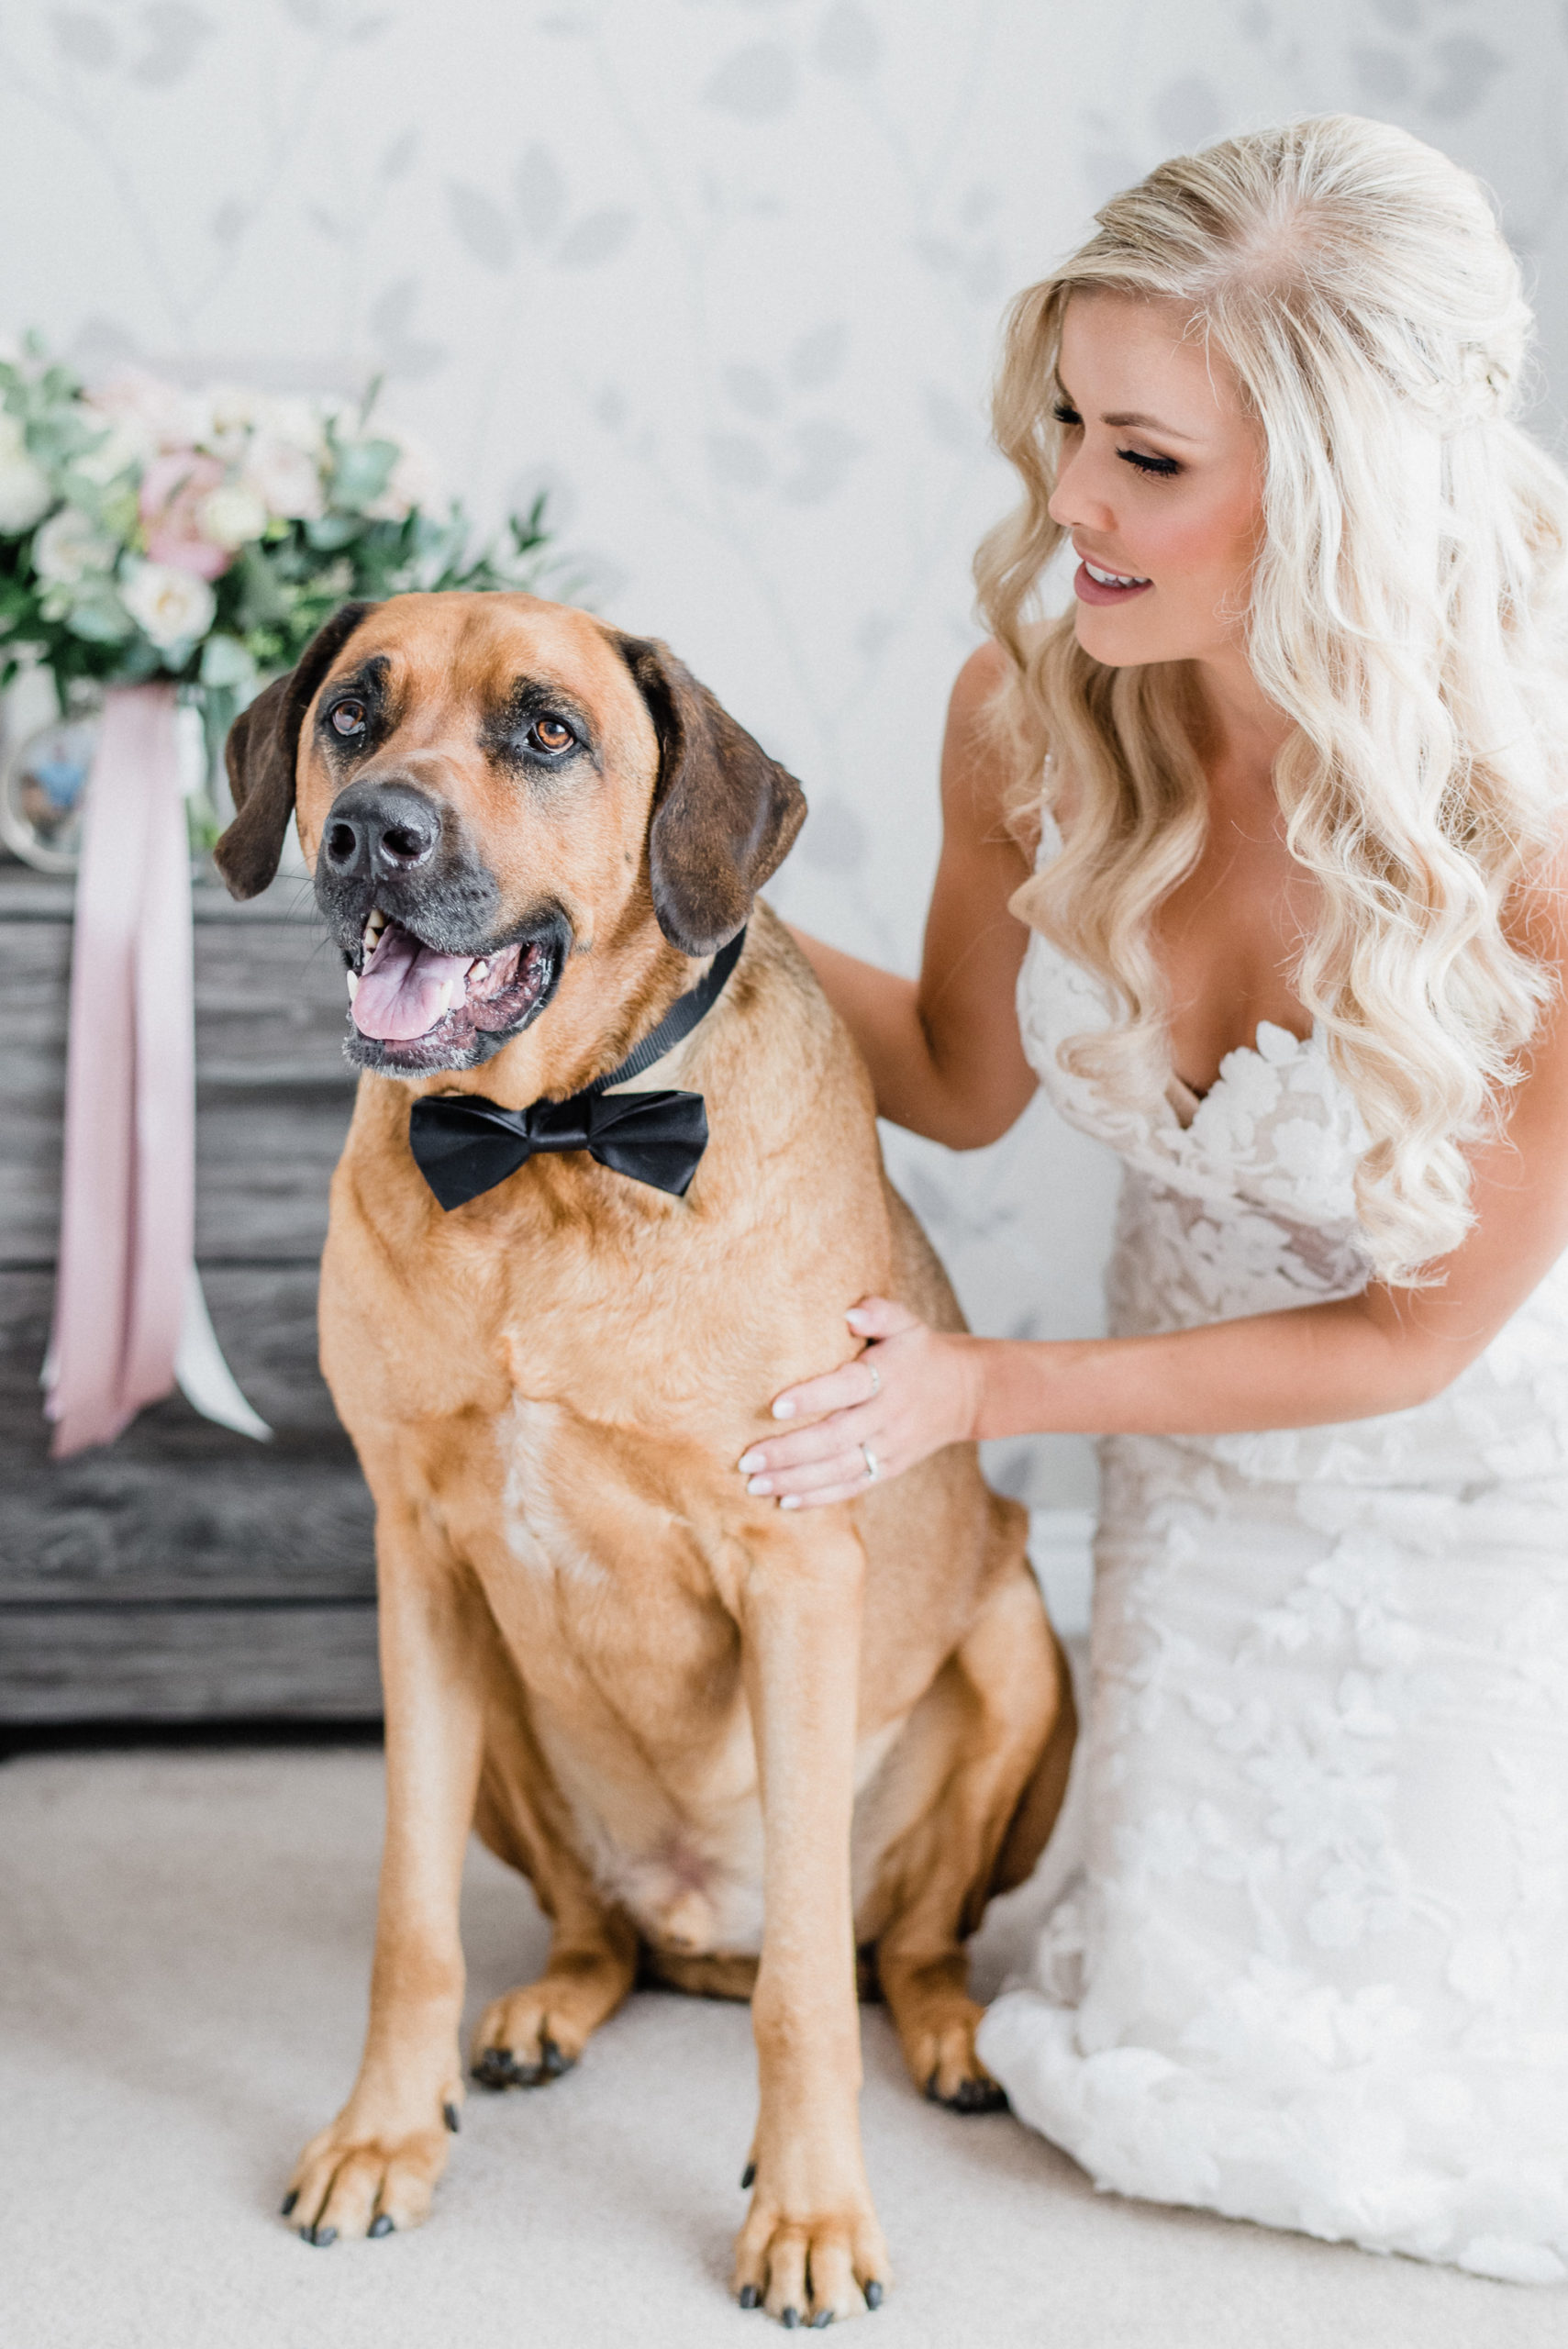
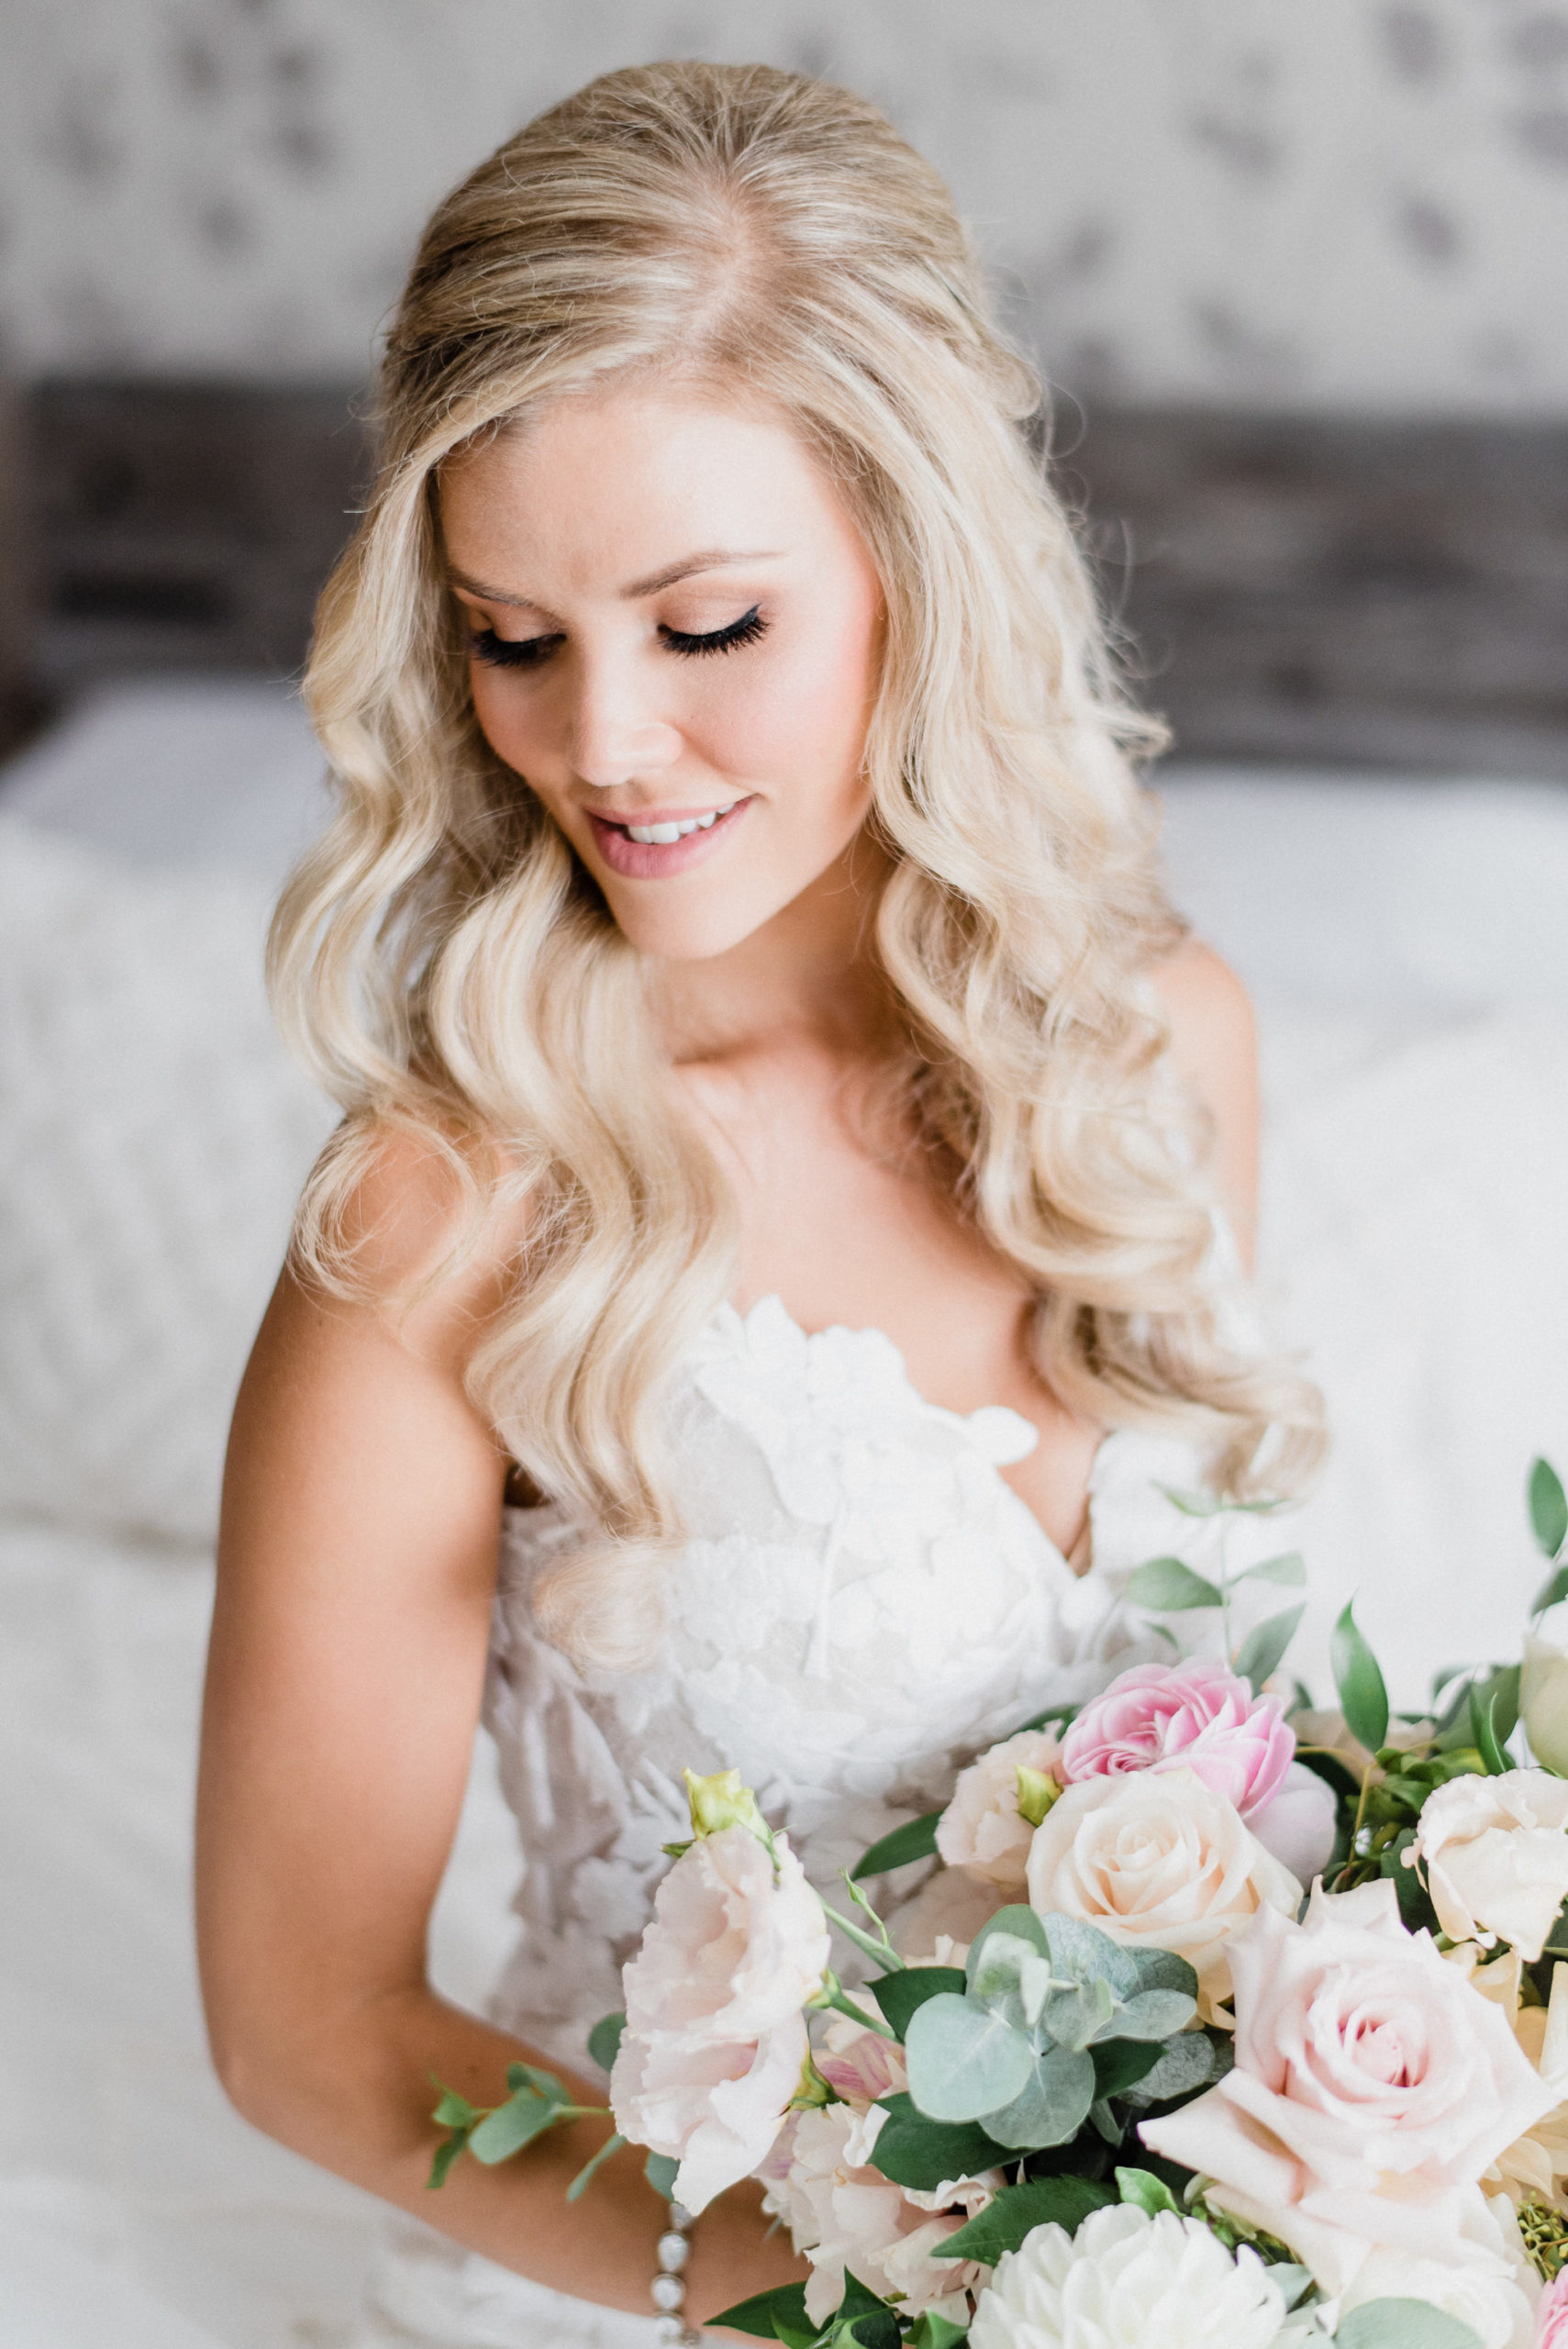
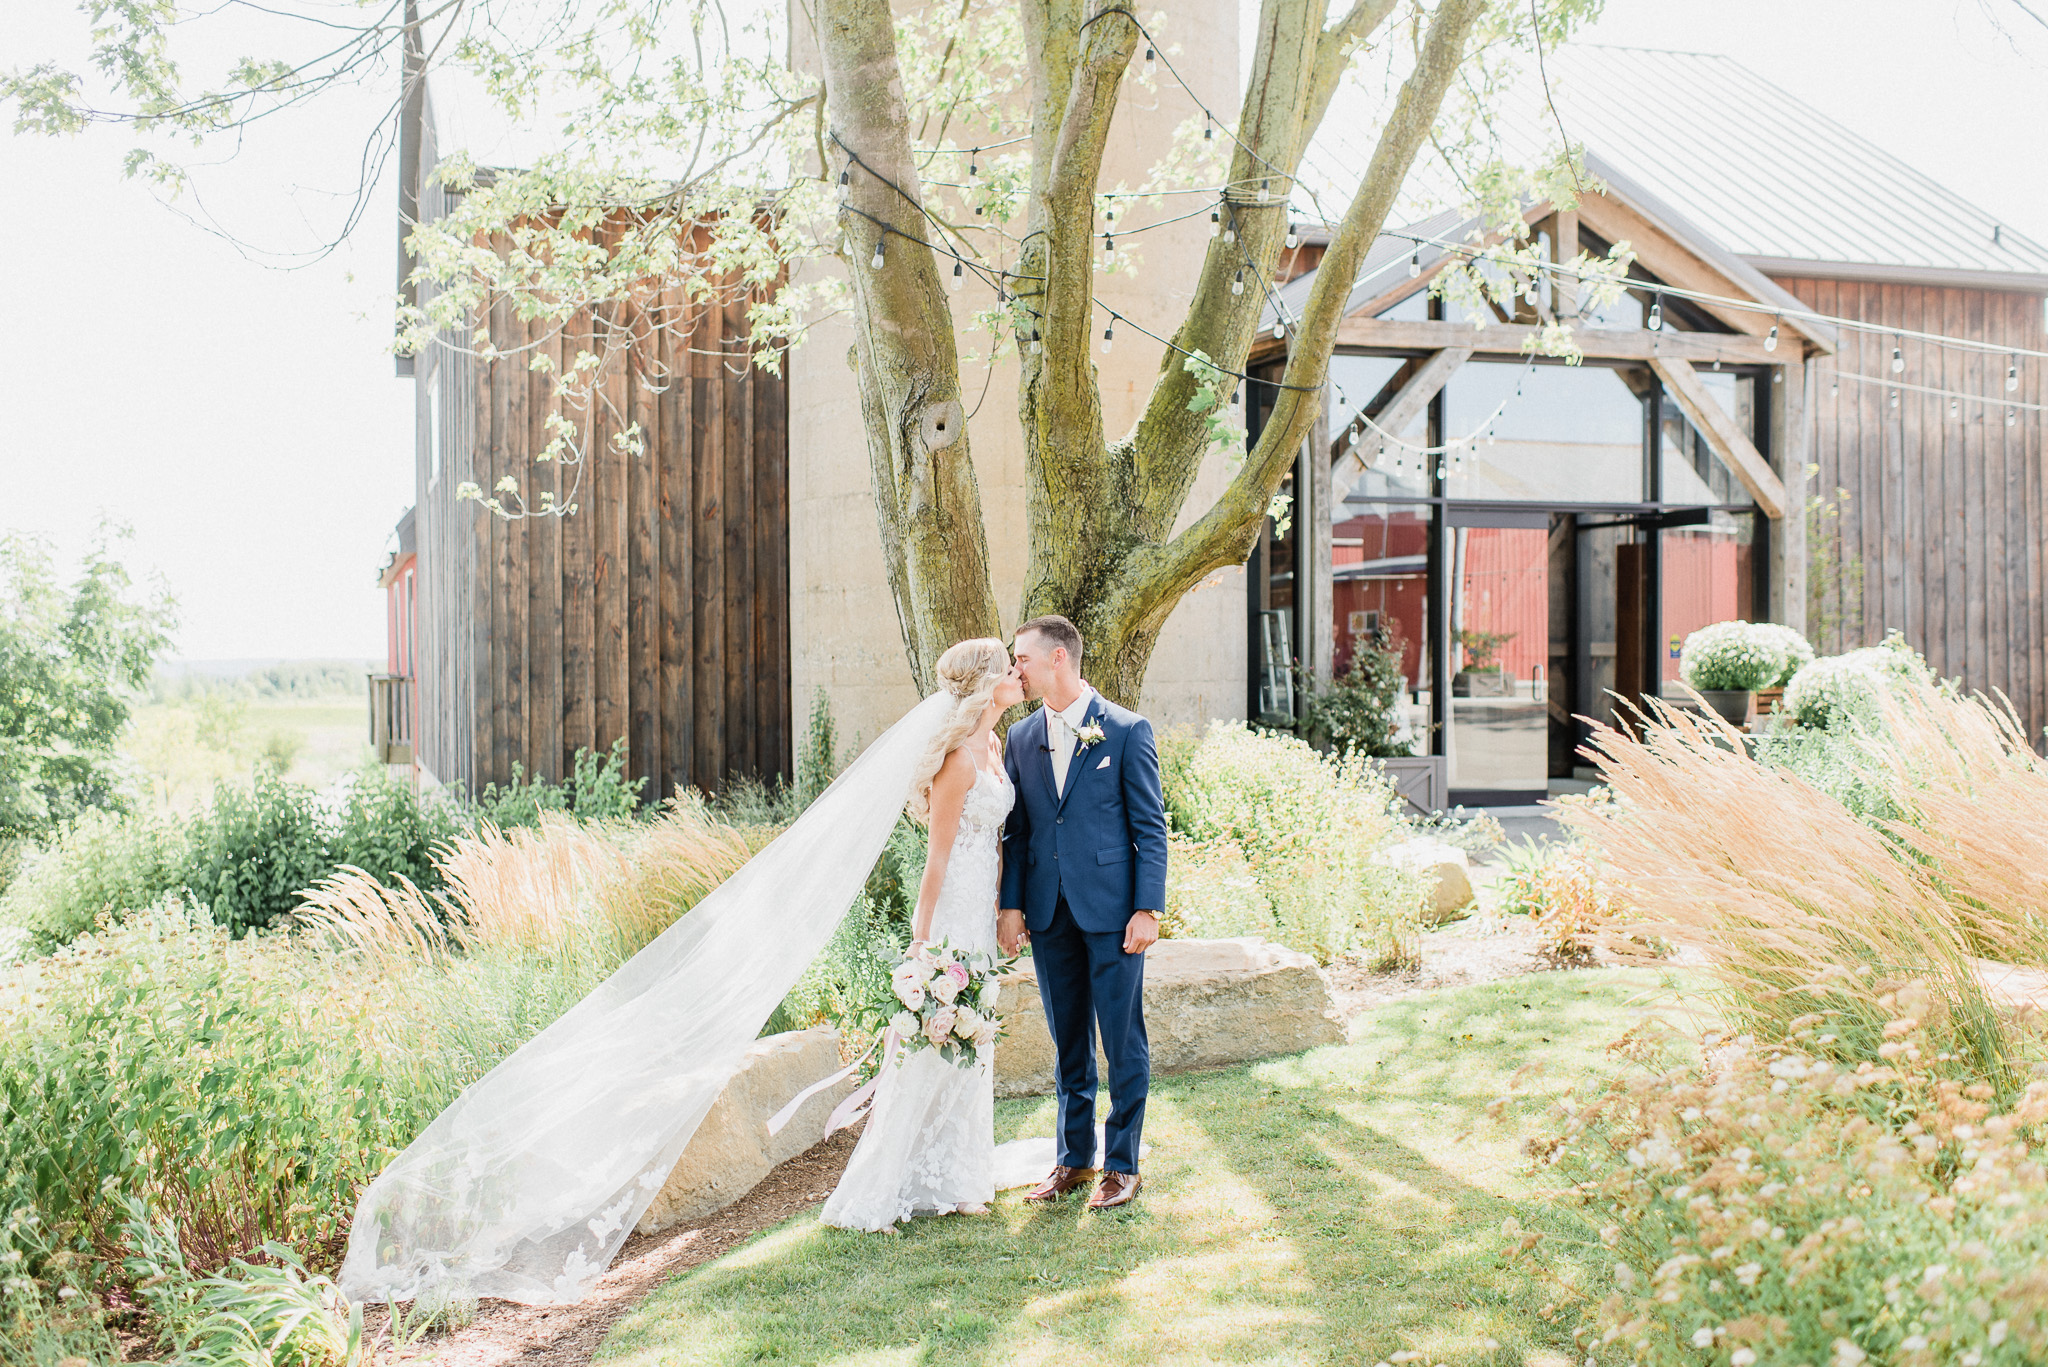
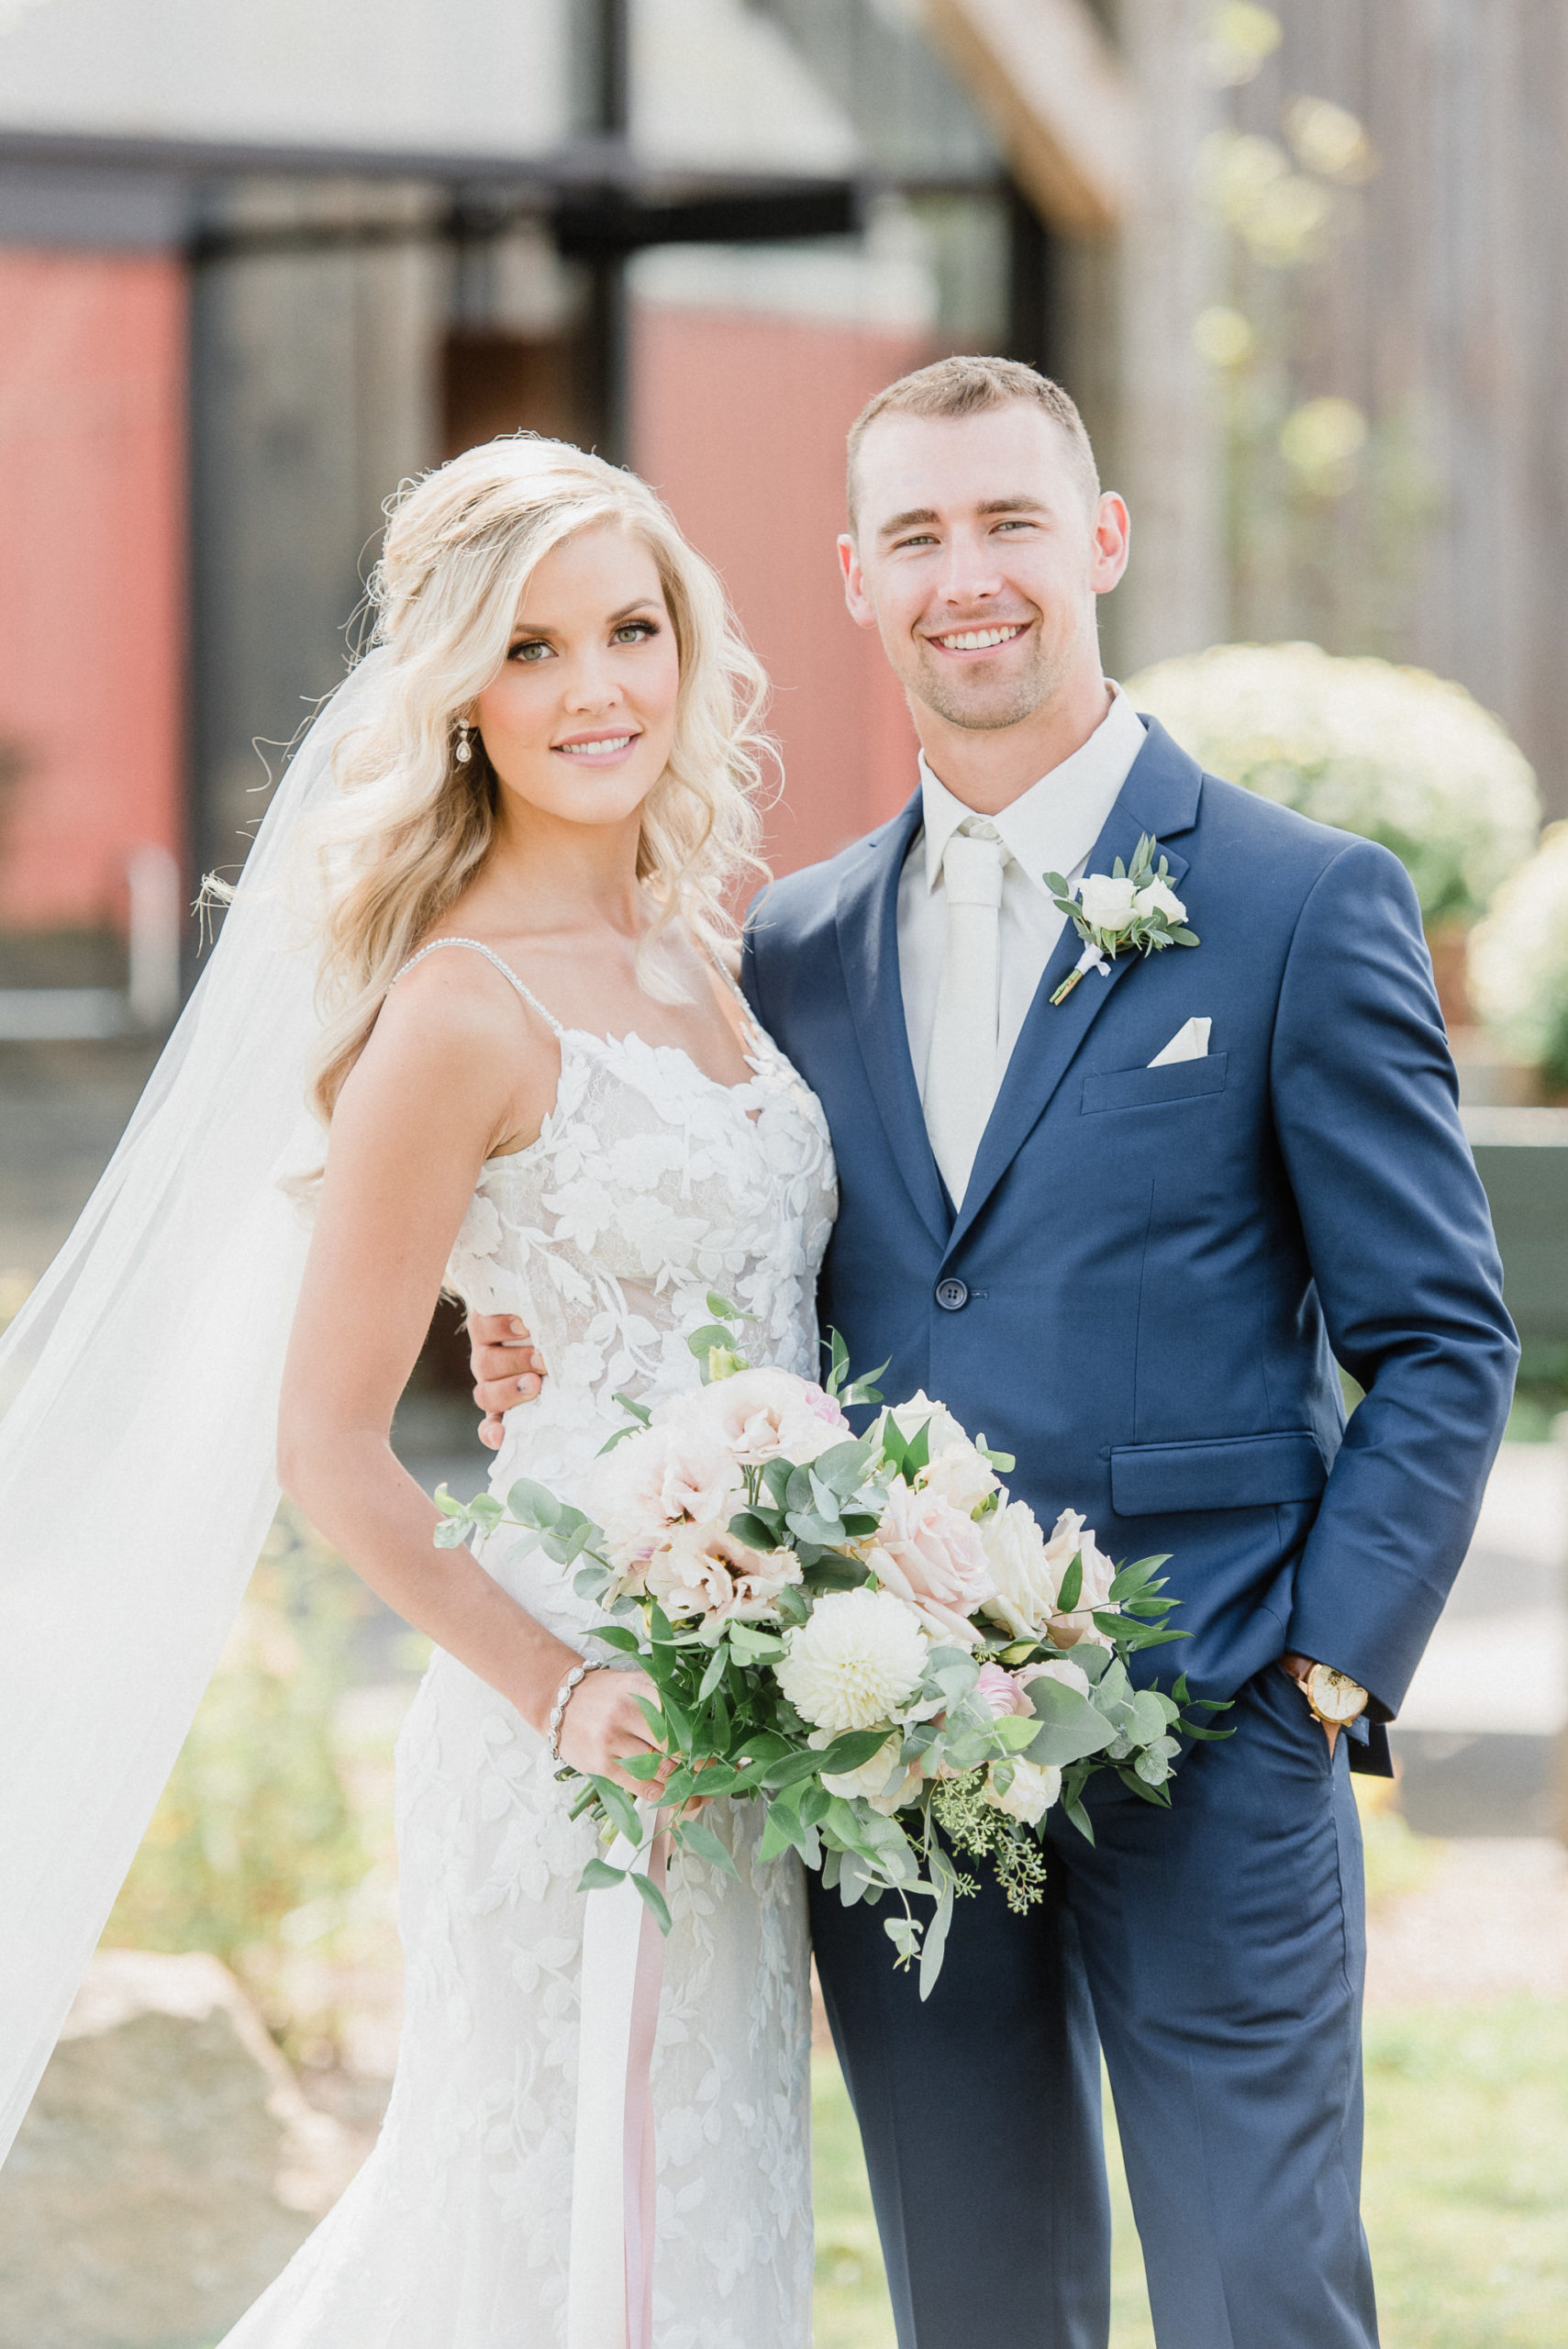
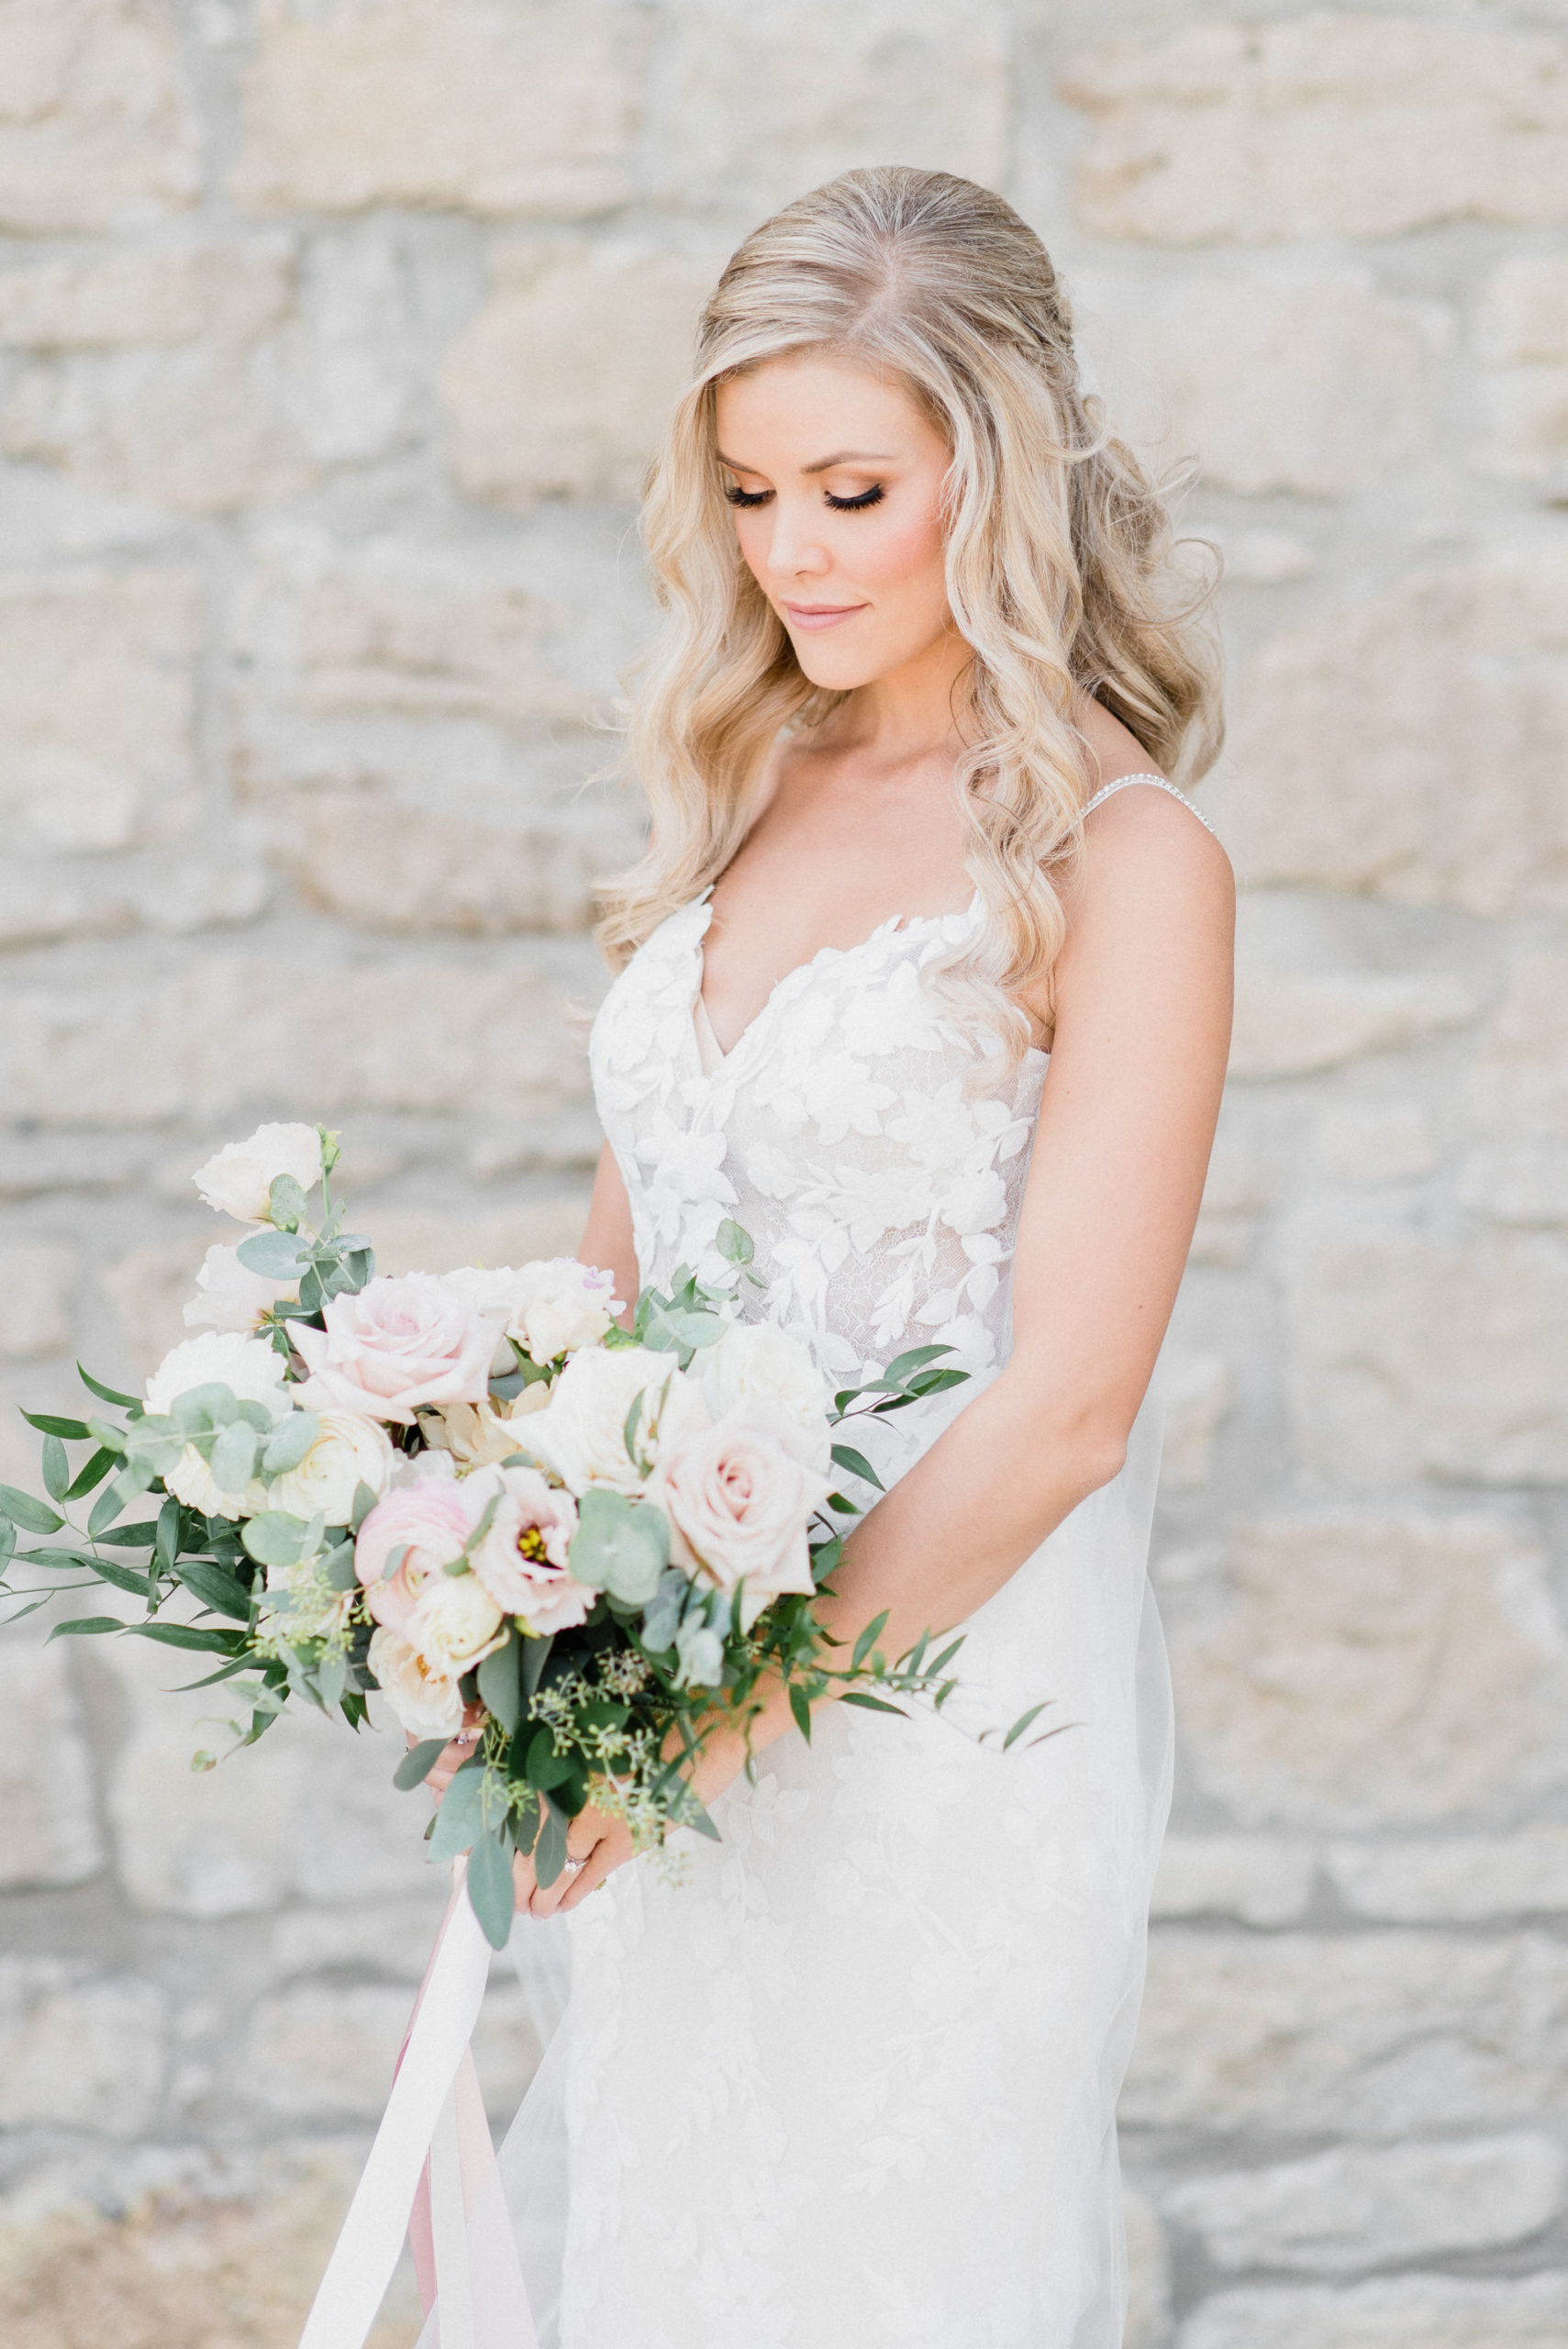
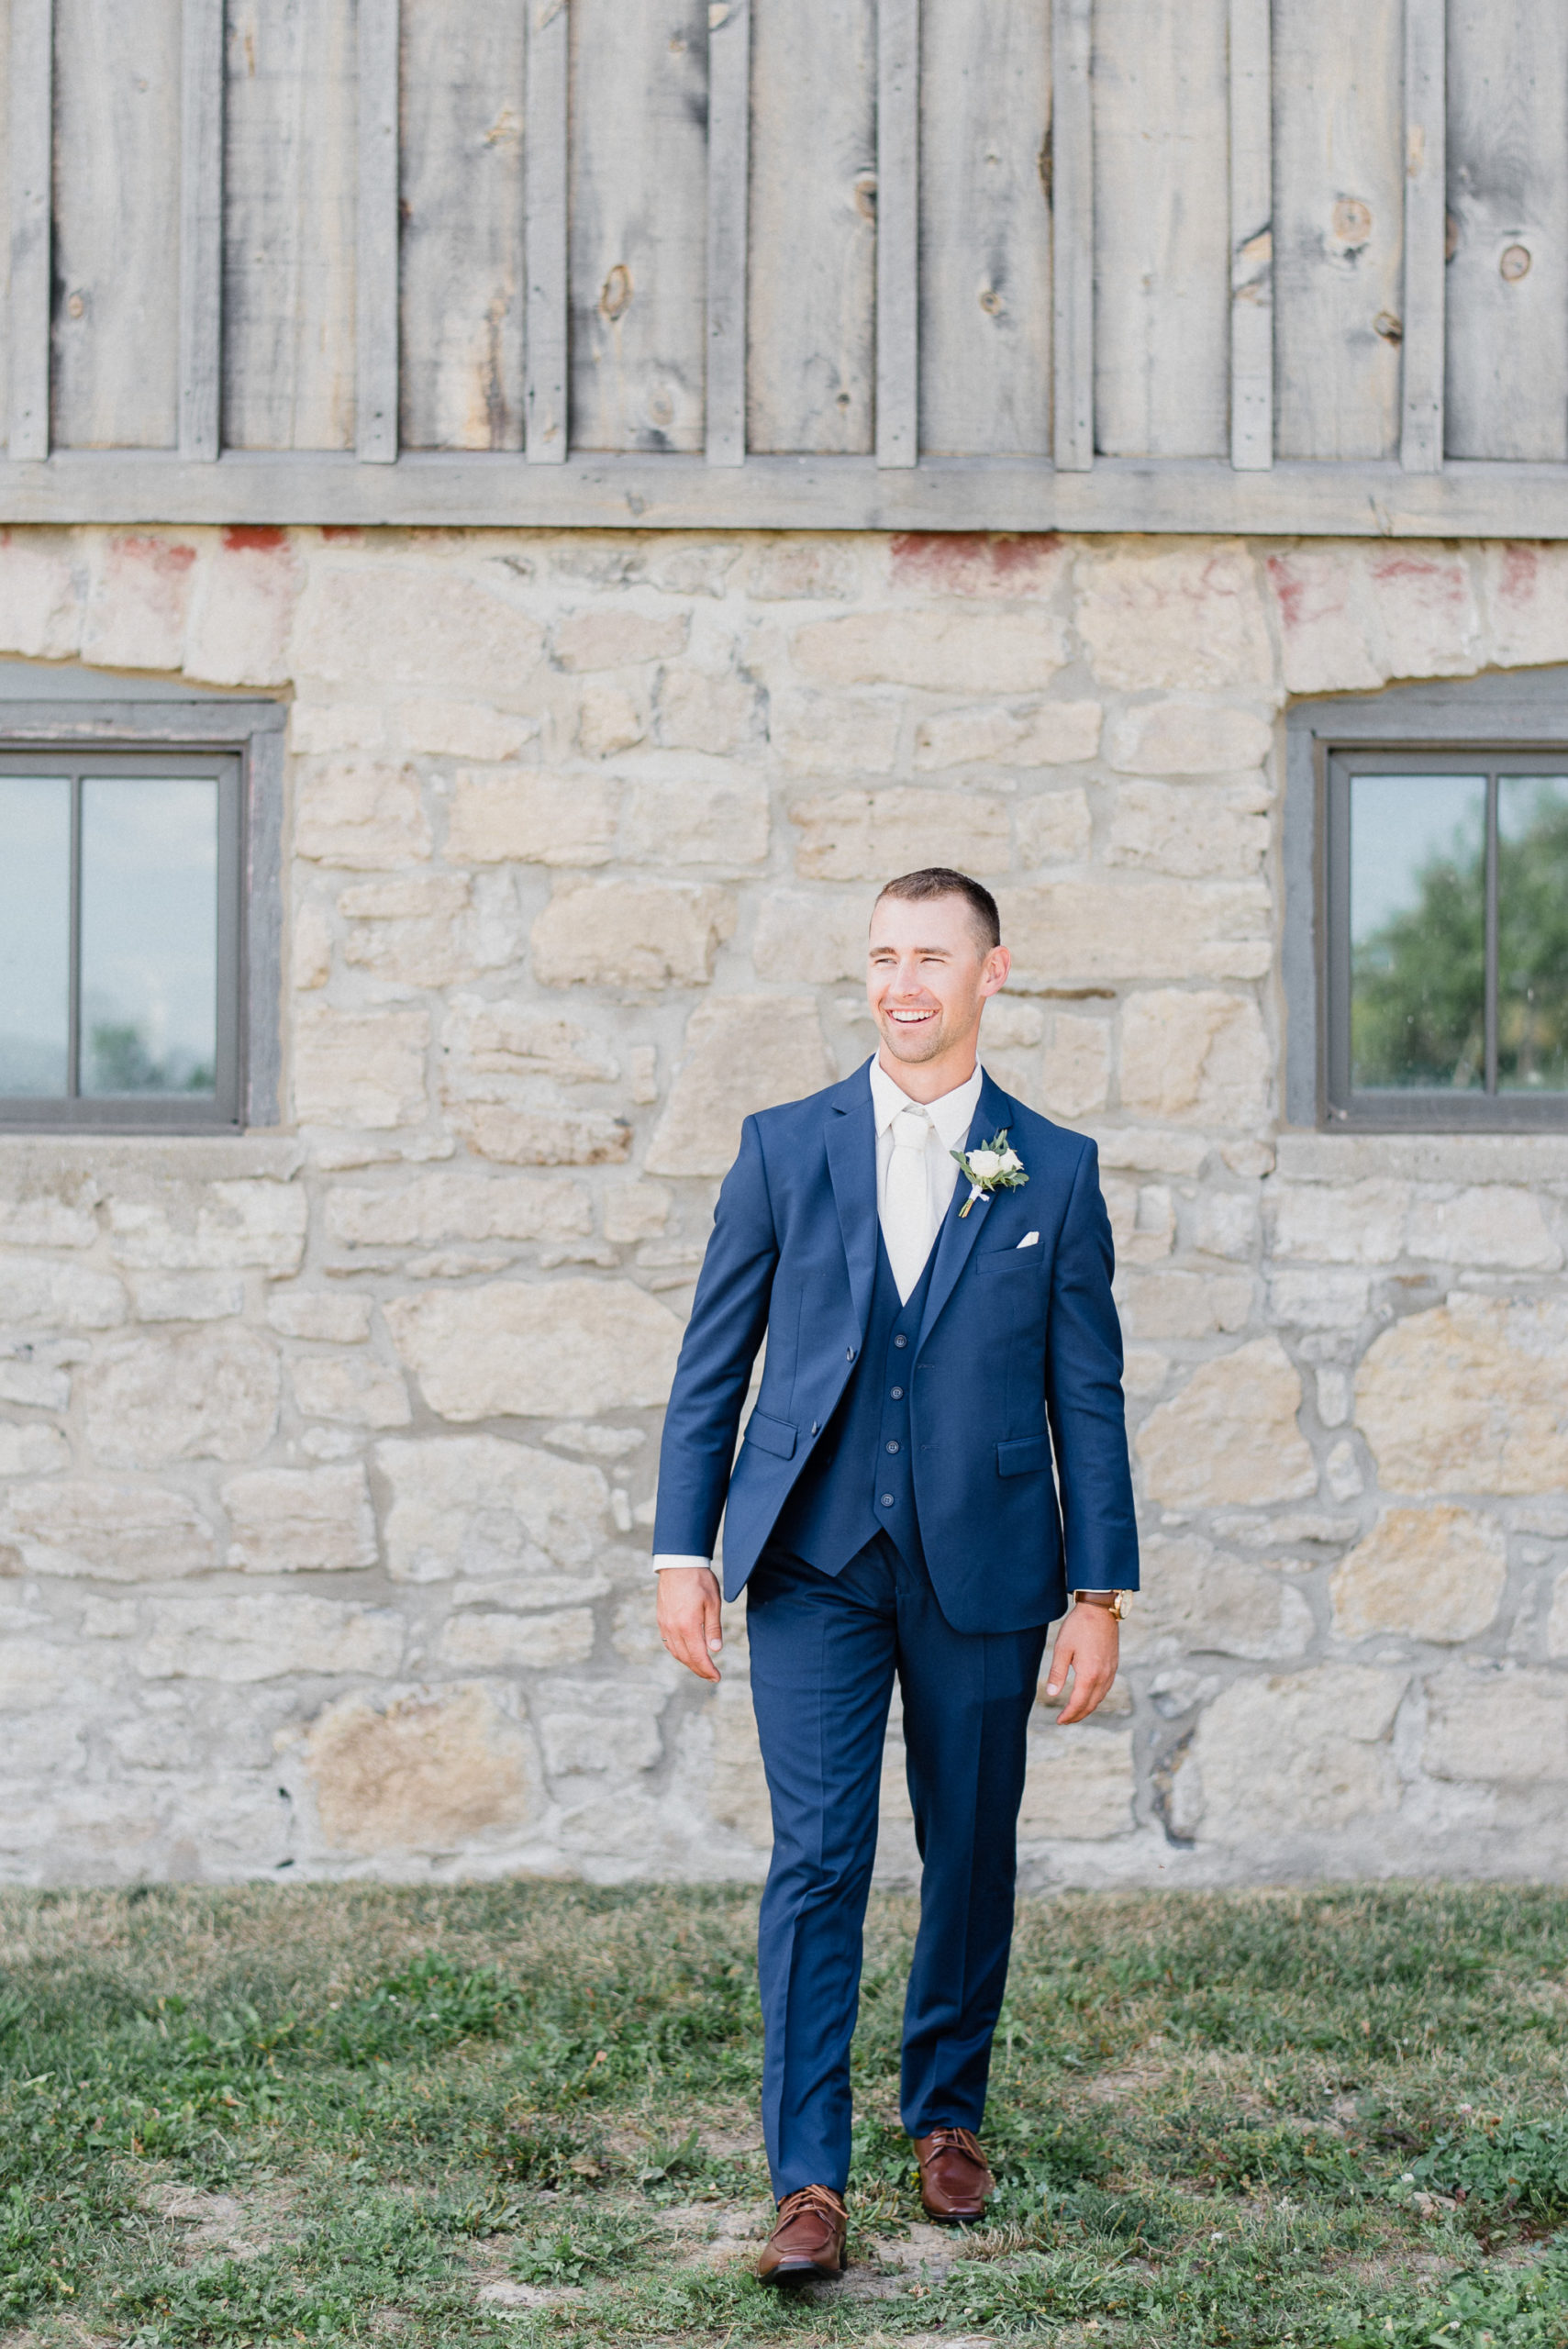
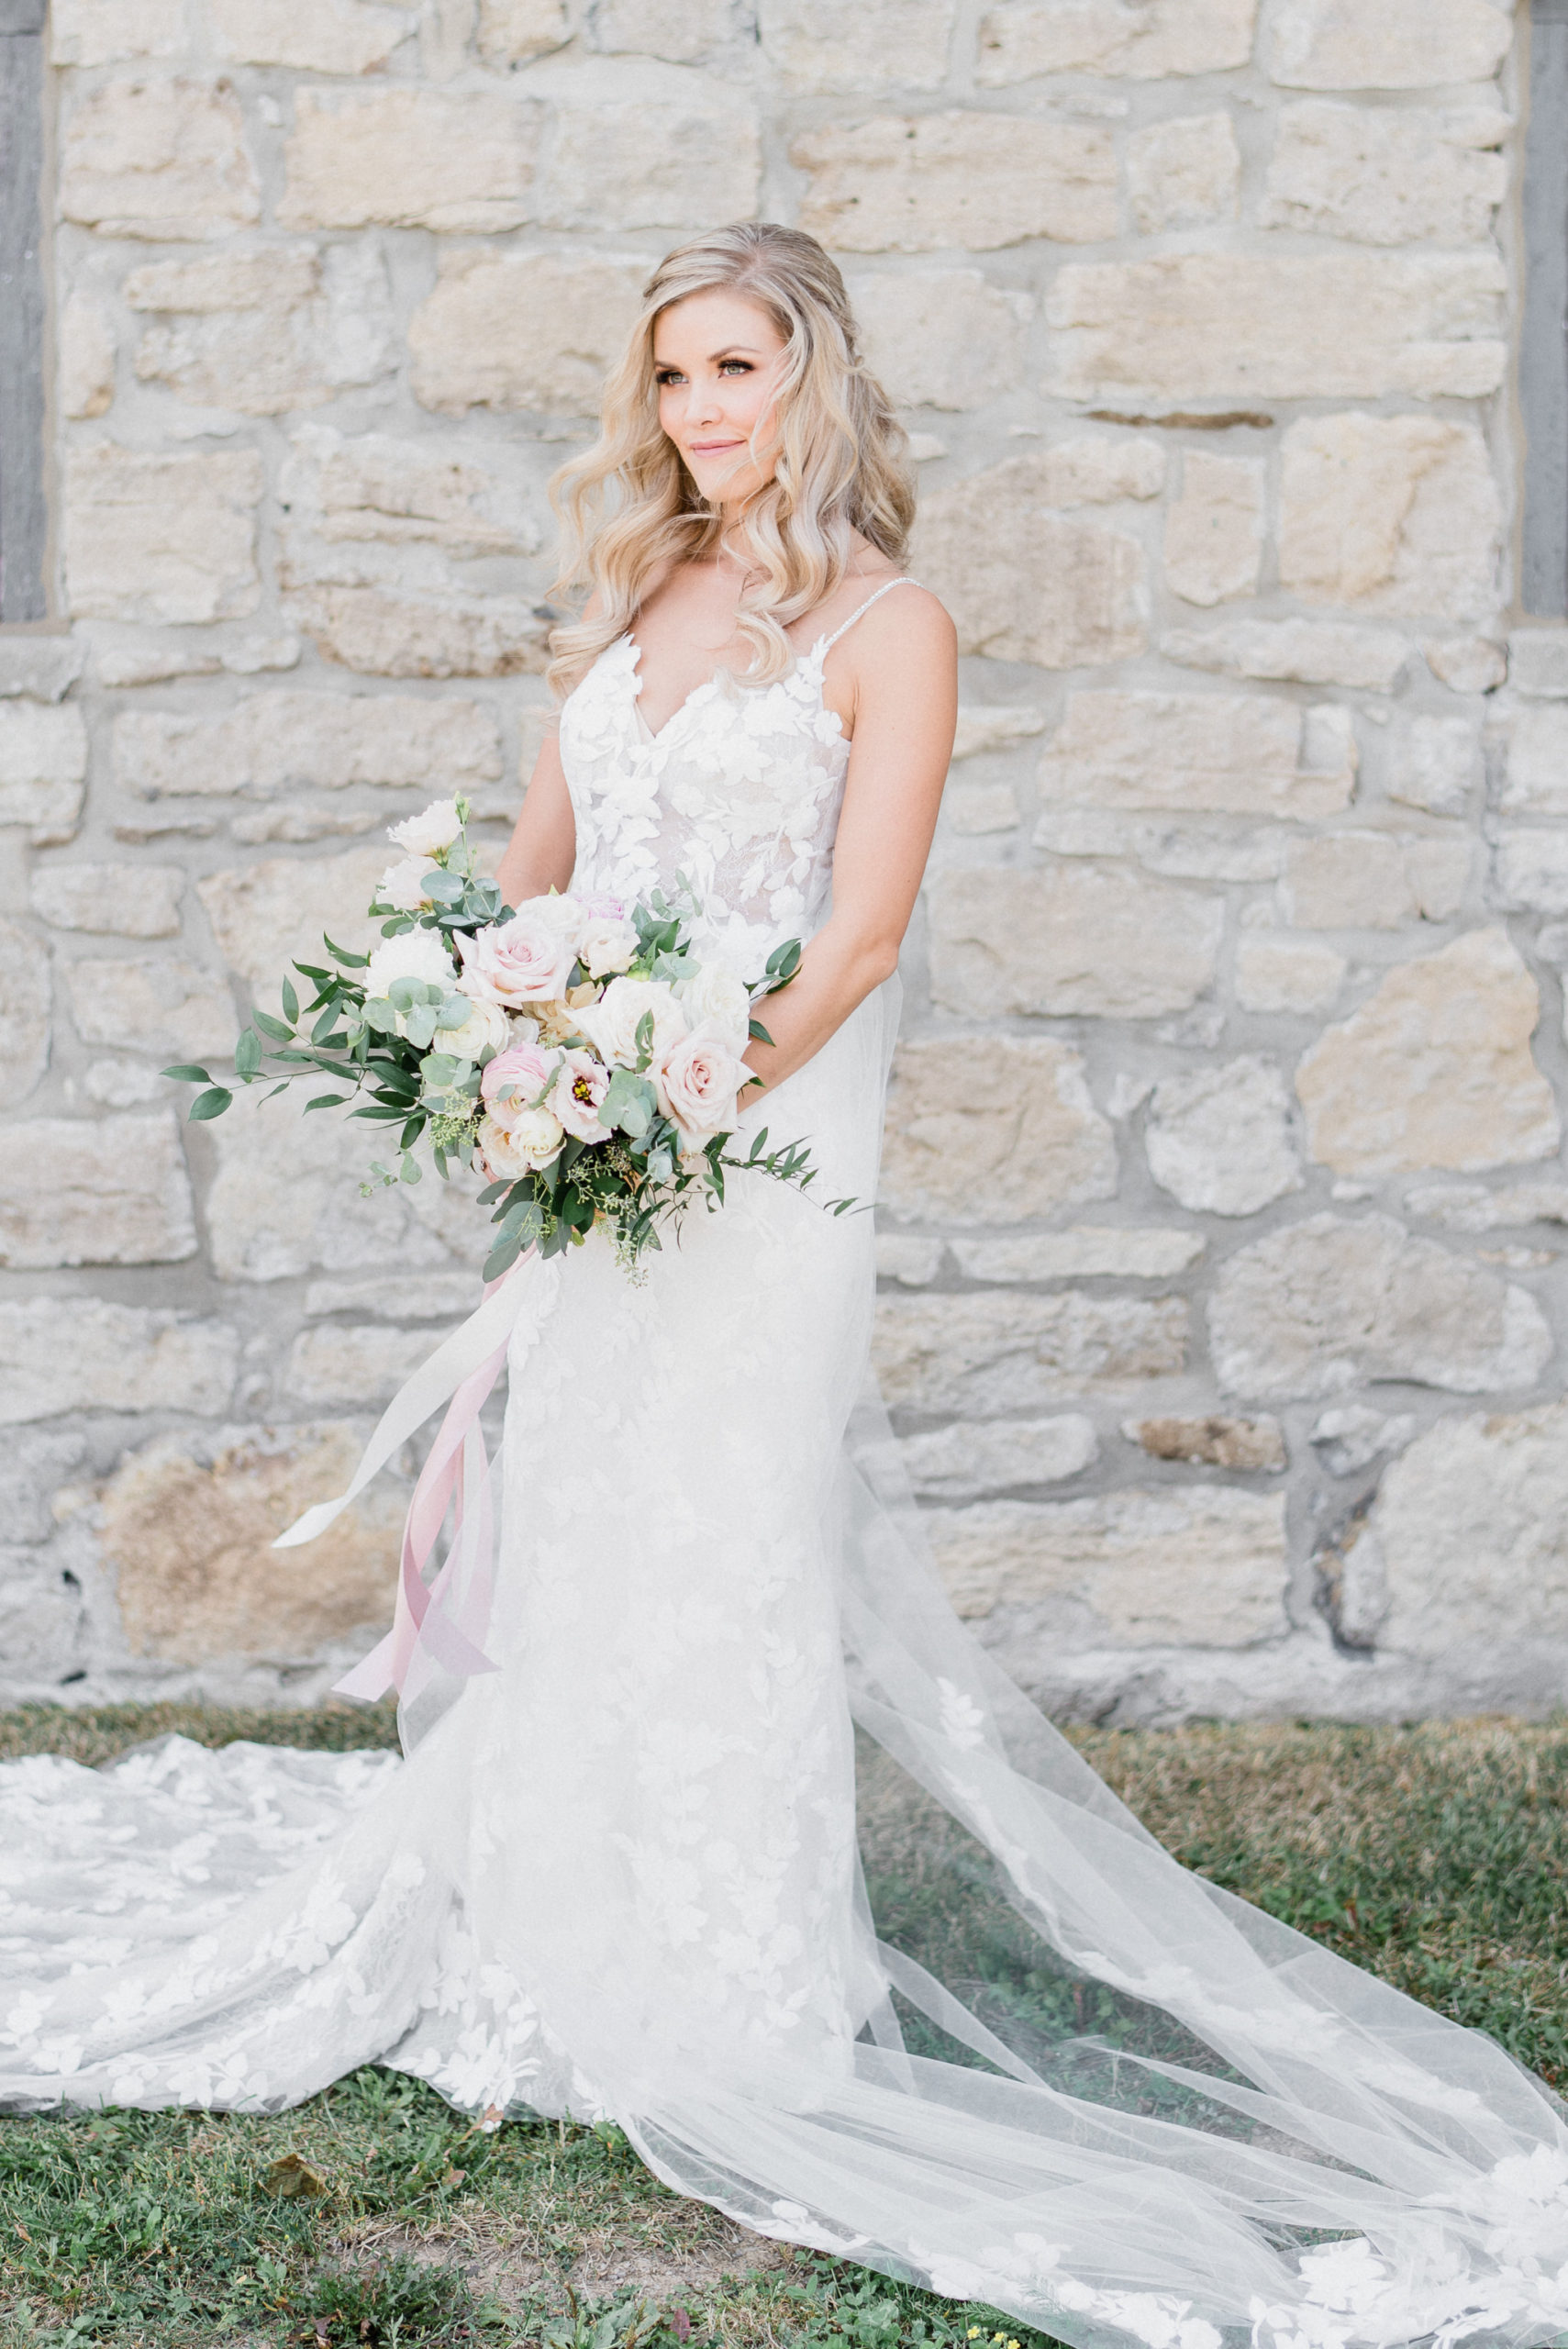
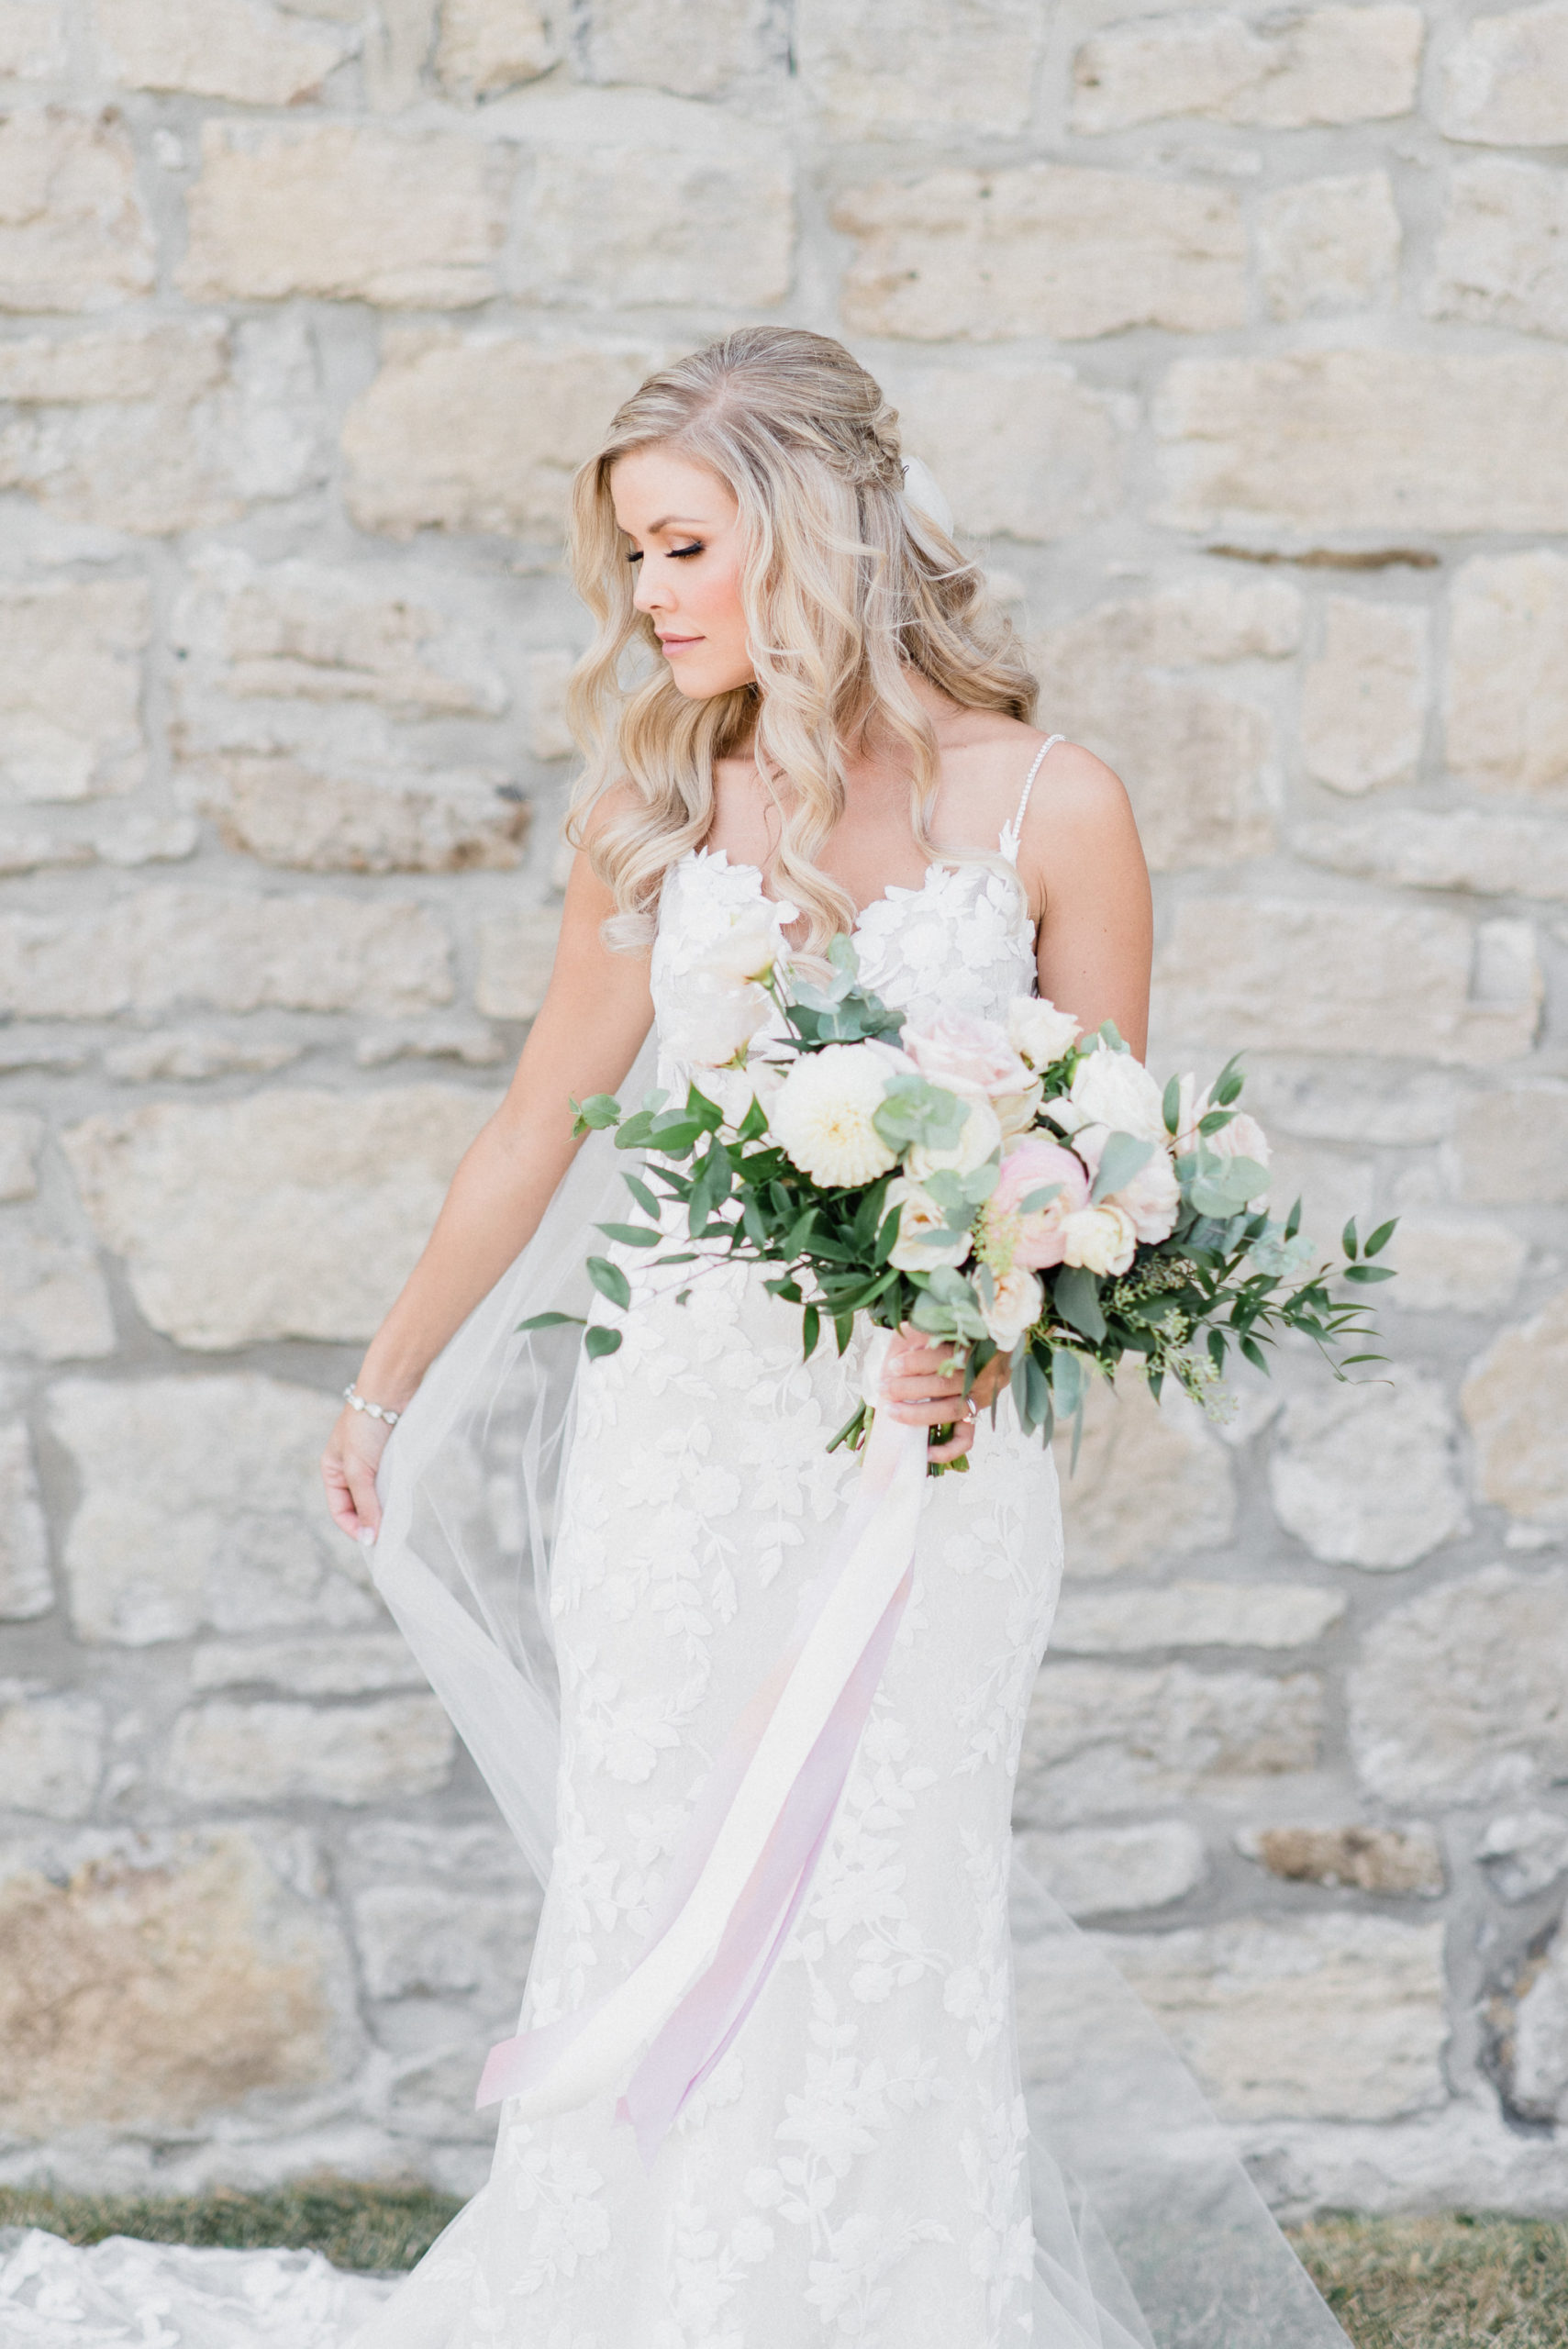
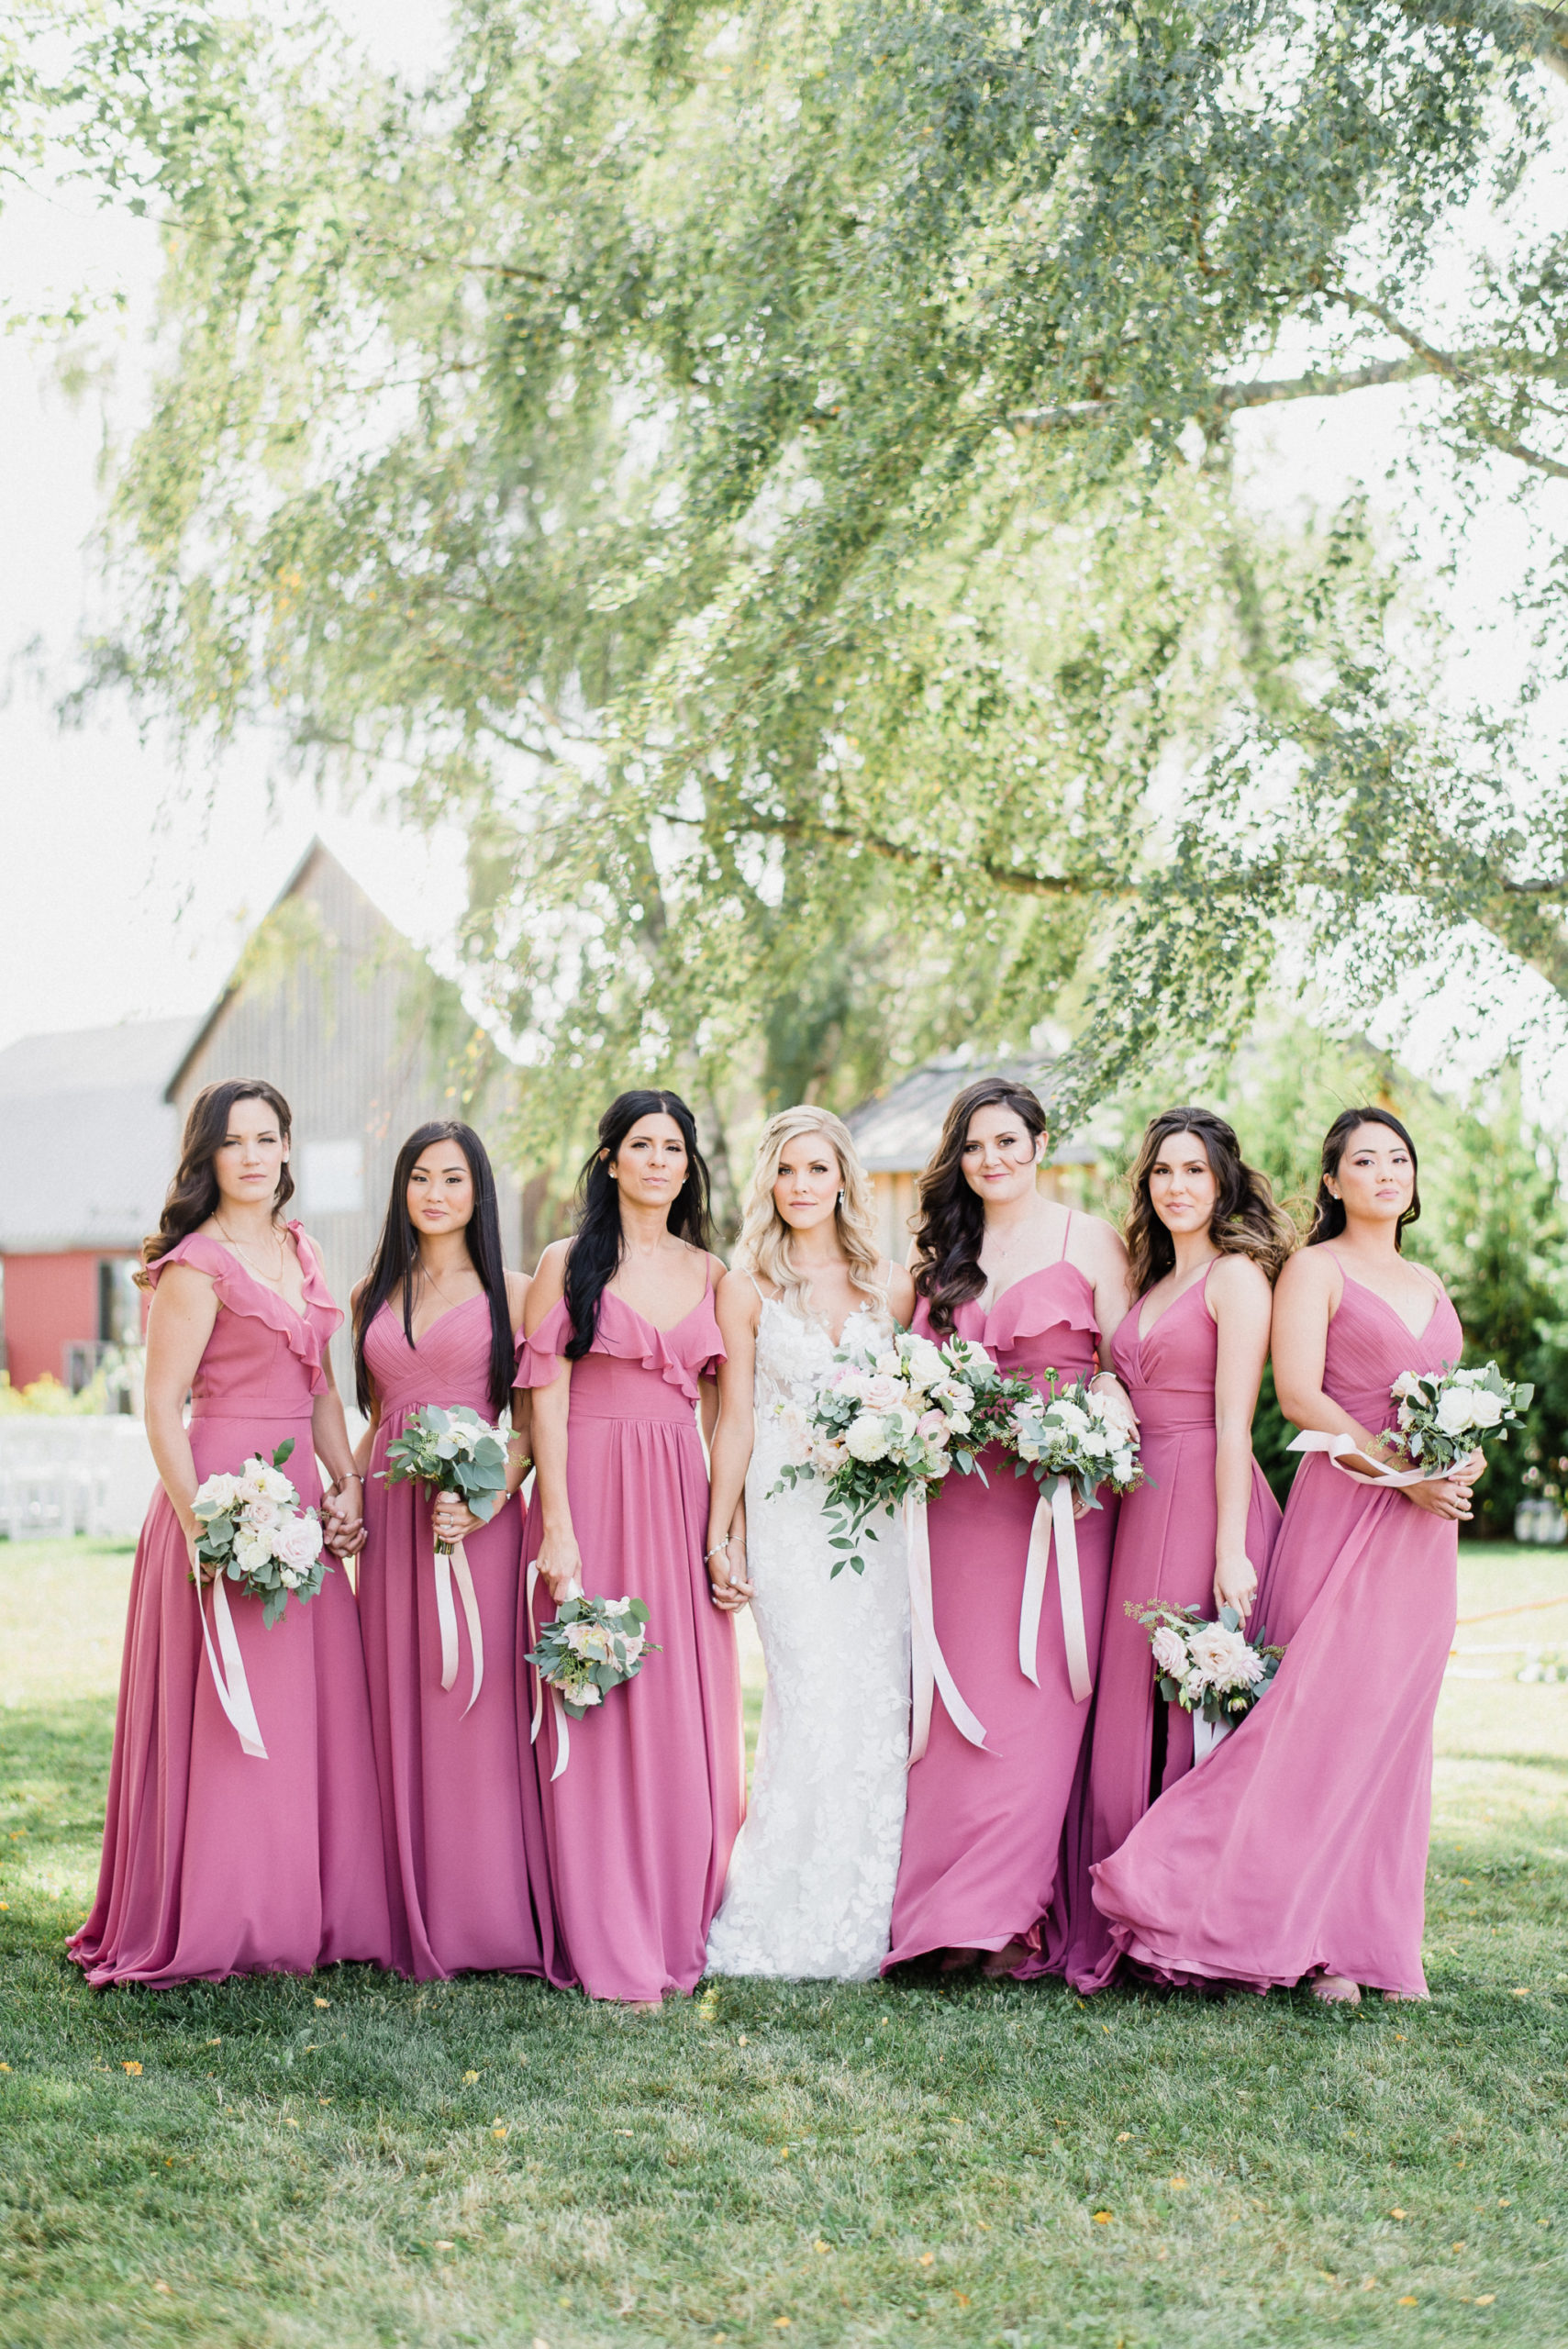
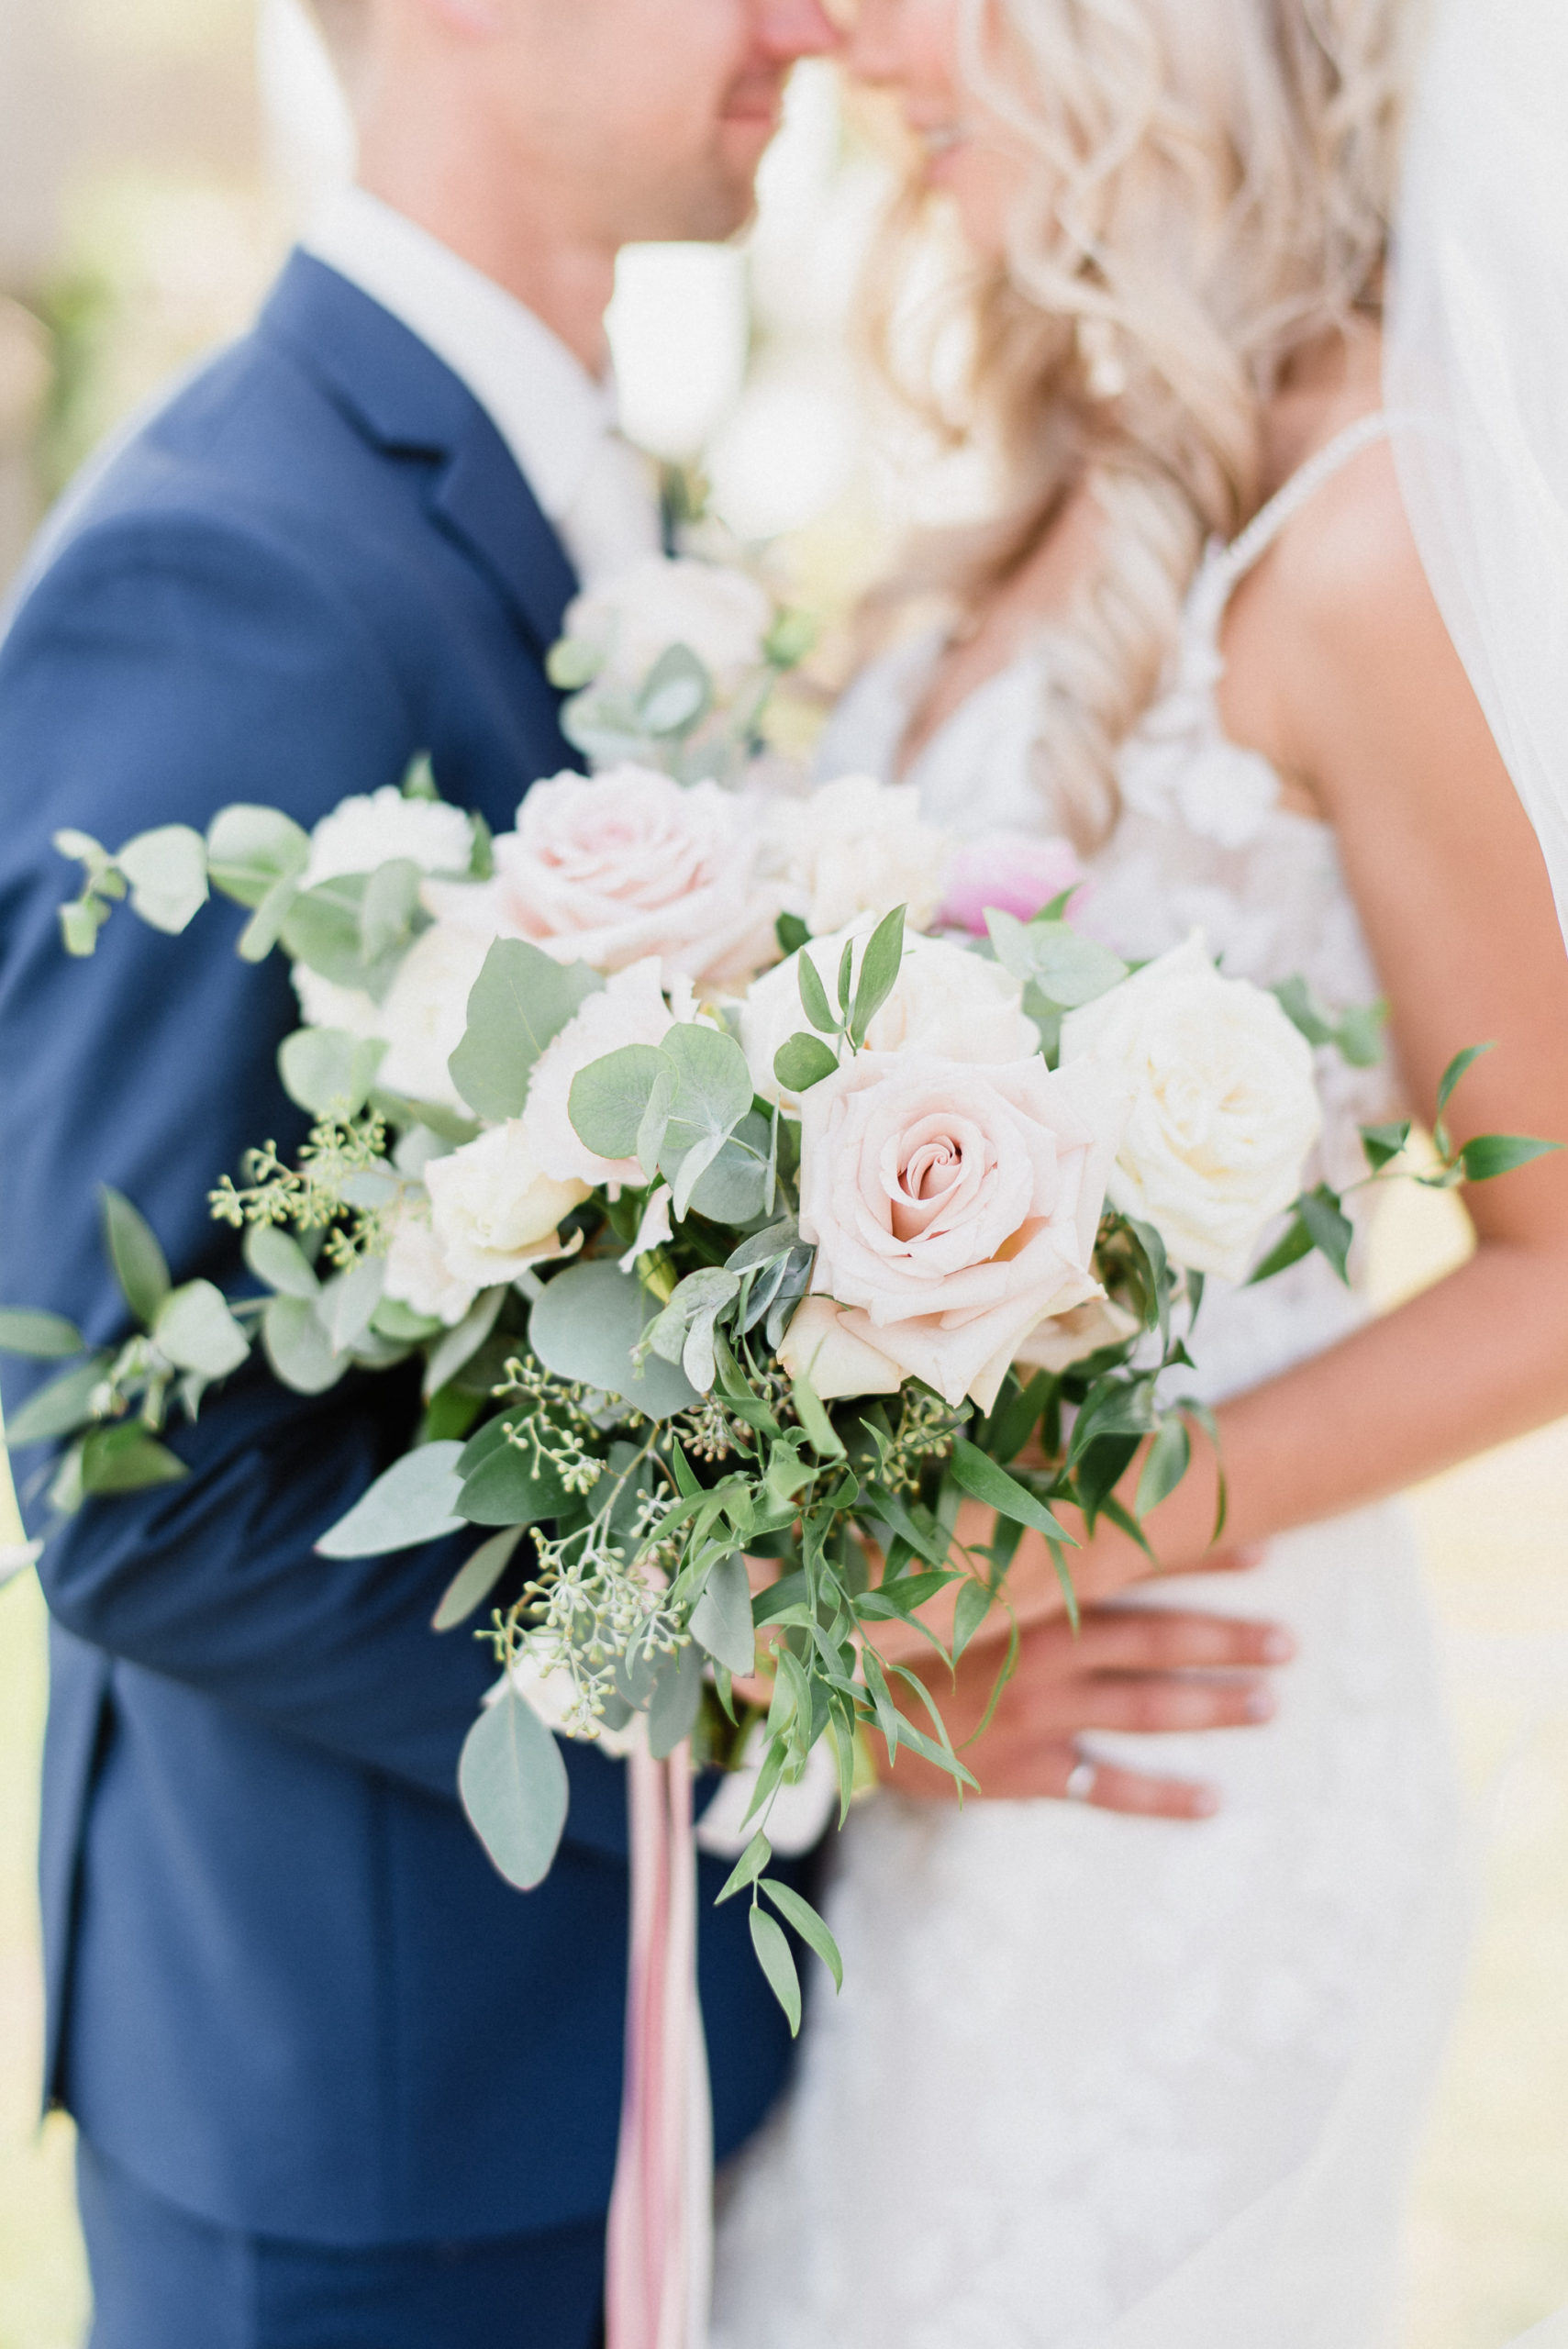
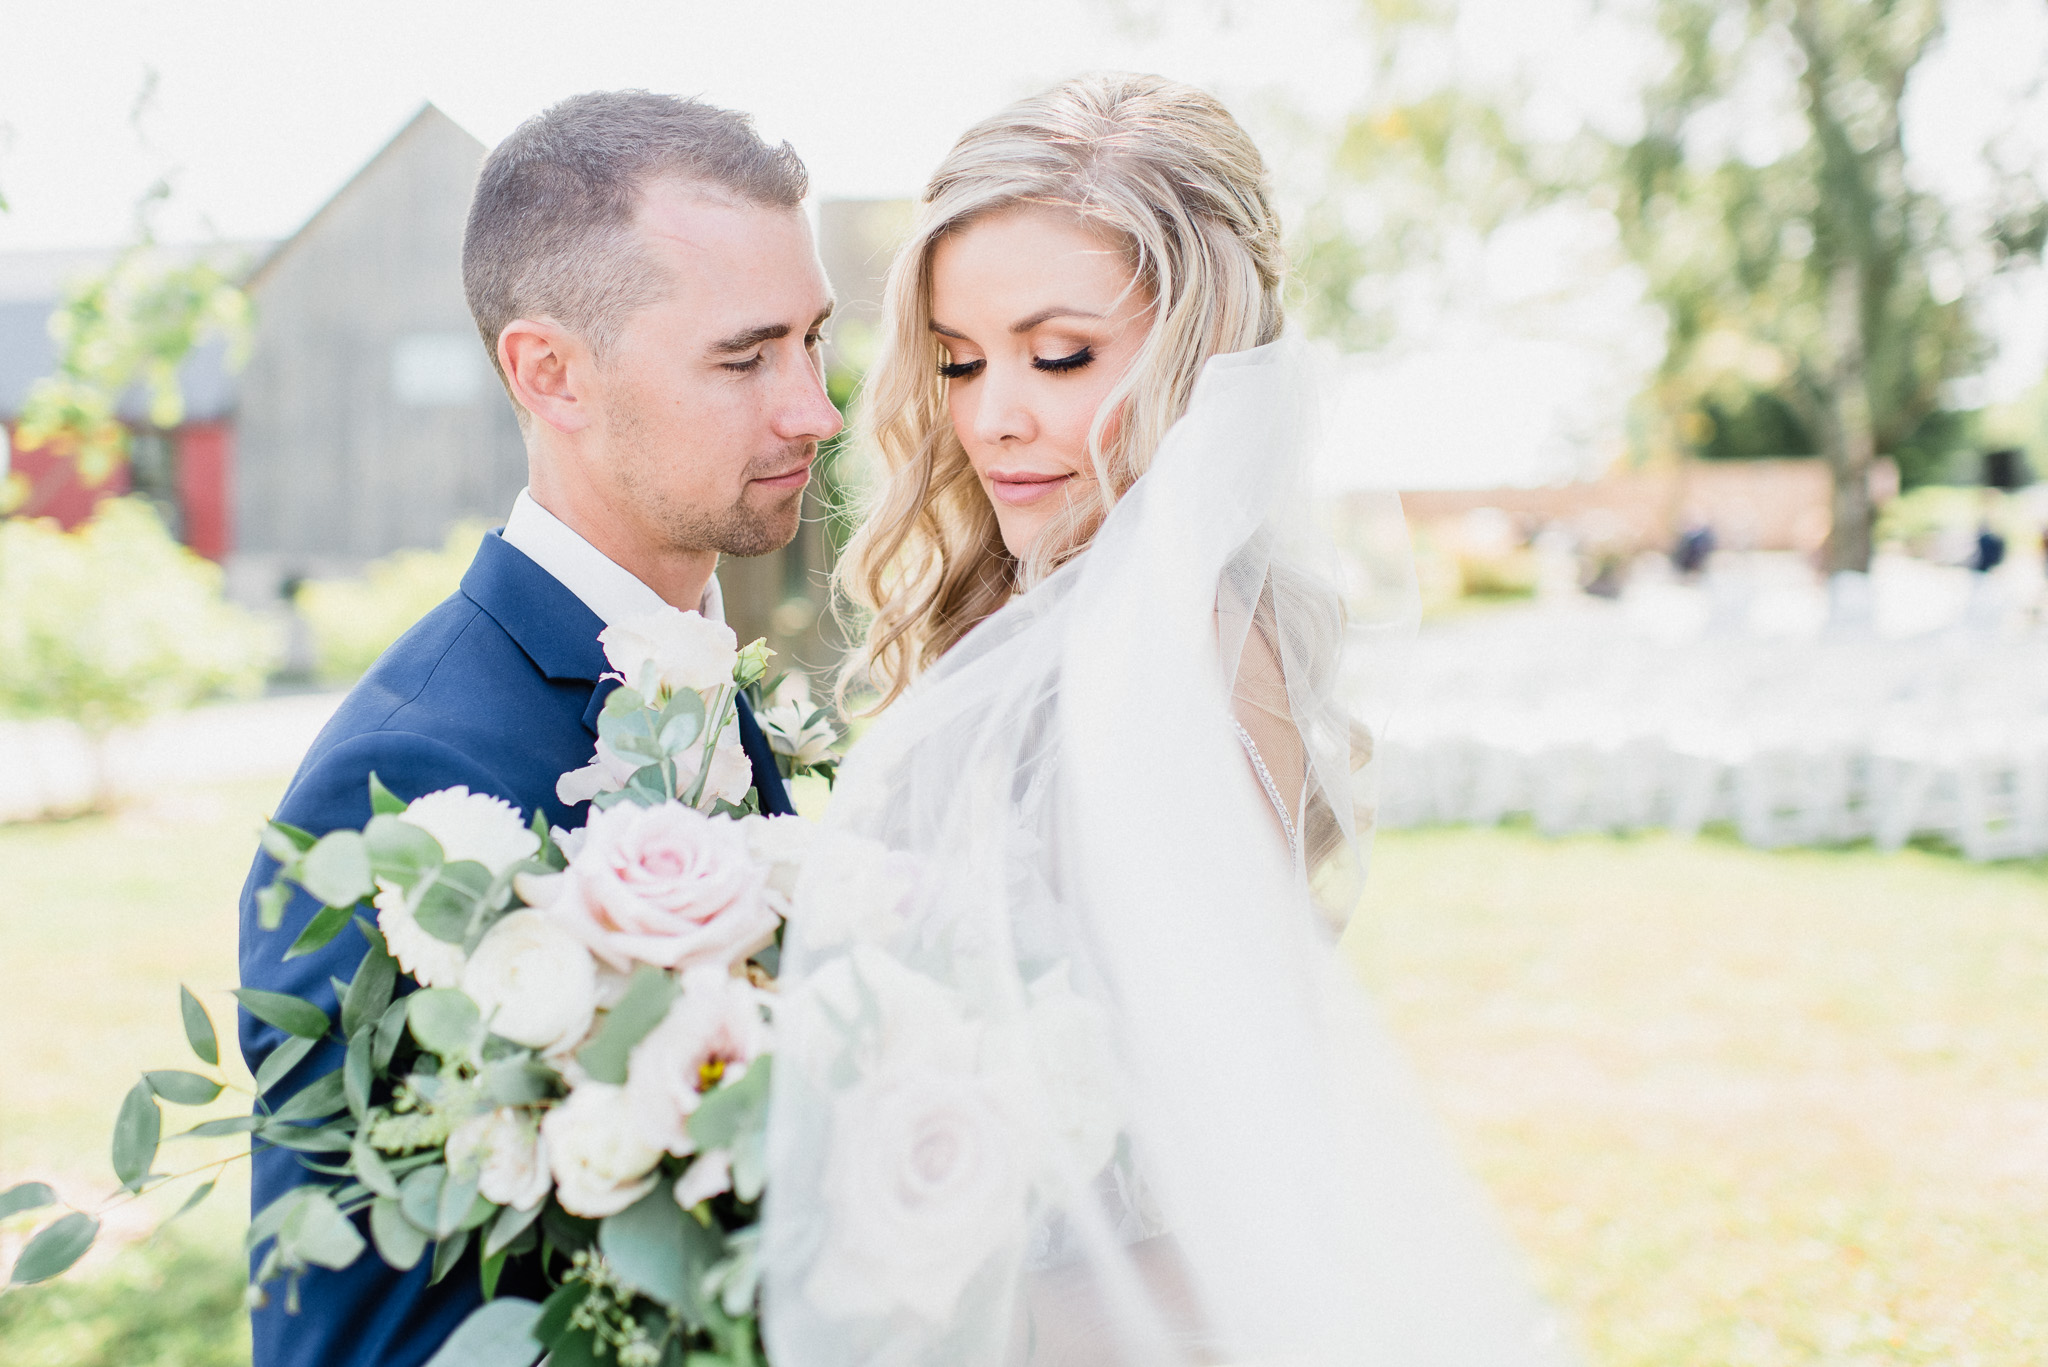
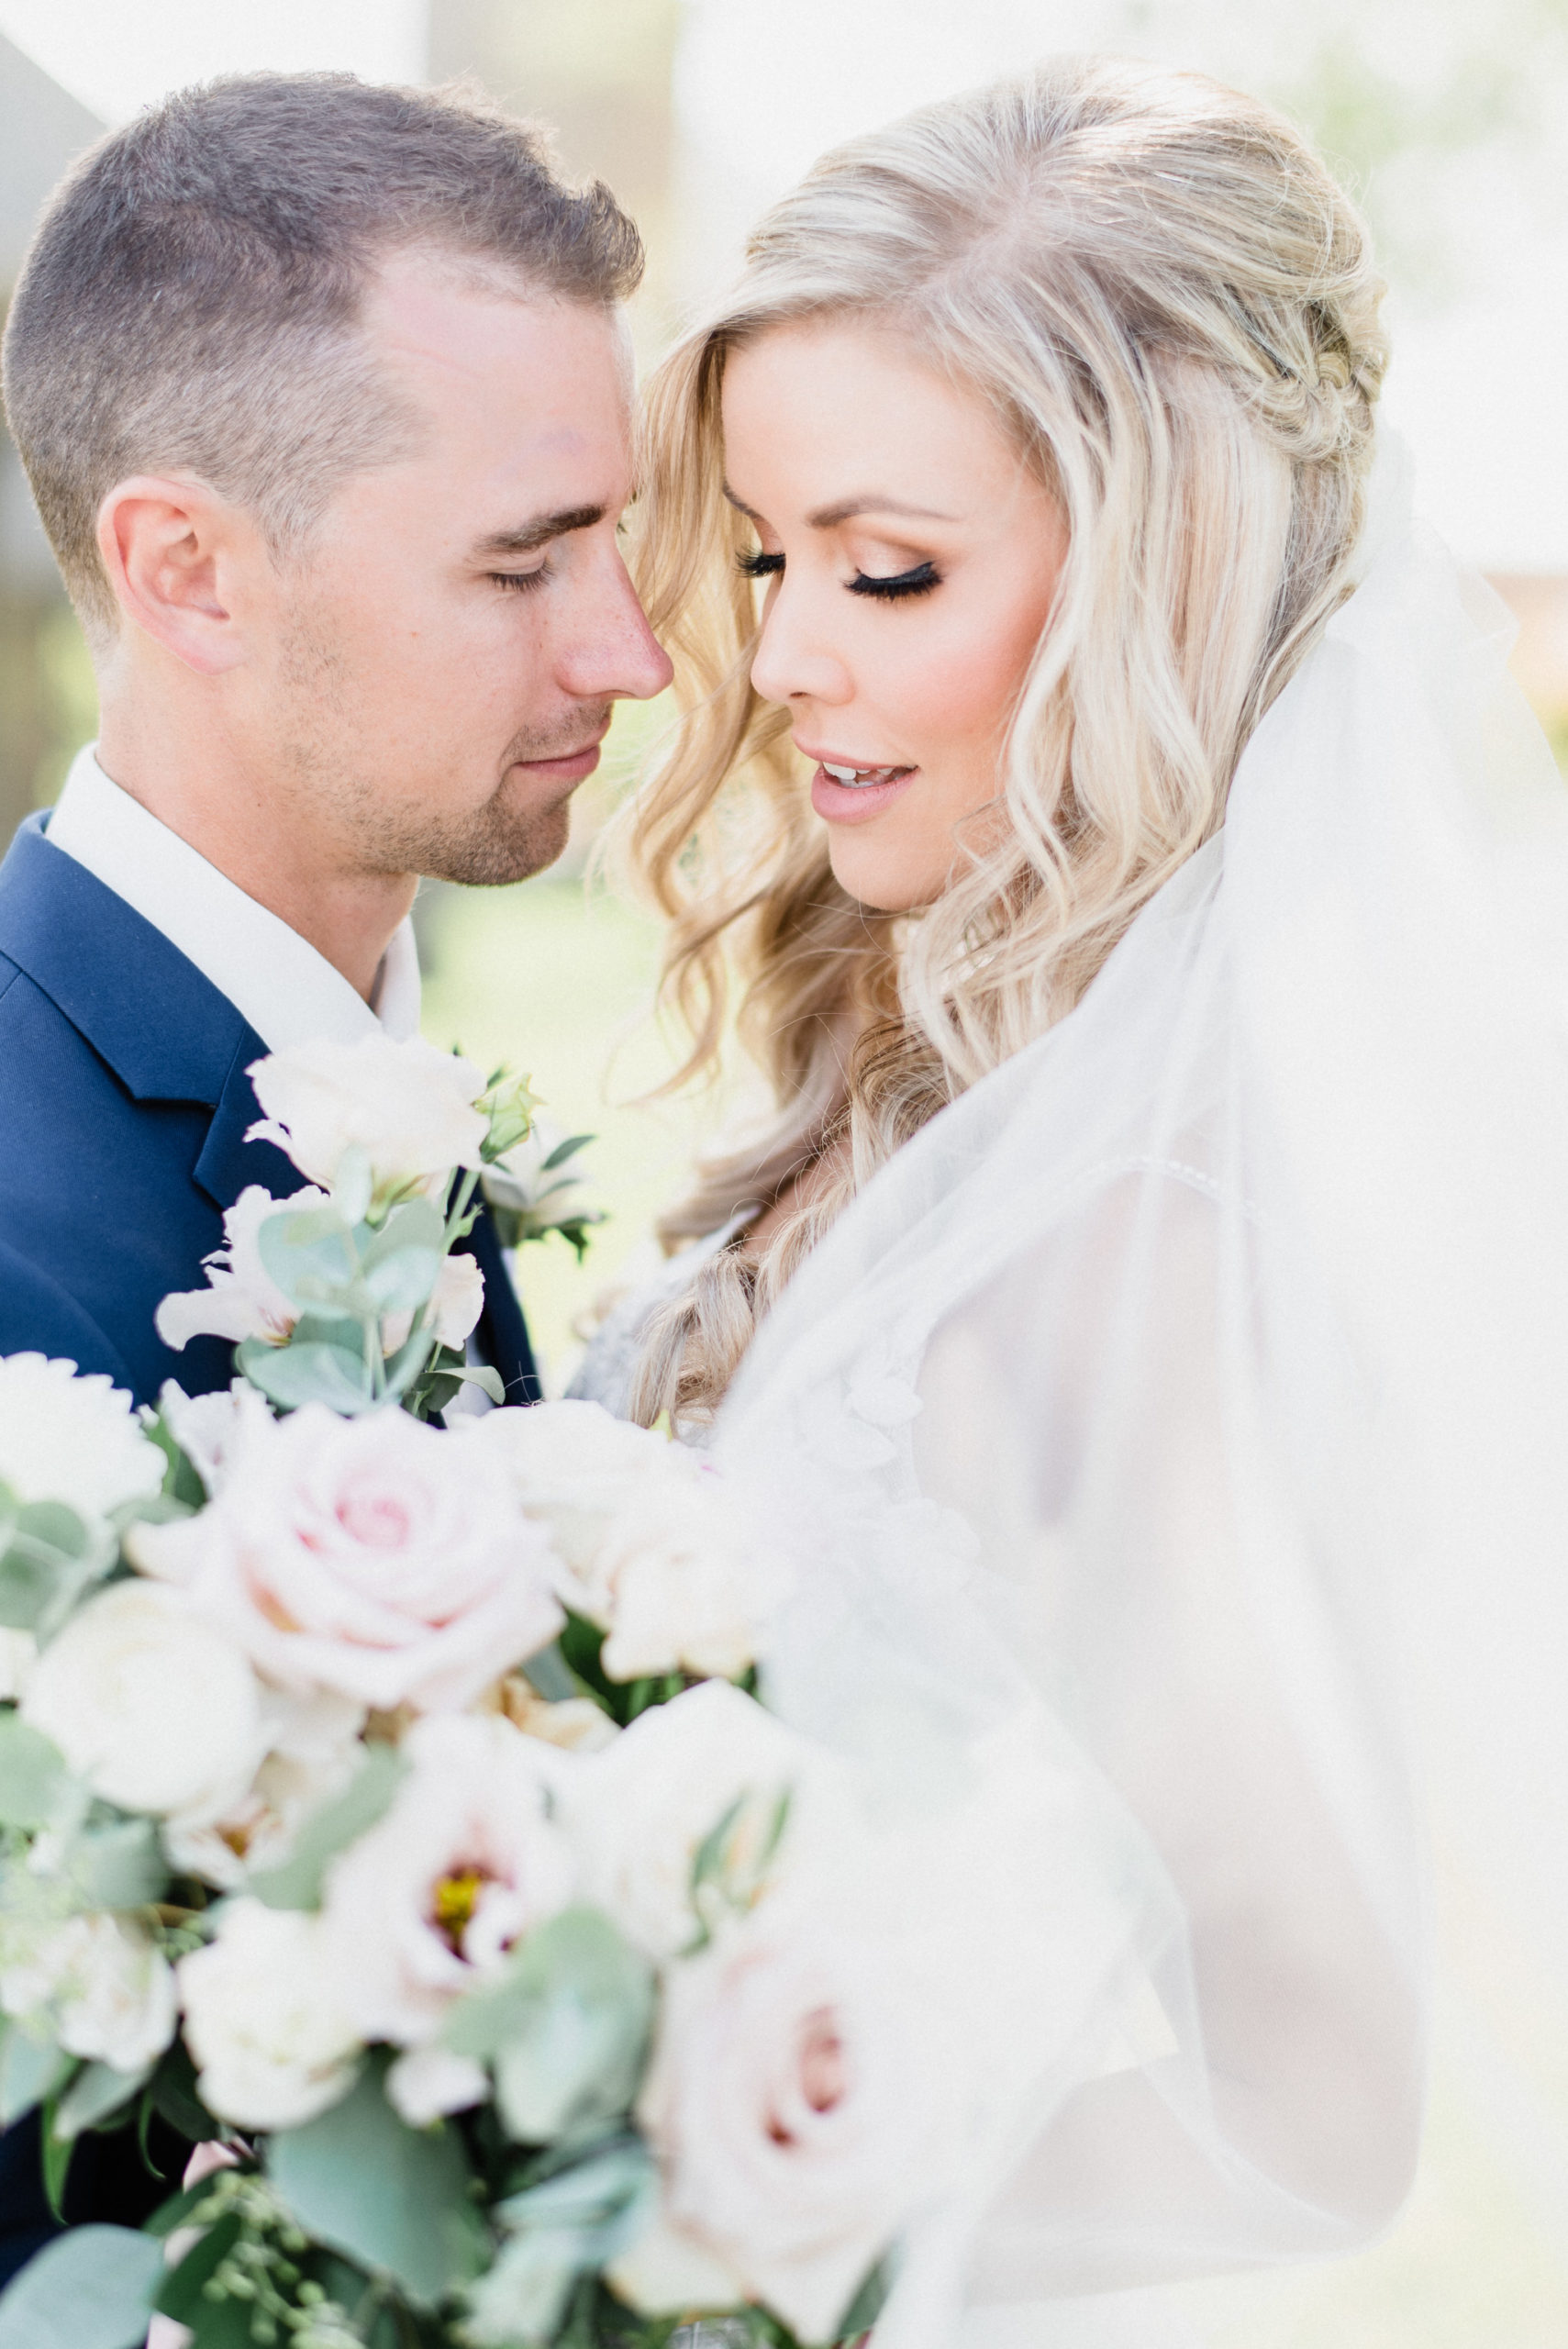
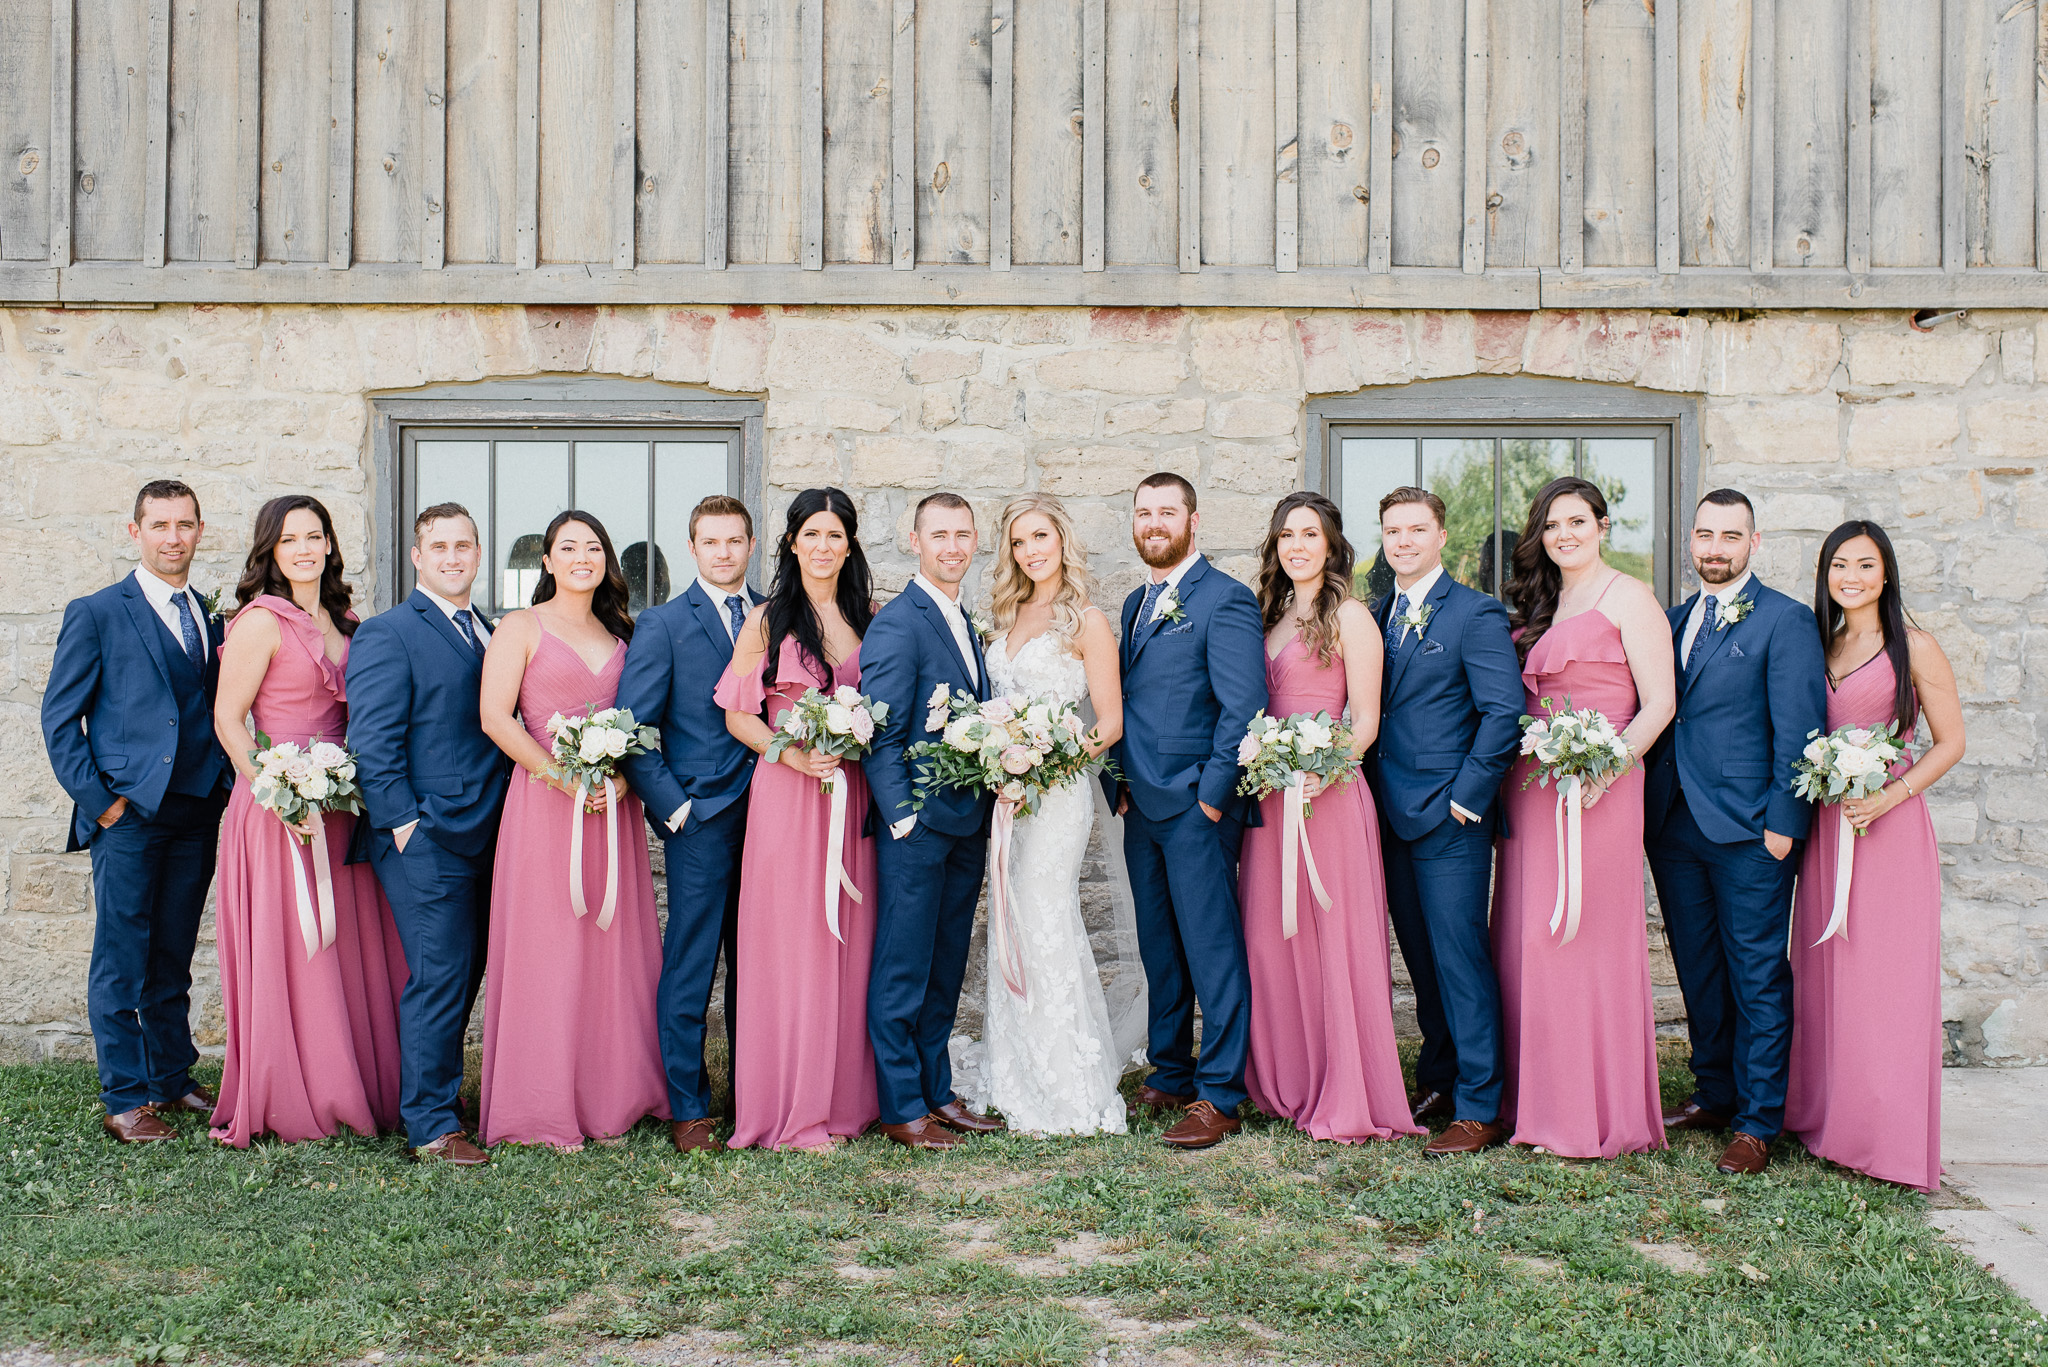
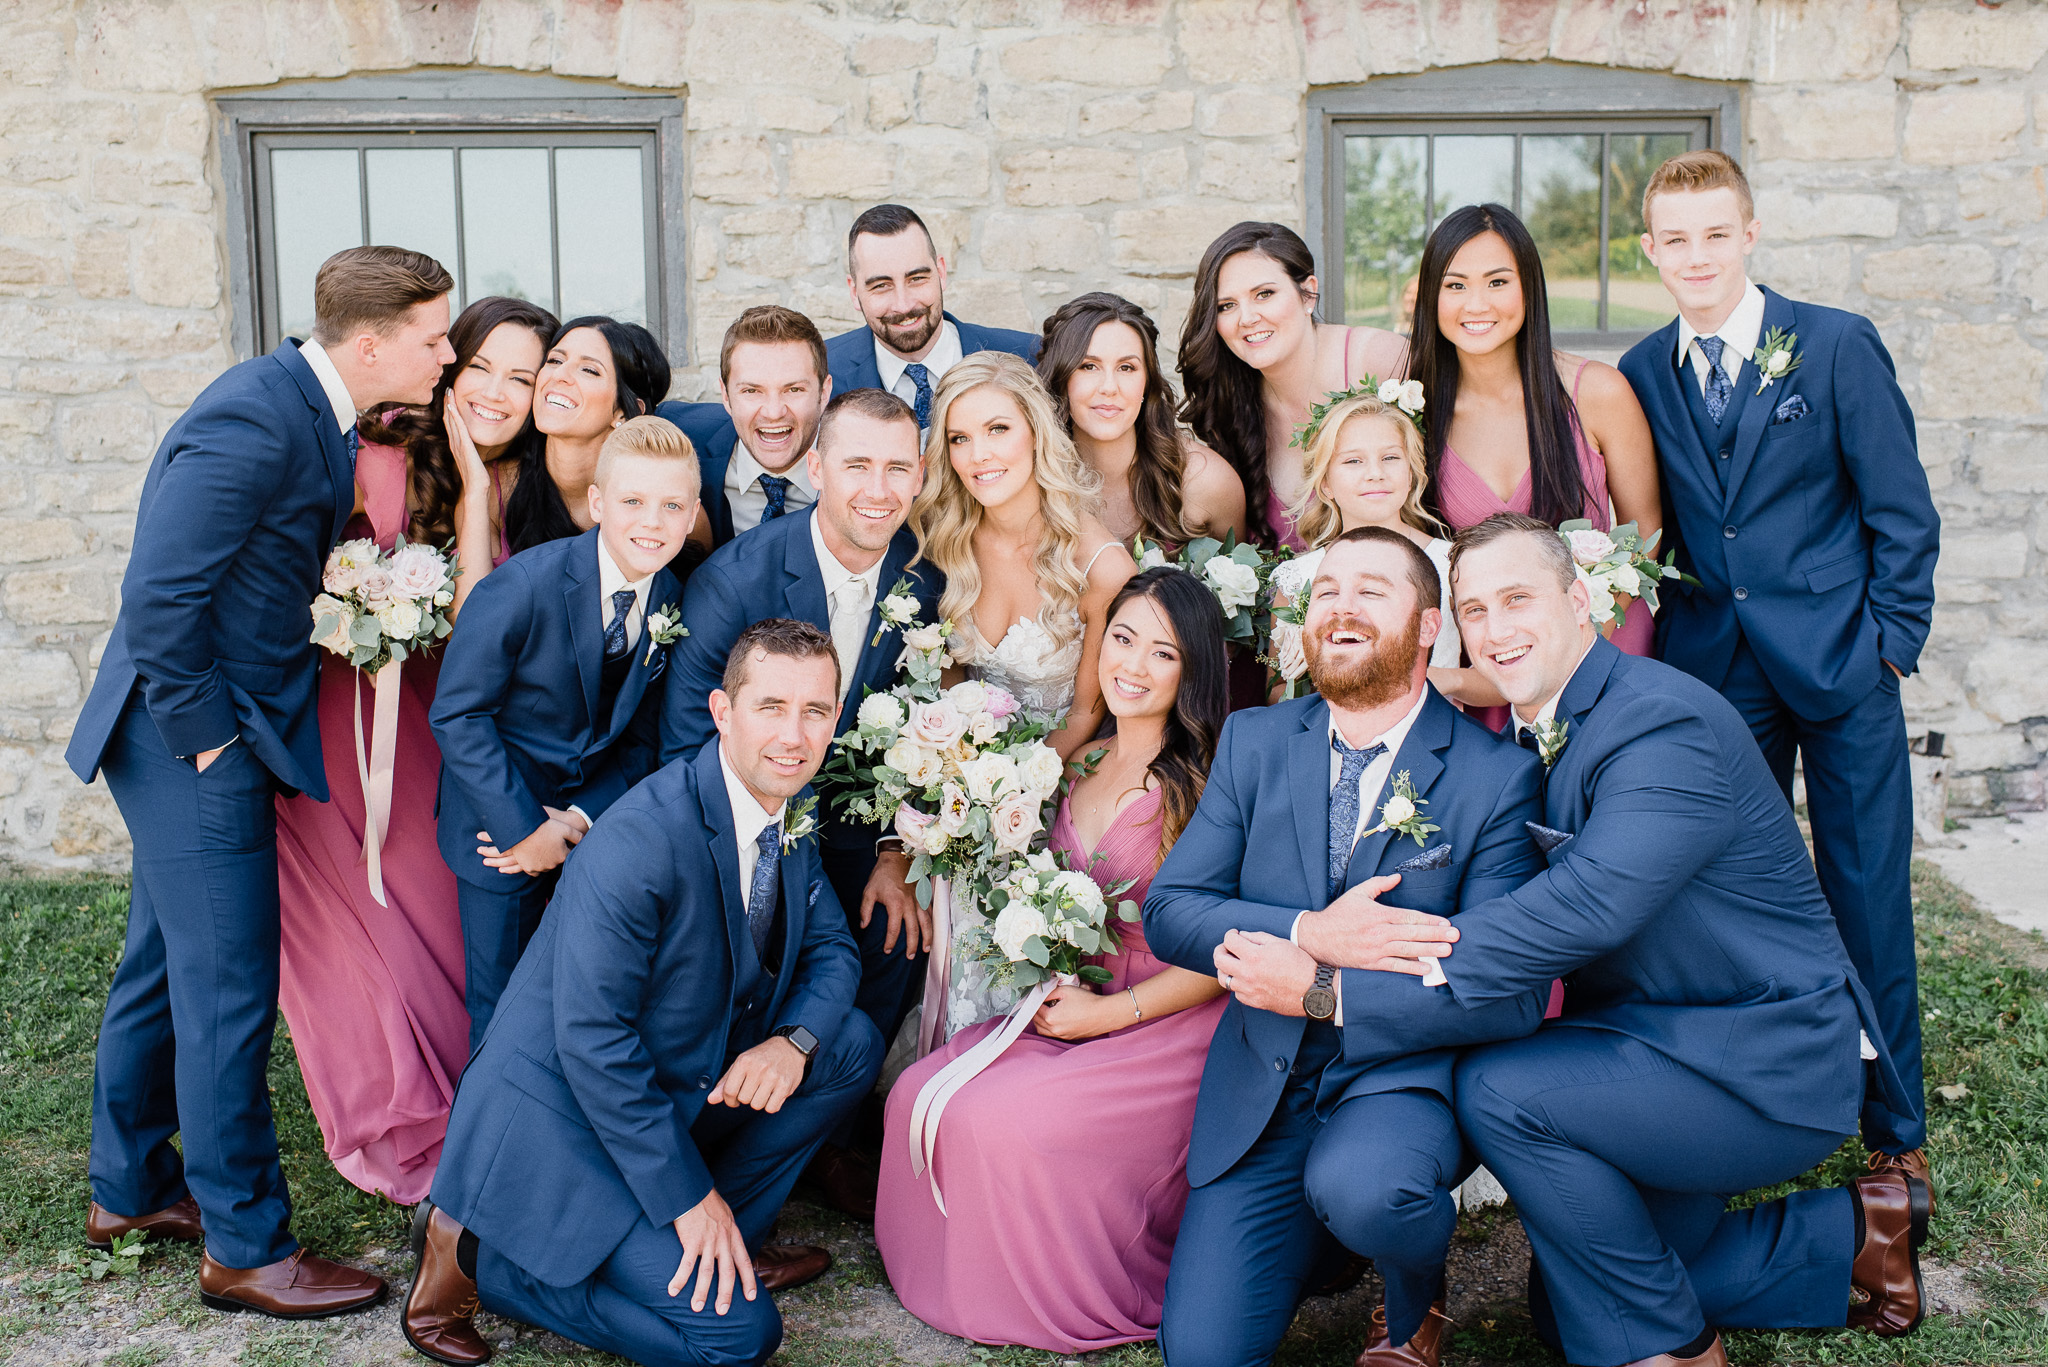
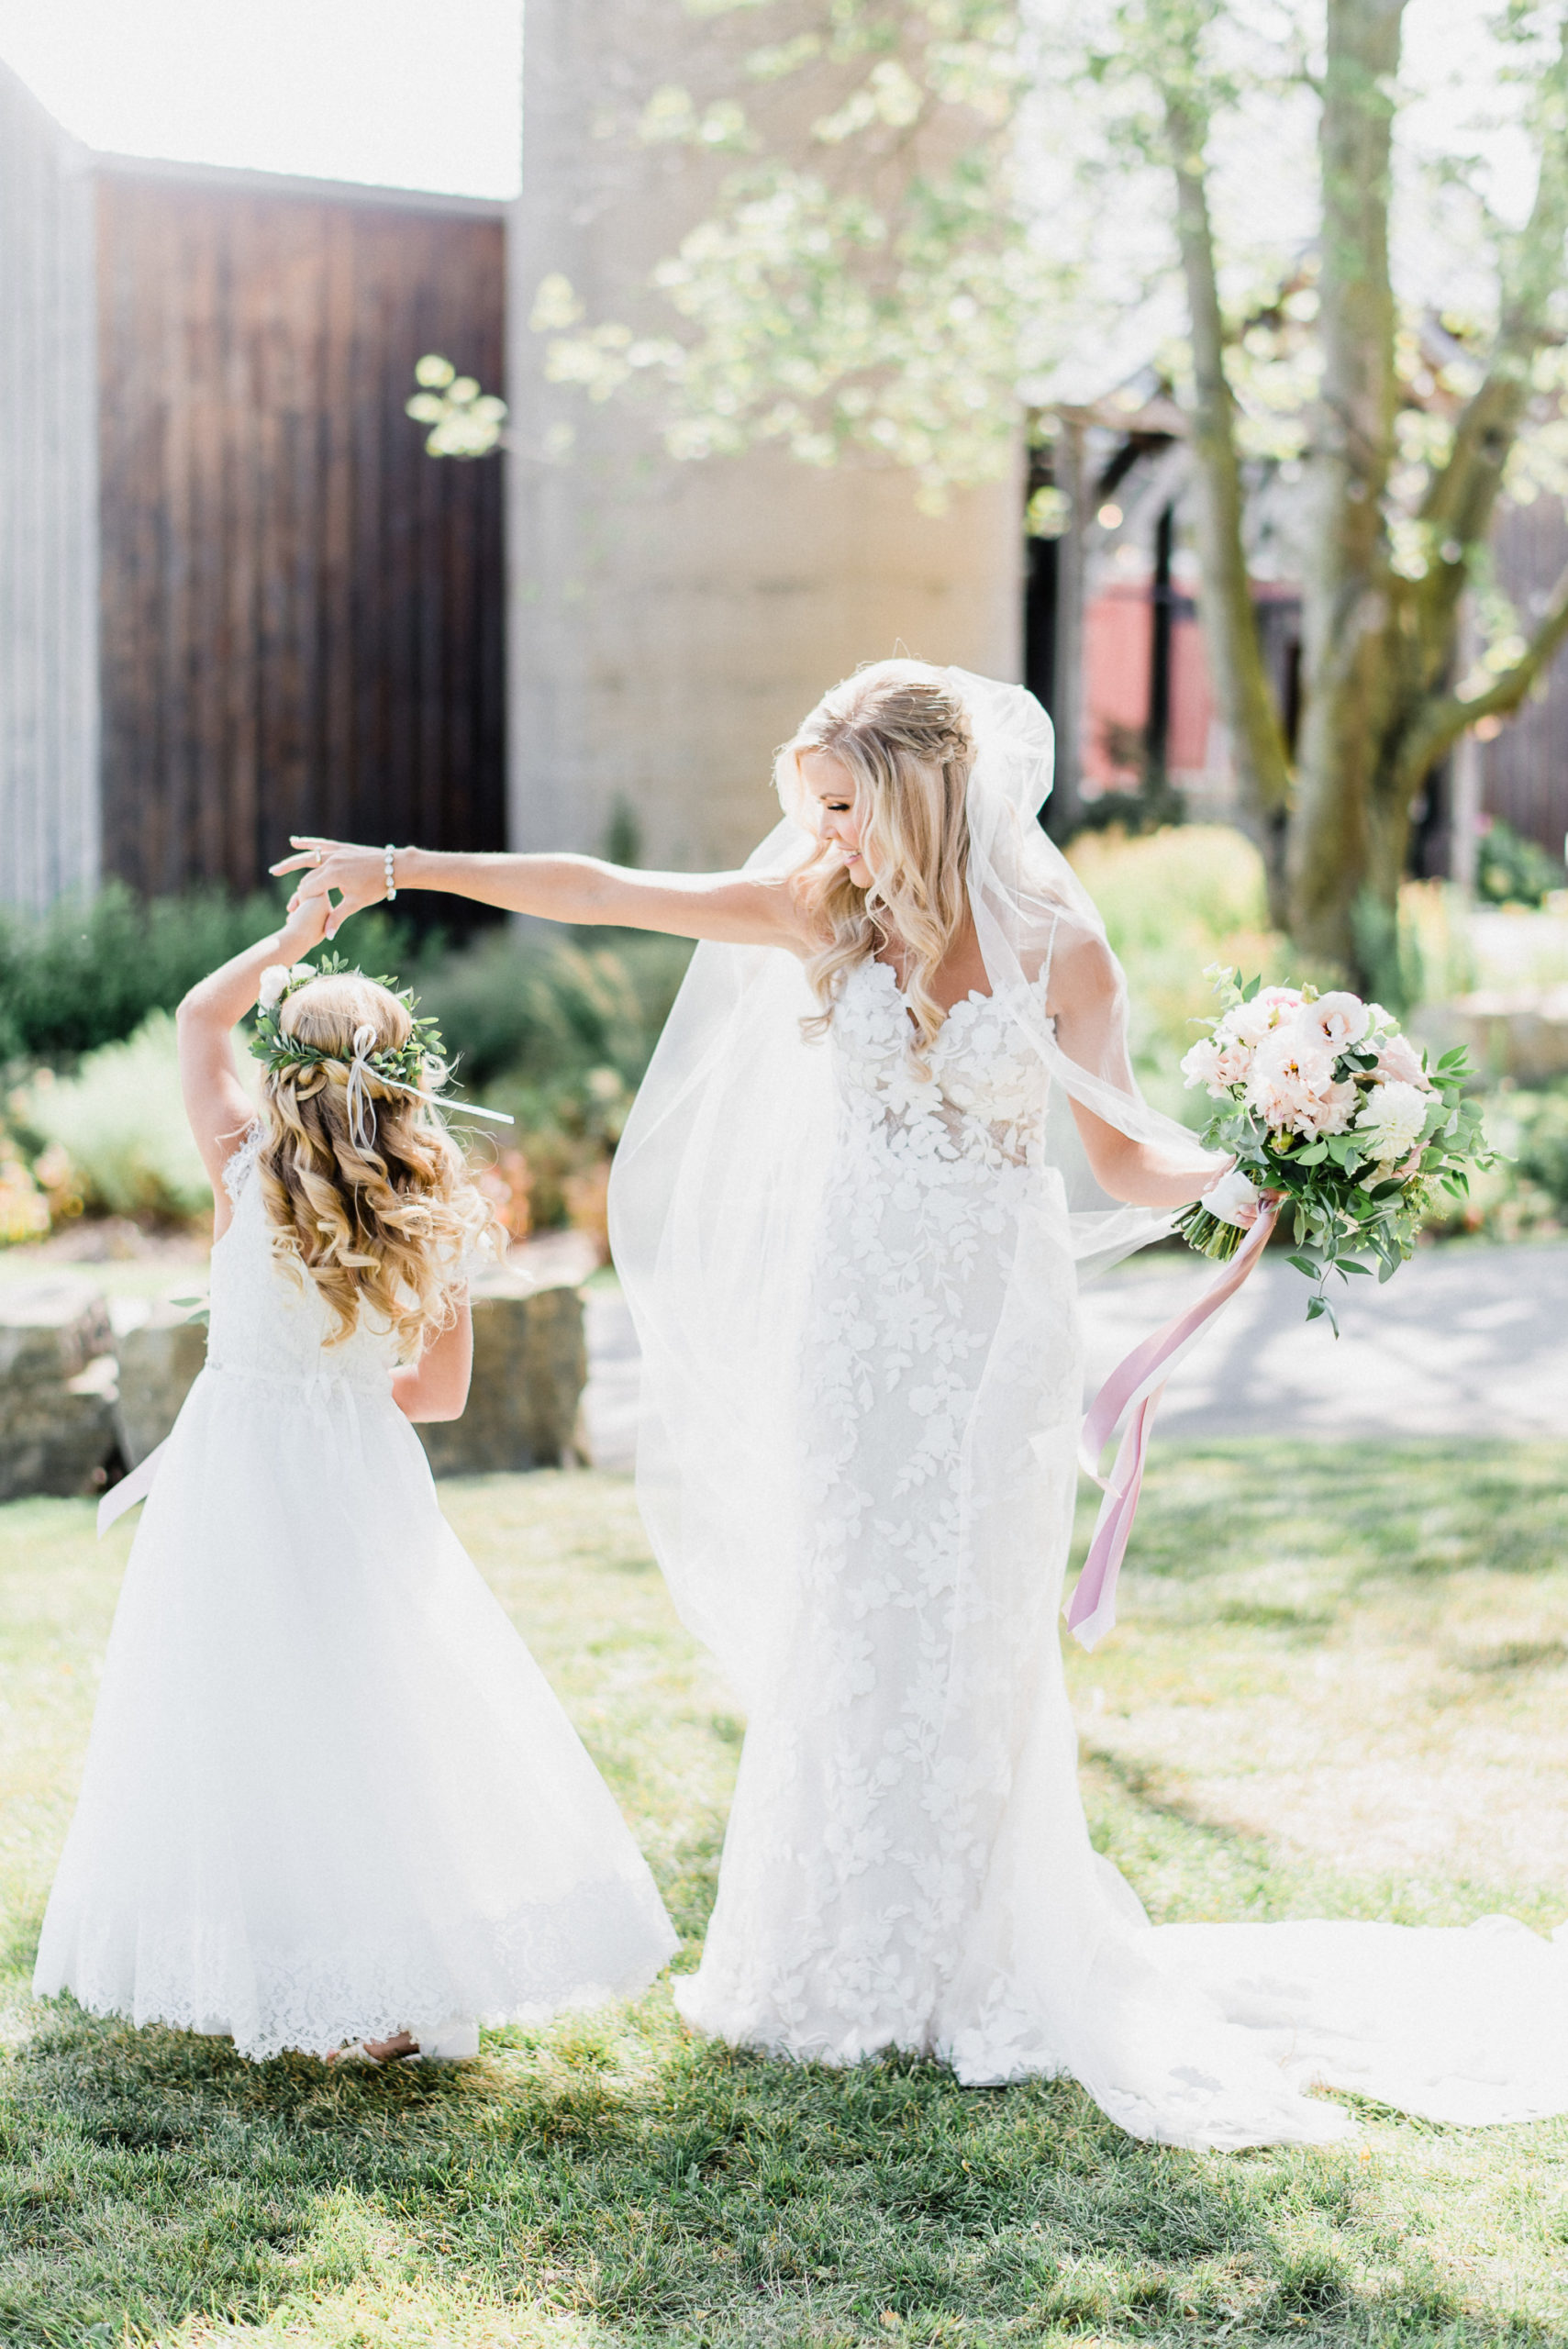
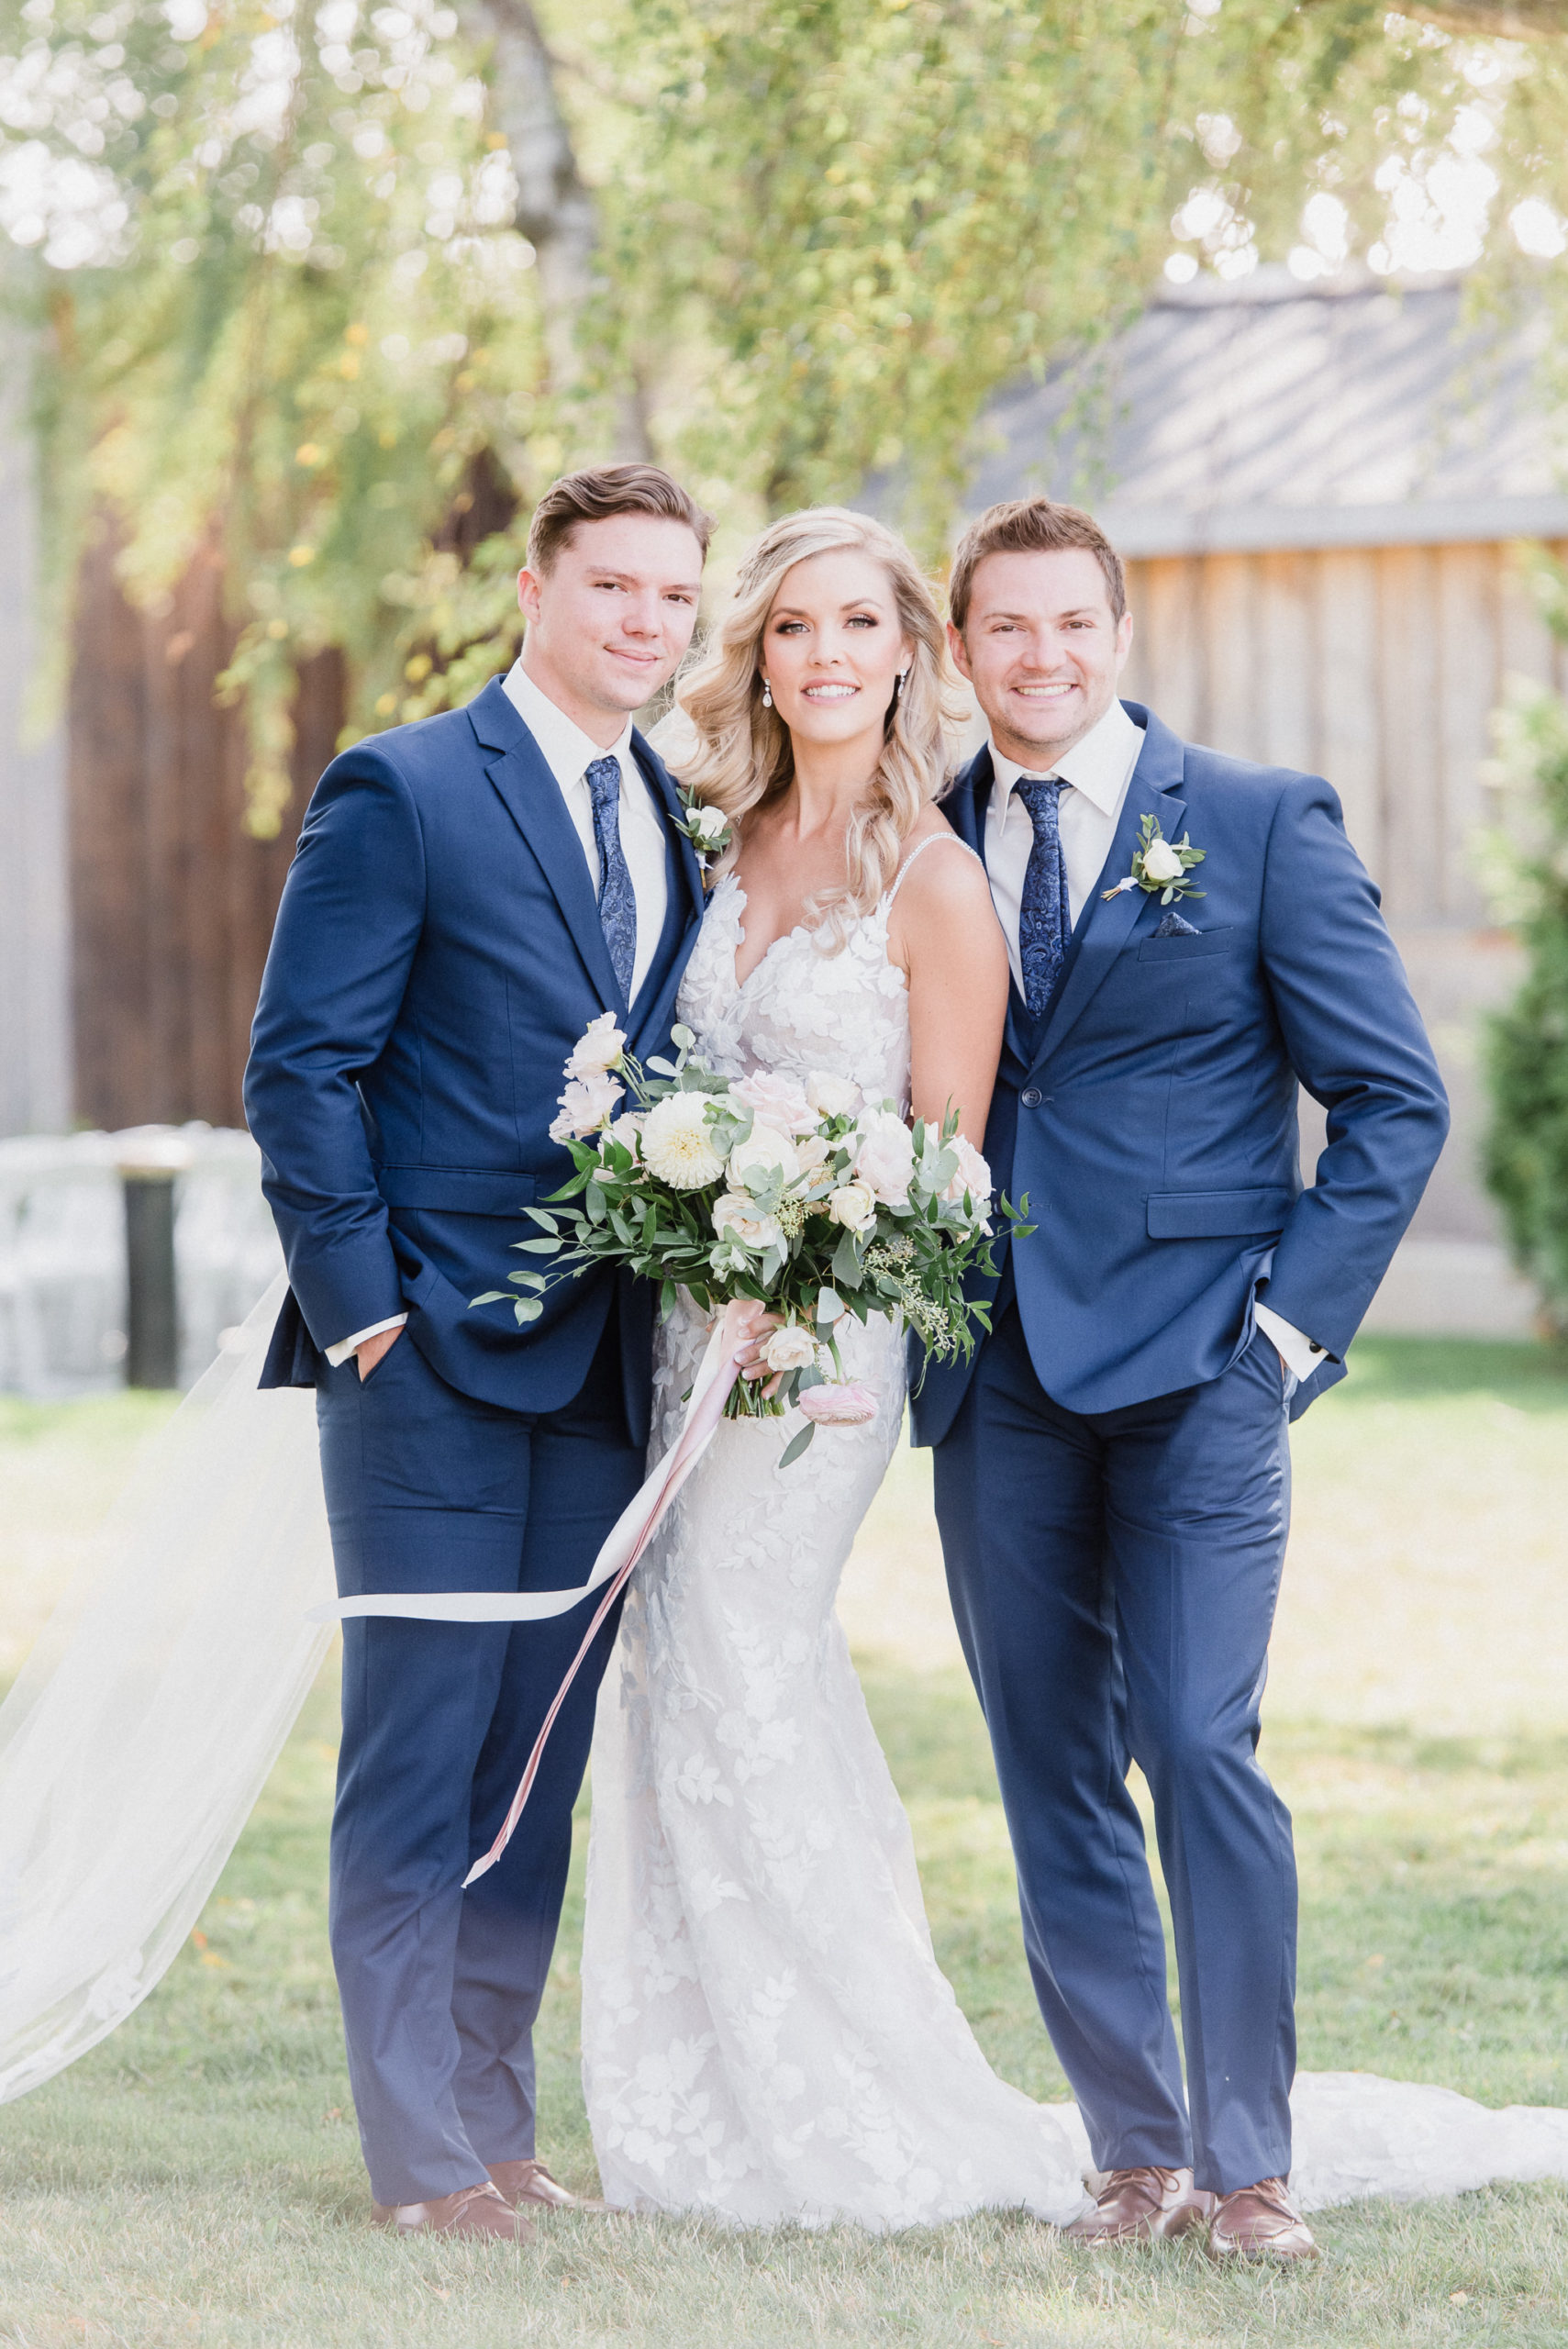
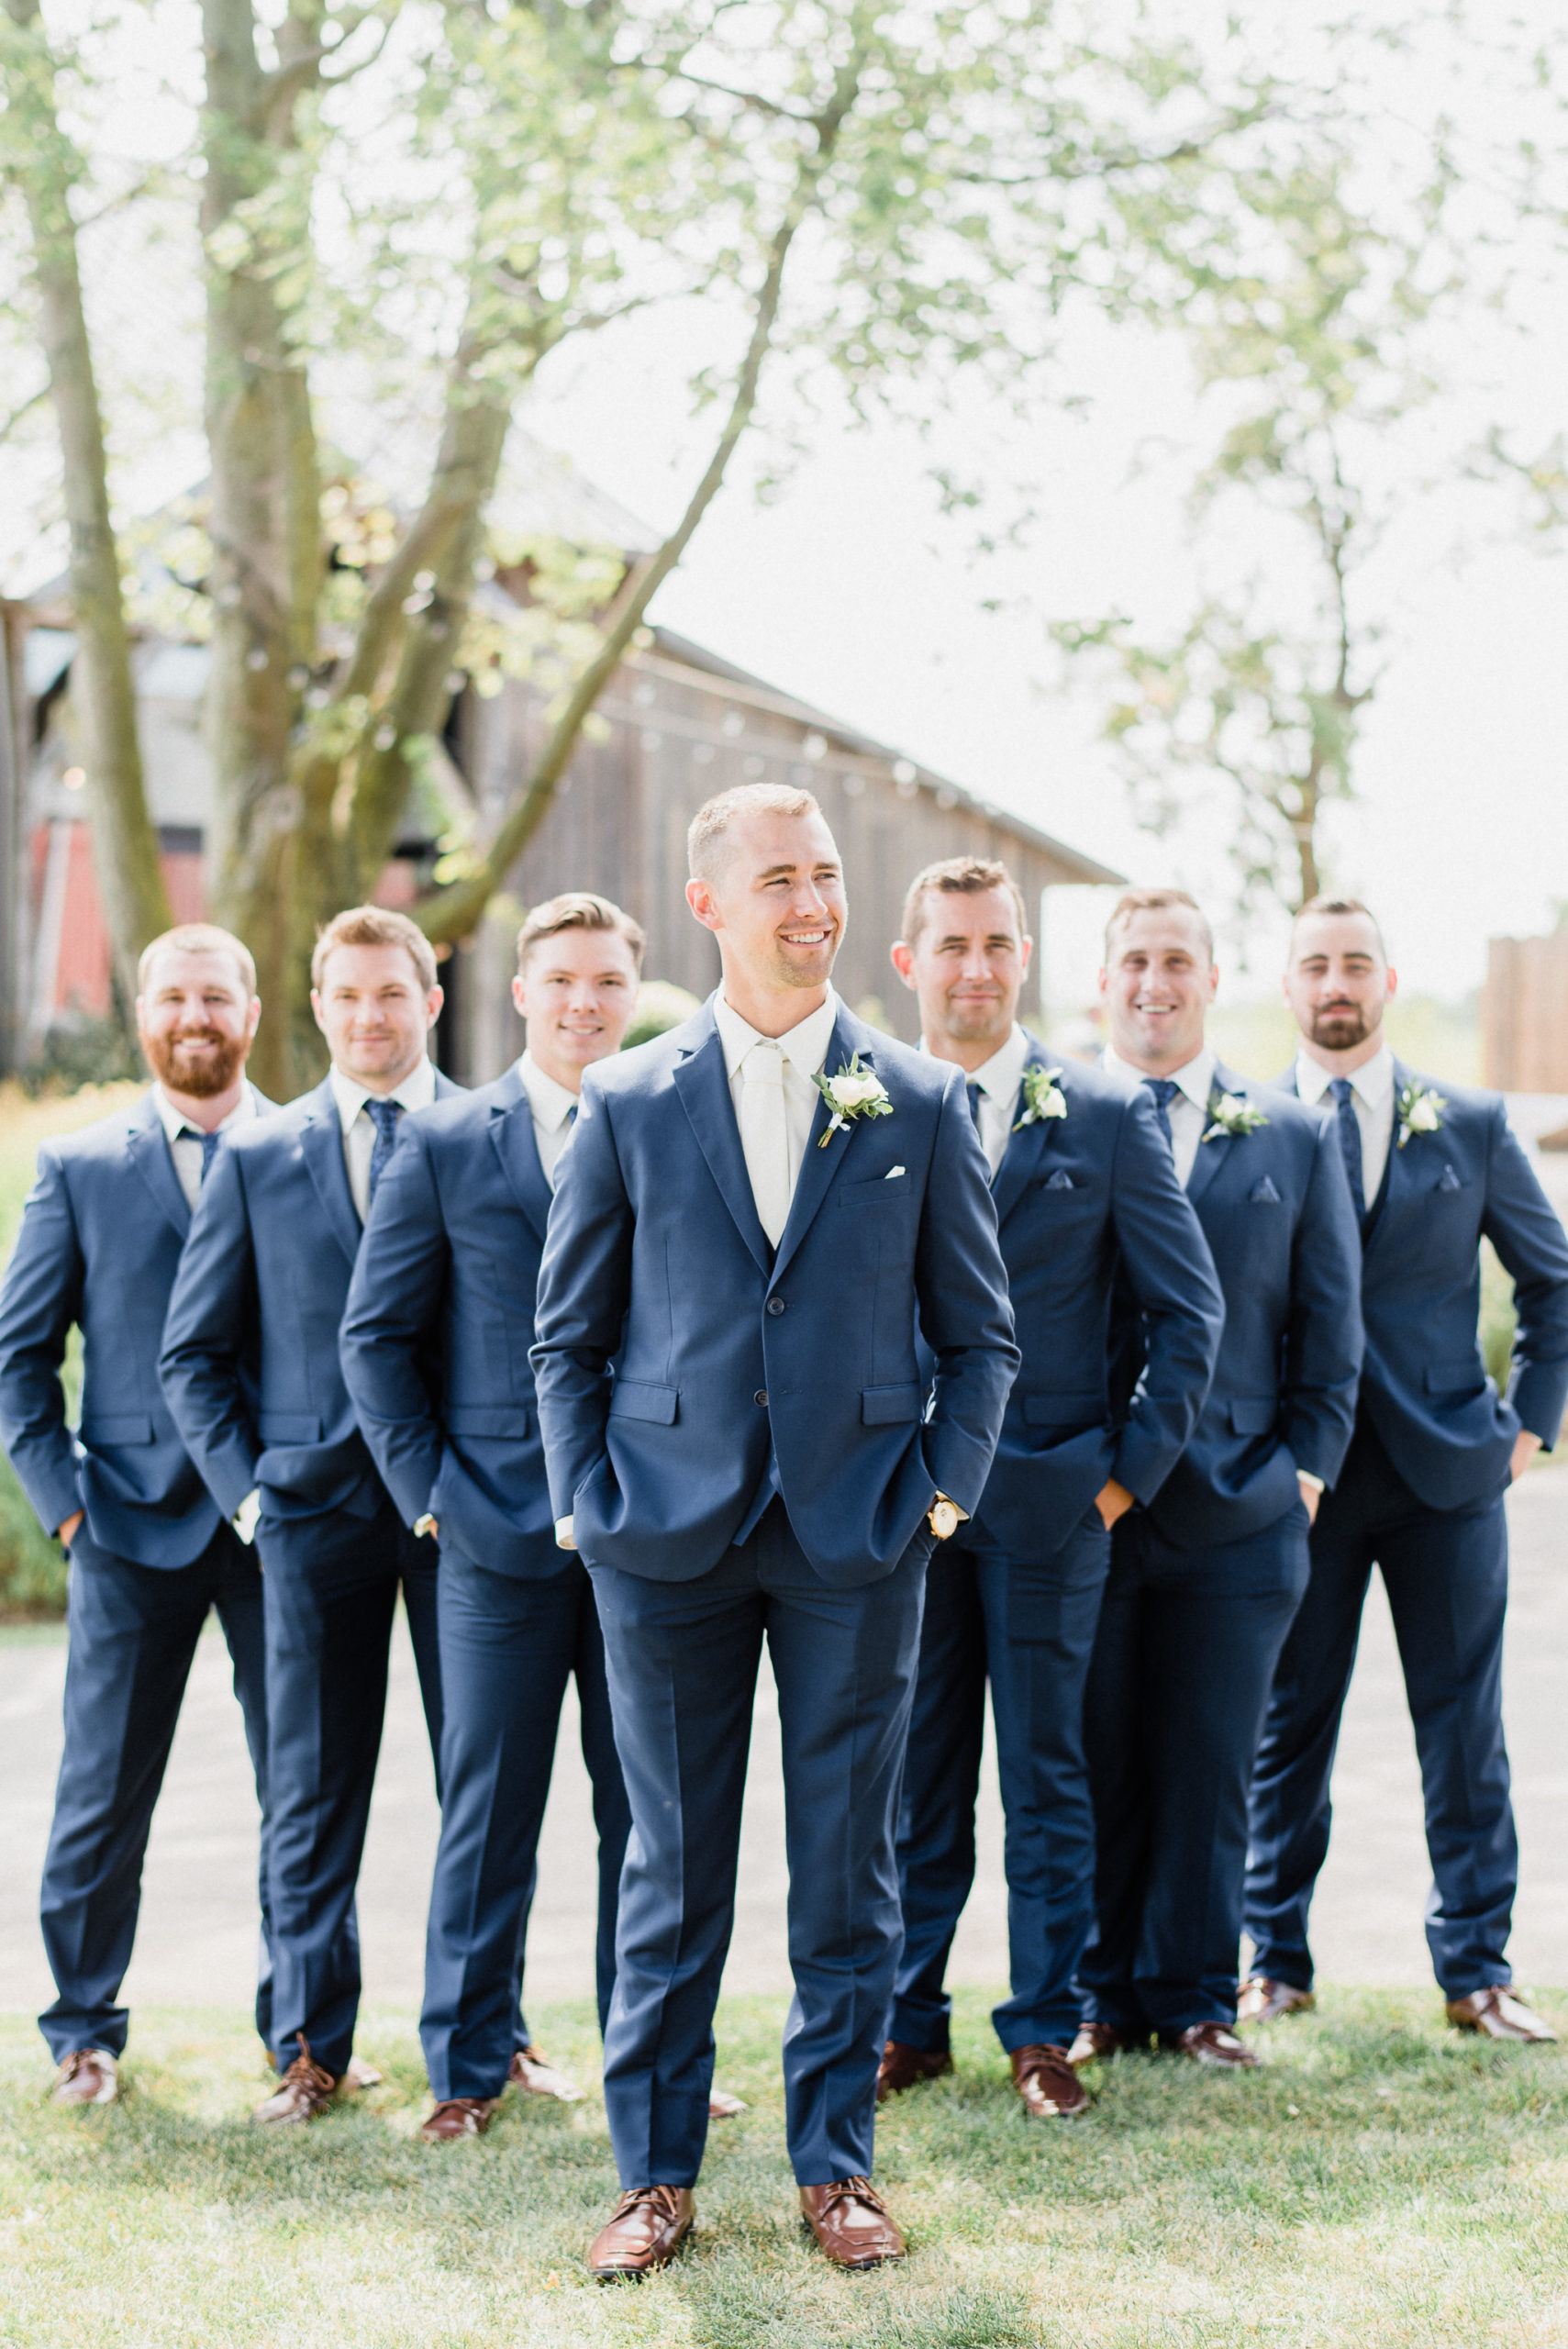
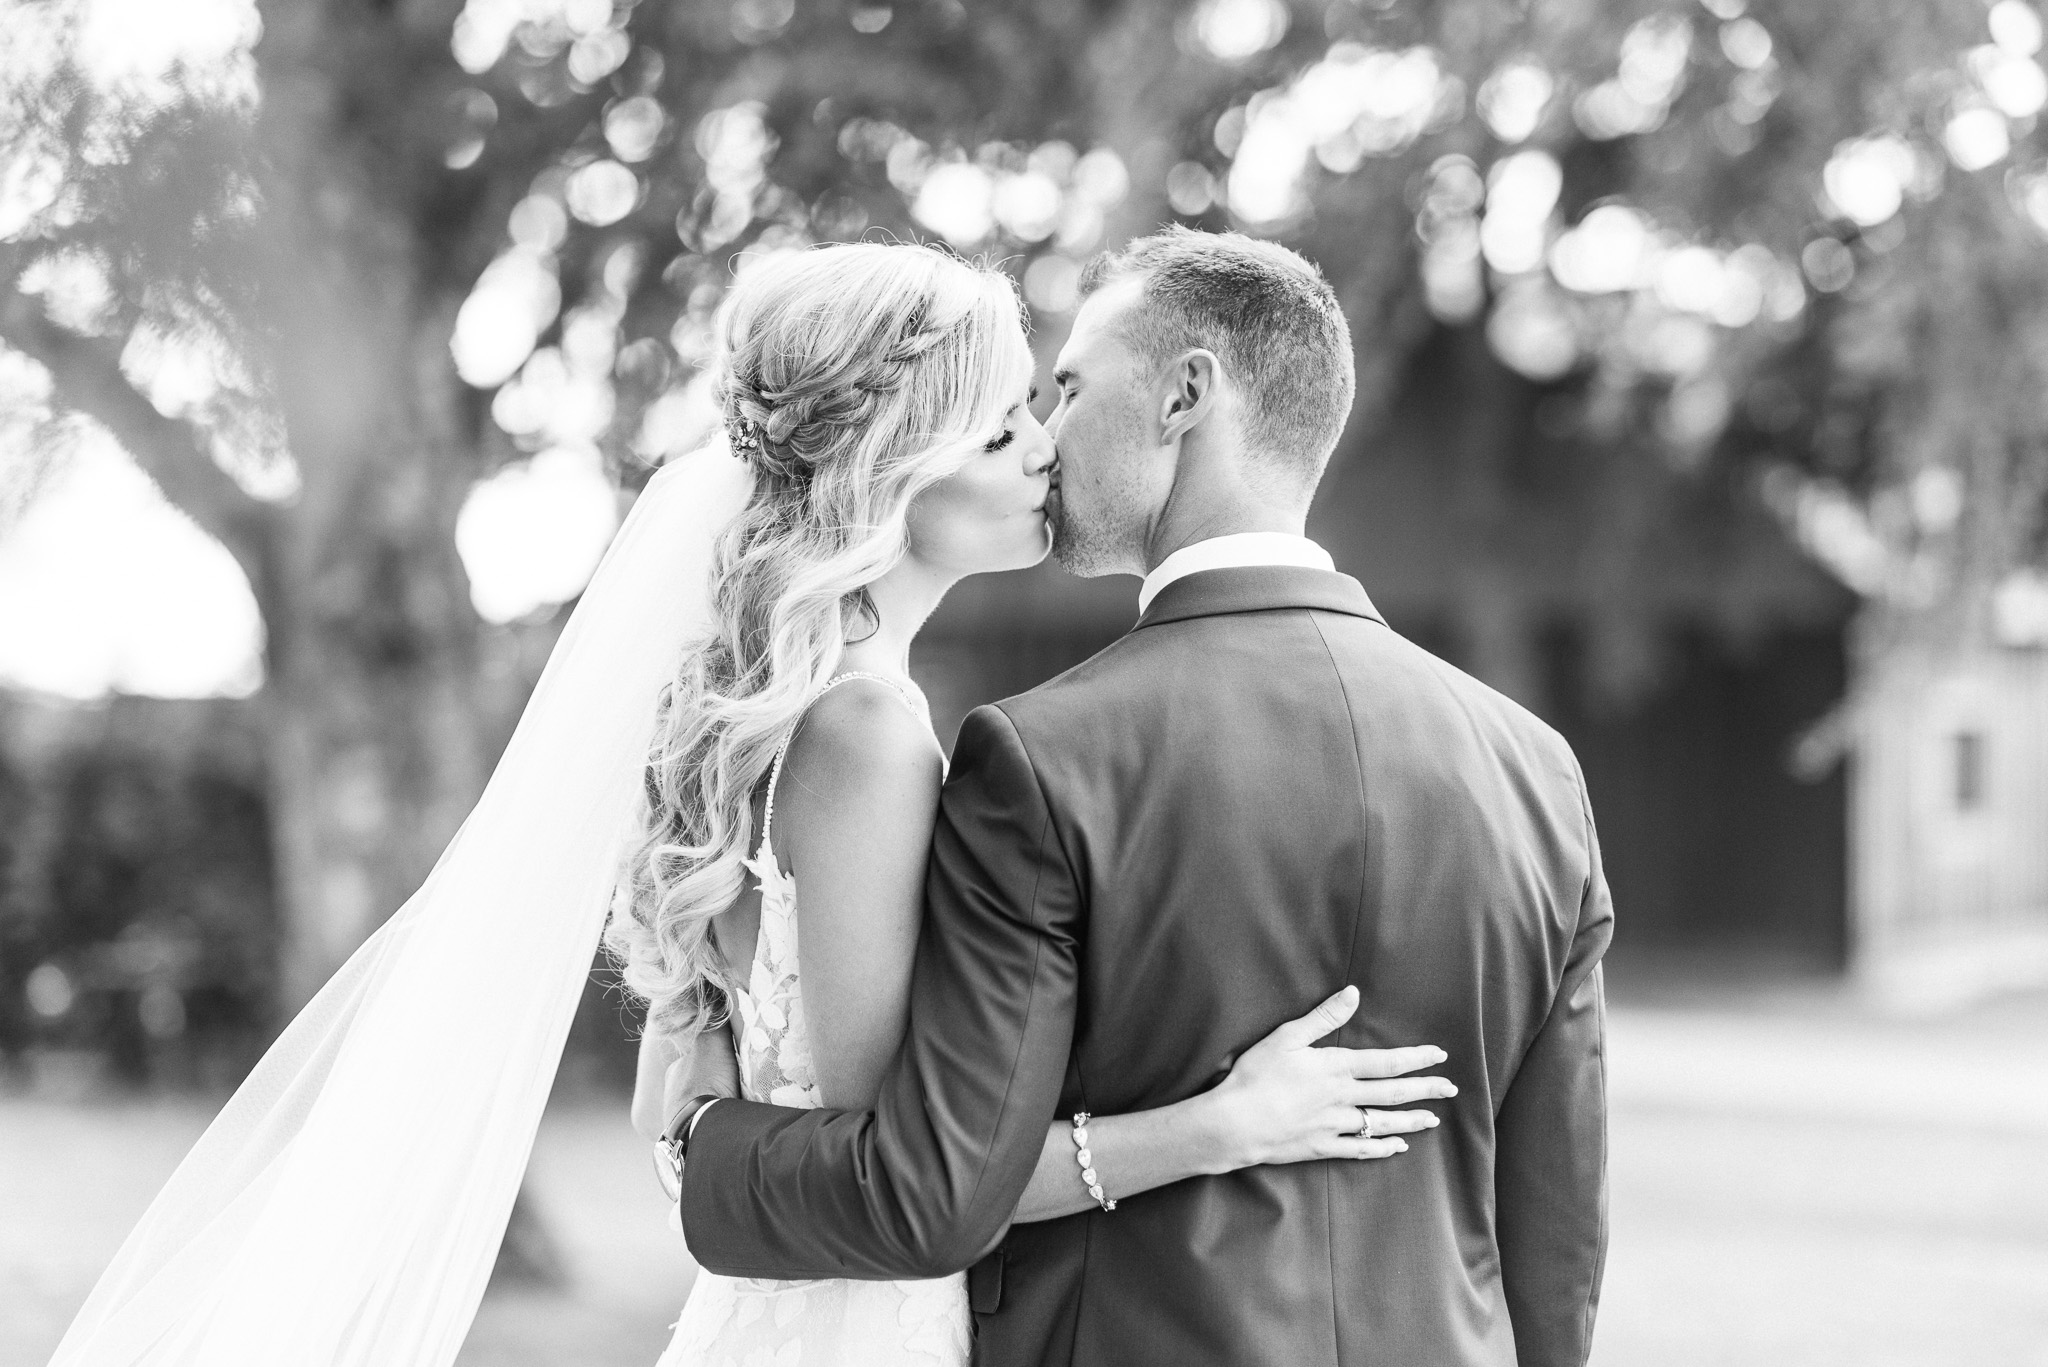
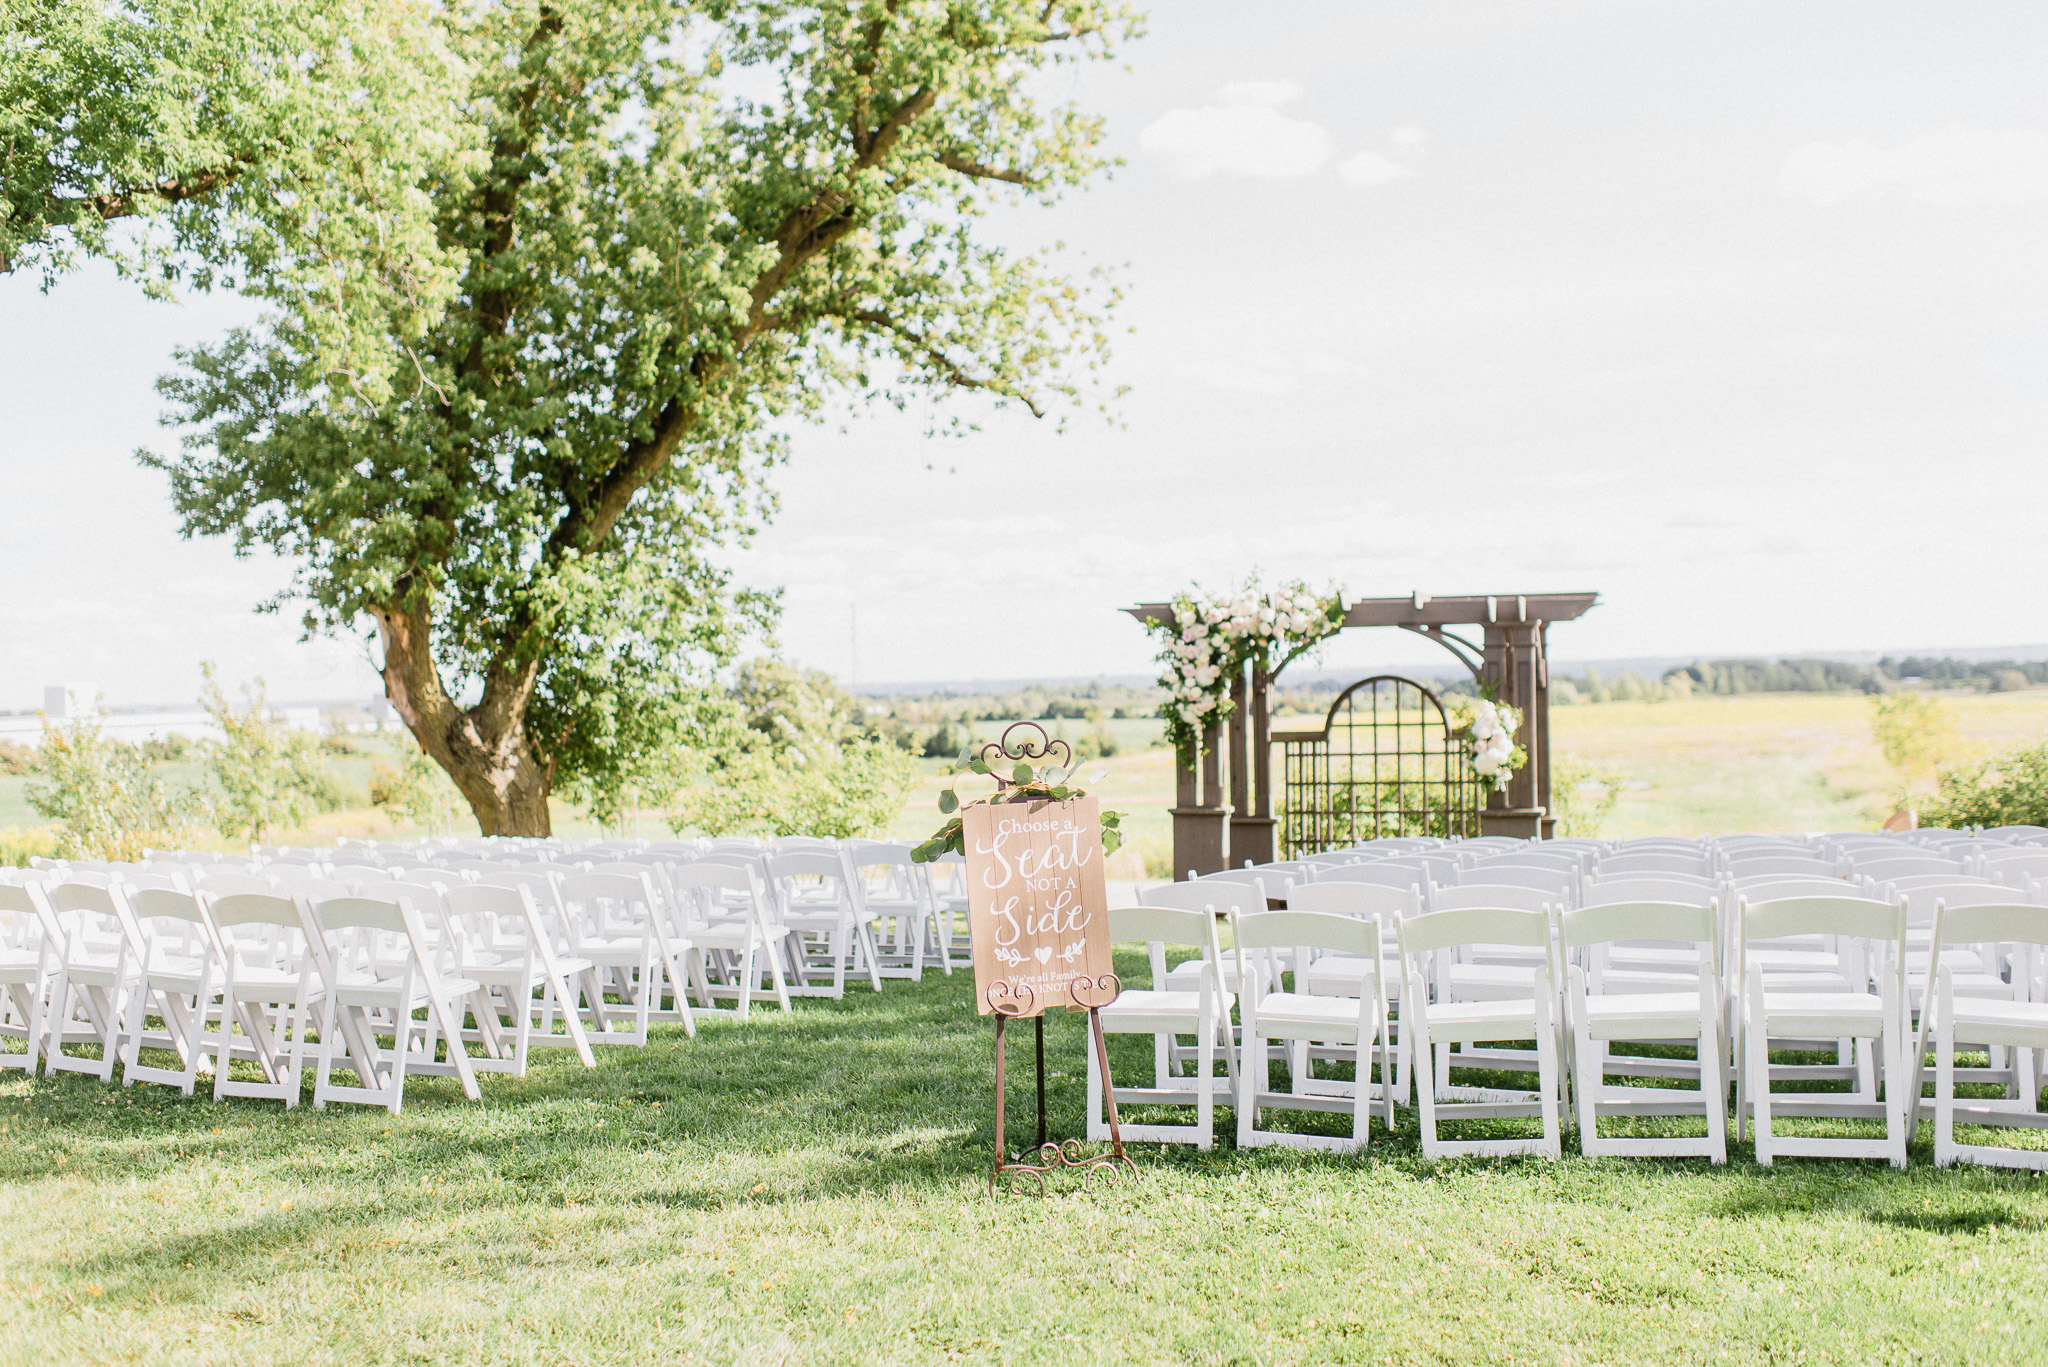
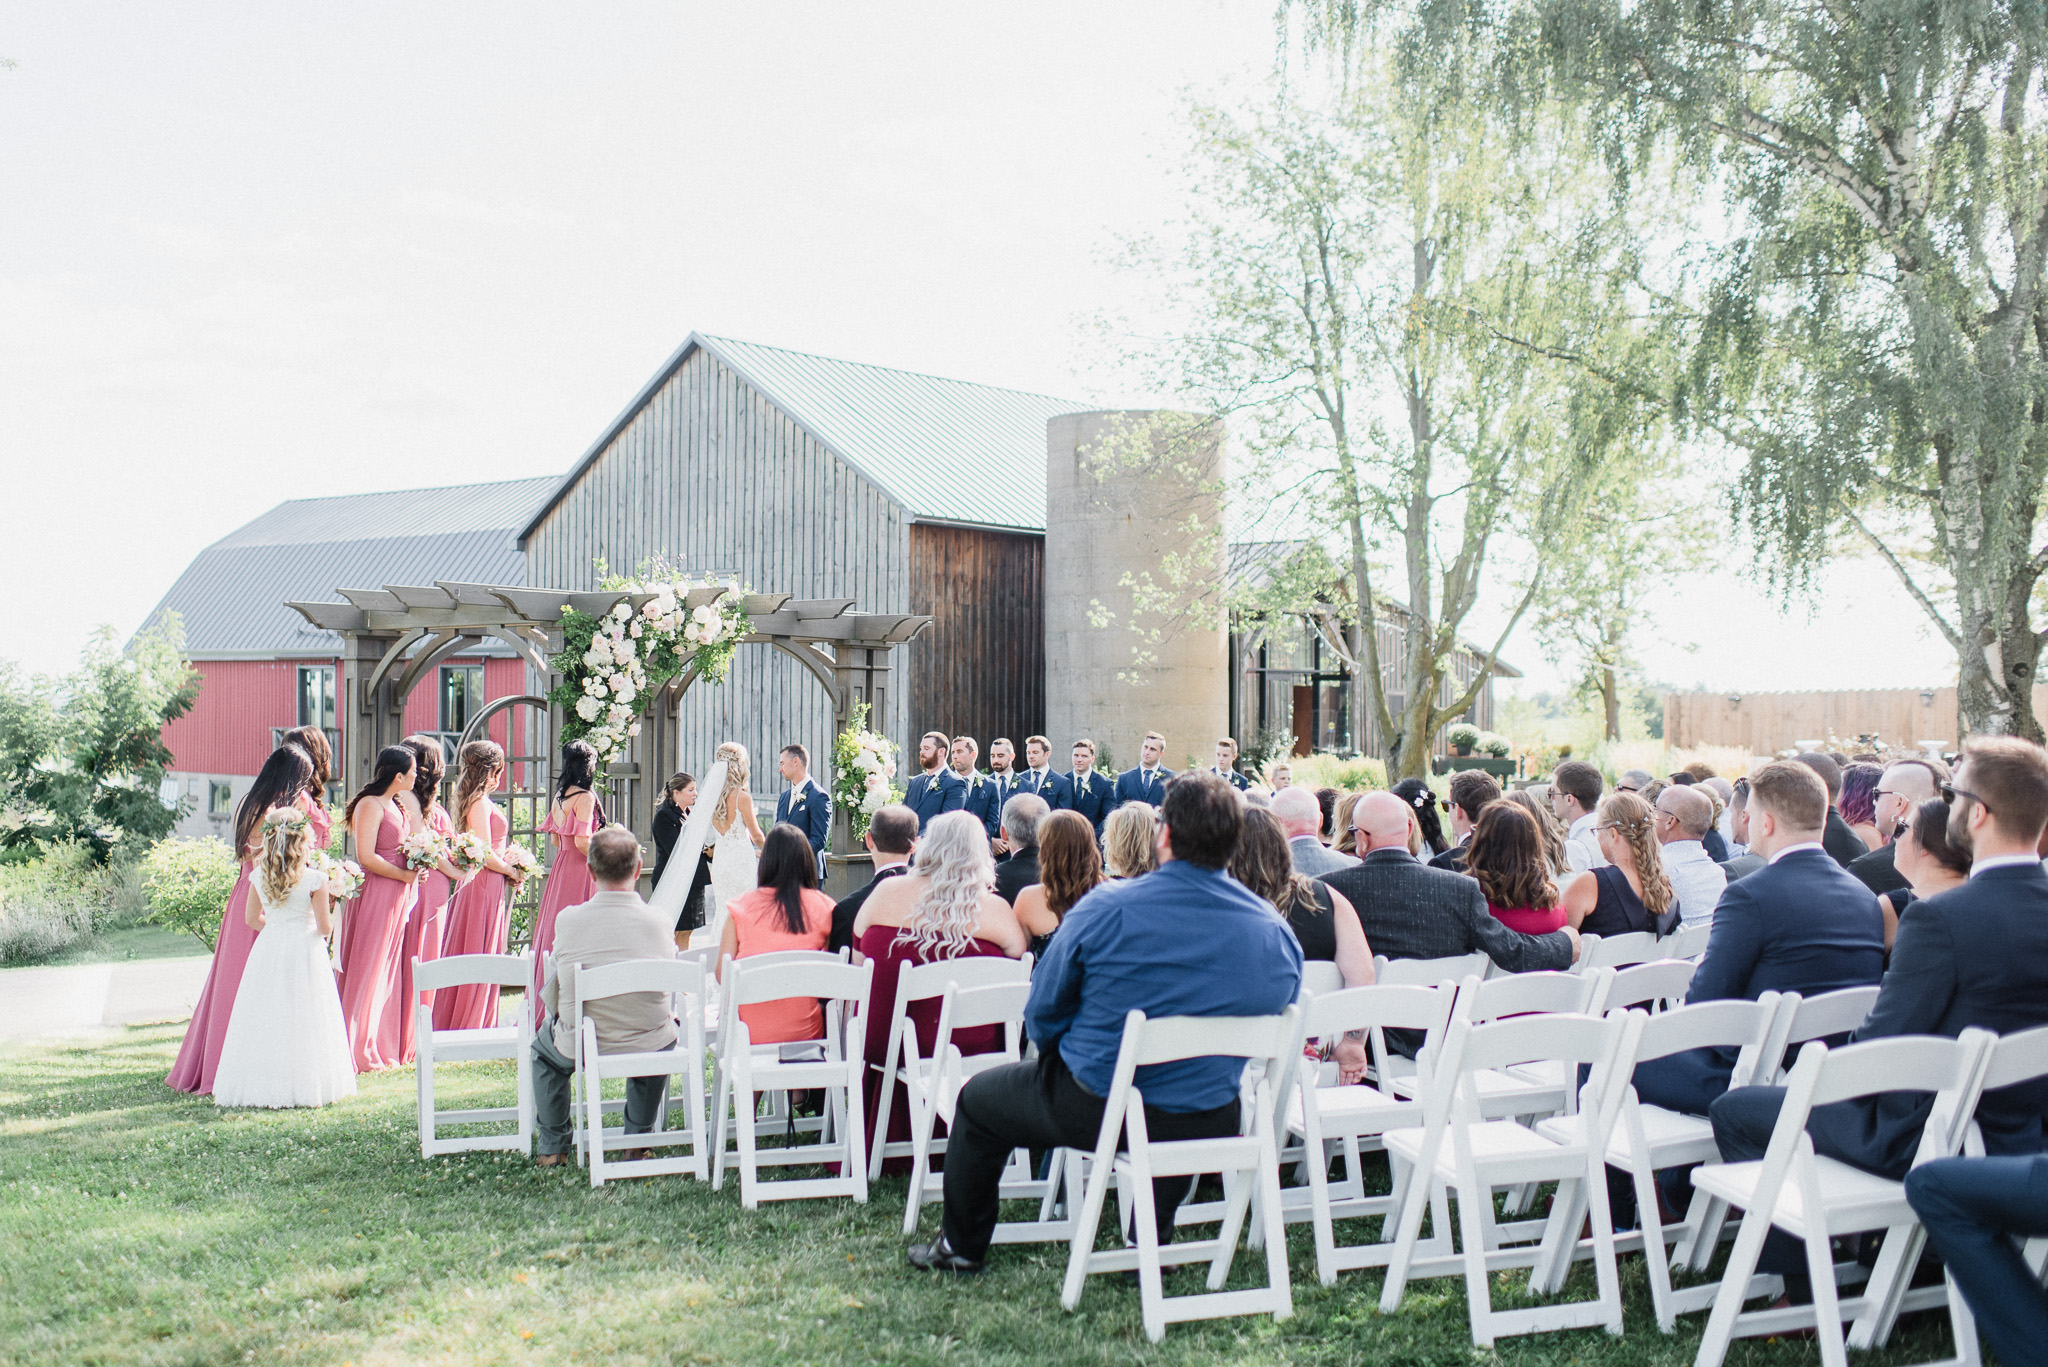
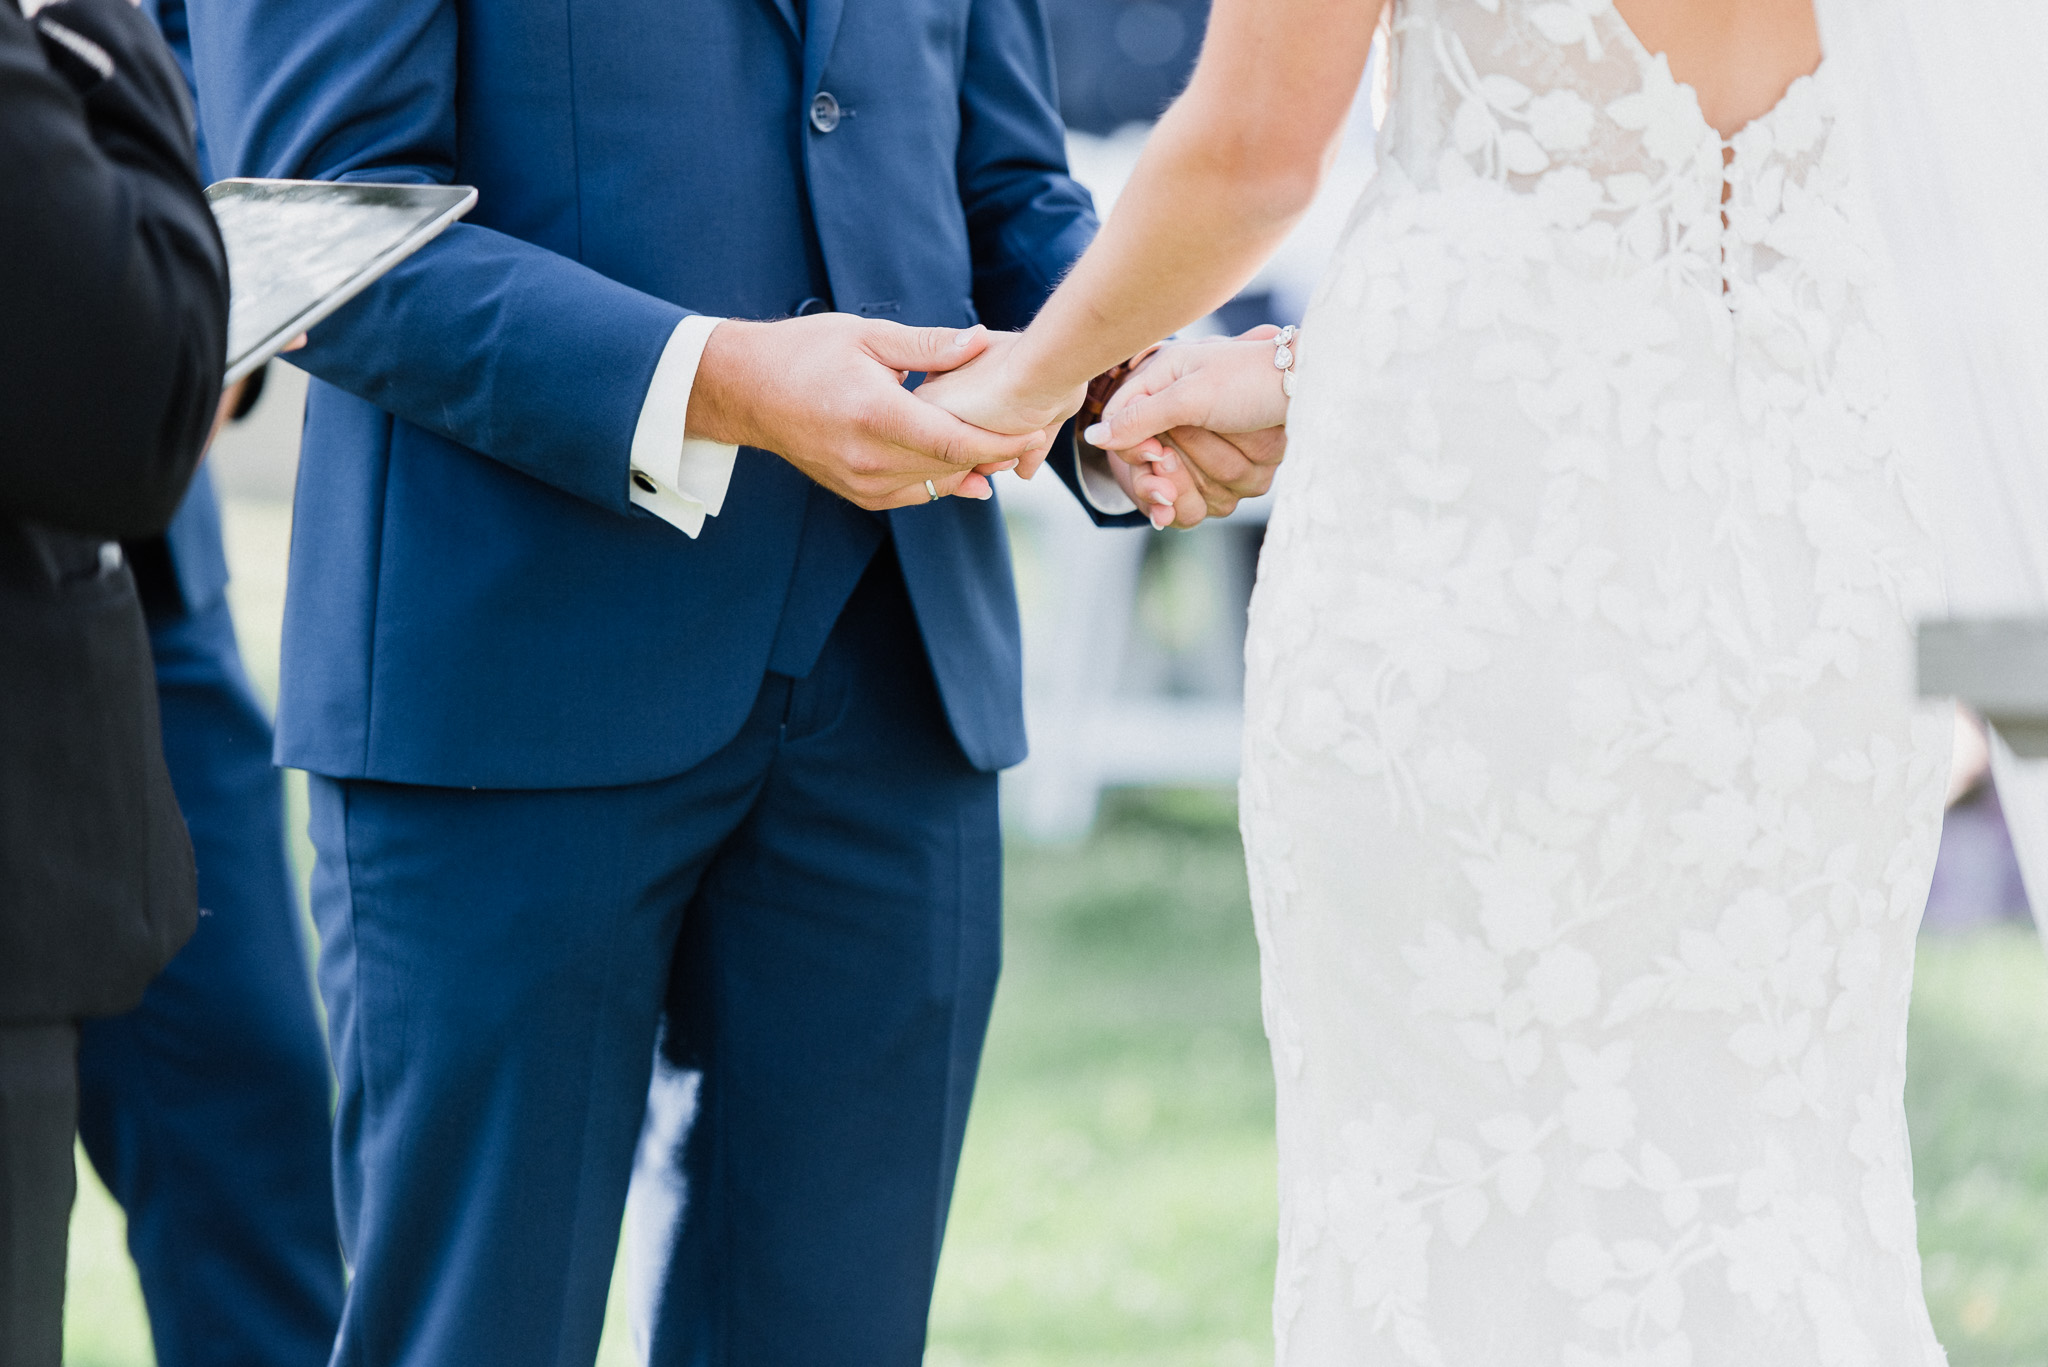
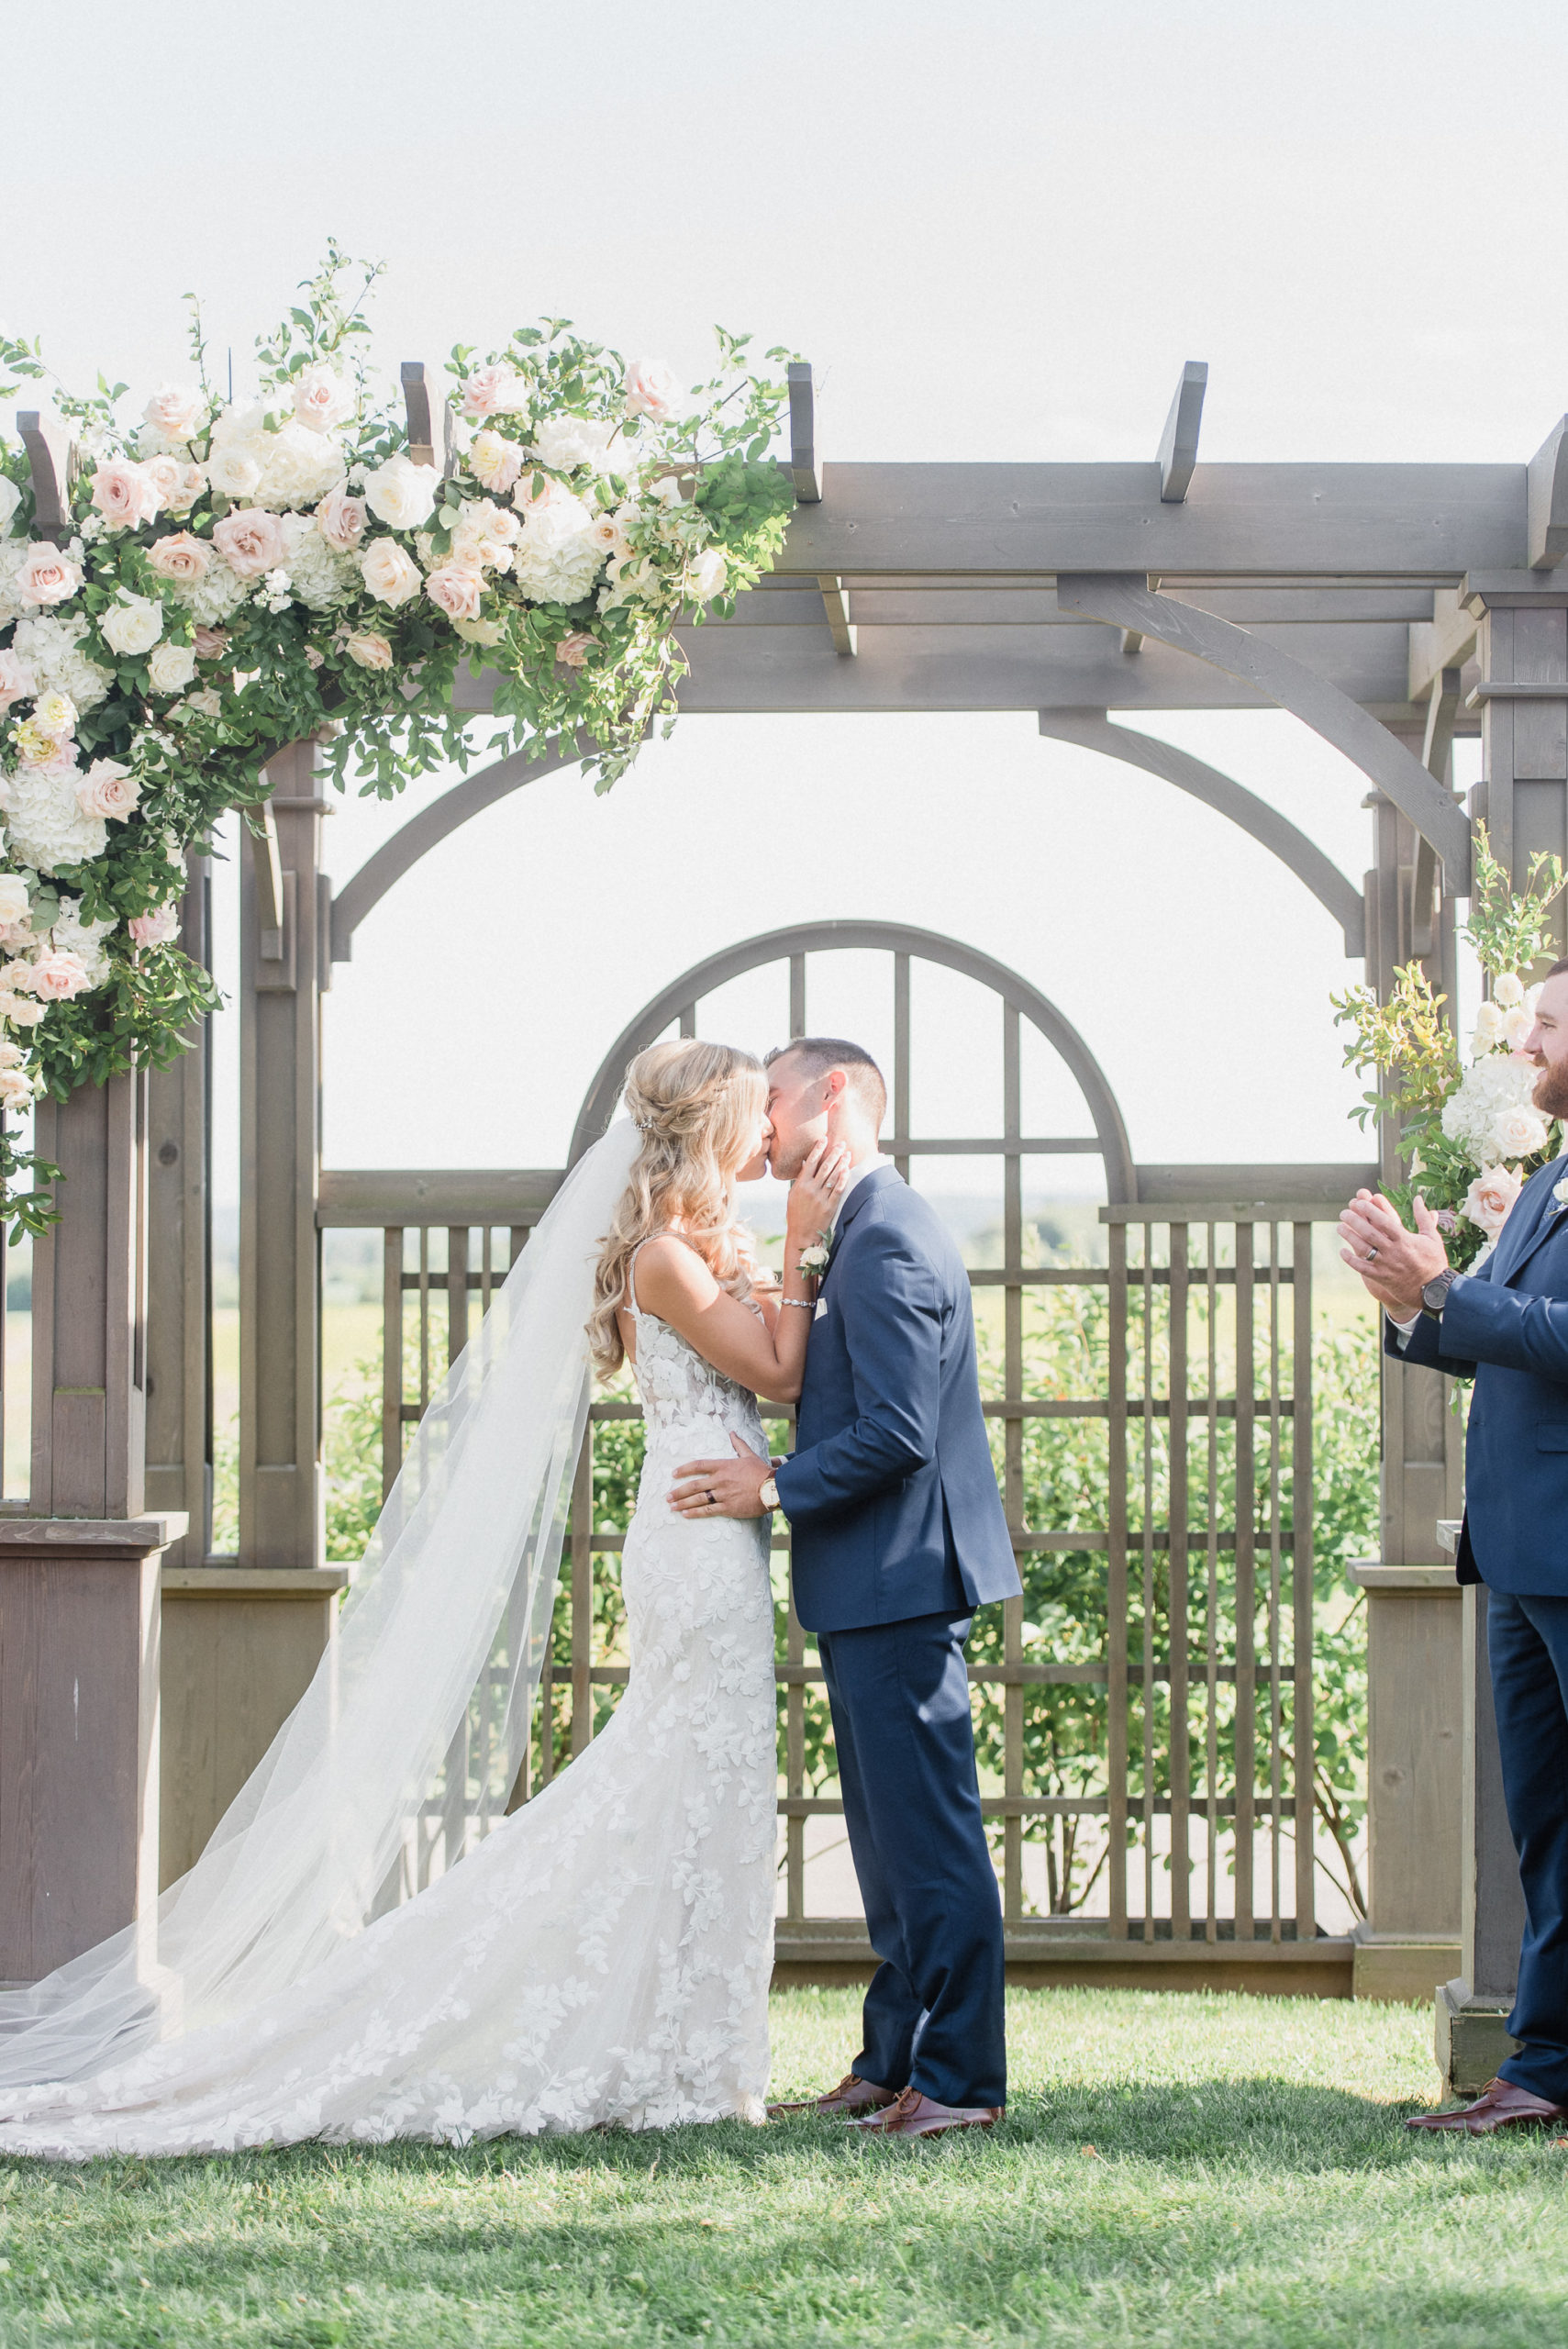
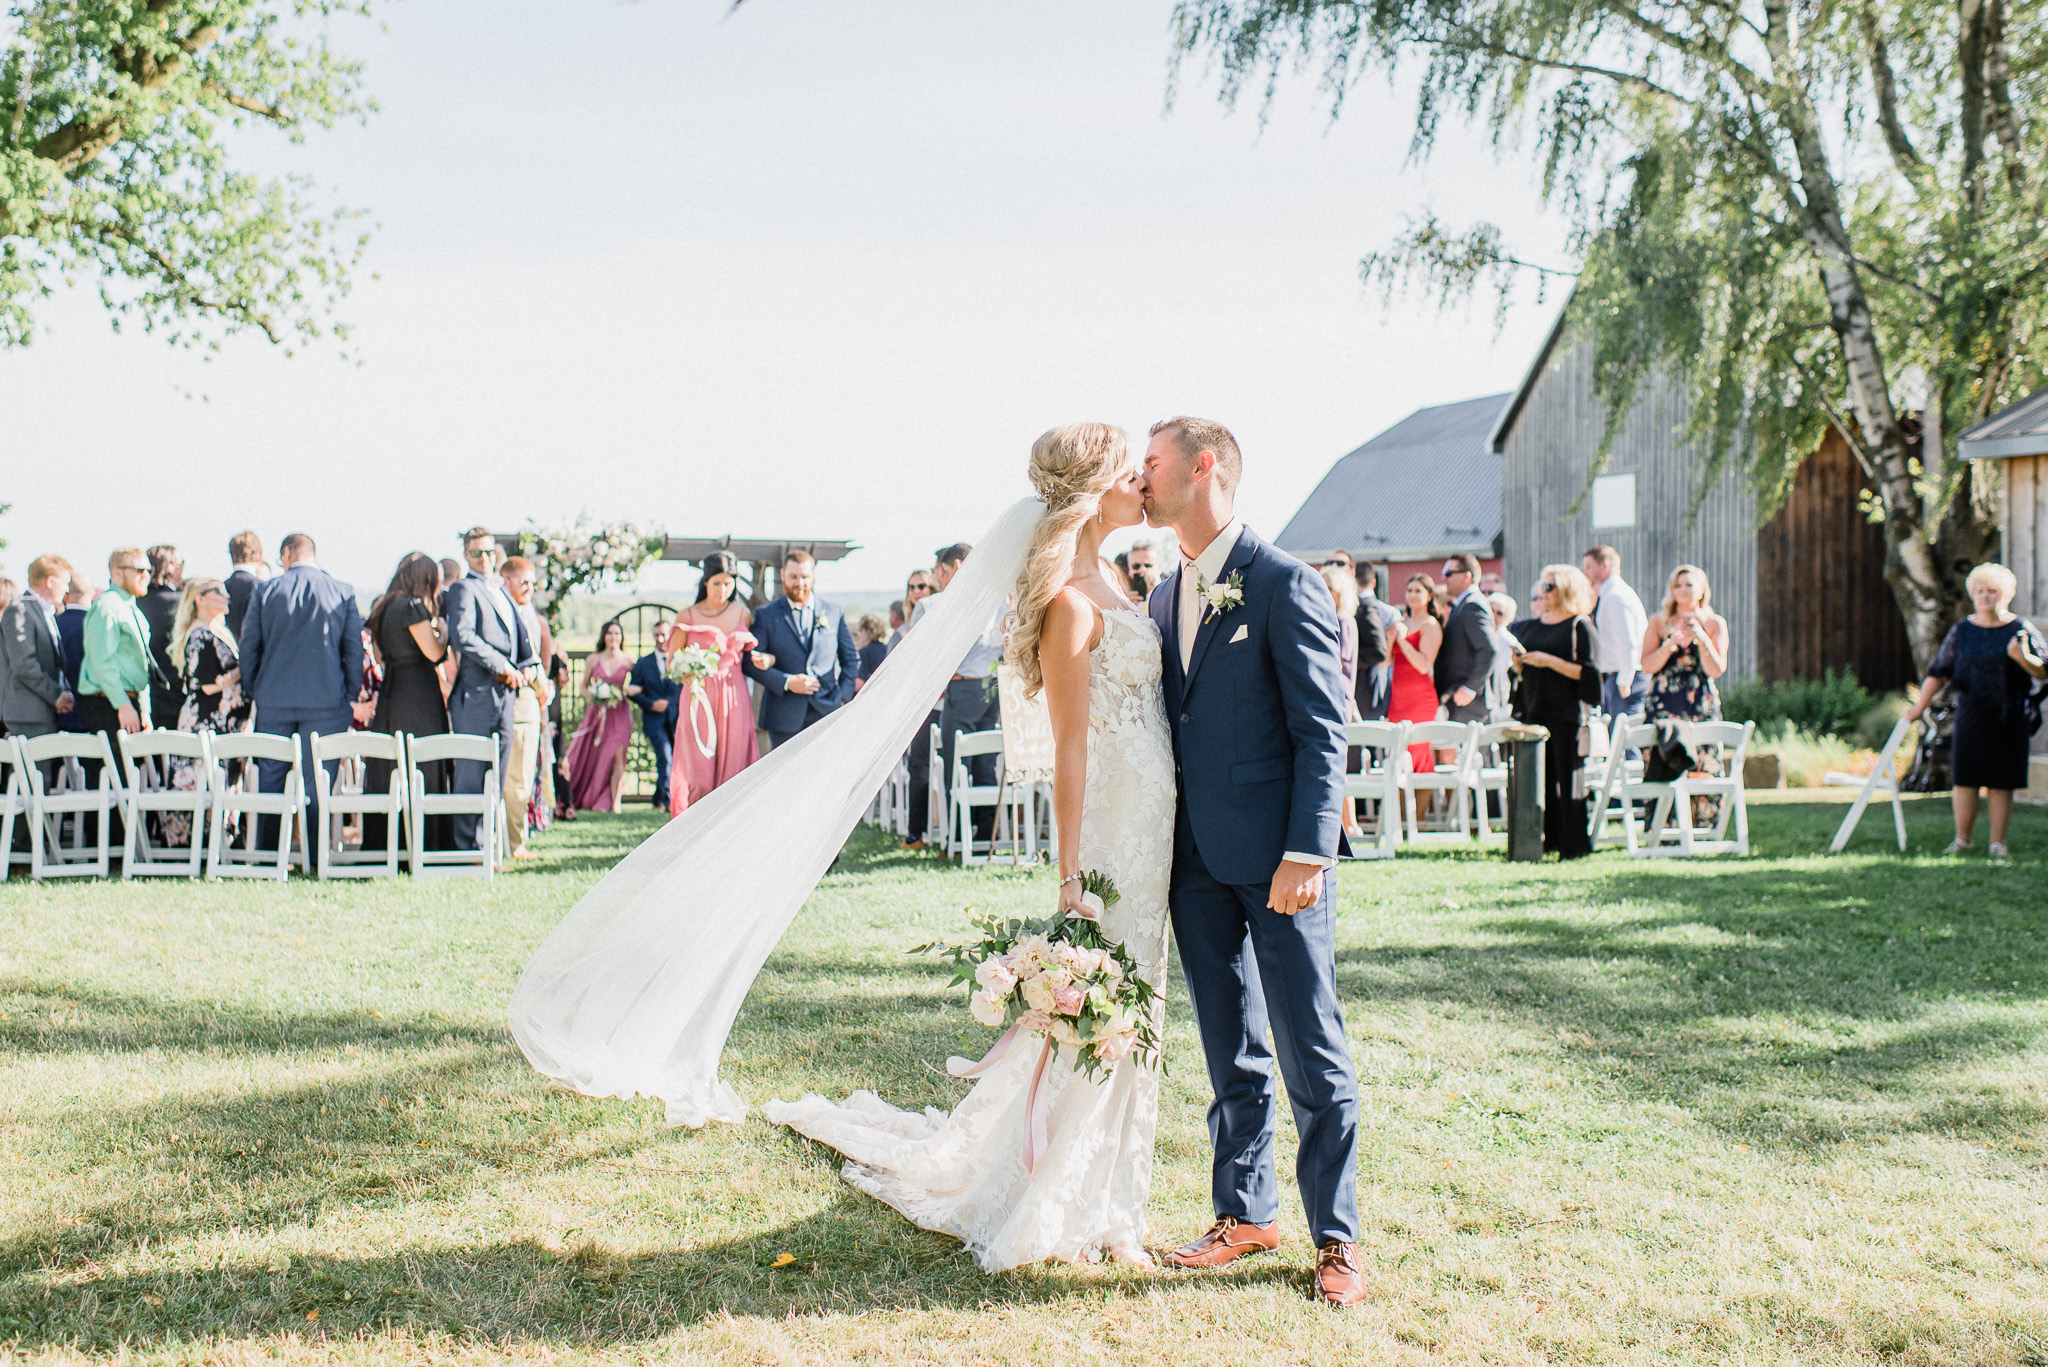
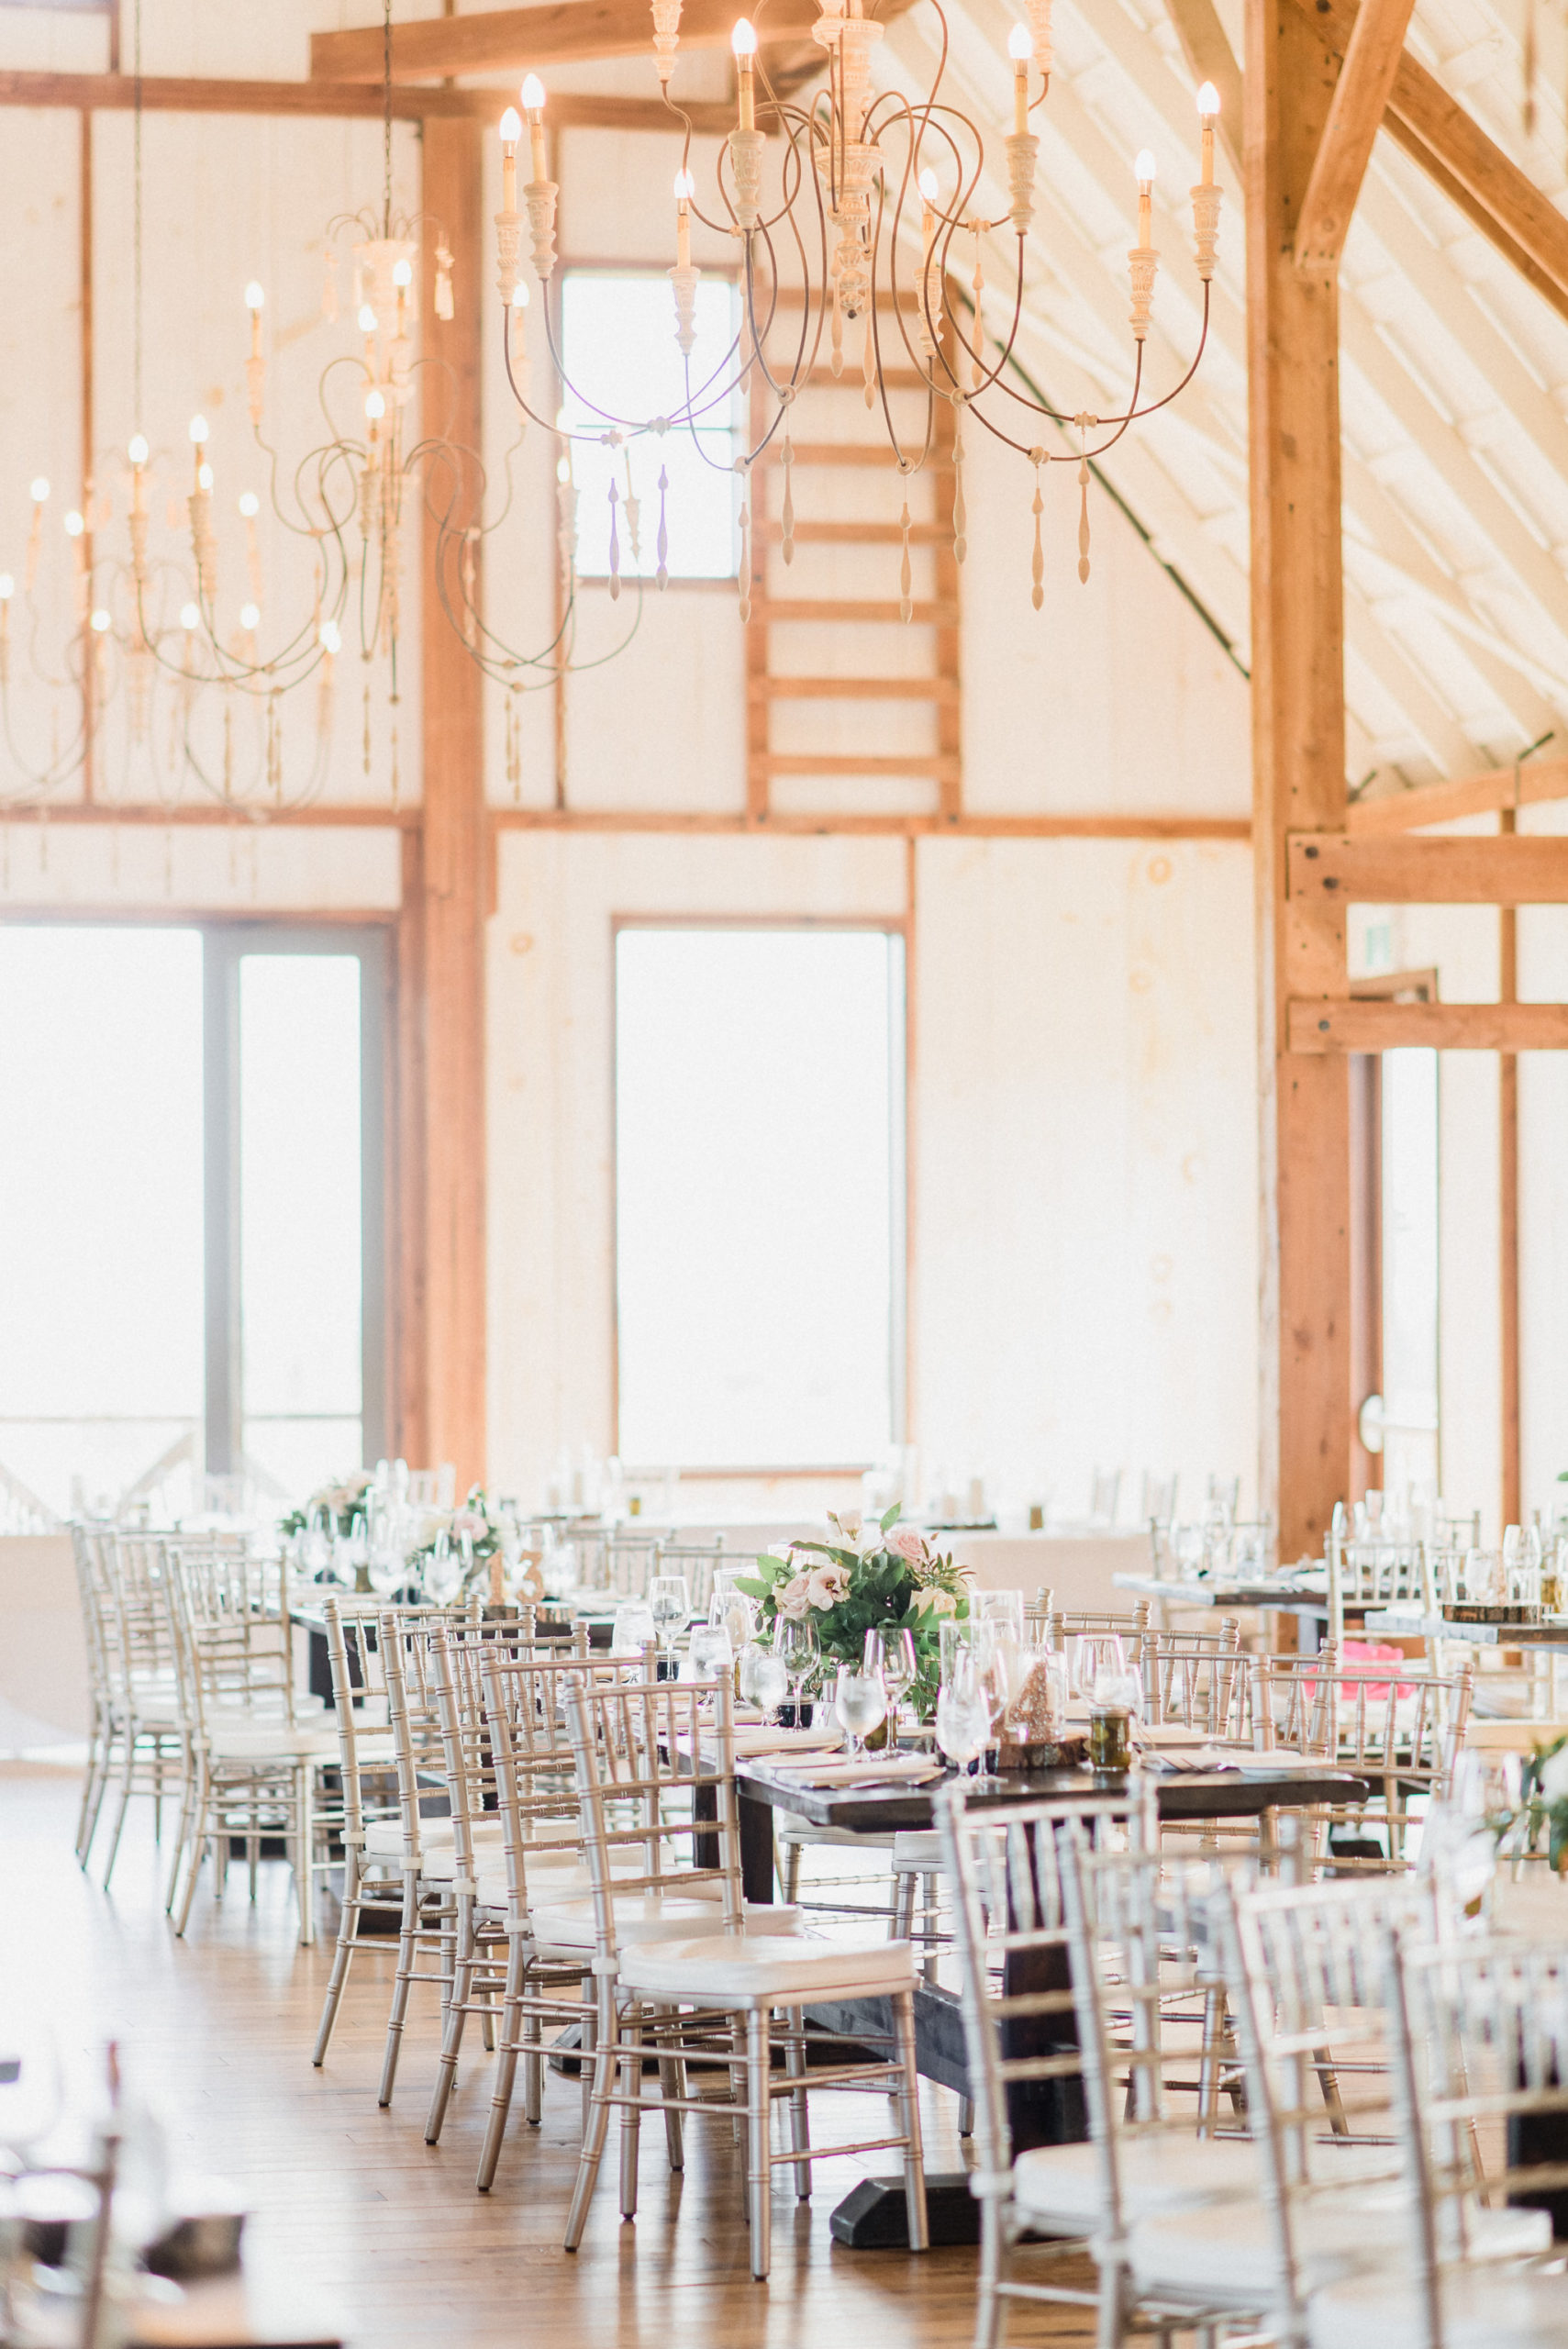
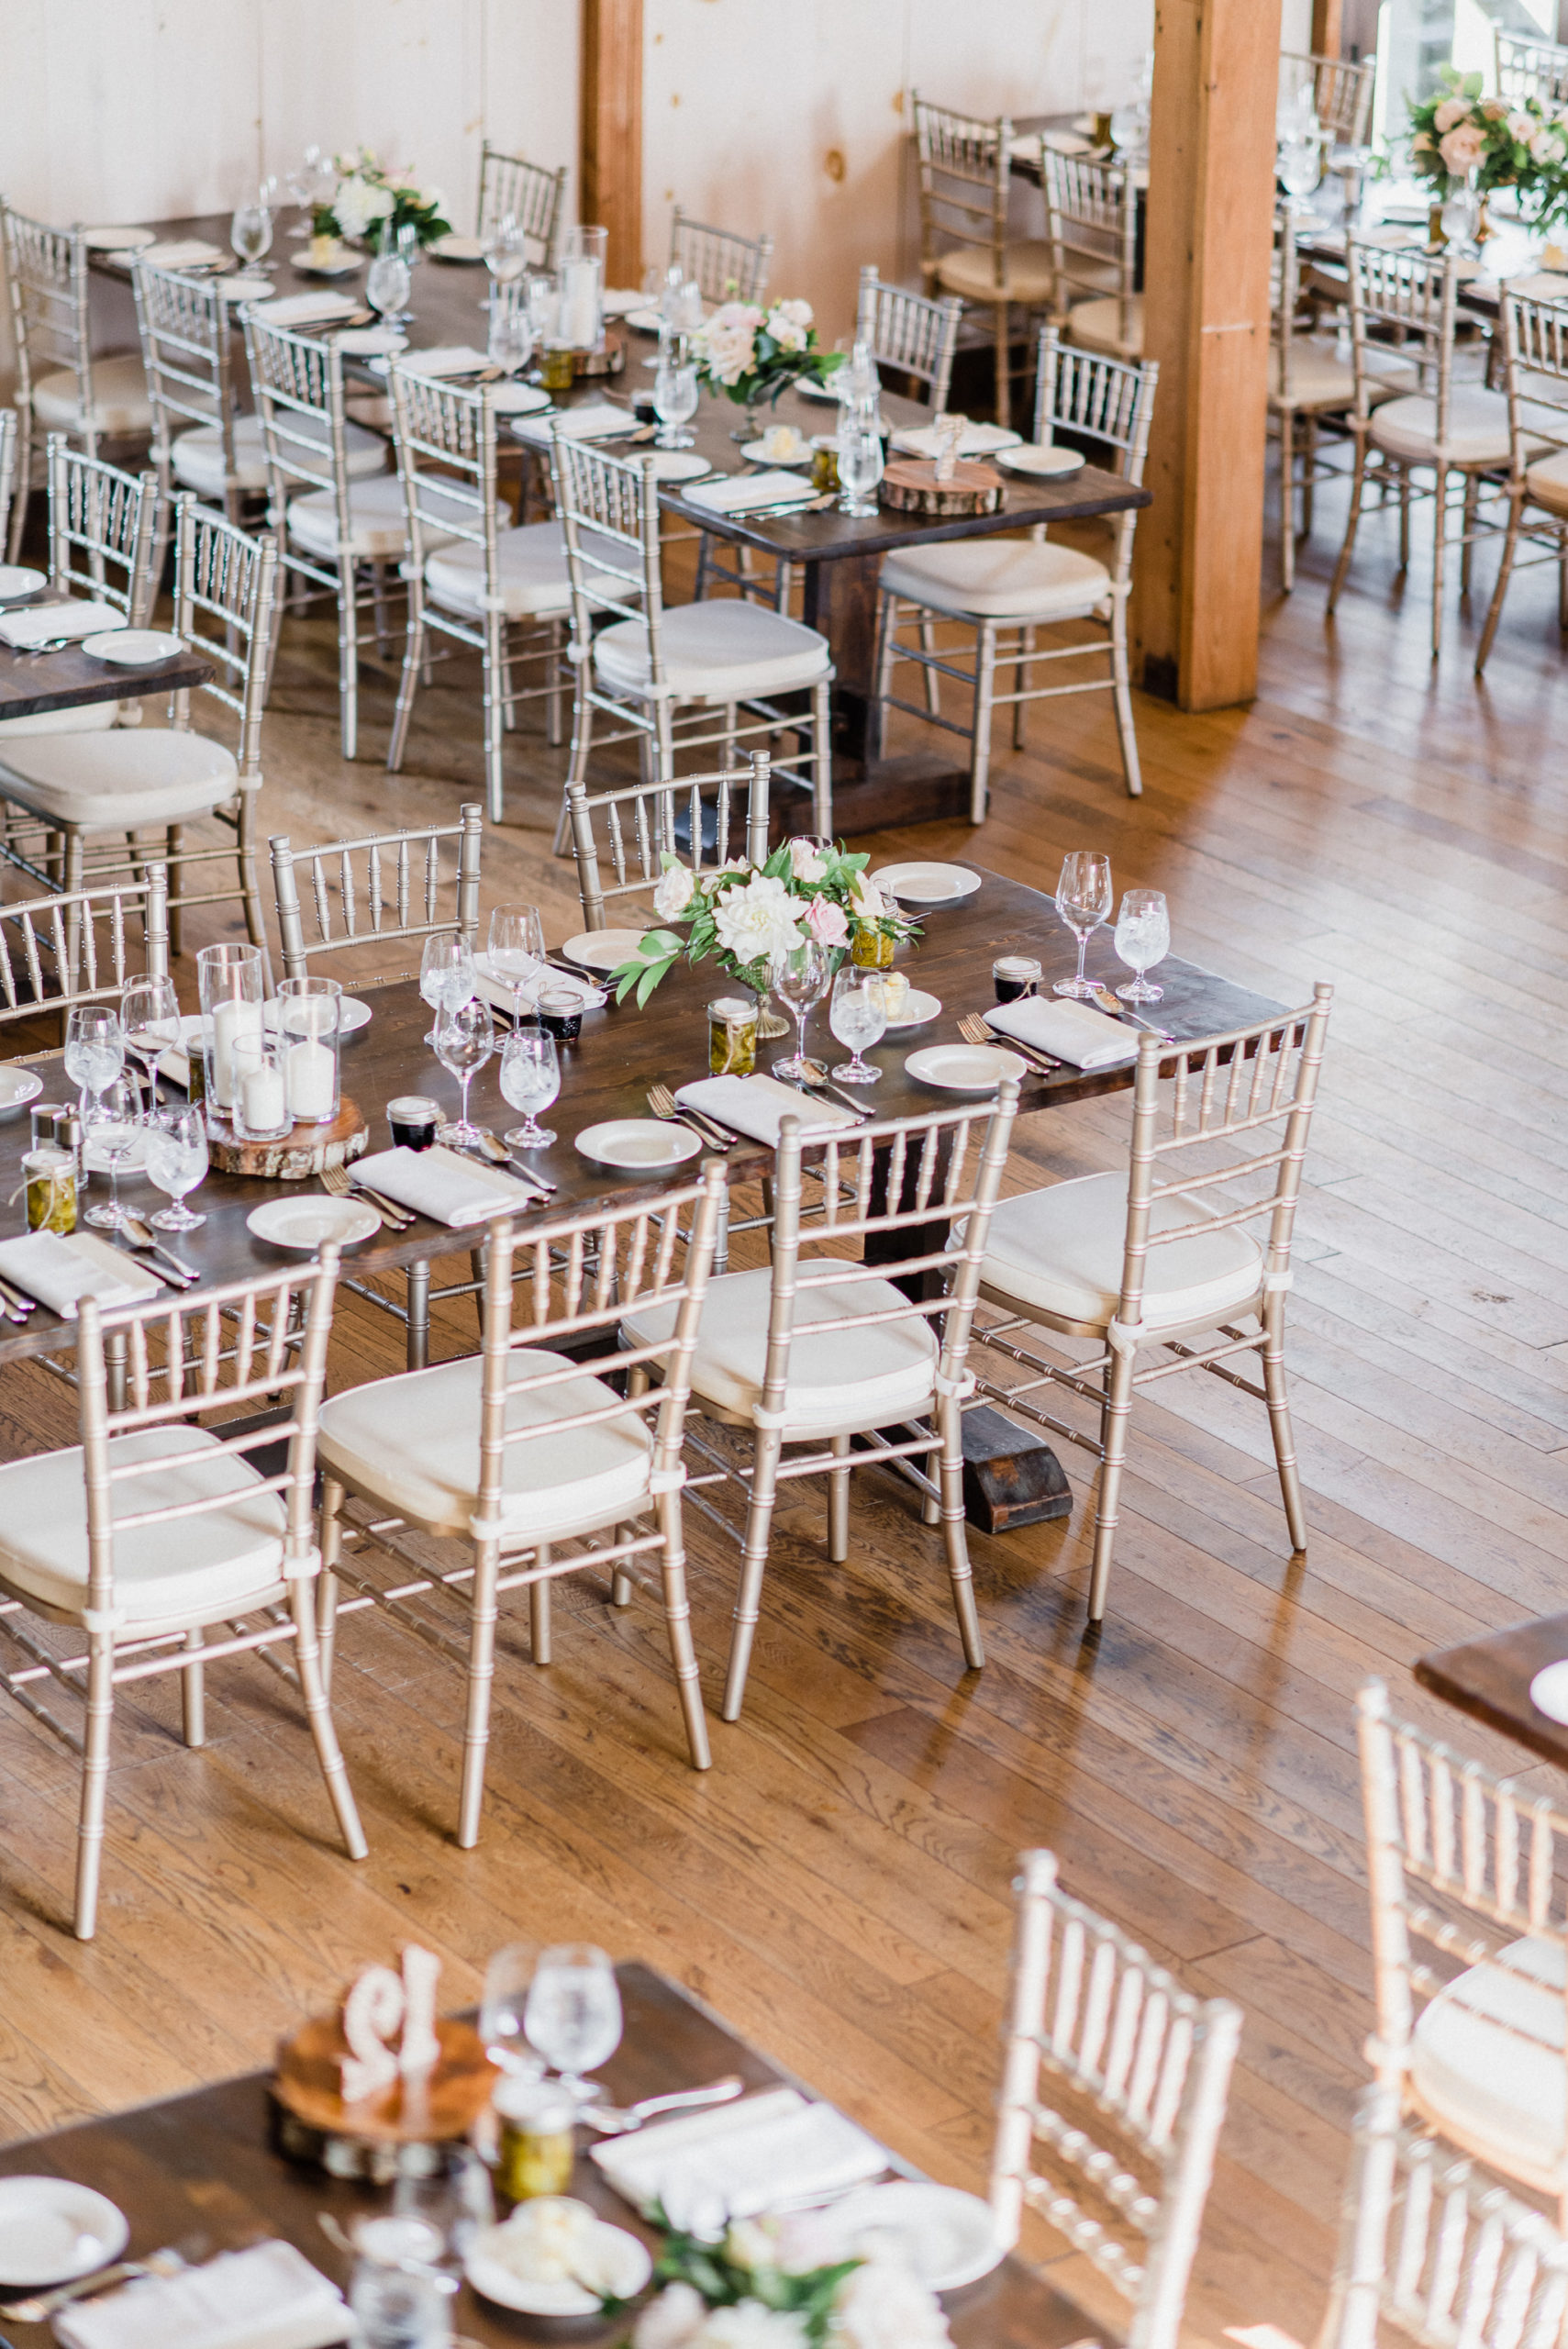
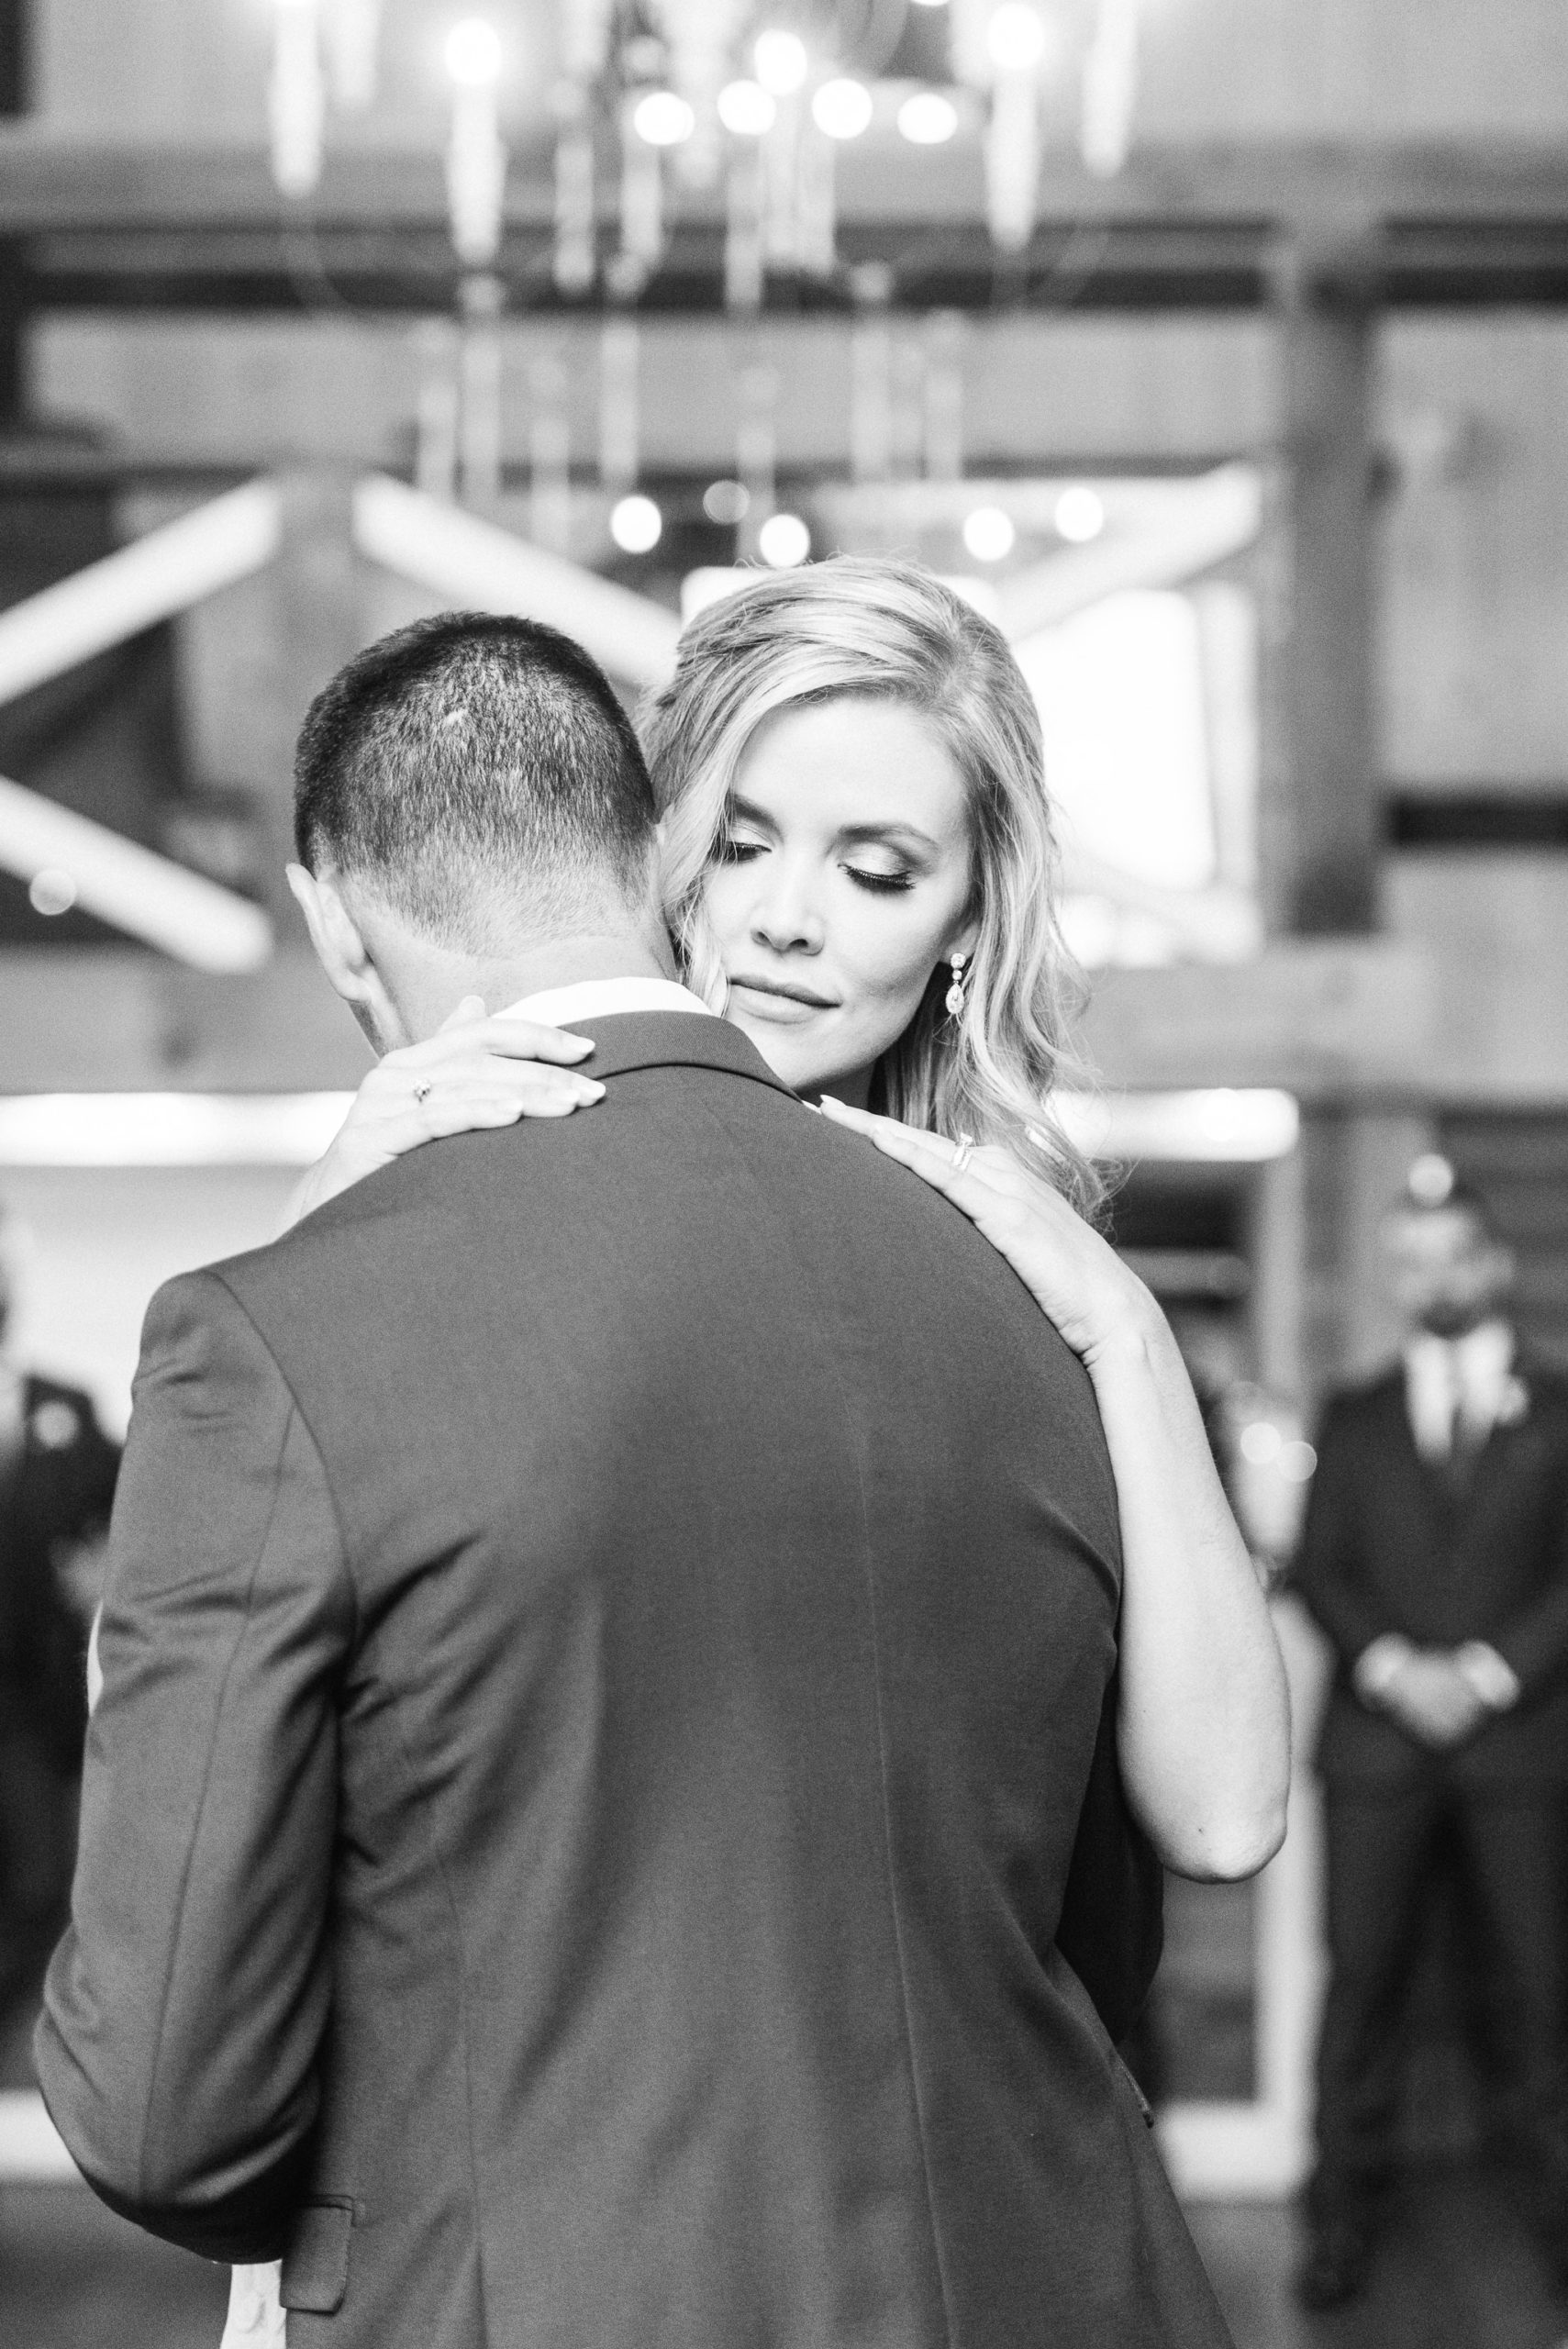
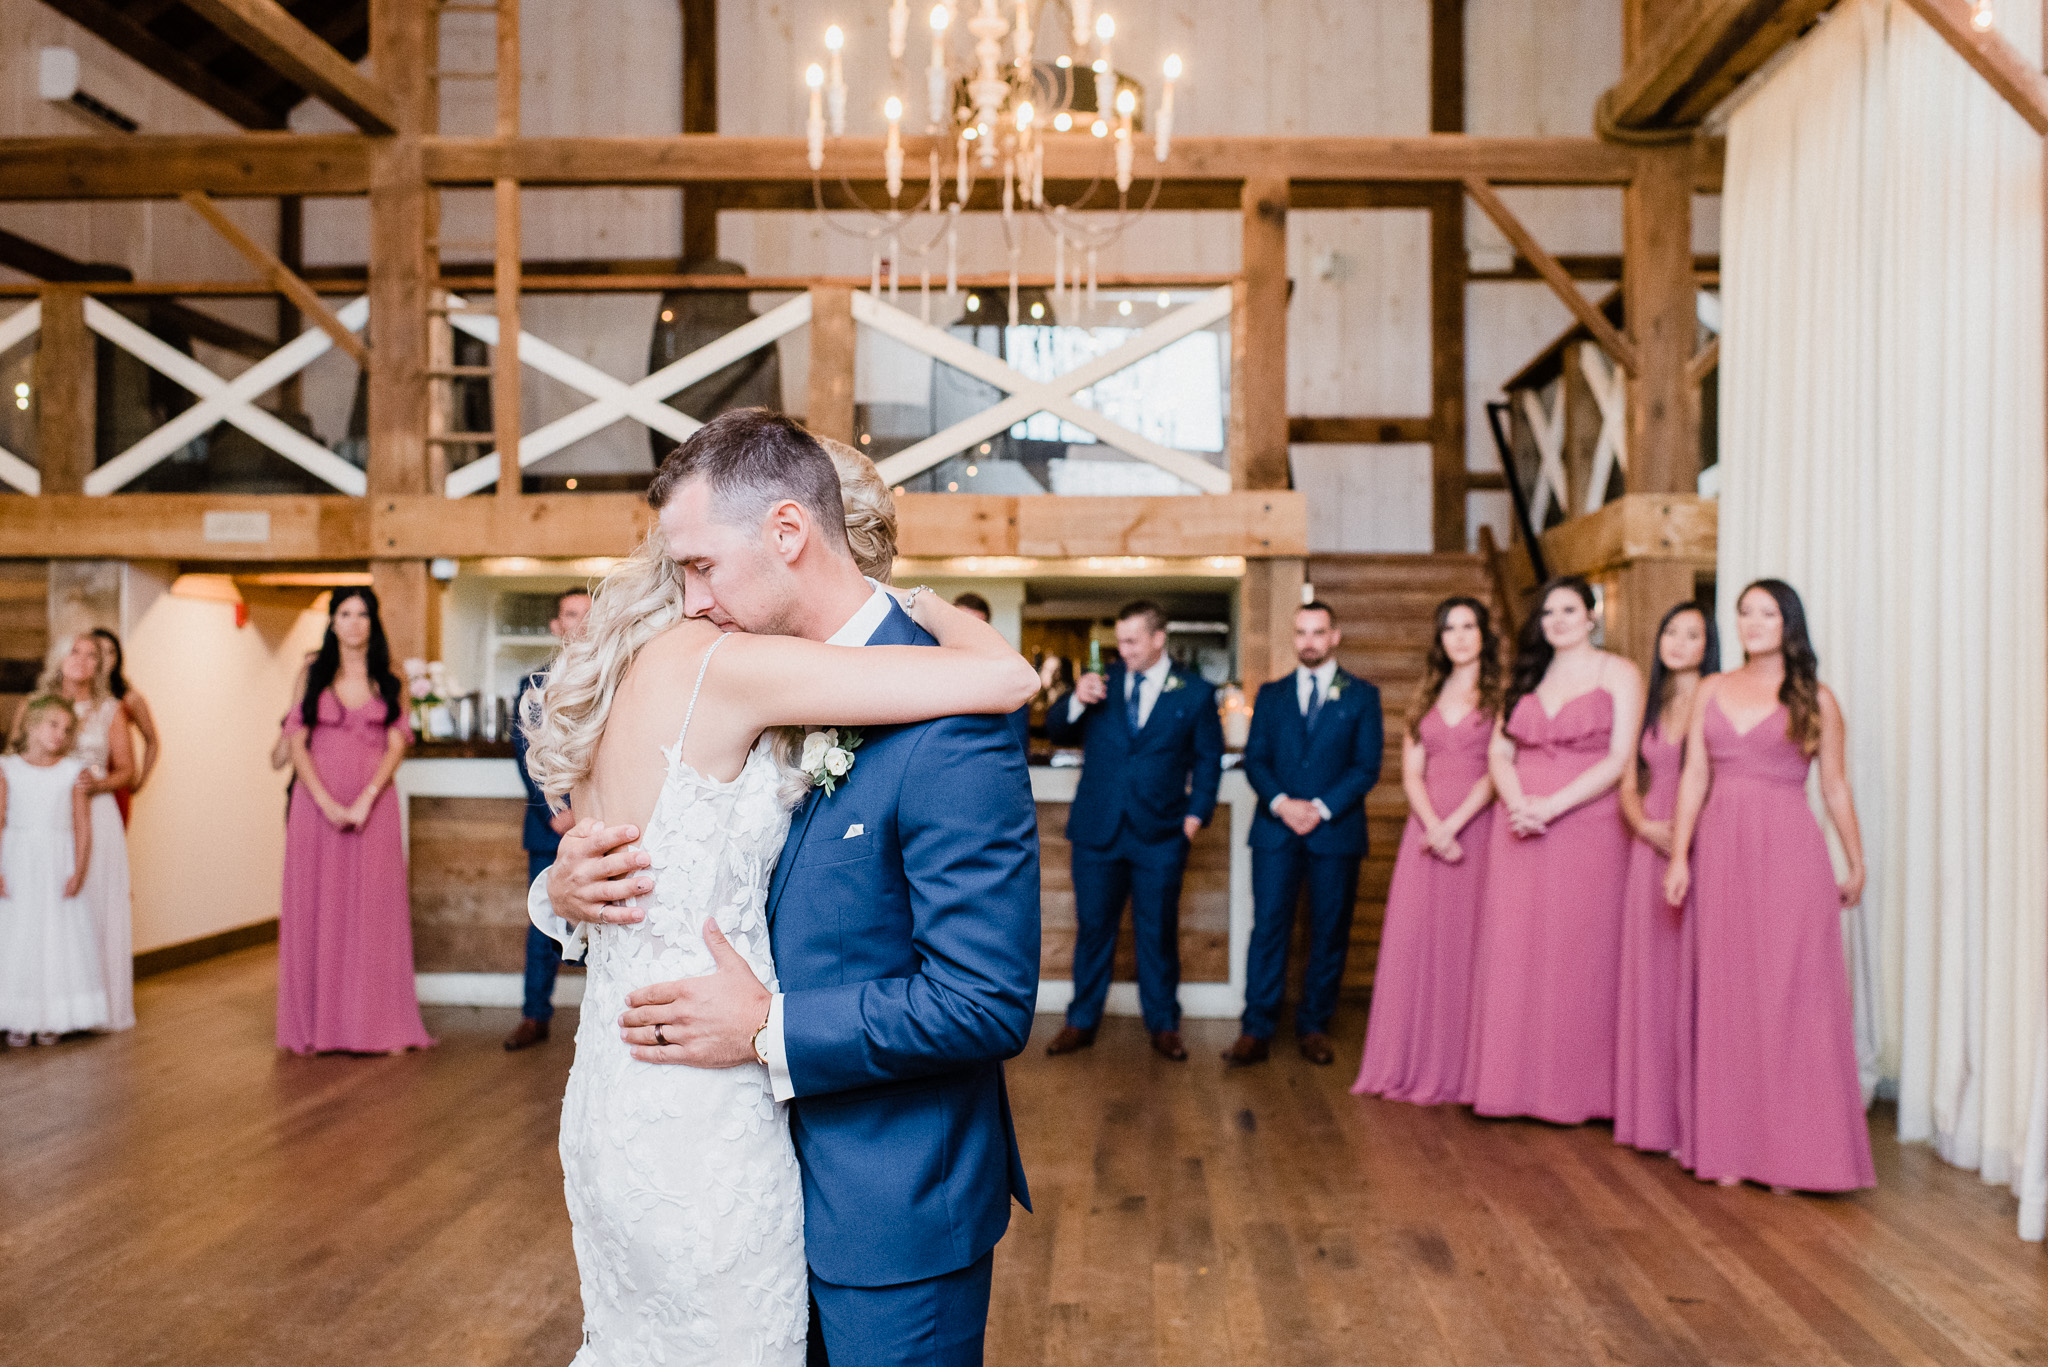
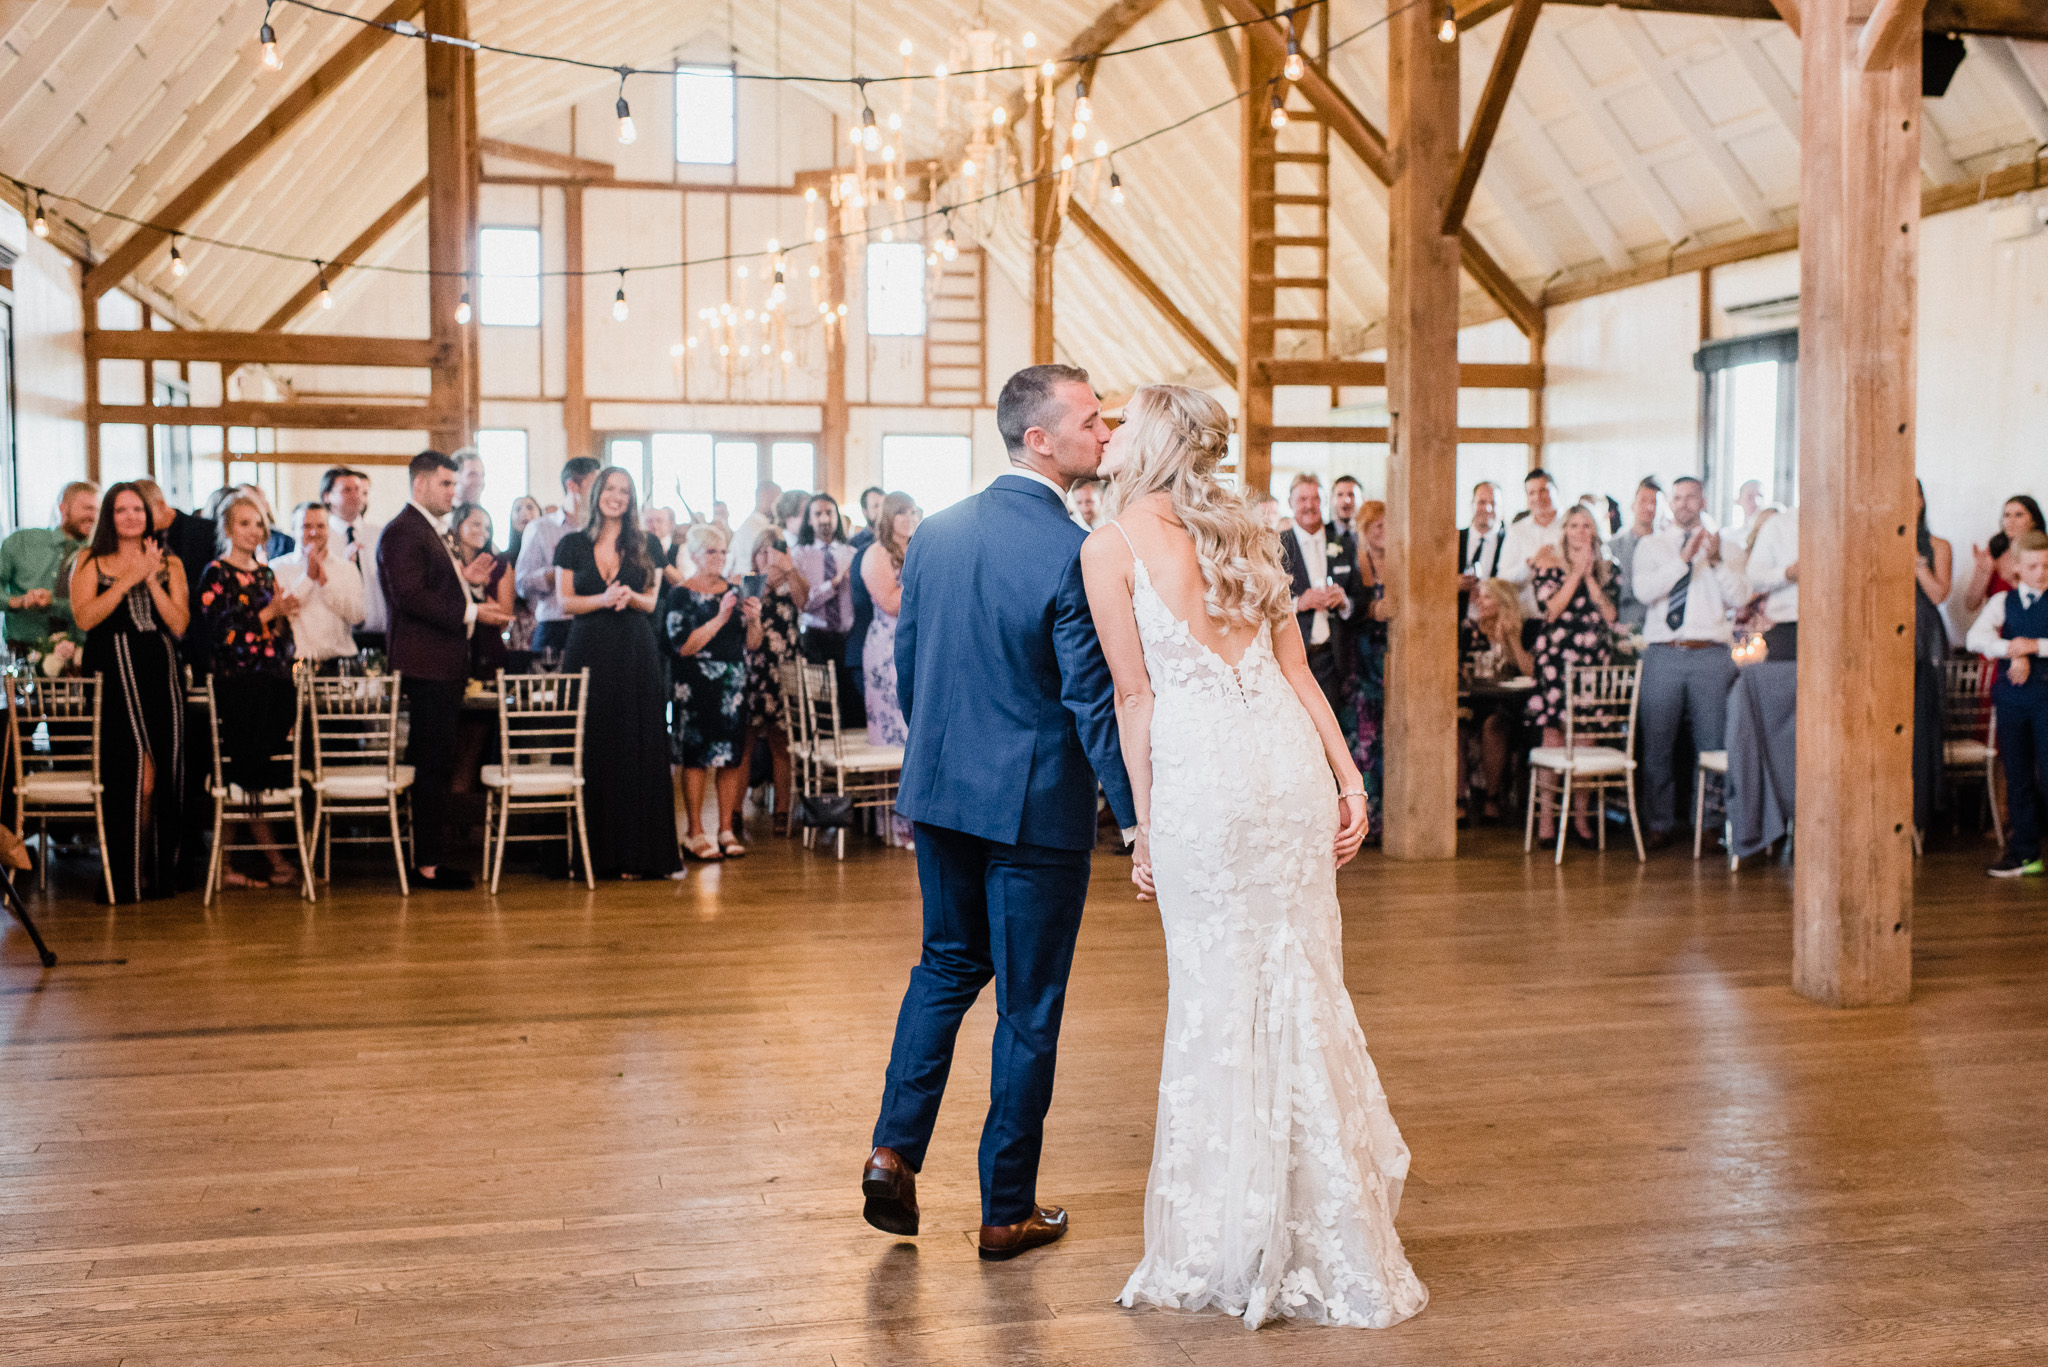
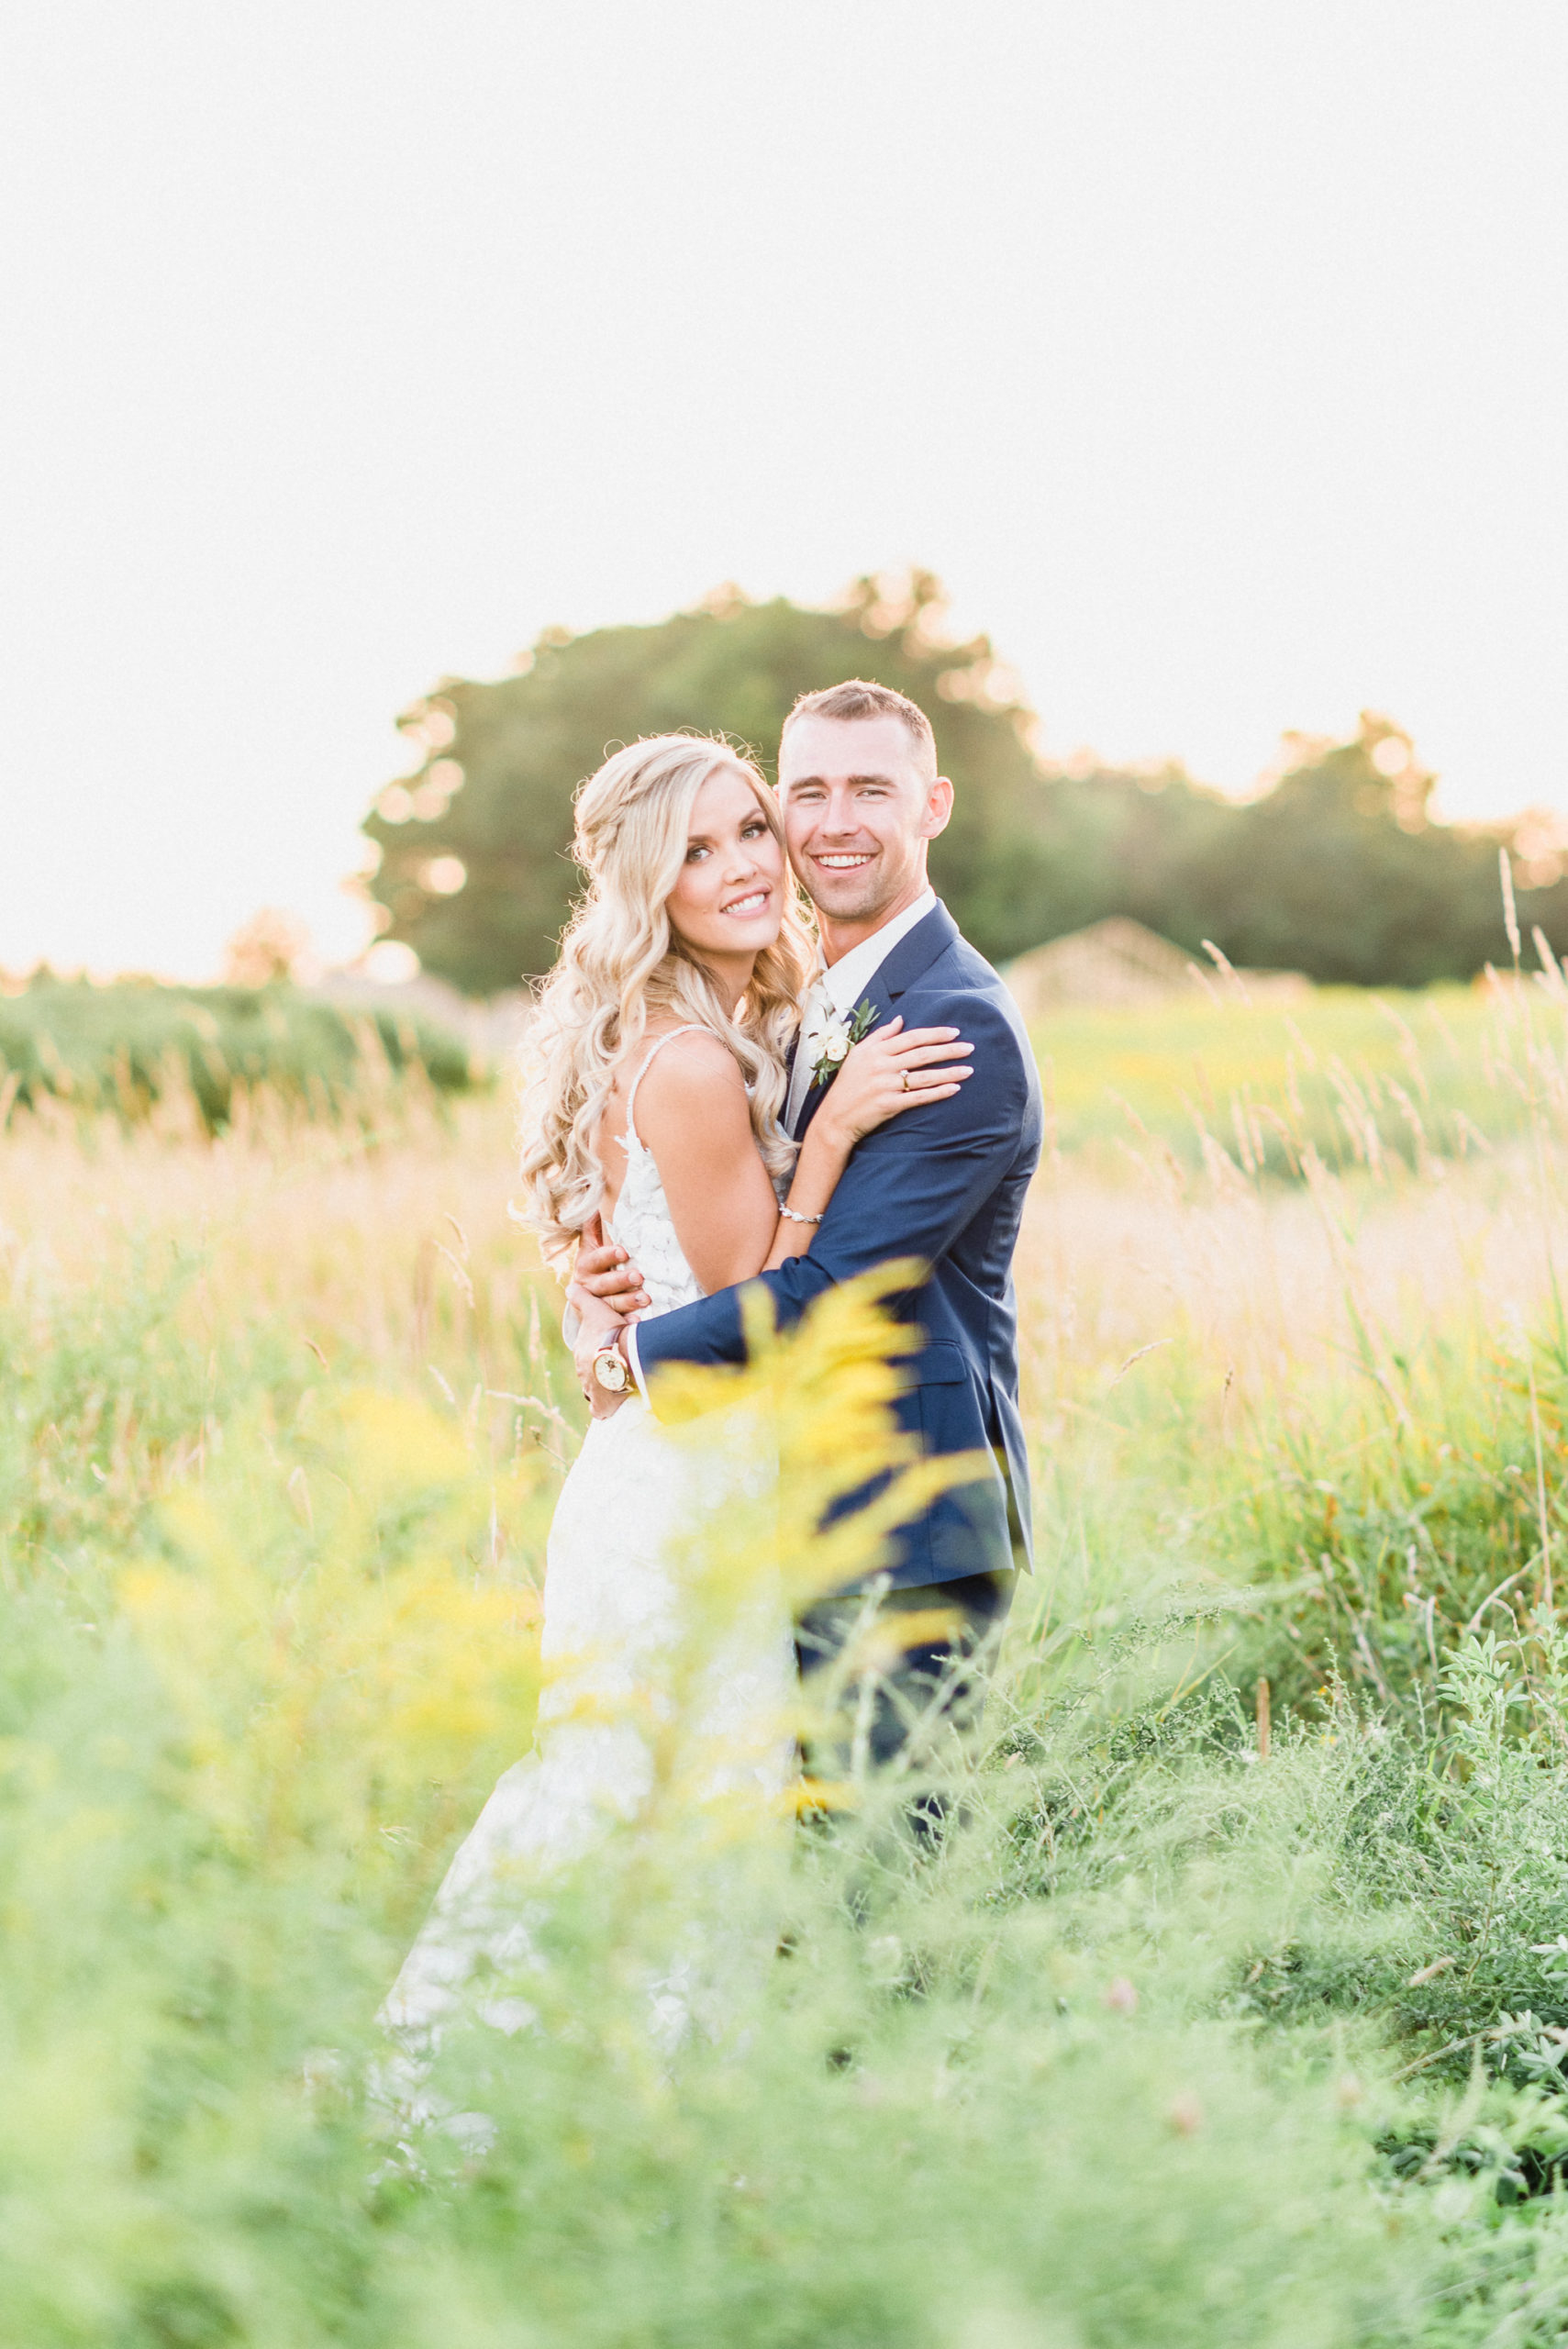
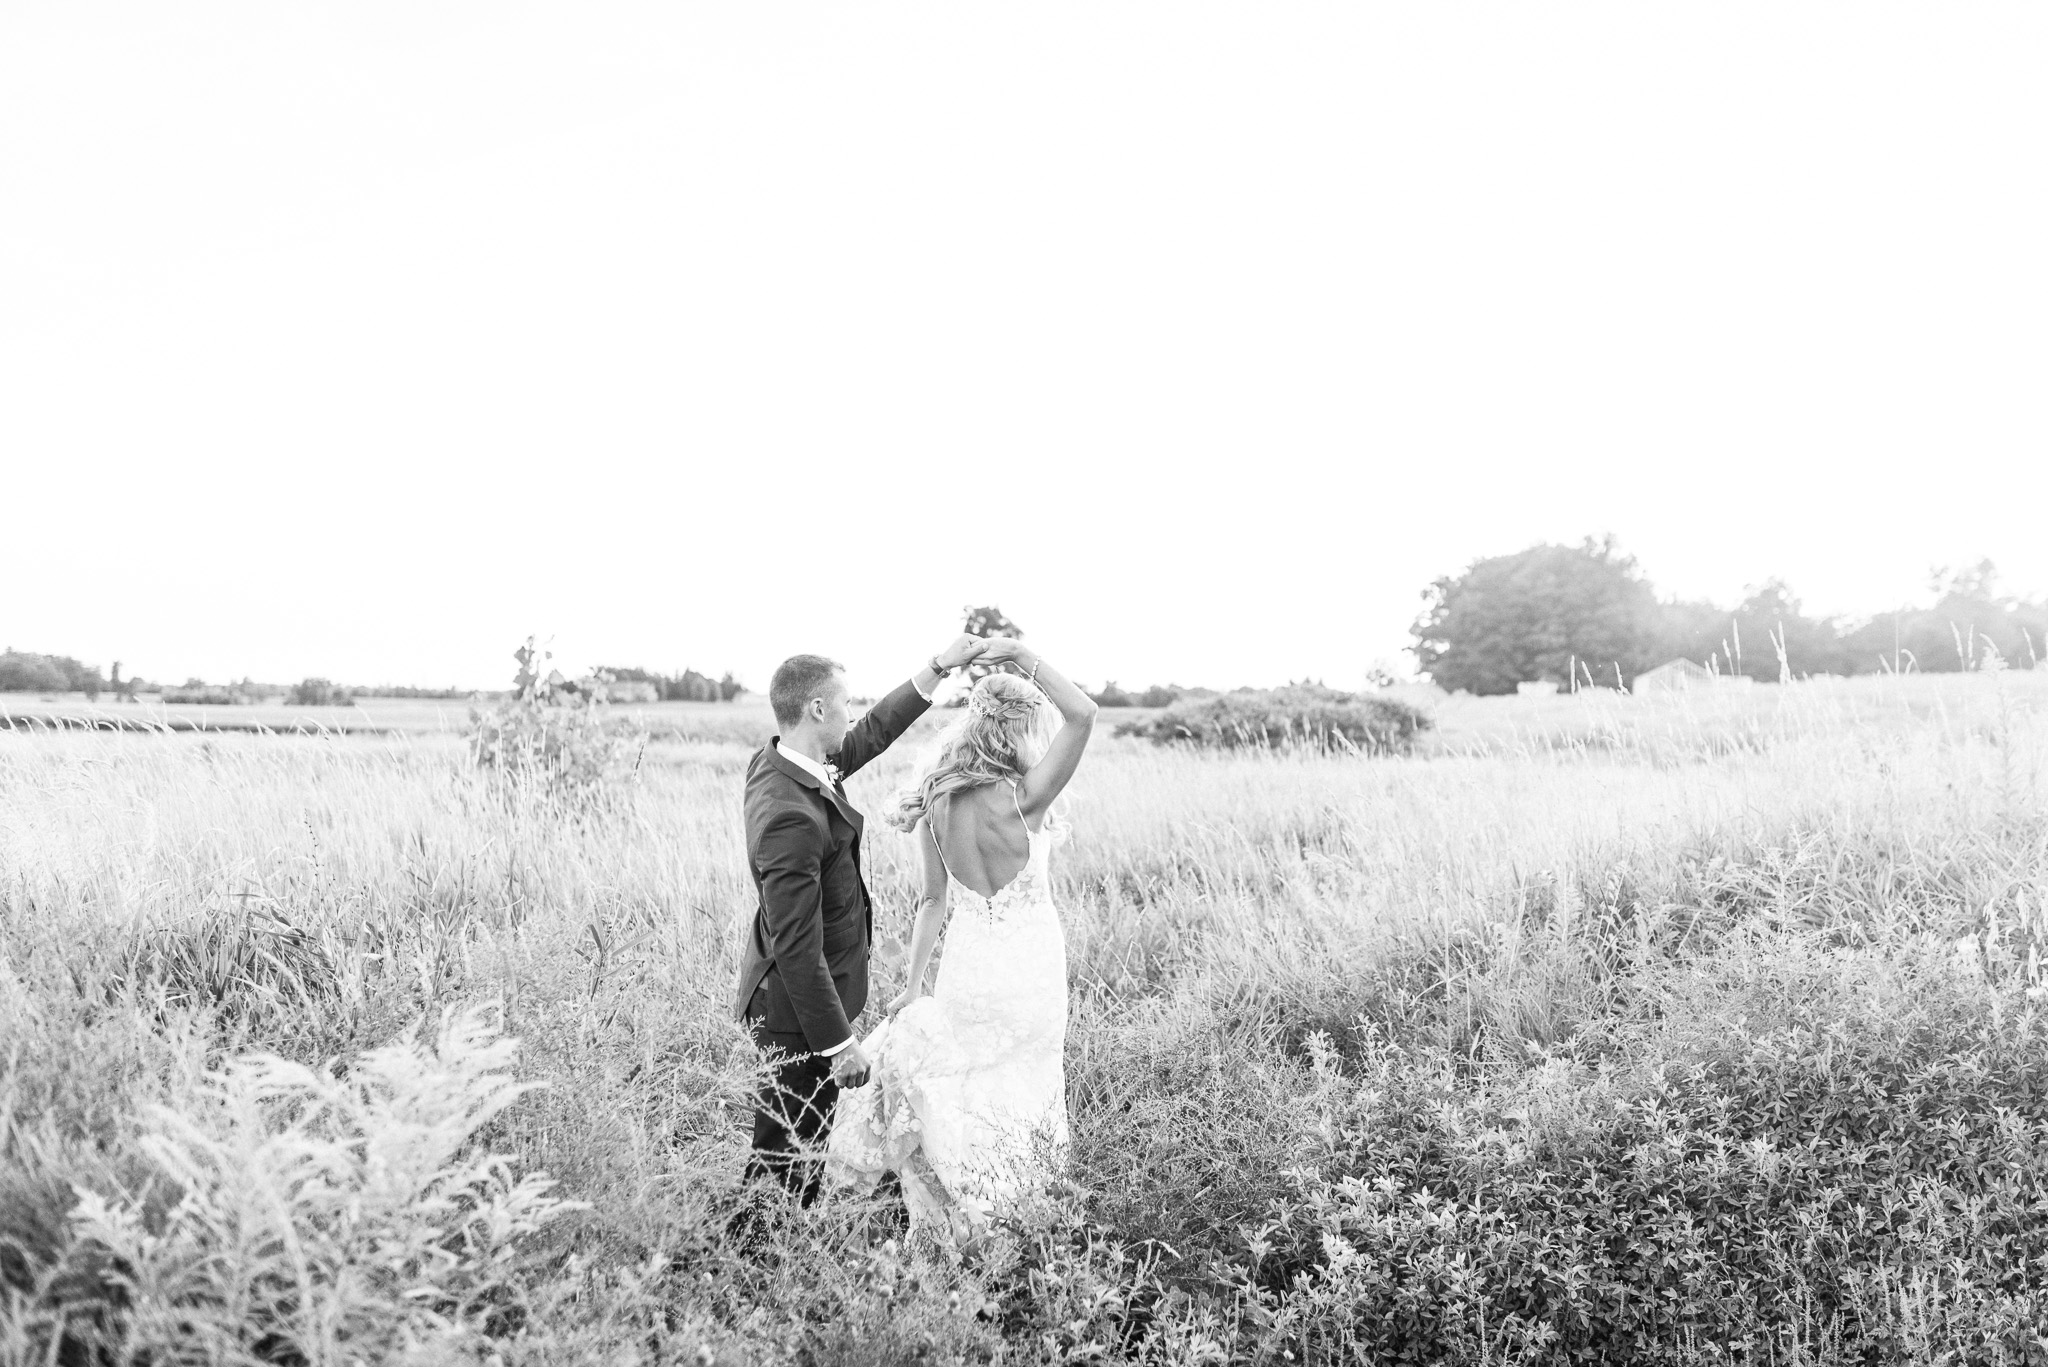
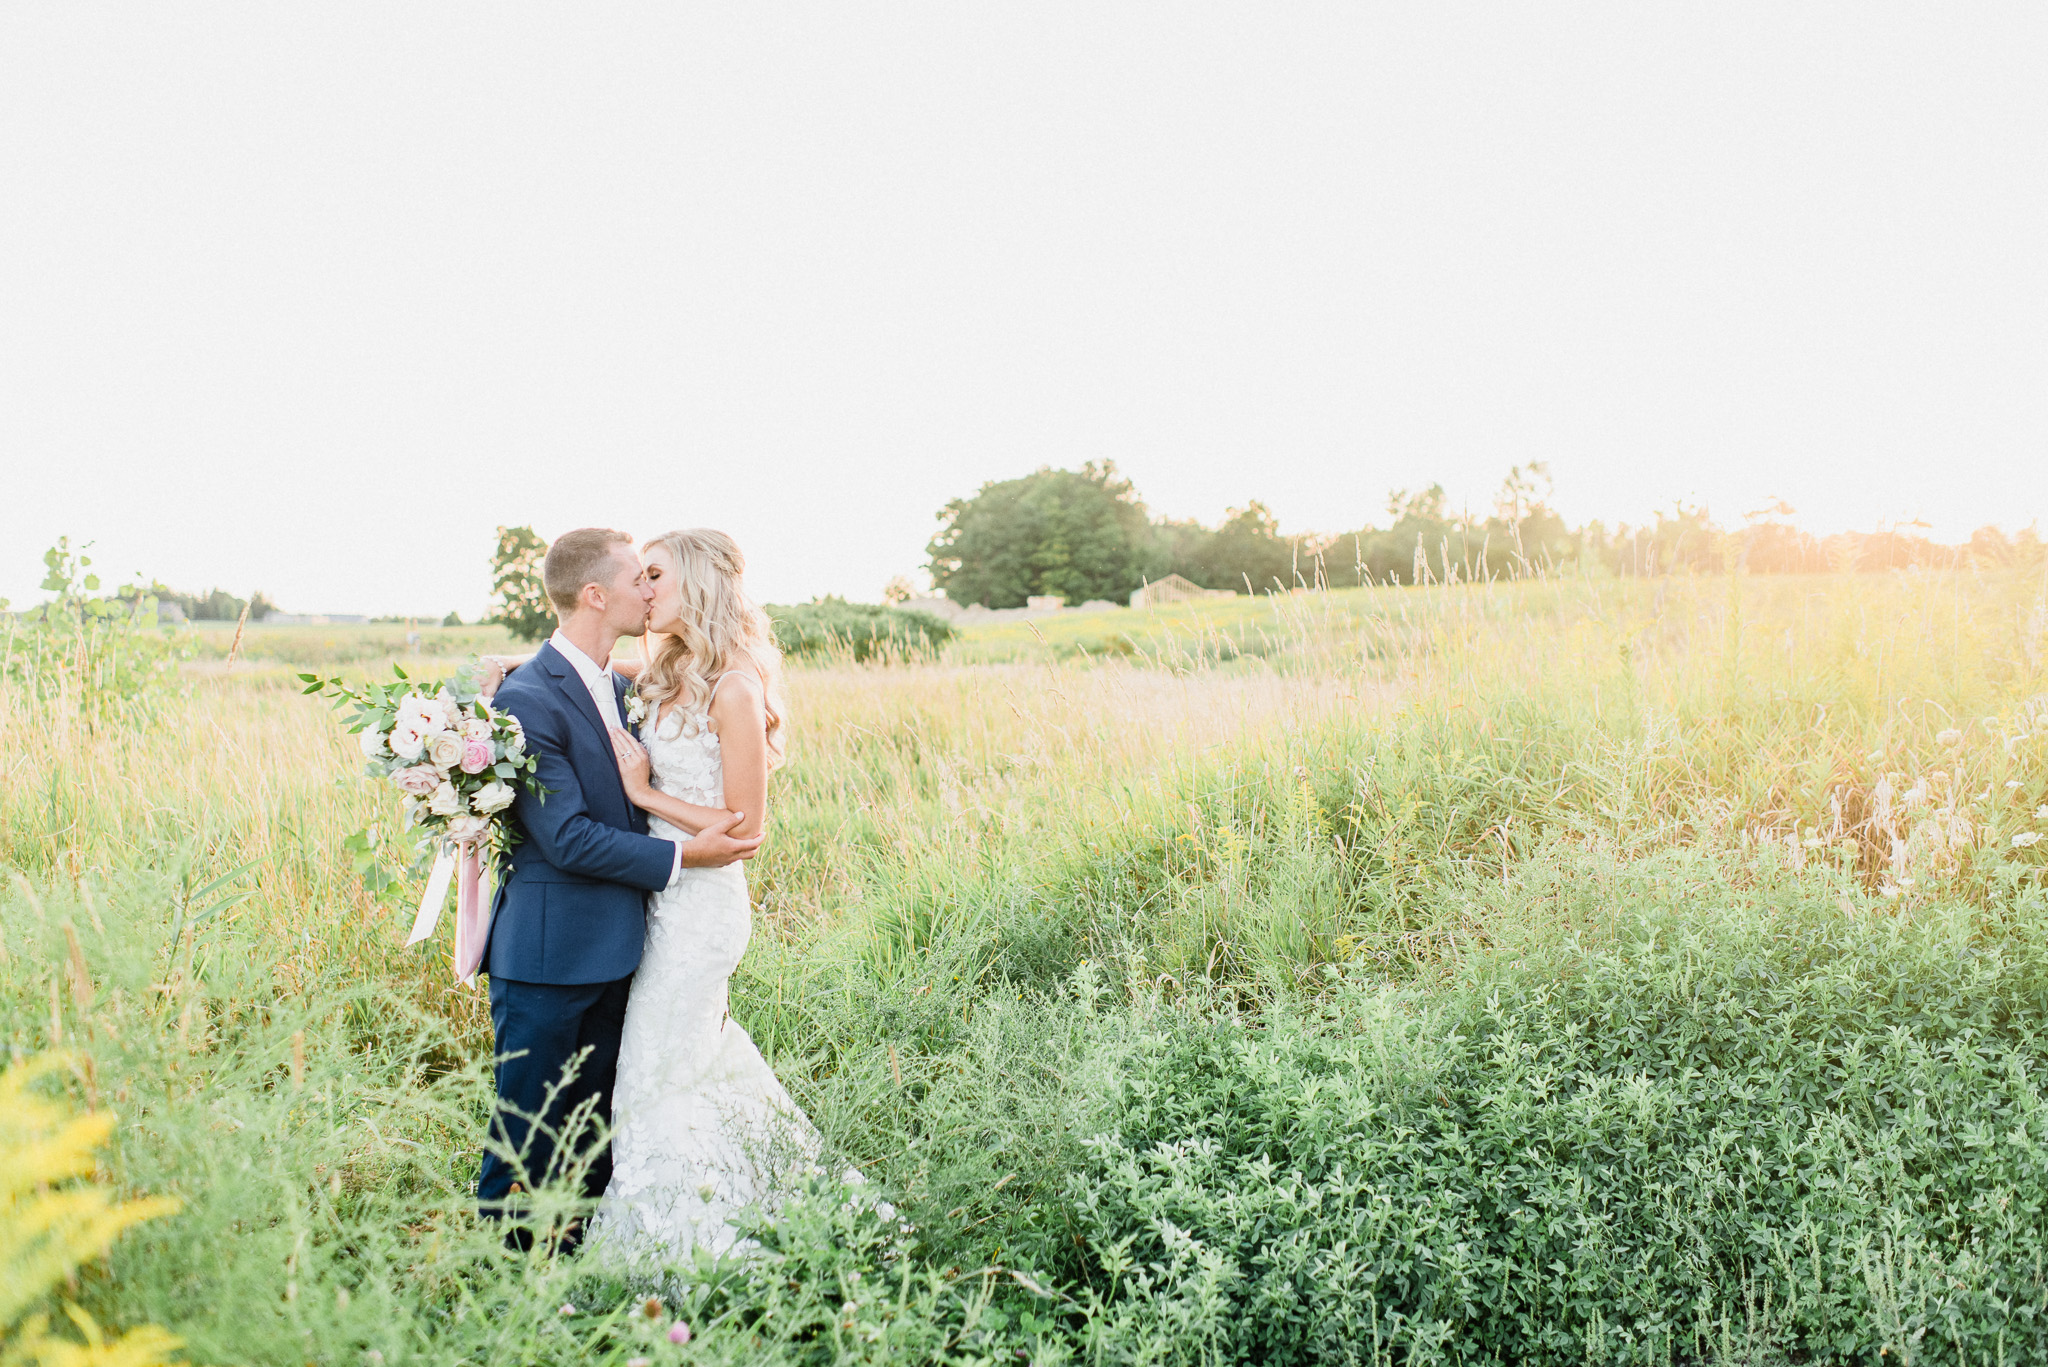
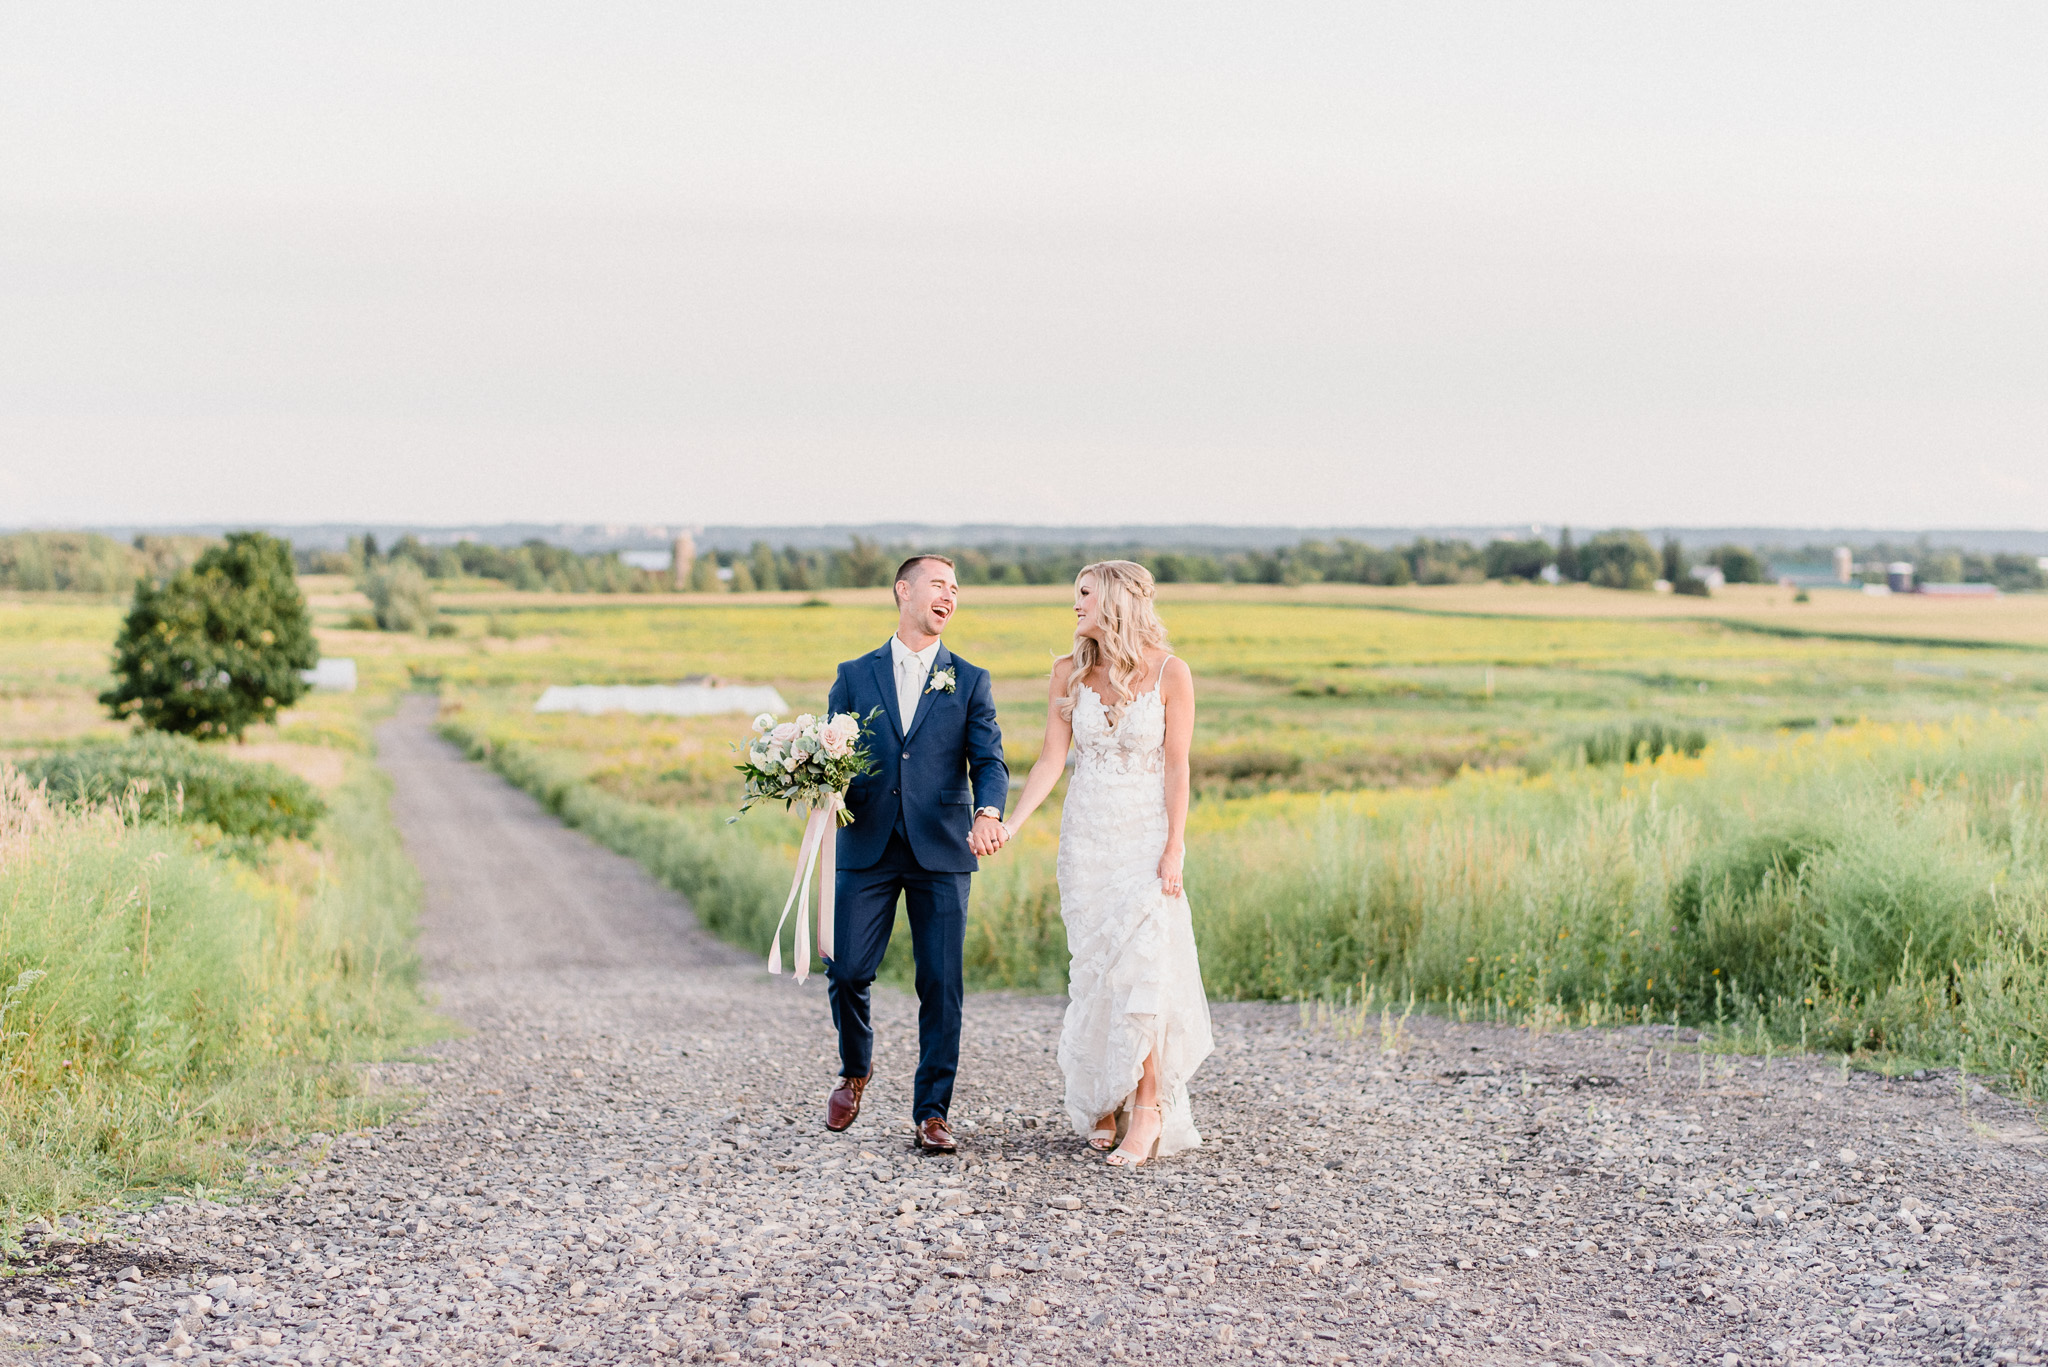
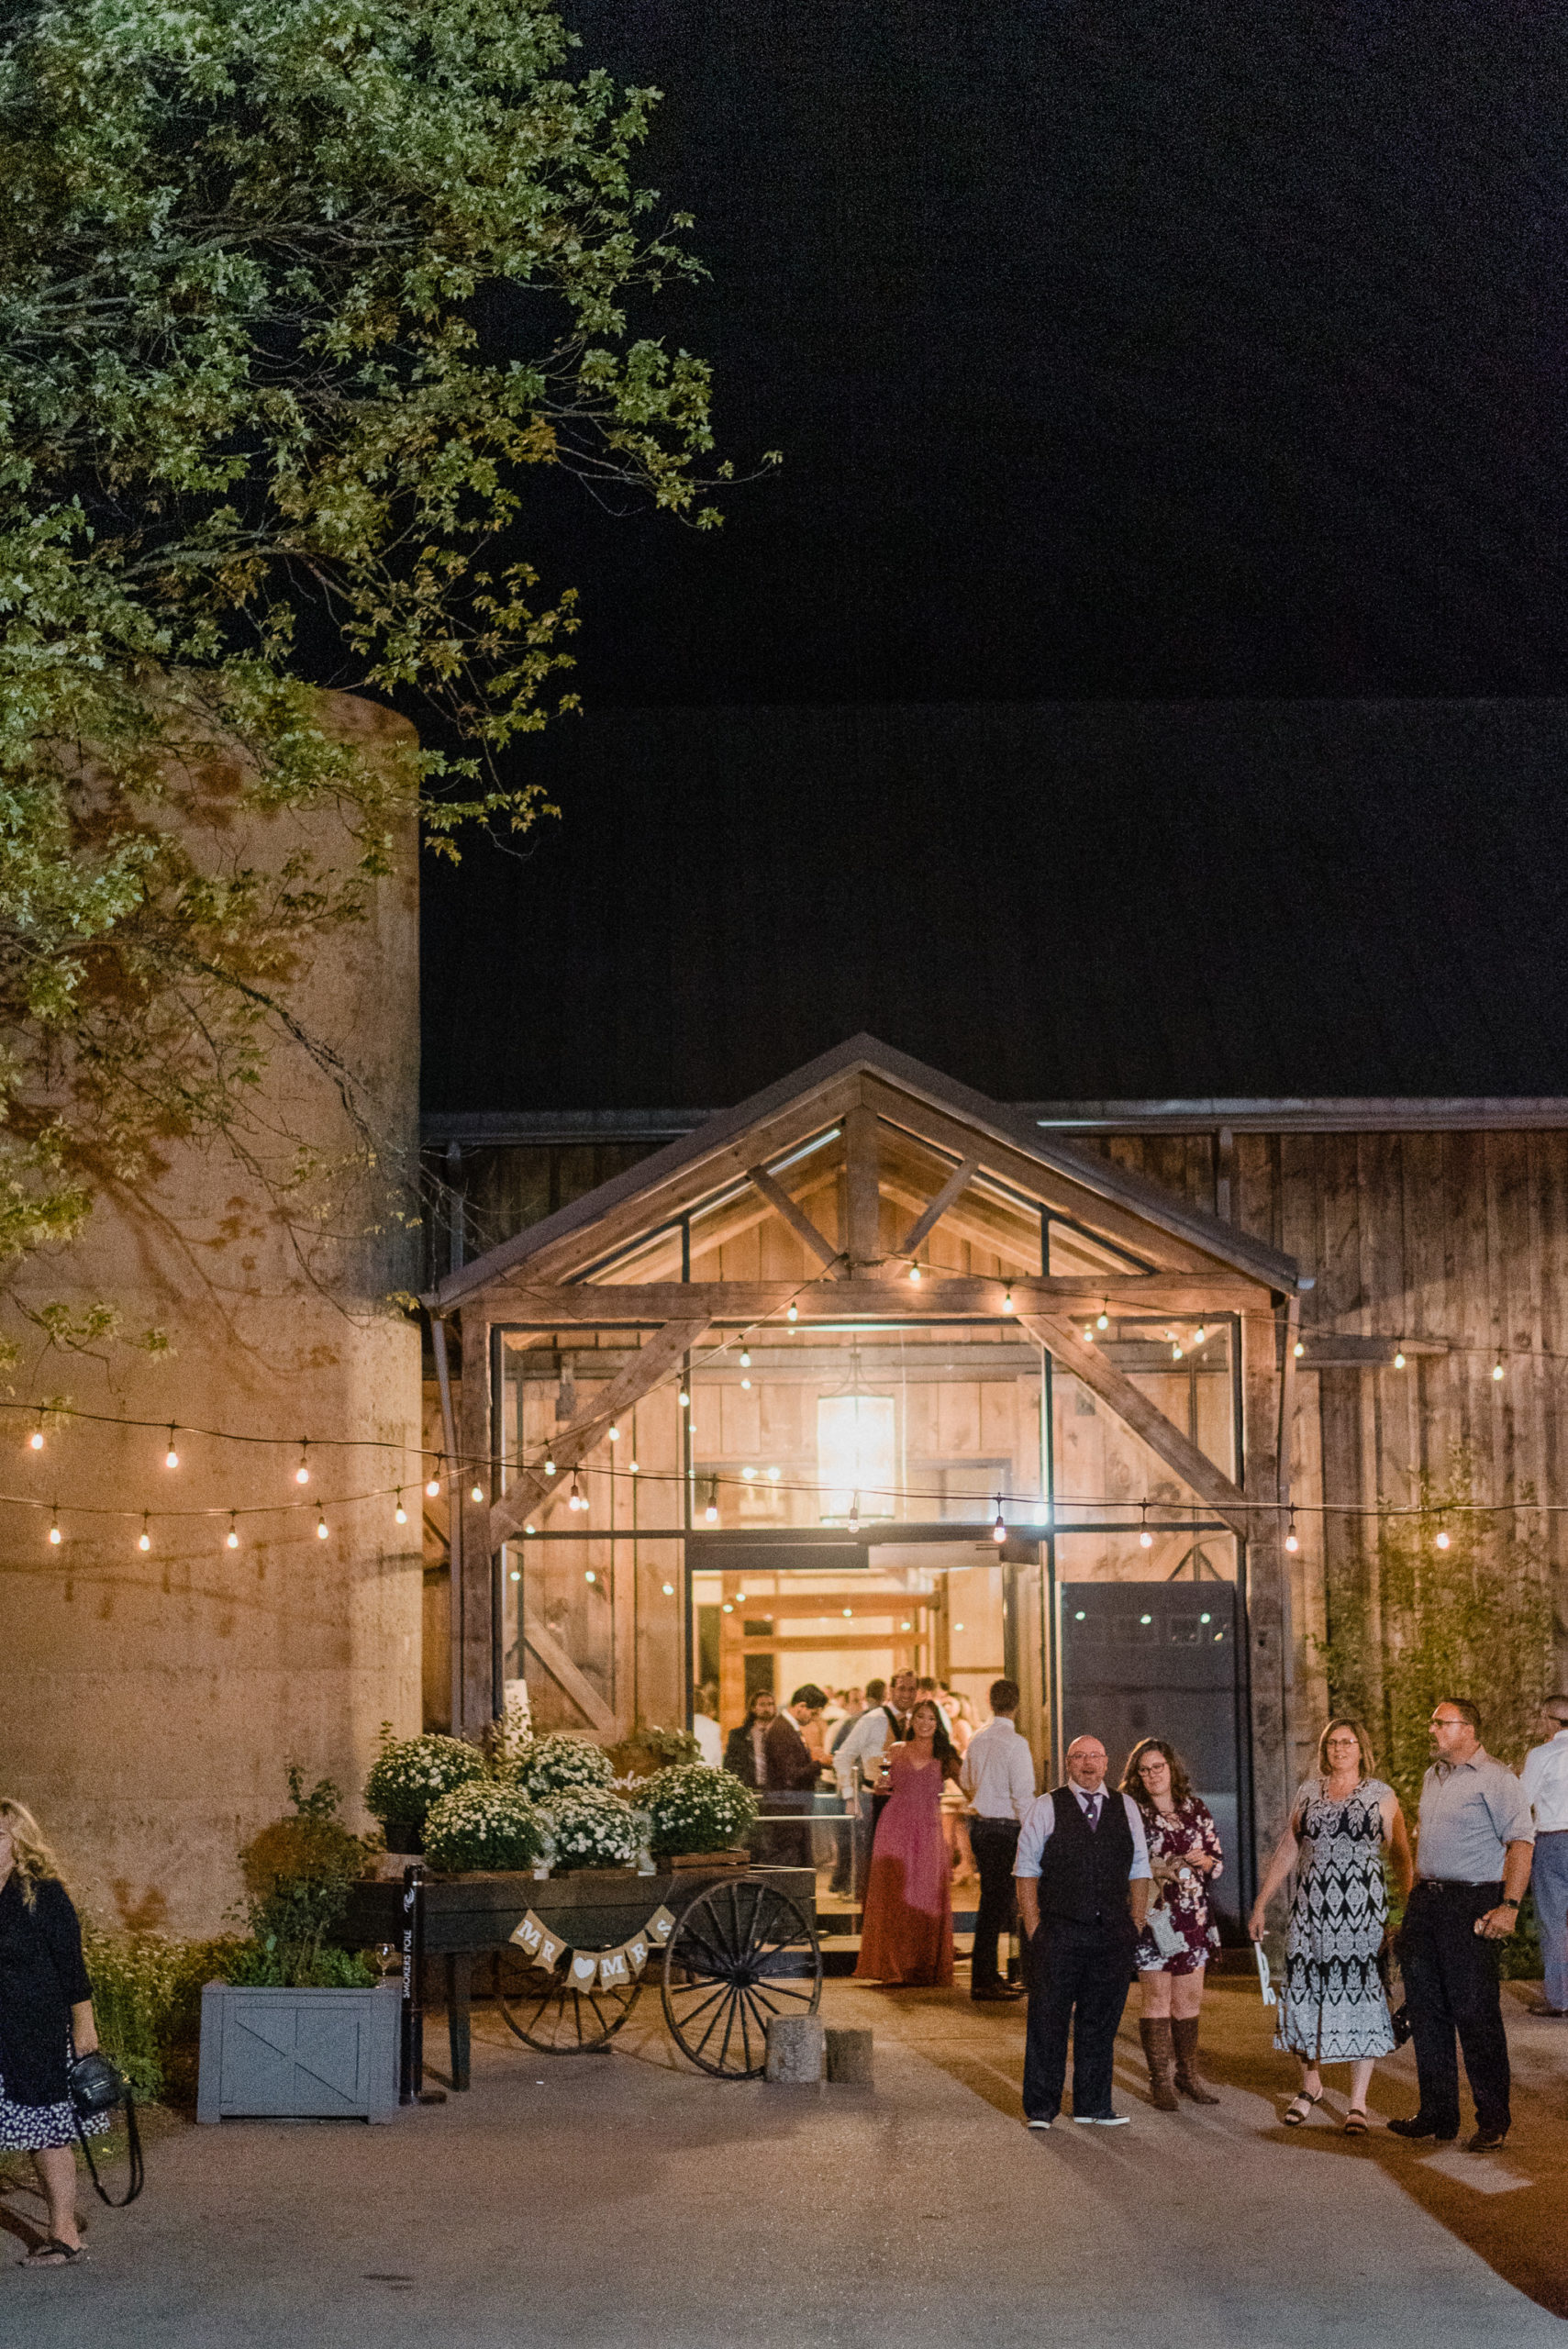
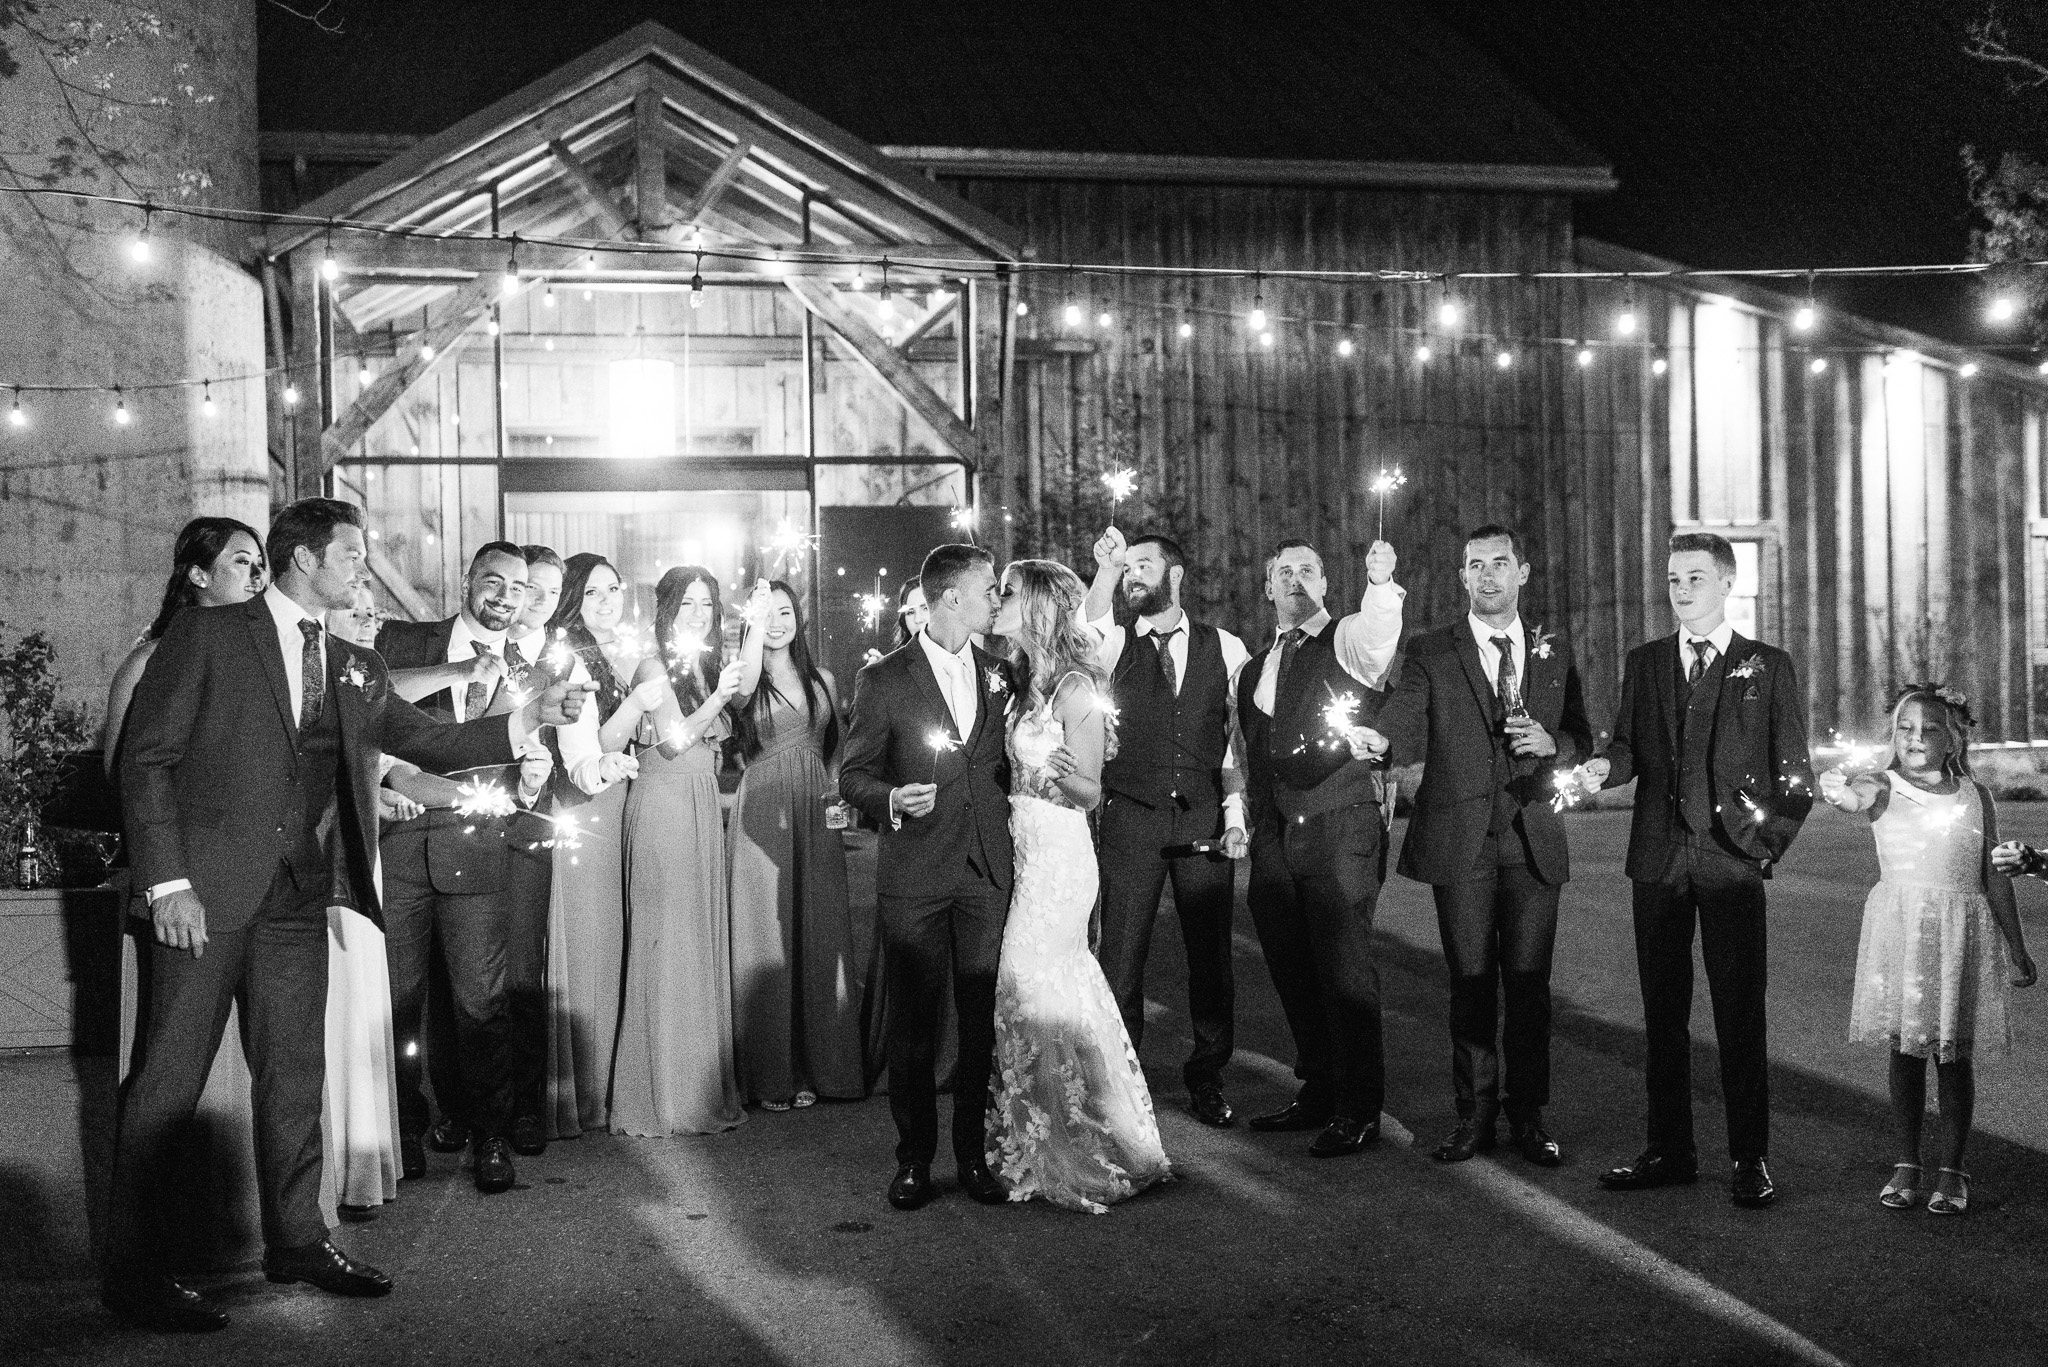
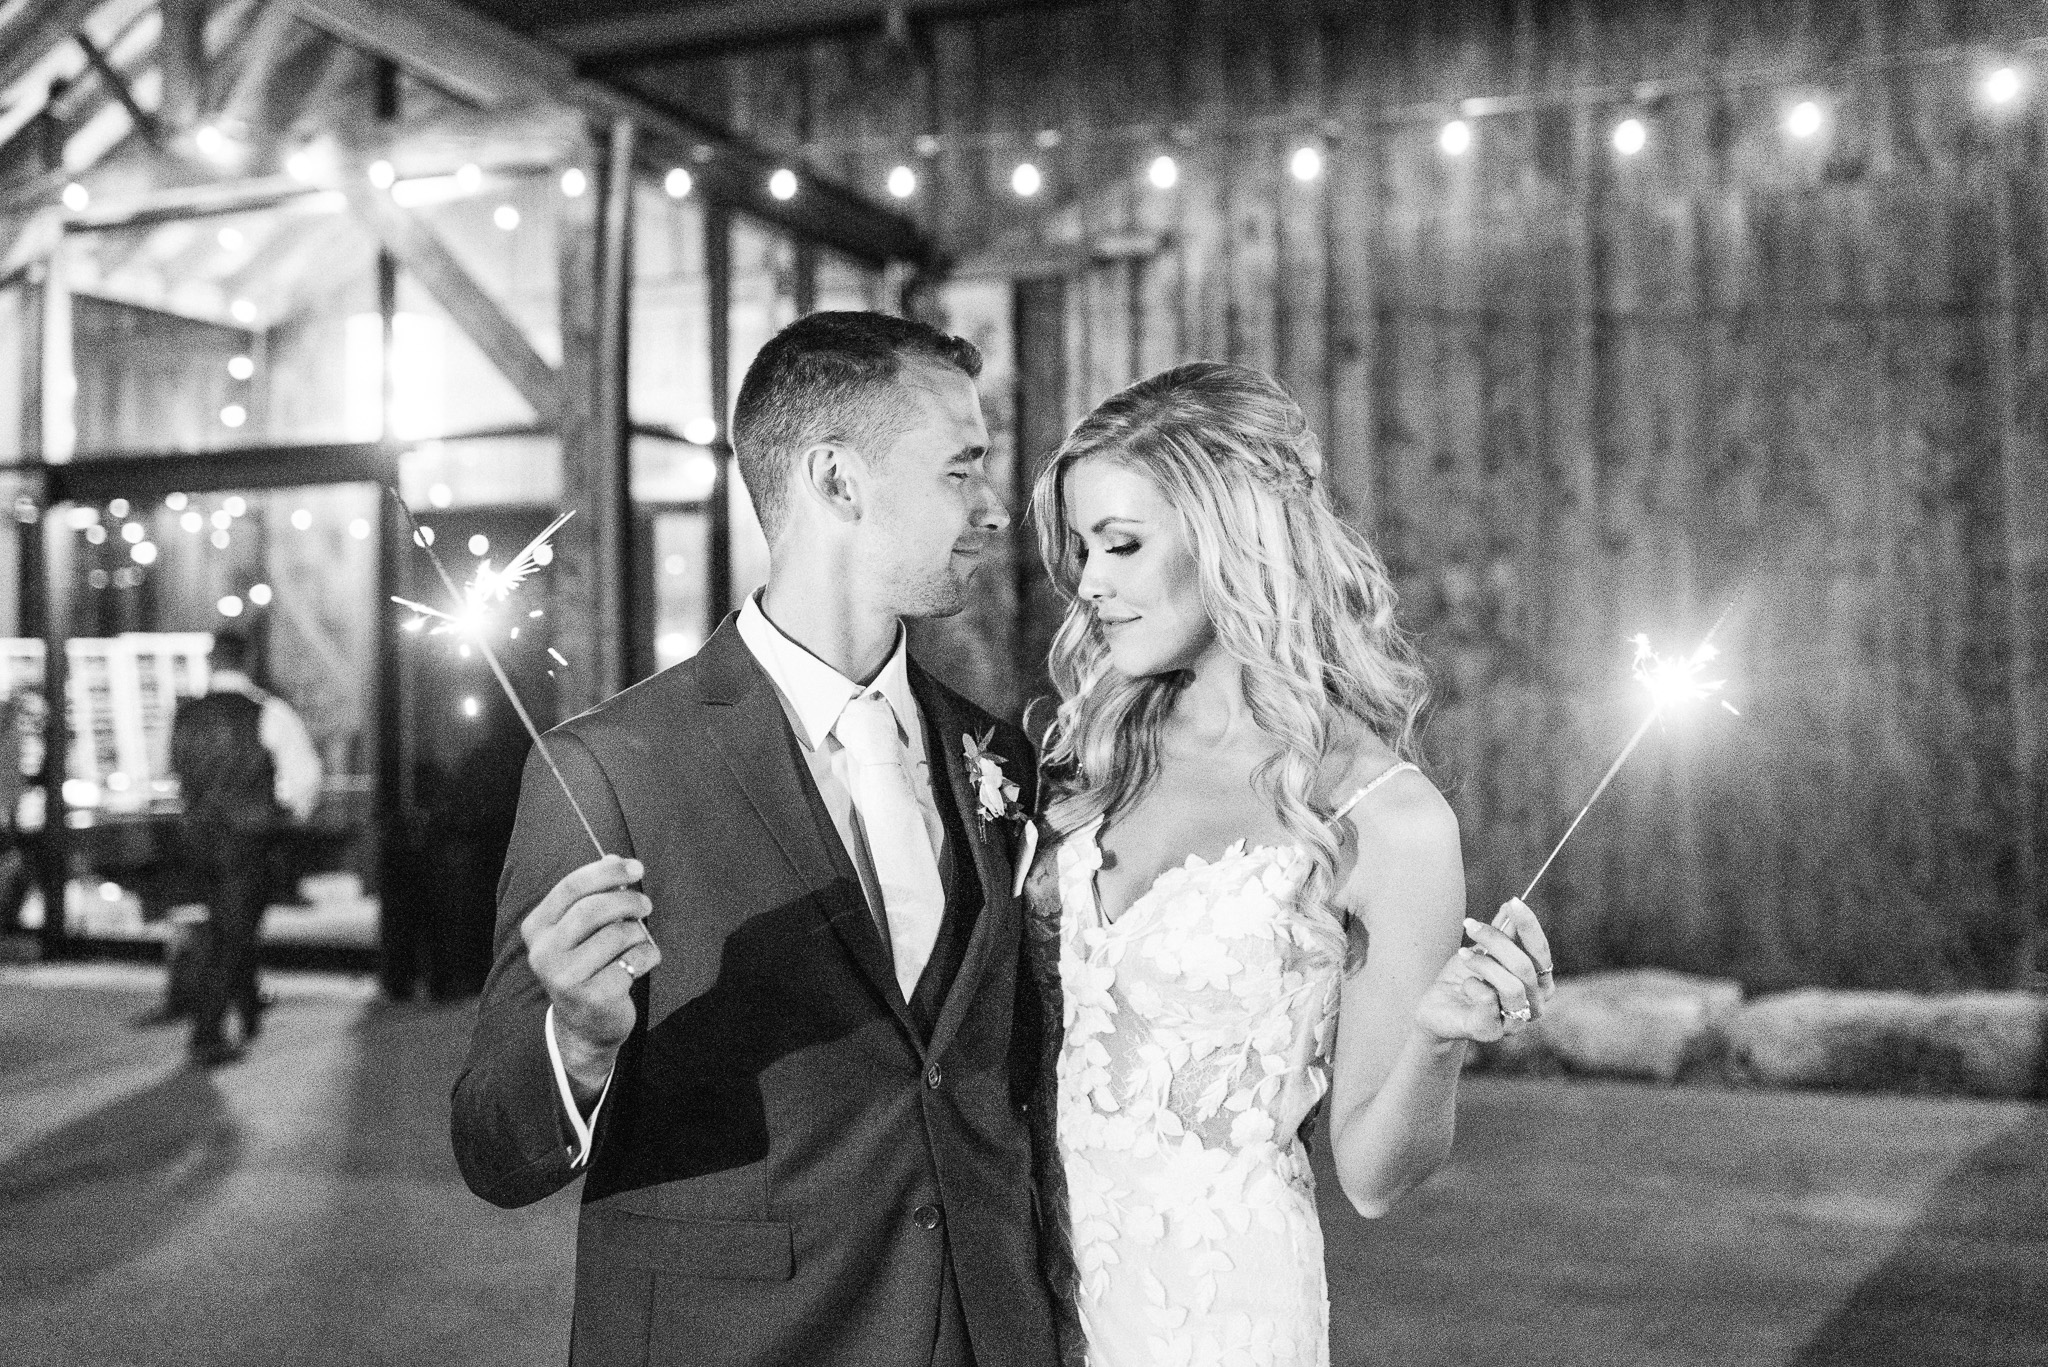
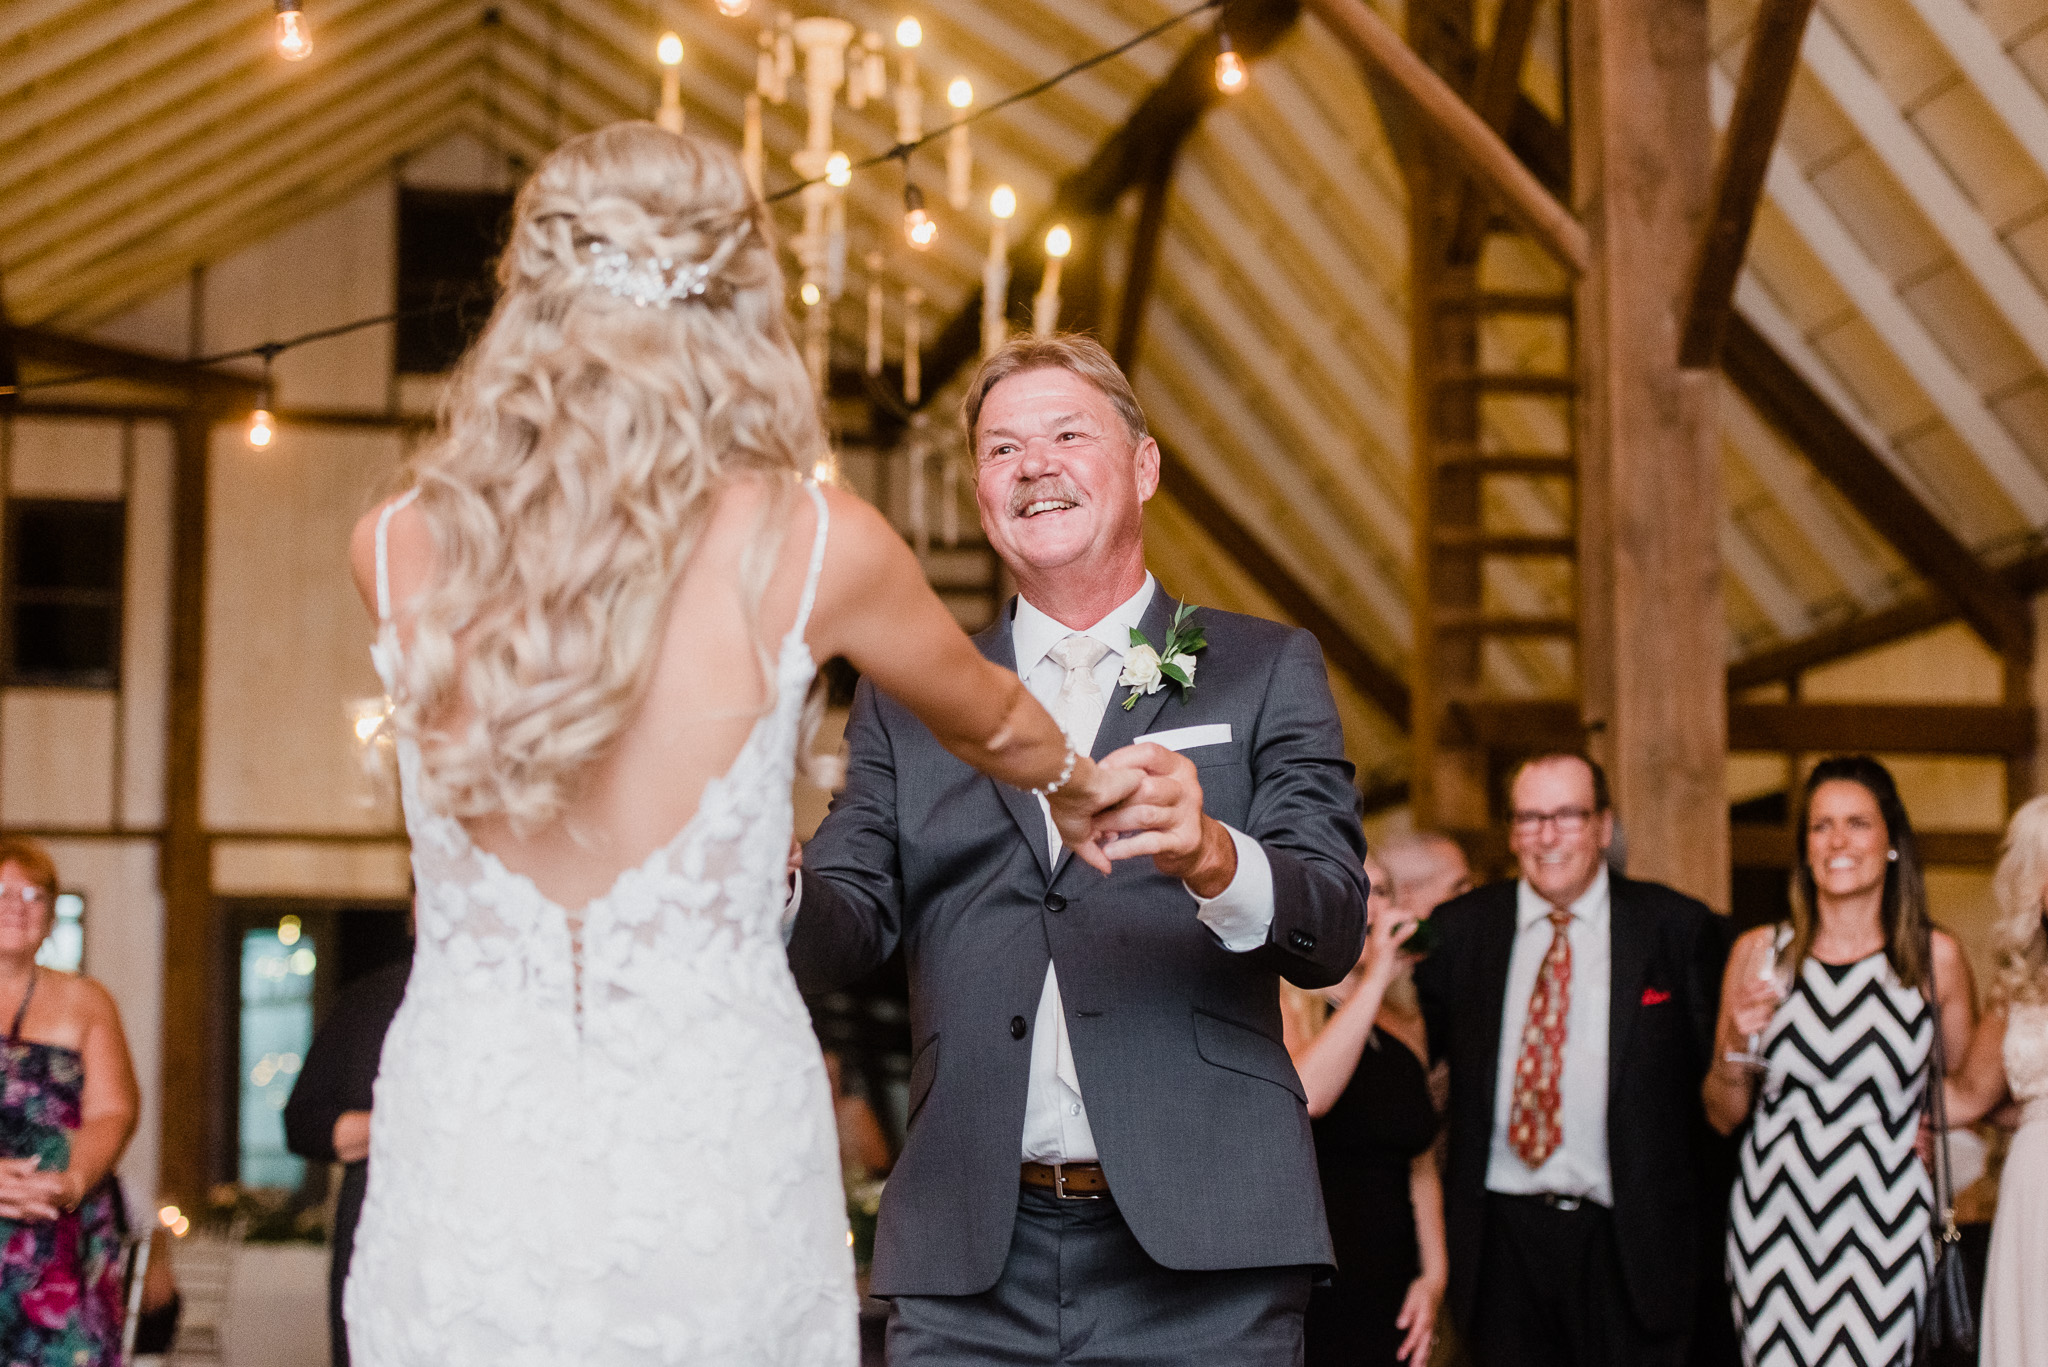
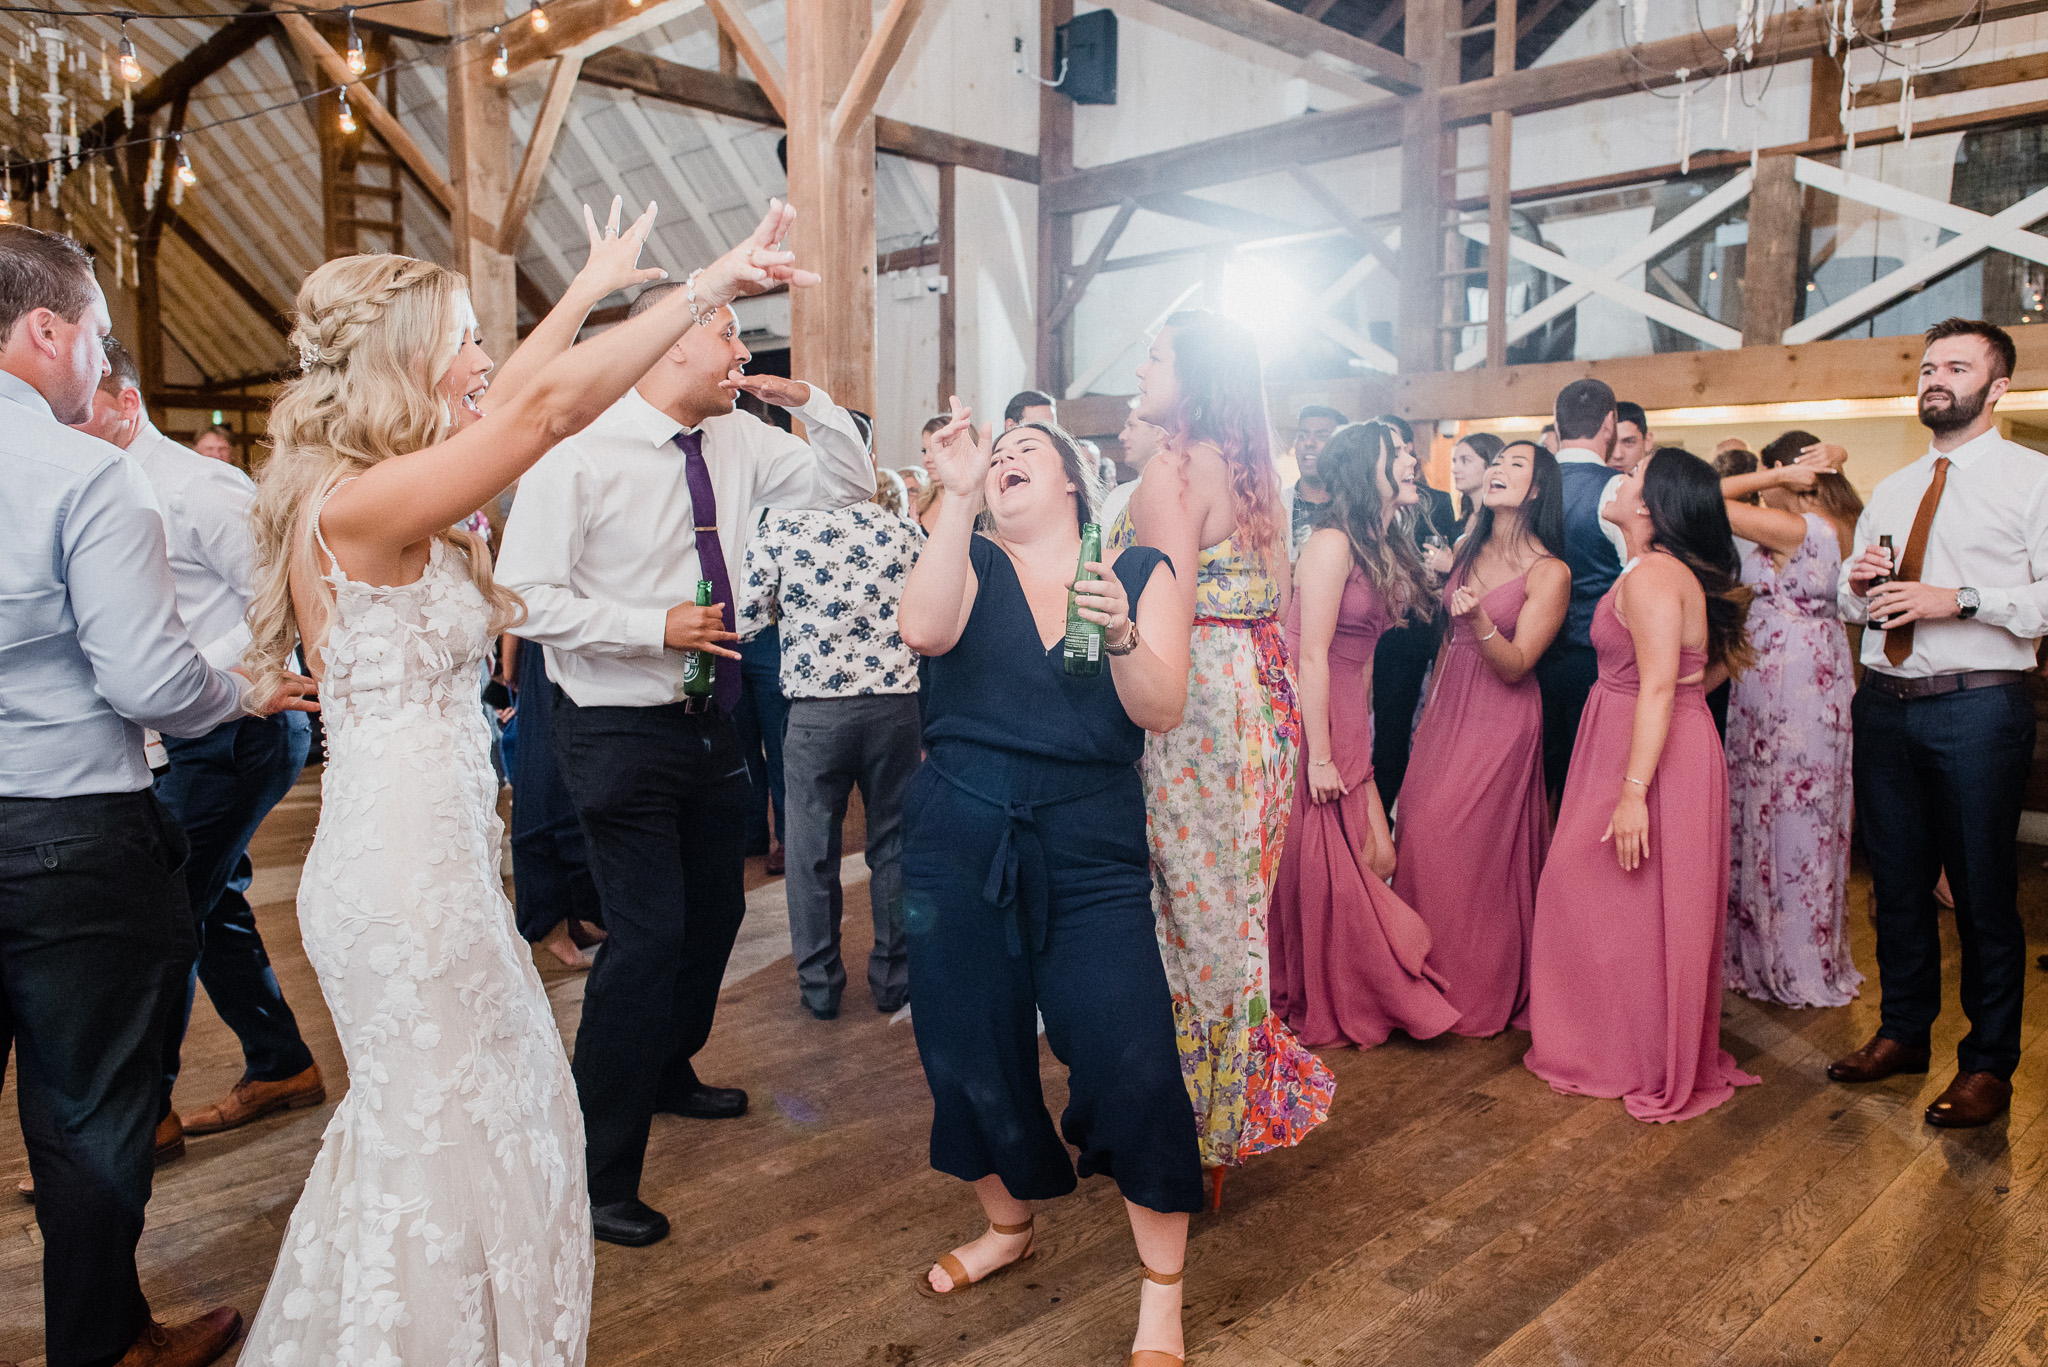
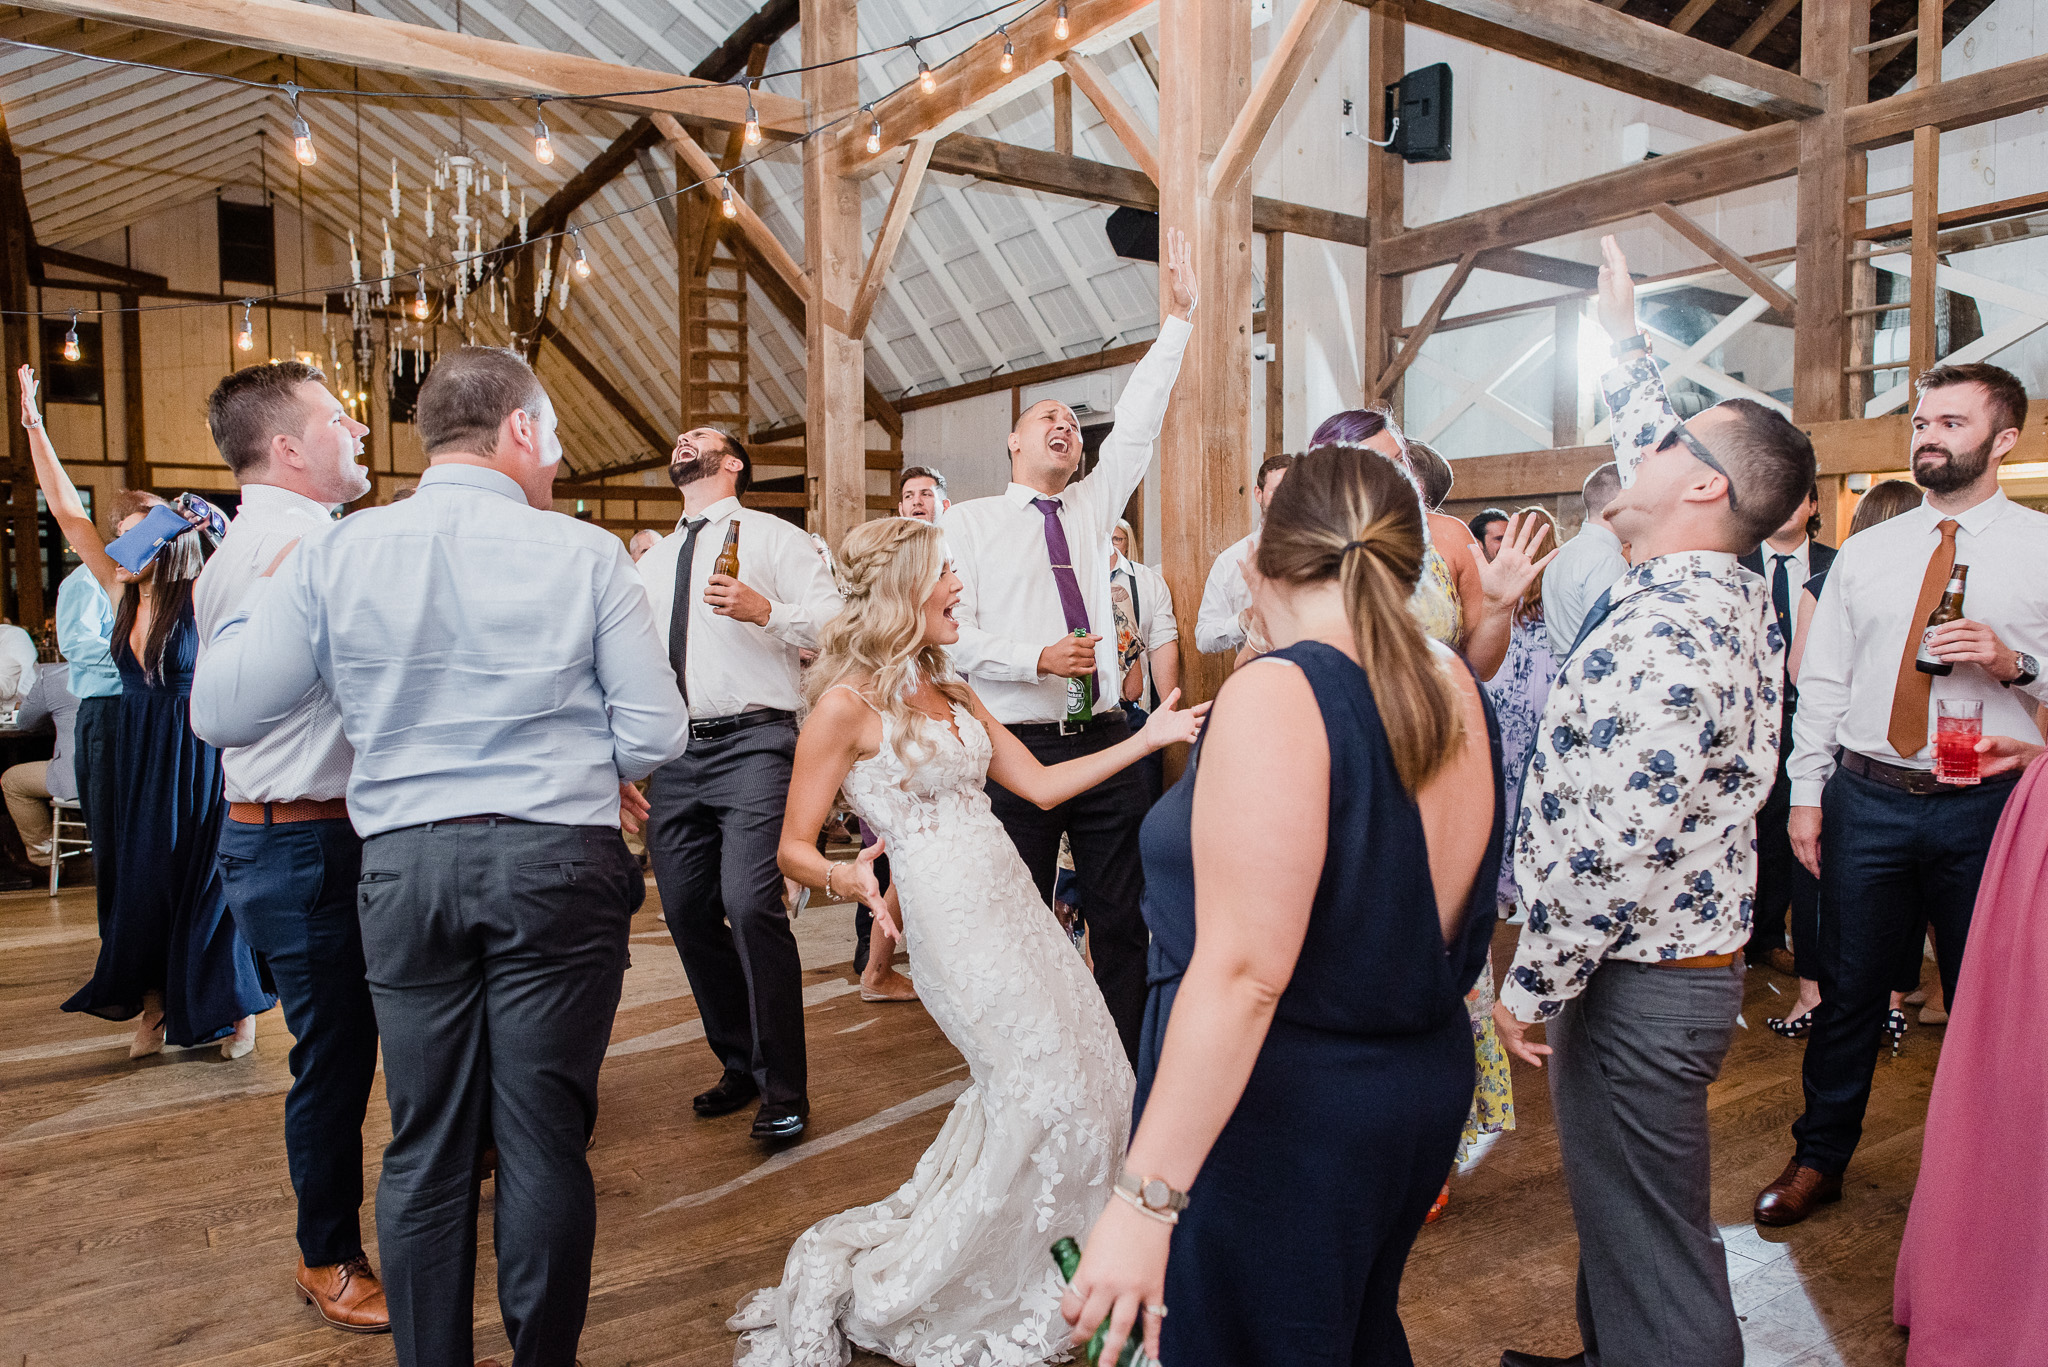
Today I’m sharing a little roundup list of what to do with your wedding photo collection, featuring wedding photos from a late August wedding at Earth to Table: The Farm in Millgrove! Sarah and Riley have kindly shared some photos of how they’ve incorporated their engagement and wedding photos around their home so far. Plenty of frames and loose prints of their favourite wedding moments! You can even spot some of these framed engagement photos in the background of Sarah’s getting ready photos. Don’t forget to scroll all the way through to check our their sweet vendor team, plus you can see the list of incredible DIYs that Sarah pulled off!
Without further adieu, read on to learn what I recommend to do with your wedding photos!
1. Have a Viewing Party!
-
- Assuming your photographer delivers your wedding photos to you in an online gallery (and if you’re one of my future couples, this is what you can expect from me!) you are in a great position to complete step one: have a viewing party!
-
- -Find an evening where you and your spouse can sit down together, uninterrupted, to view your entire wedding photo collection together.
-
- -I recommend viewing each individual photo, rather than scrolling through a gallery like a Pinterest board. If your photographer has prepared a slideshow along with your gallery delivery like I usually do, this is great way to view them all in one cute package!
- -Once you’ve looked at them with each other, you could also do a viewing party with your families or wedding party! Your families and best buds will adore seeing the whole day relived, and they will also really love seeing photos of themselves (let’s be honest!)
- -Make it special with some wine, or perhaps whip up a batch of your signature wedding drink! Dim the lights, light up a candle, and get comfortable!
2. Choose Your Favourites
After you’ve looked through your whole gallery, go through the collection and select your absolute favourites. These are the ones that you might show people when they ask to see some wedding photos, or ones you know you’ll be printing later, or saving as your phone lock screen, etc. It really helps to have a smaller collection like this handy!
The gallery that I deliver to my clients has a super simple ‘favourites’ list feature that you can add and remove photos from, make multiple lists for different purposes (one for your album selections, one for photos you want to share on social media, photos you plan to print, etc). If you share the gallery with your family, wedding party or guests, they can also make their own lists!
3. Download and Backup
Nothing stresses wedding photographers out more than seeing no downloads in your online gallery. I offer full download capabilities in my wedding galleries, with no watermark or limits on the size (you get it all, baby!) But- did you know that once you receive your online gallery, you are responsible for making sure that these digital memories are backed up and taken care of? Wedding photographers cannot guarantee that they’ll have access to these files forever, so it’s best to take your investment into your own hands.
Make sure you download the entire collection in the highest resolution you can, and save it in a few different spots. I recommend a cloud based storage service, like Google Drive, iCloud, Dropbox, etc! There are SO many options available, and most of them offer free subscriptions for smaller storage limits. I have my most important folders saved over a few different services, and it doesn’t hurt for your spouse to also back it up somewhere too! You can even ask your MOH/Best Man to pop a copy of it onto their drive as well.
If you received a USB with your images on it, that is a great spot to store images as a backup as well. But keep in mind that USB technology is already on it’s way out the door, and will soon be joining DVDs, CDs and floppy disks in tech heaven. So many devices no longer support USB drives so I wouldn’t recommend relying on this long term.
4. Print Your Photos
You had the perfect day, you hired a killer photographer- and now your images are sitting on a computer or in the cloud. Don’t let them go to waste and only see the light on day once a year when you post your anniversary on Instagram! Print those babies up!
Small prints like 4x6s and 5x7s can be popped into table top frames, stuck on the fridge, or tucked into mirror frames. This size is also great for sharing with your families and wedding party too! 8x10s and 11x14s can fill a small wall. I usually put these in those spaces between doorways and along hallway walls where you just need something small. They also look great leaning on a shelf, or as a part of a collection of frames on a wall. Larger than that needs a good frame and a big space- pick an epic photo for this. I usually like ones that are a bit of a wider shot, that show a bit more scenery.
5. Make an Album
Your last step is to order an album! I love to produce high quality, long lasting archival albums for my couples that look and feel amazing. The albums I offer my couples are locally sourced and handmade. This is the perfect way to have a ‘highlight reel’ to look at over the years, without having to pull up your gallery or saved folder on a device. Your future children and grandchildren will love looking through this!
If my couples prefer to go the DIY route with a more economical option, that is certainly available to them! I’m happy as long as these memories are printed somewhere and enjoyed off-screen, even if it isn’t ordered directly through me! There are many options for consumer albums, where you can design and order online and have shipped to you.
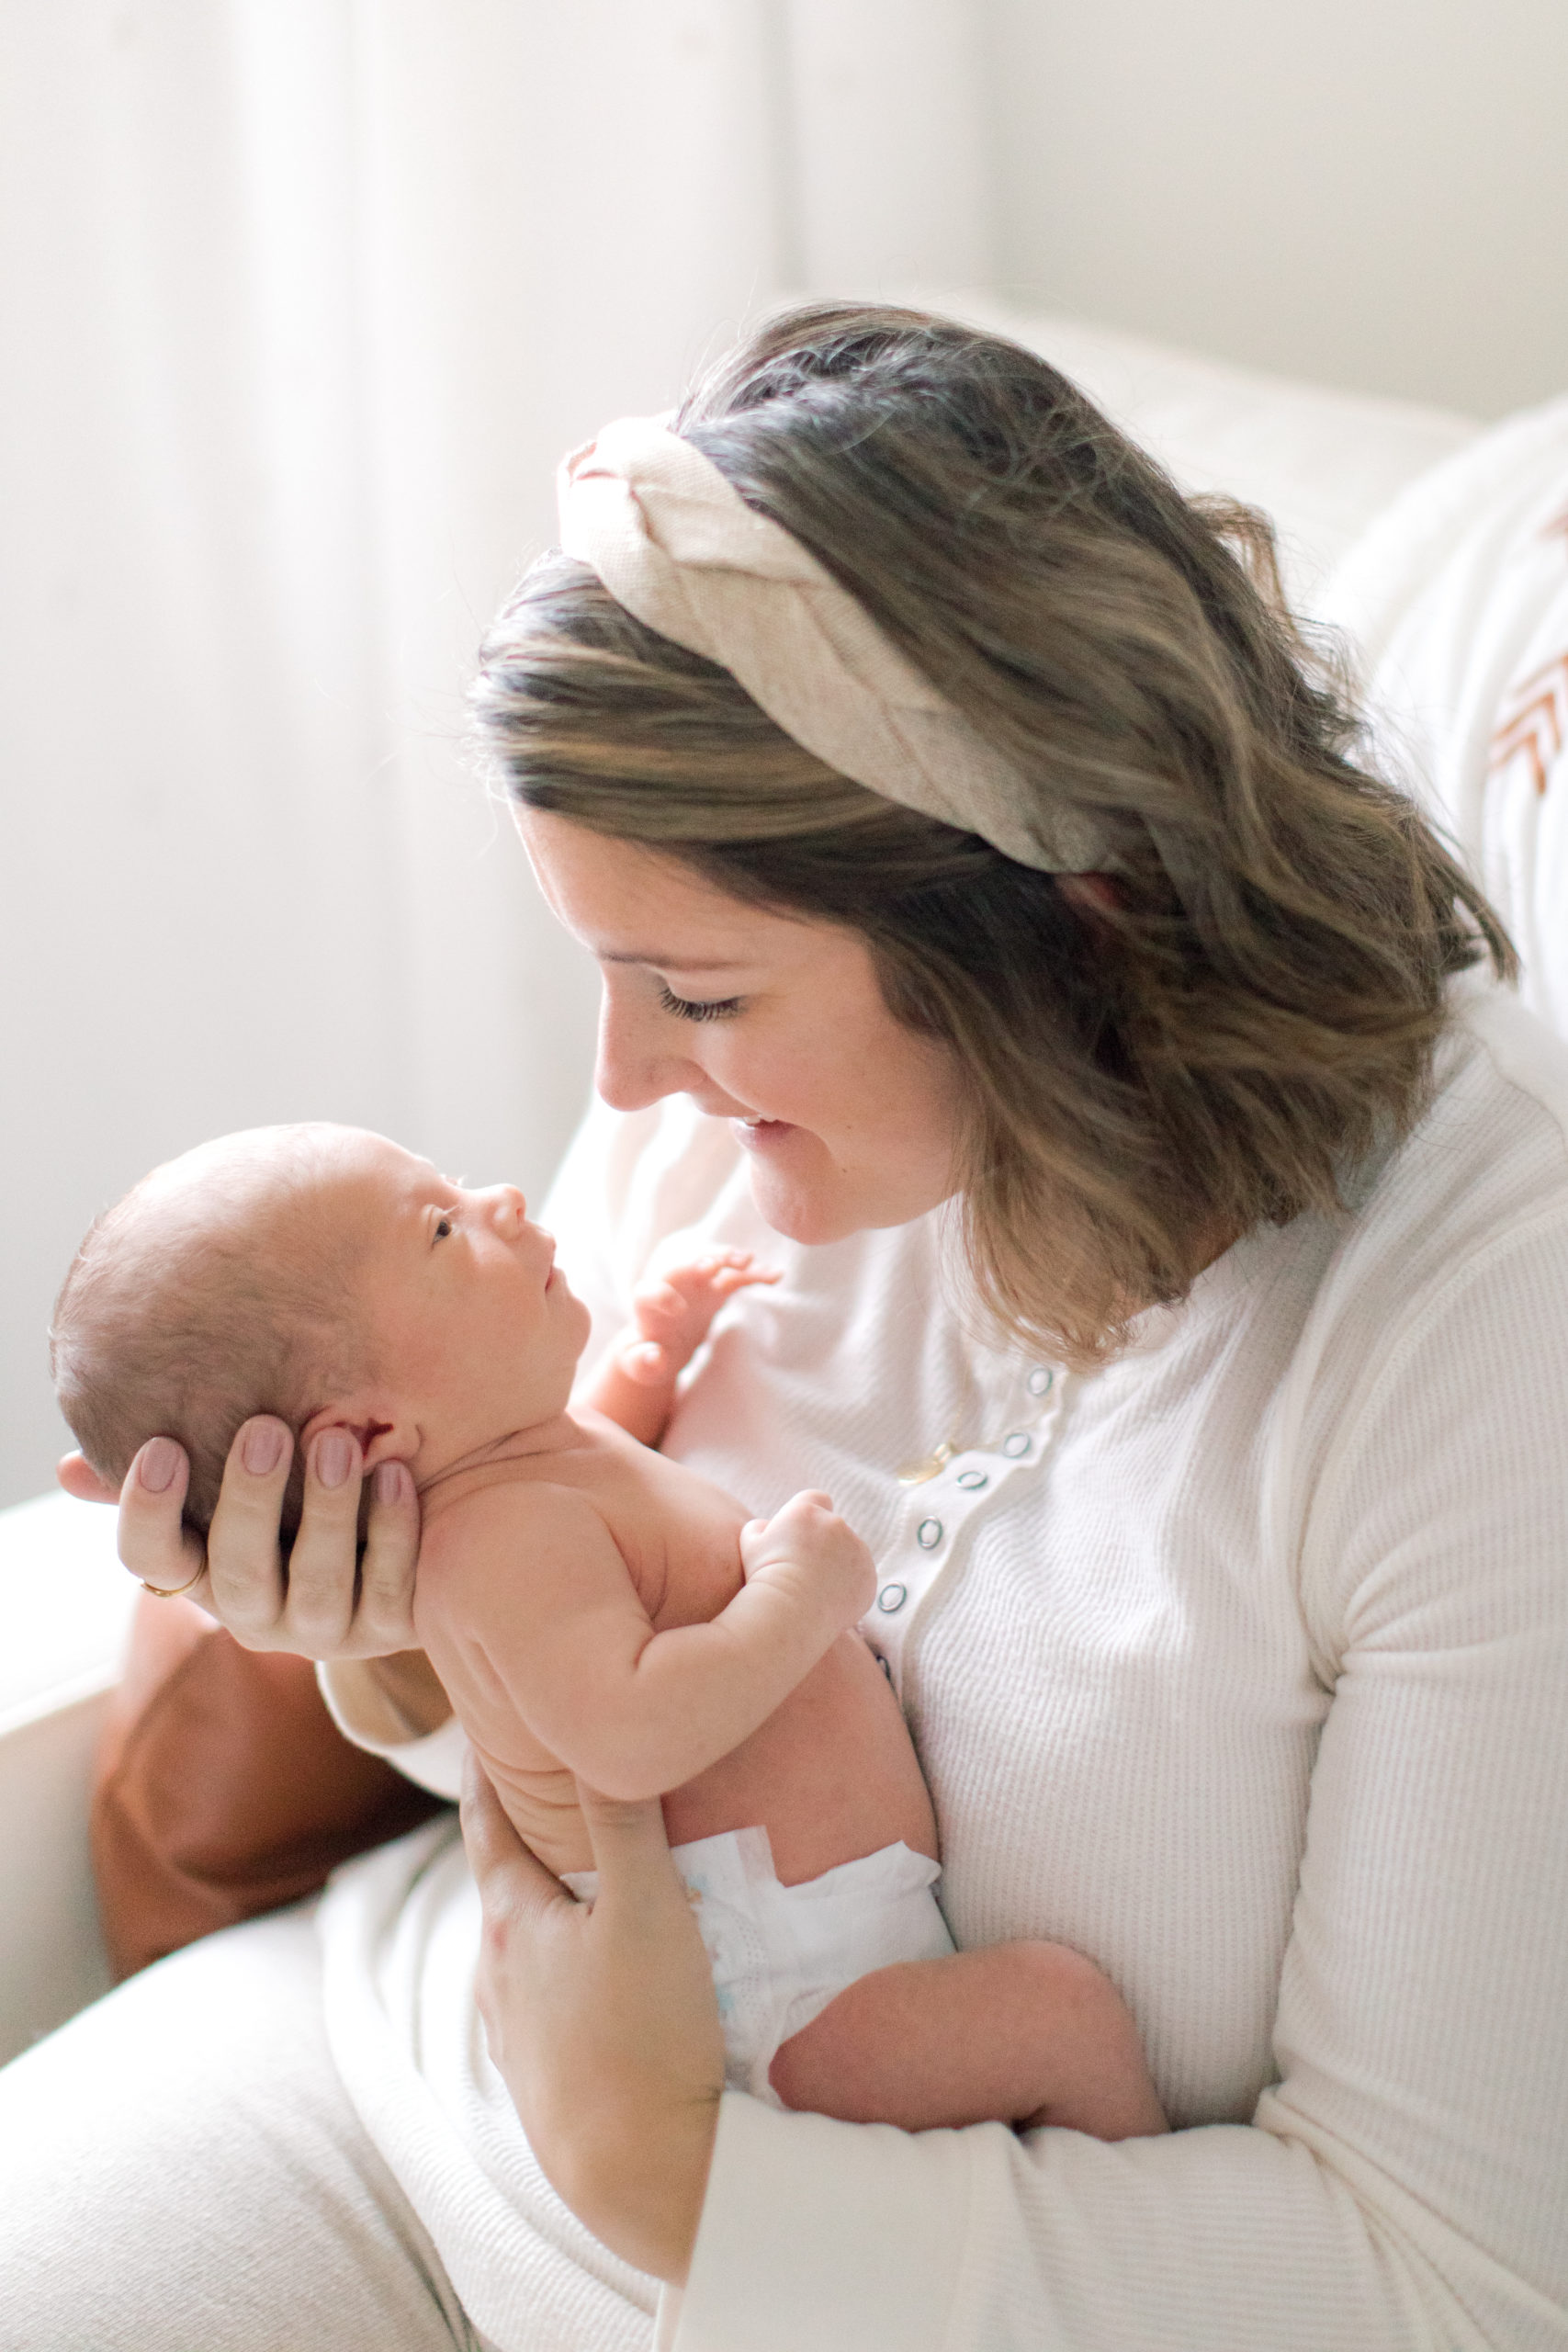
Whichever album route you take, I do recommend trying to complete this within one year of your wedding! After that, the project will really hang over your head and it’ll be on your to-do list forever. I find that this project really gets put on the back burner after you move homes, get a puppy, have a baby, etc! You are more likely to complete this while your wedding and newlywed excitement hasn’t worn off yet.
If you’d like to see more wedding photos from Earth to Table: The Farm, check out Anna and Mike’s wedding post!
Vendors:
Makeup: Costa Chic, Makeup by Missy
Hair: Elle Hair Design
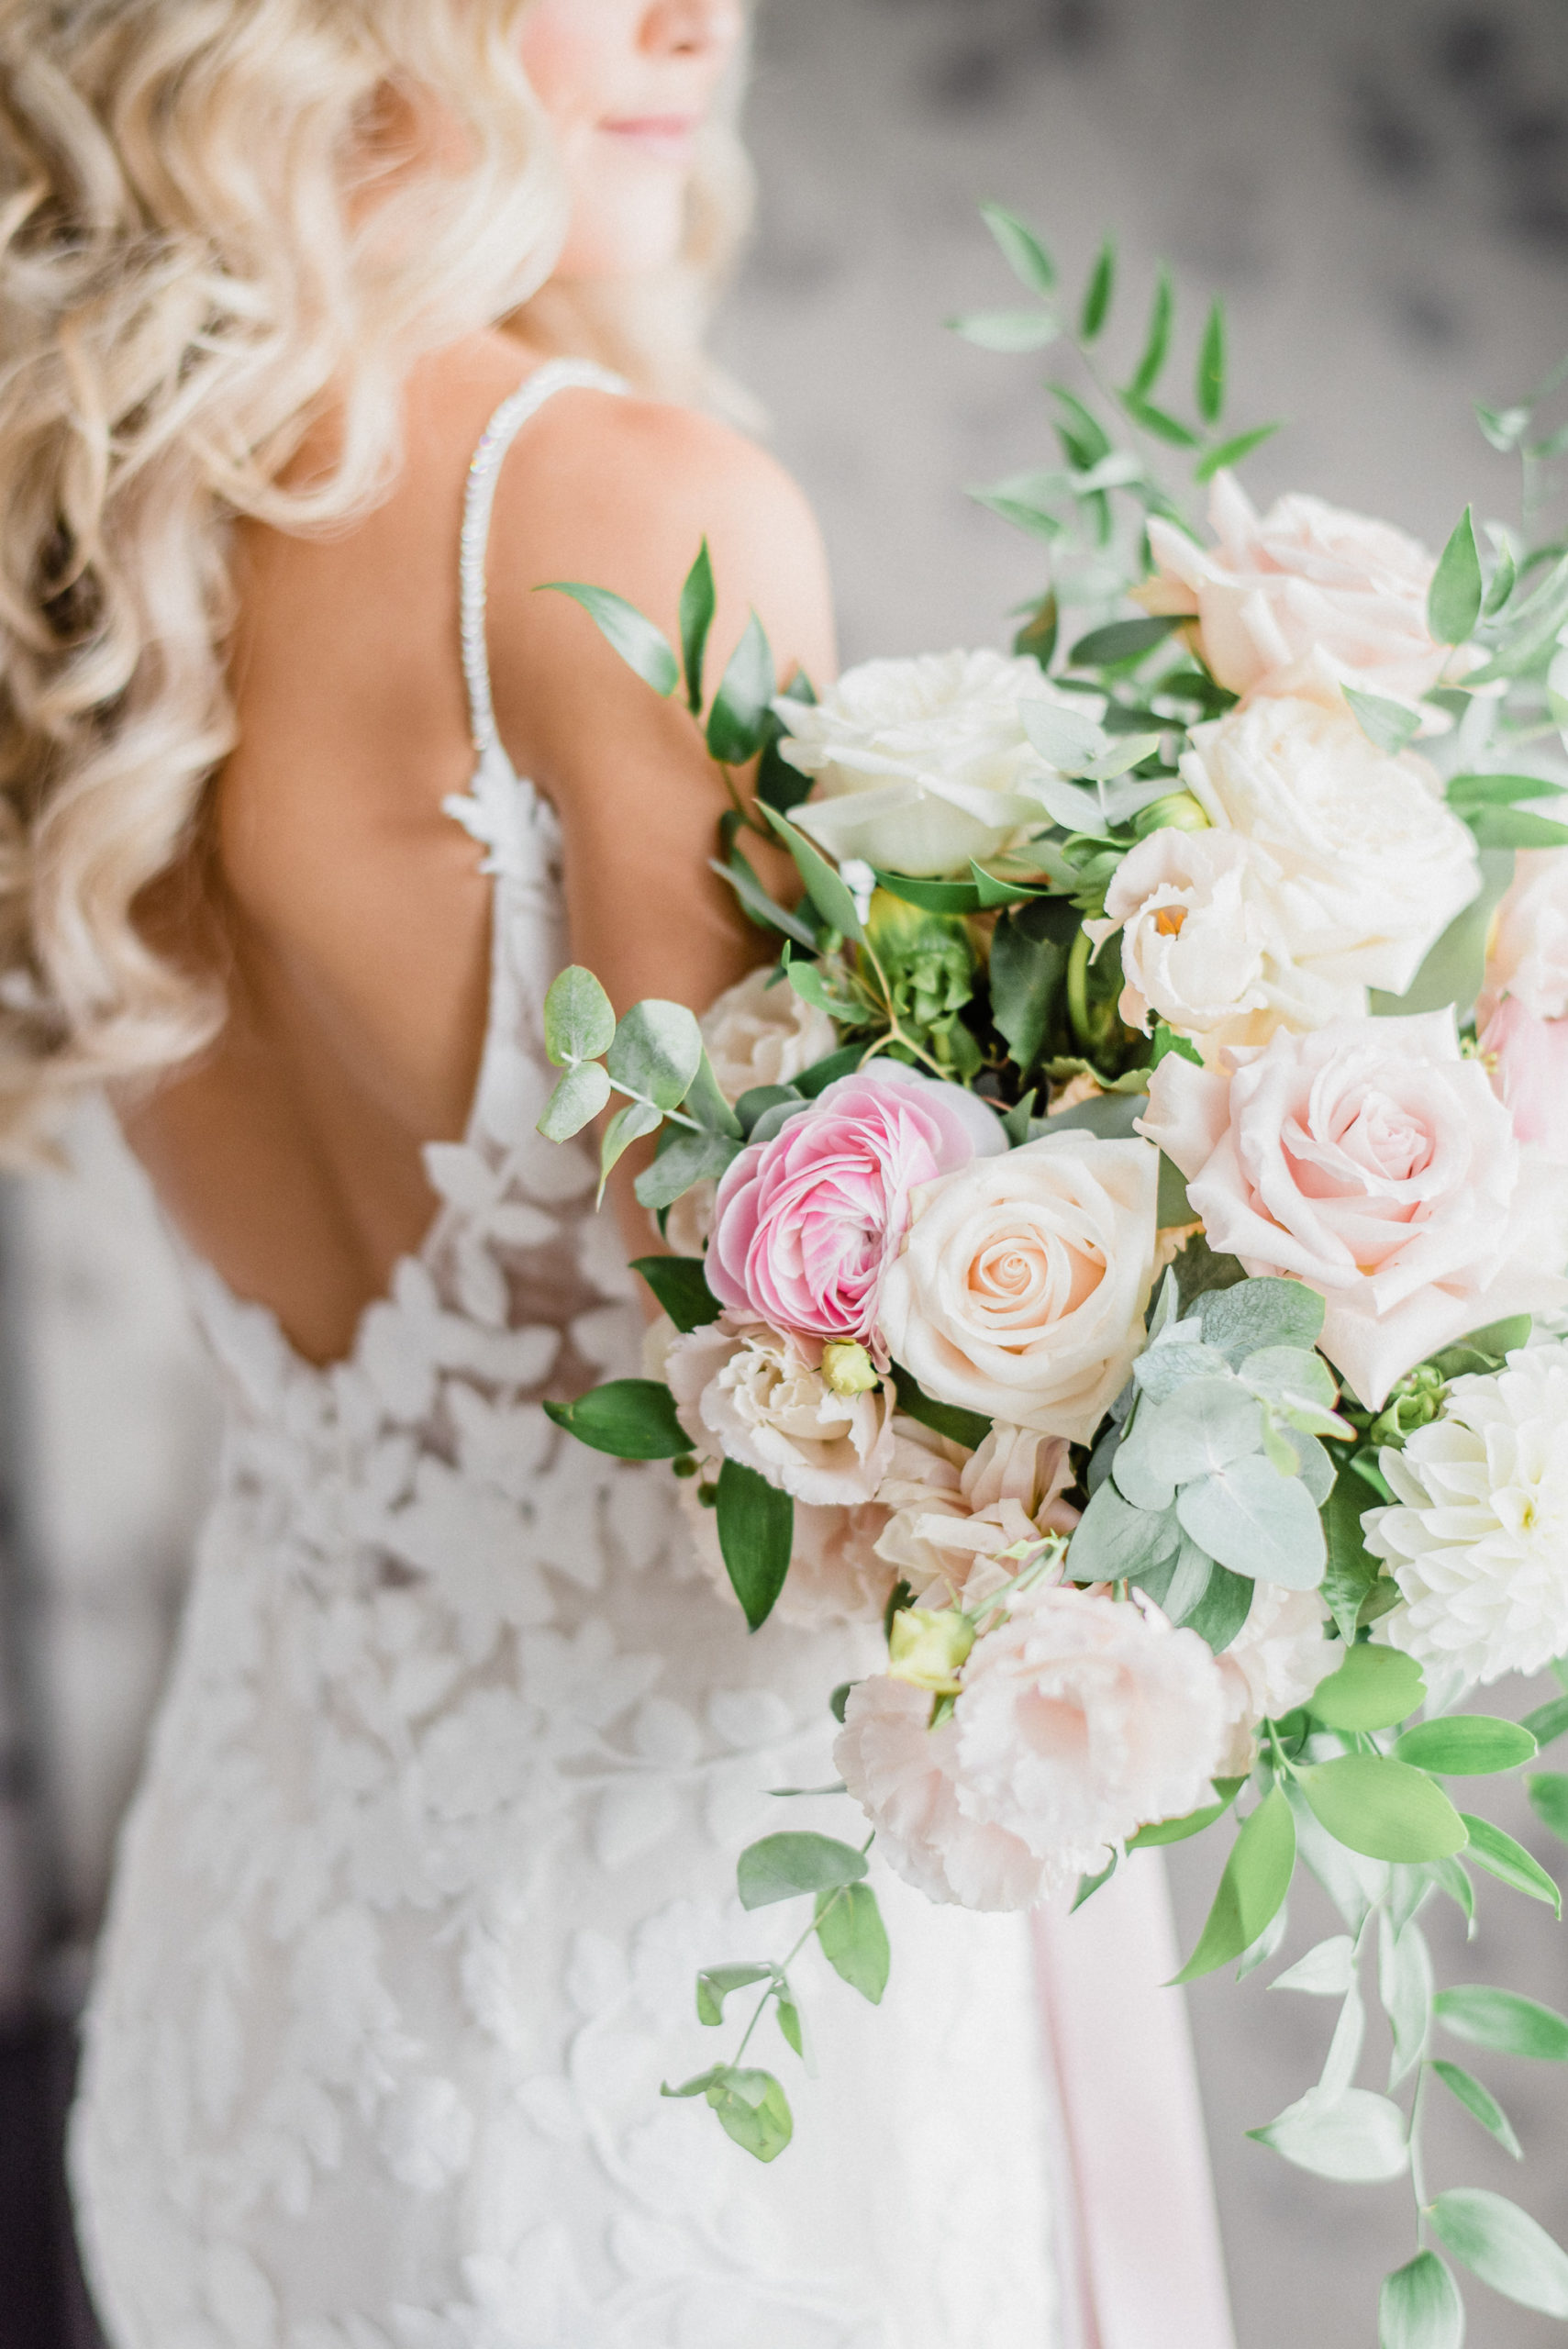
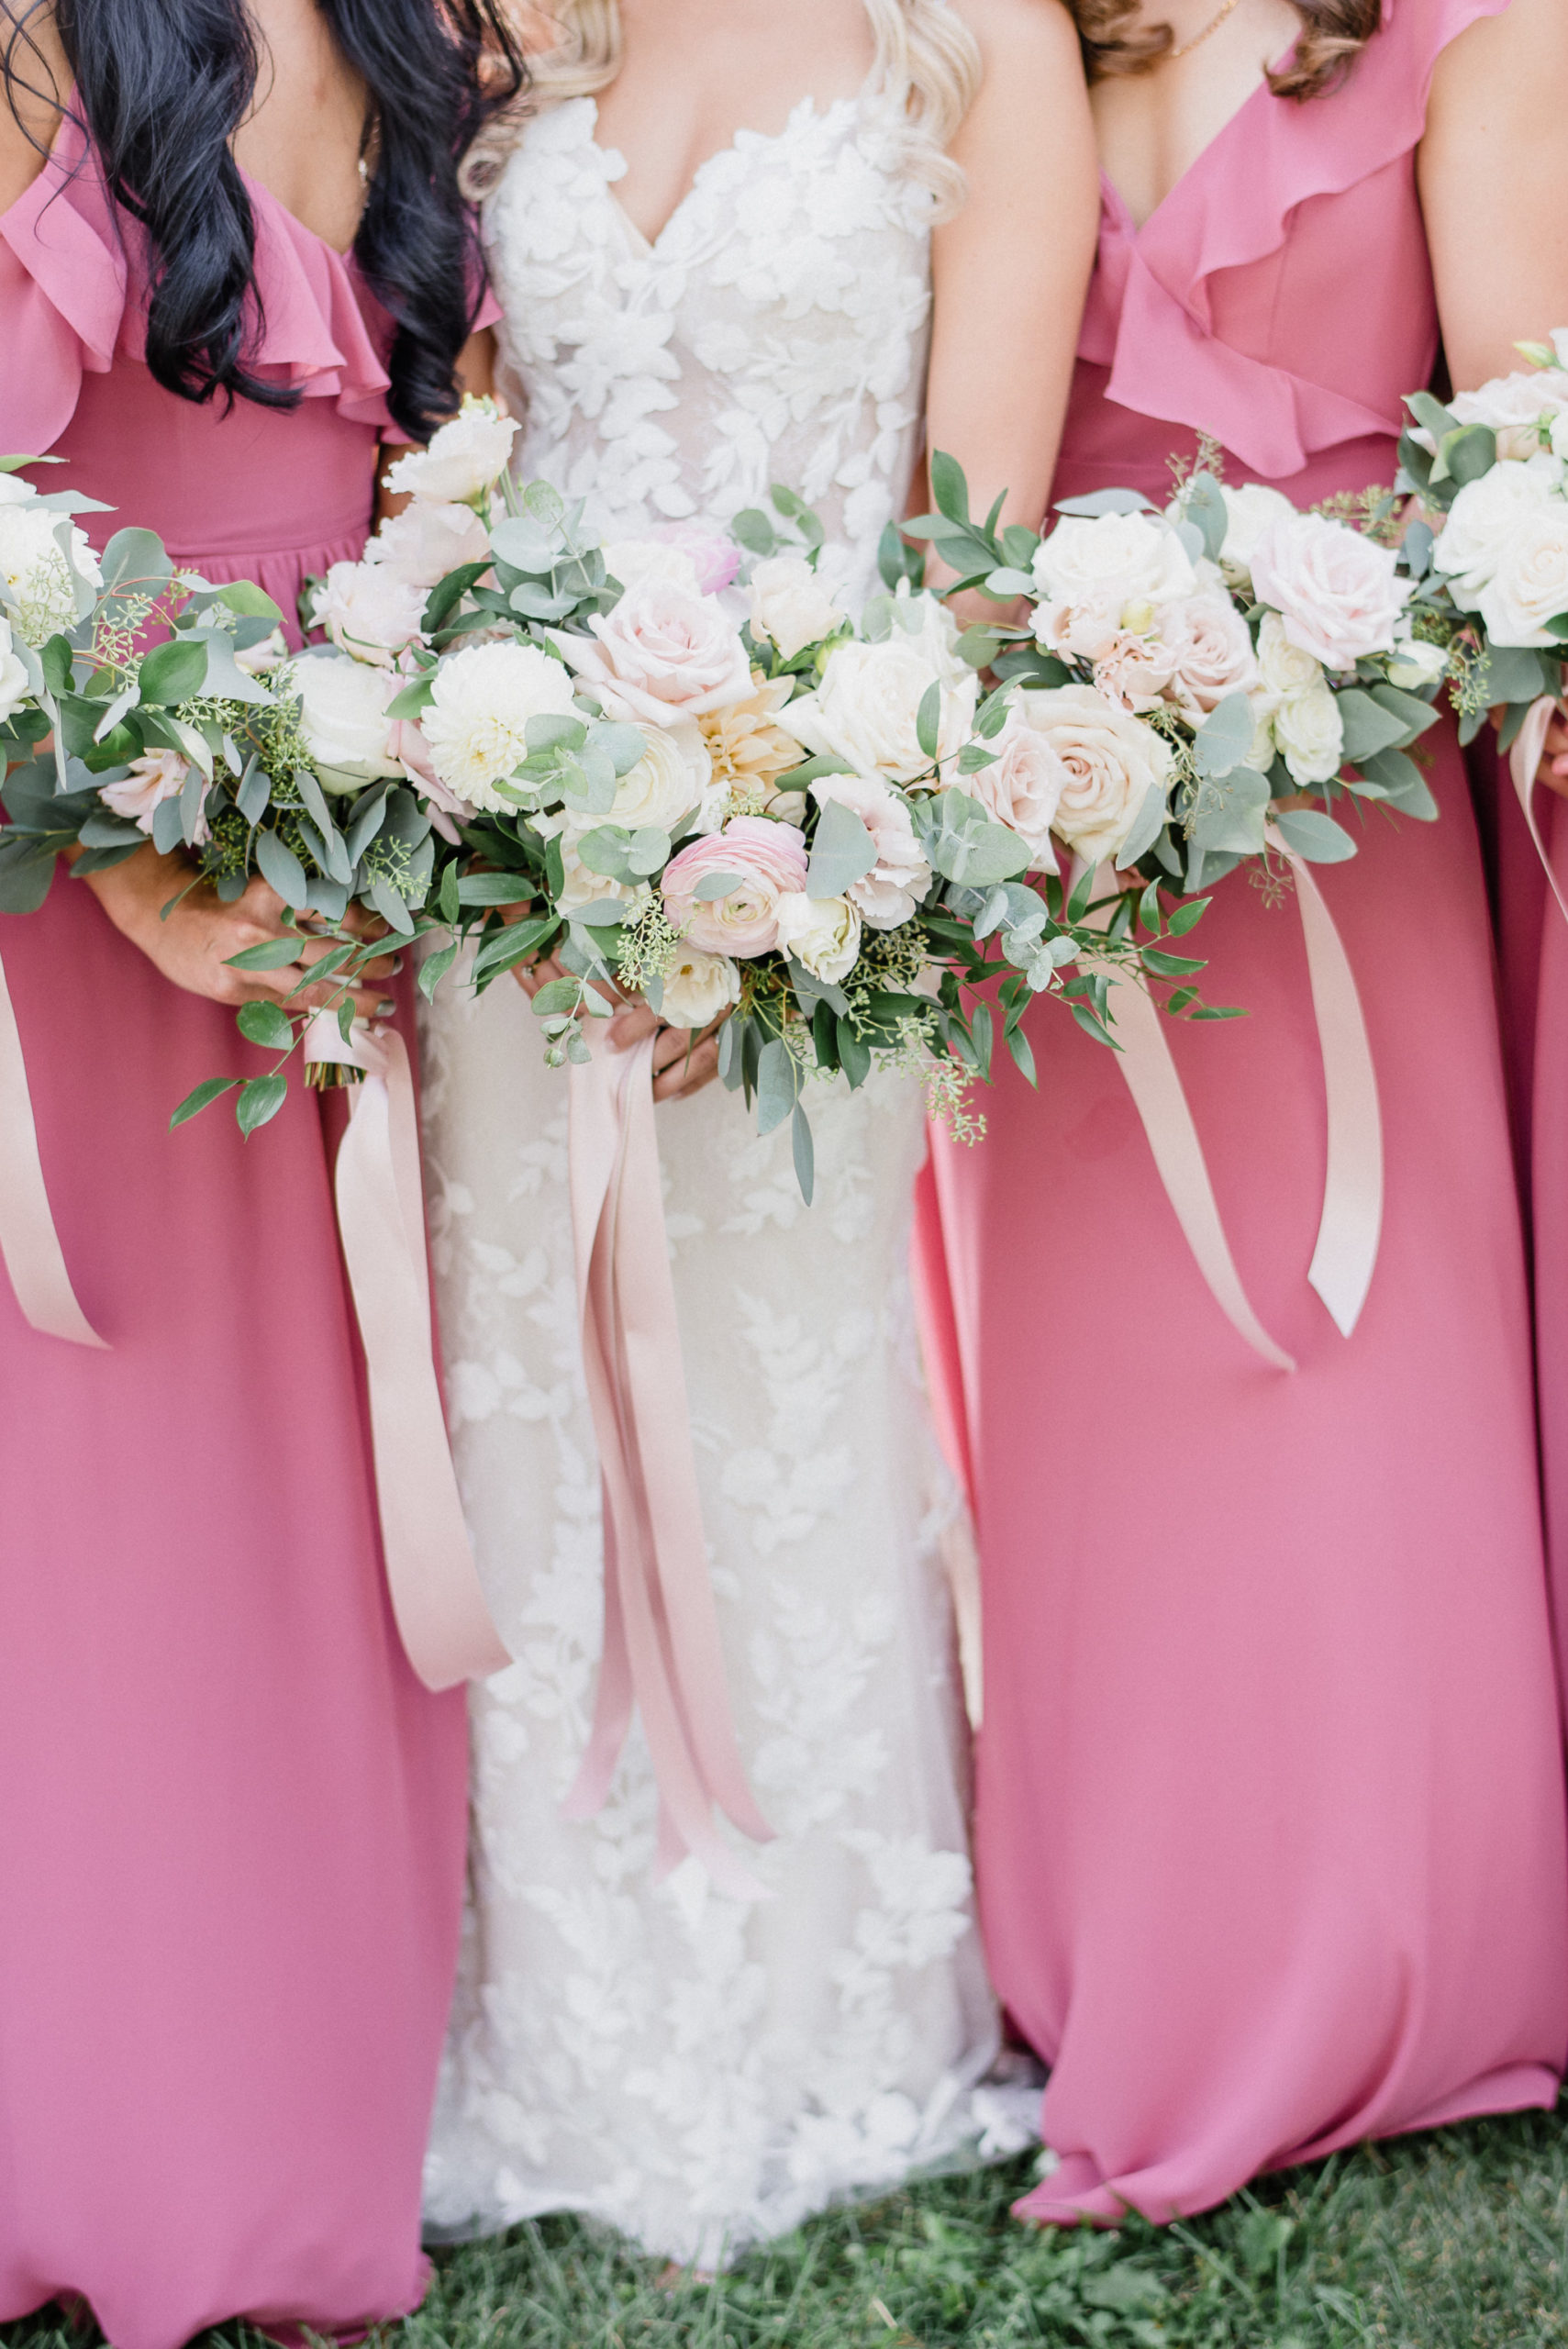
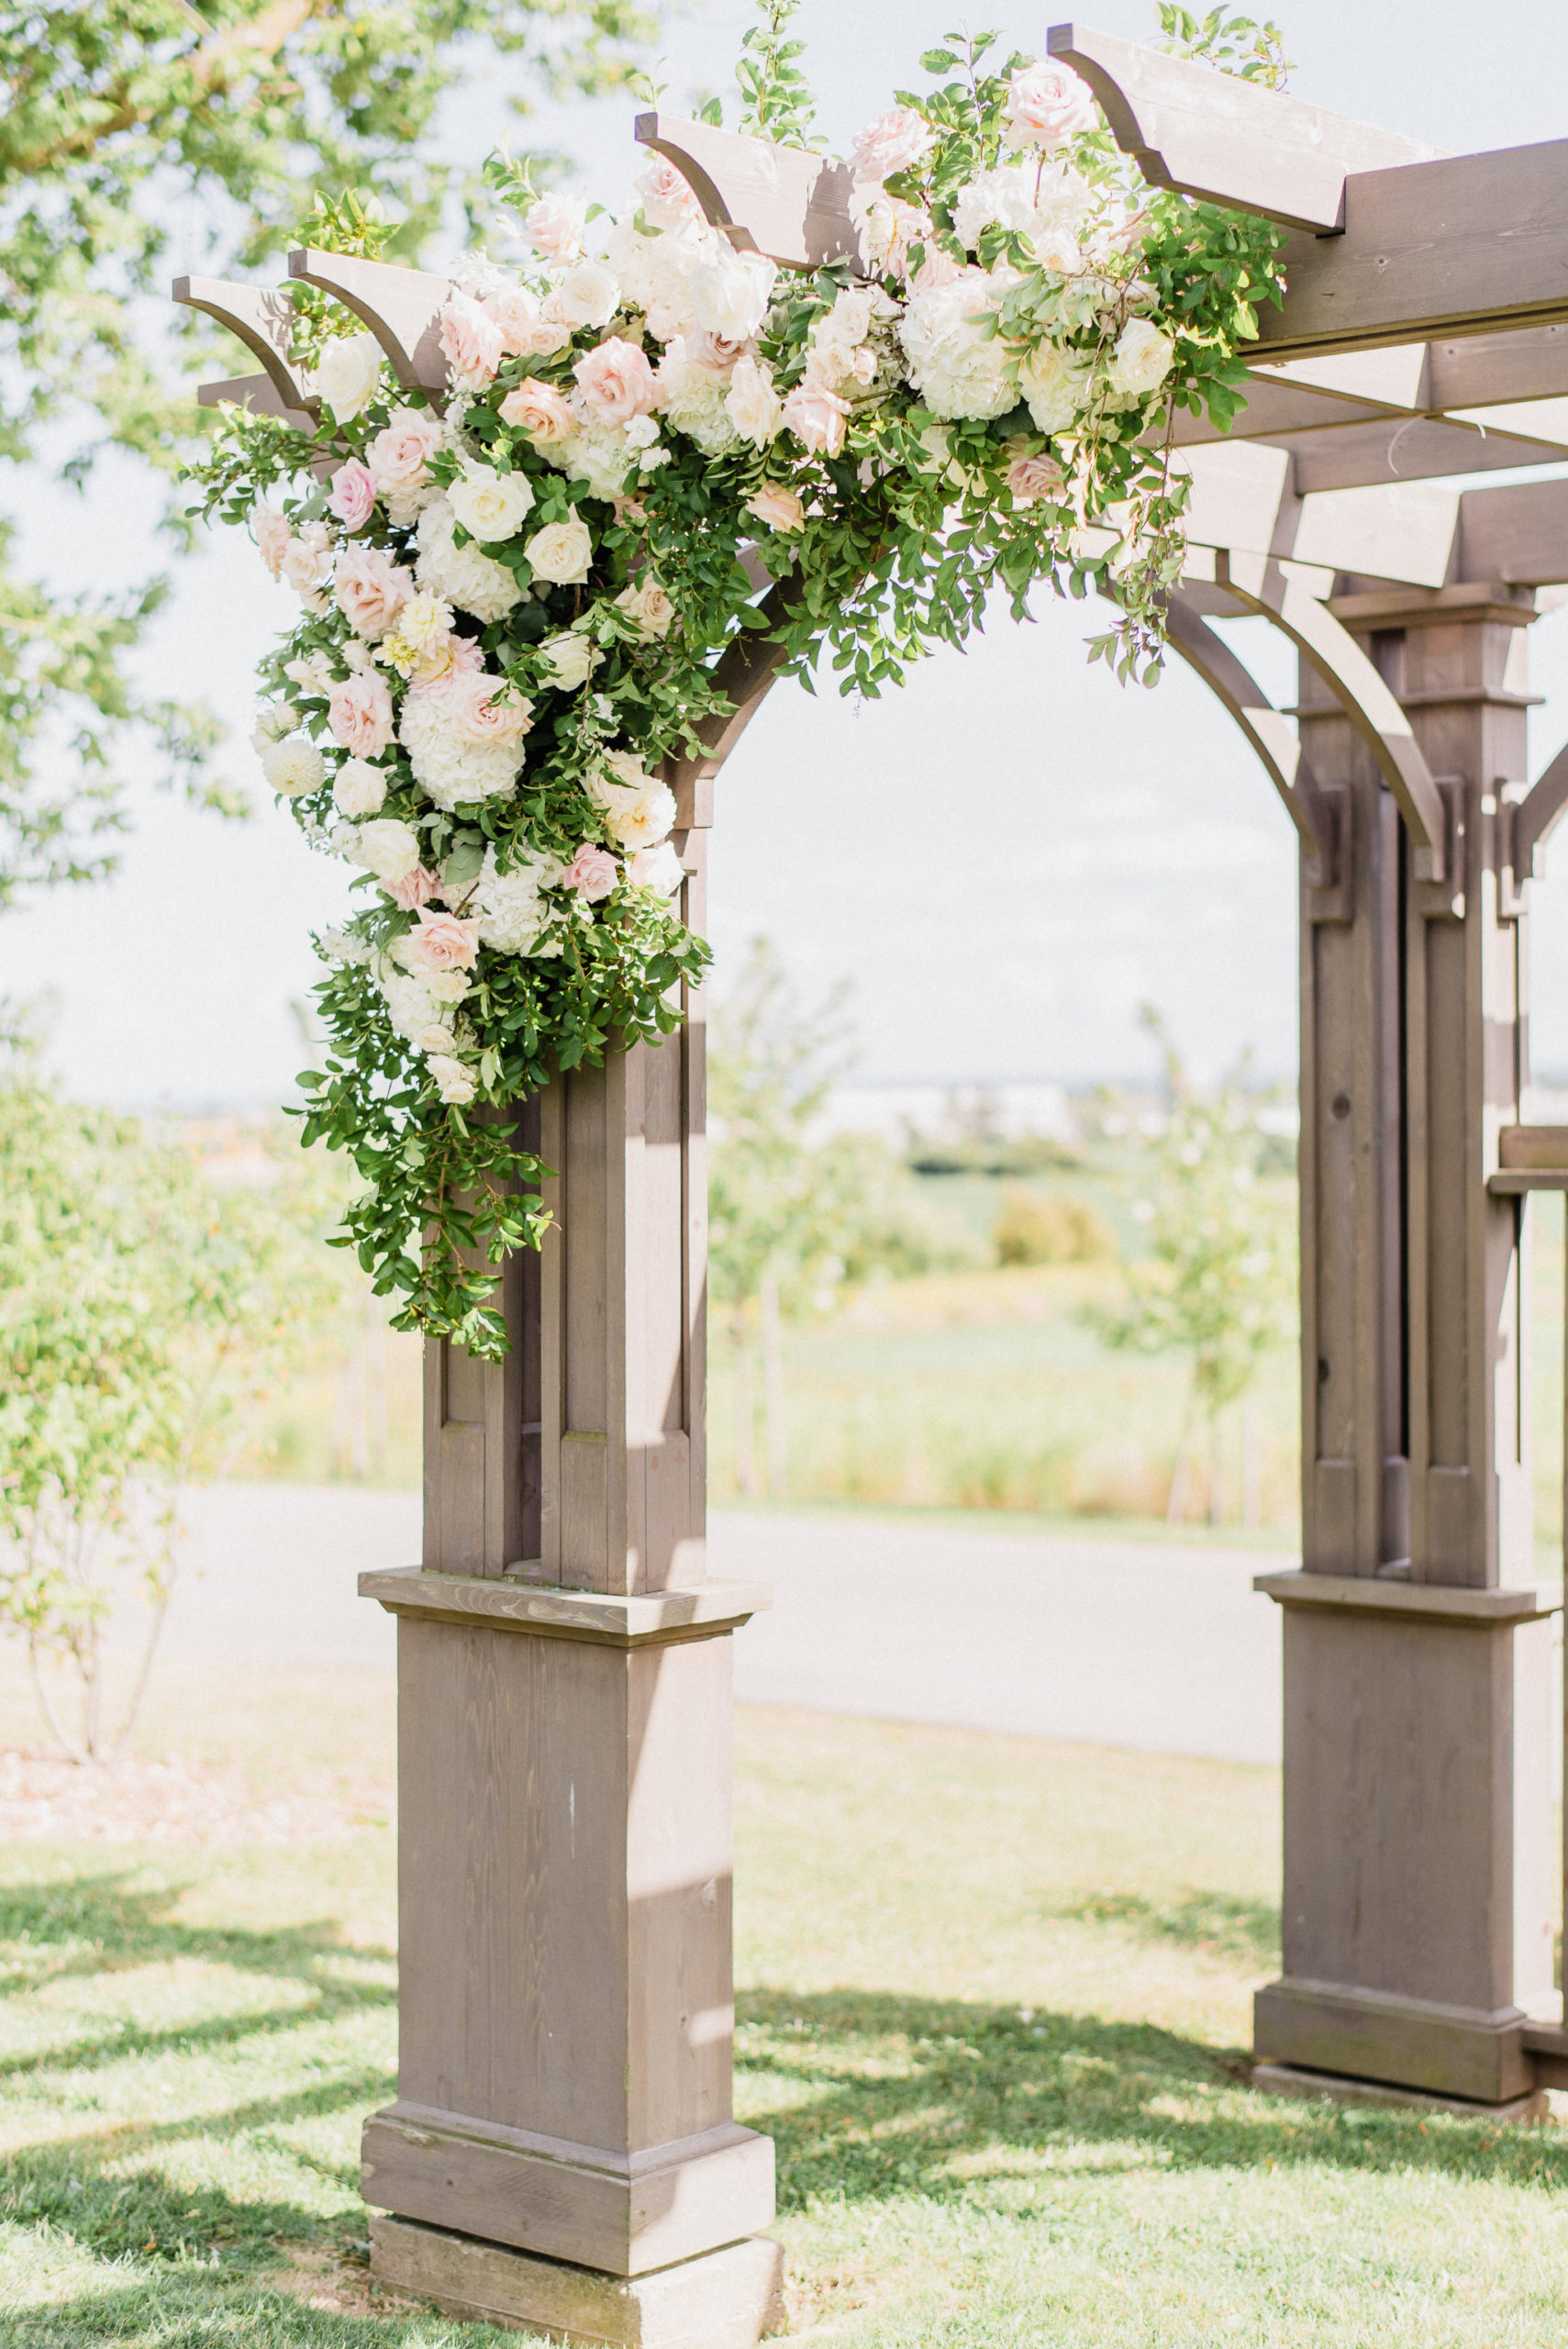
Florals: Mint and Magnolia Floral Design Co
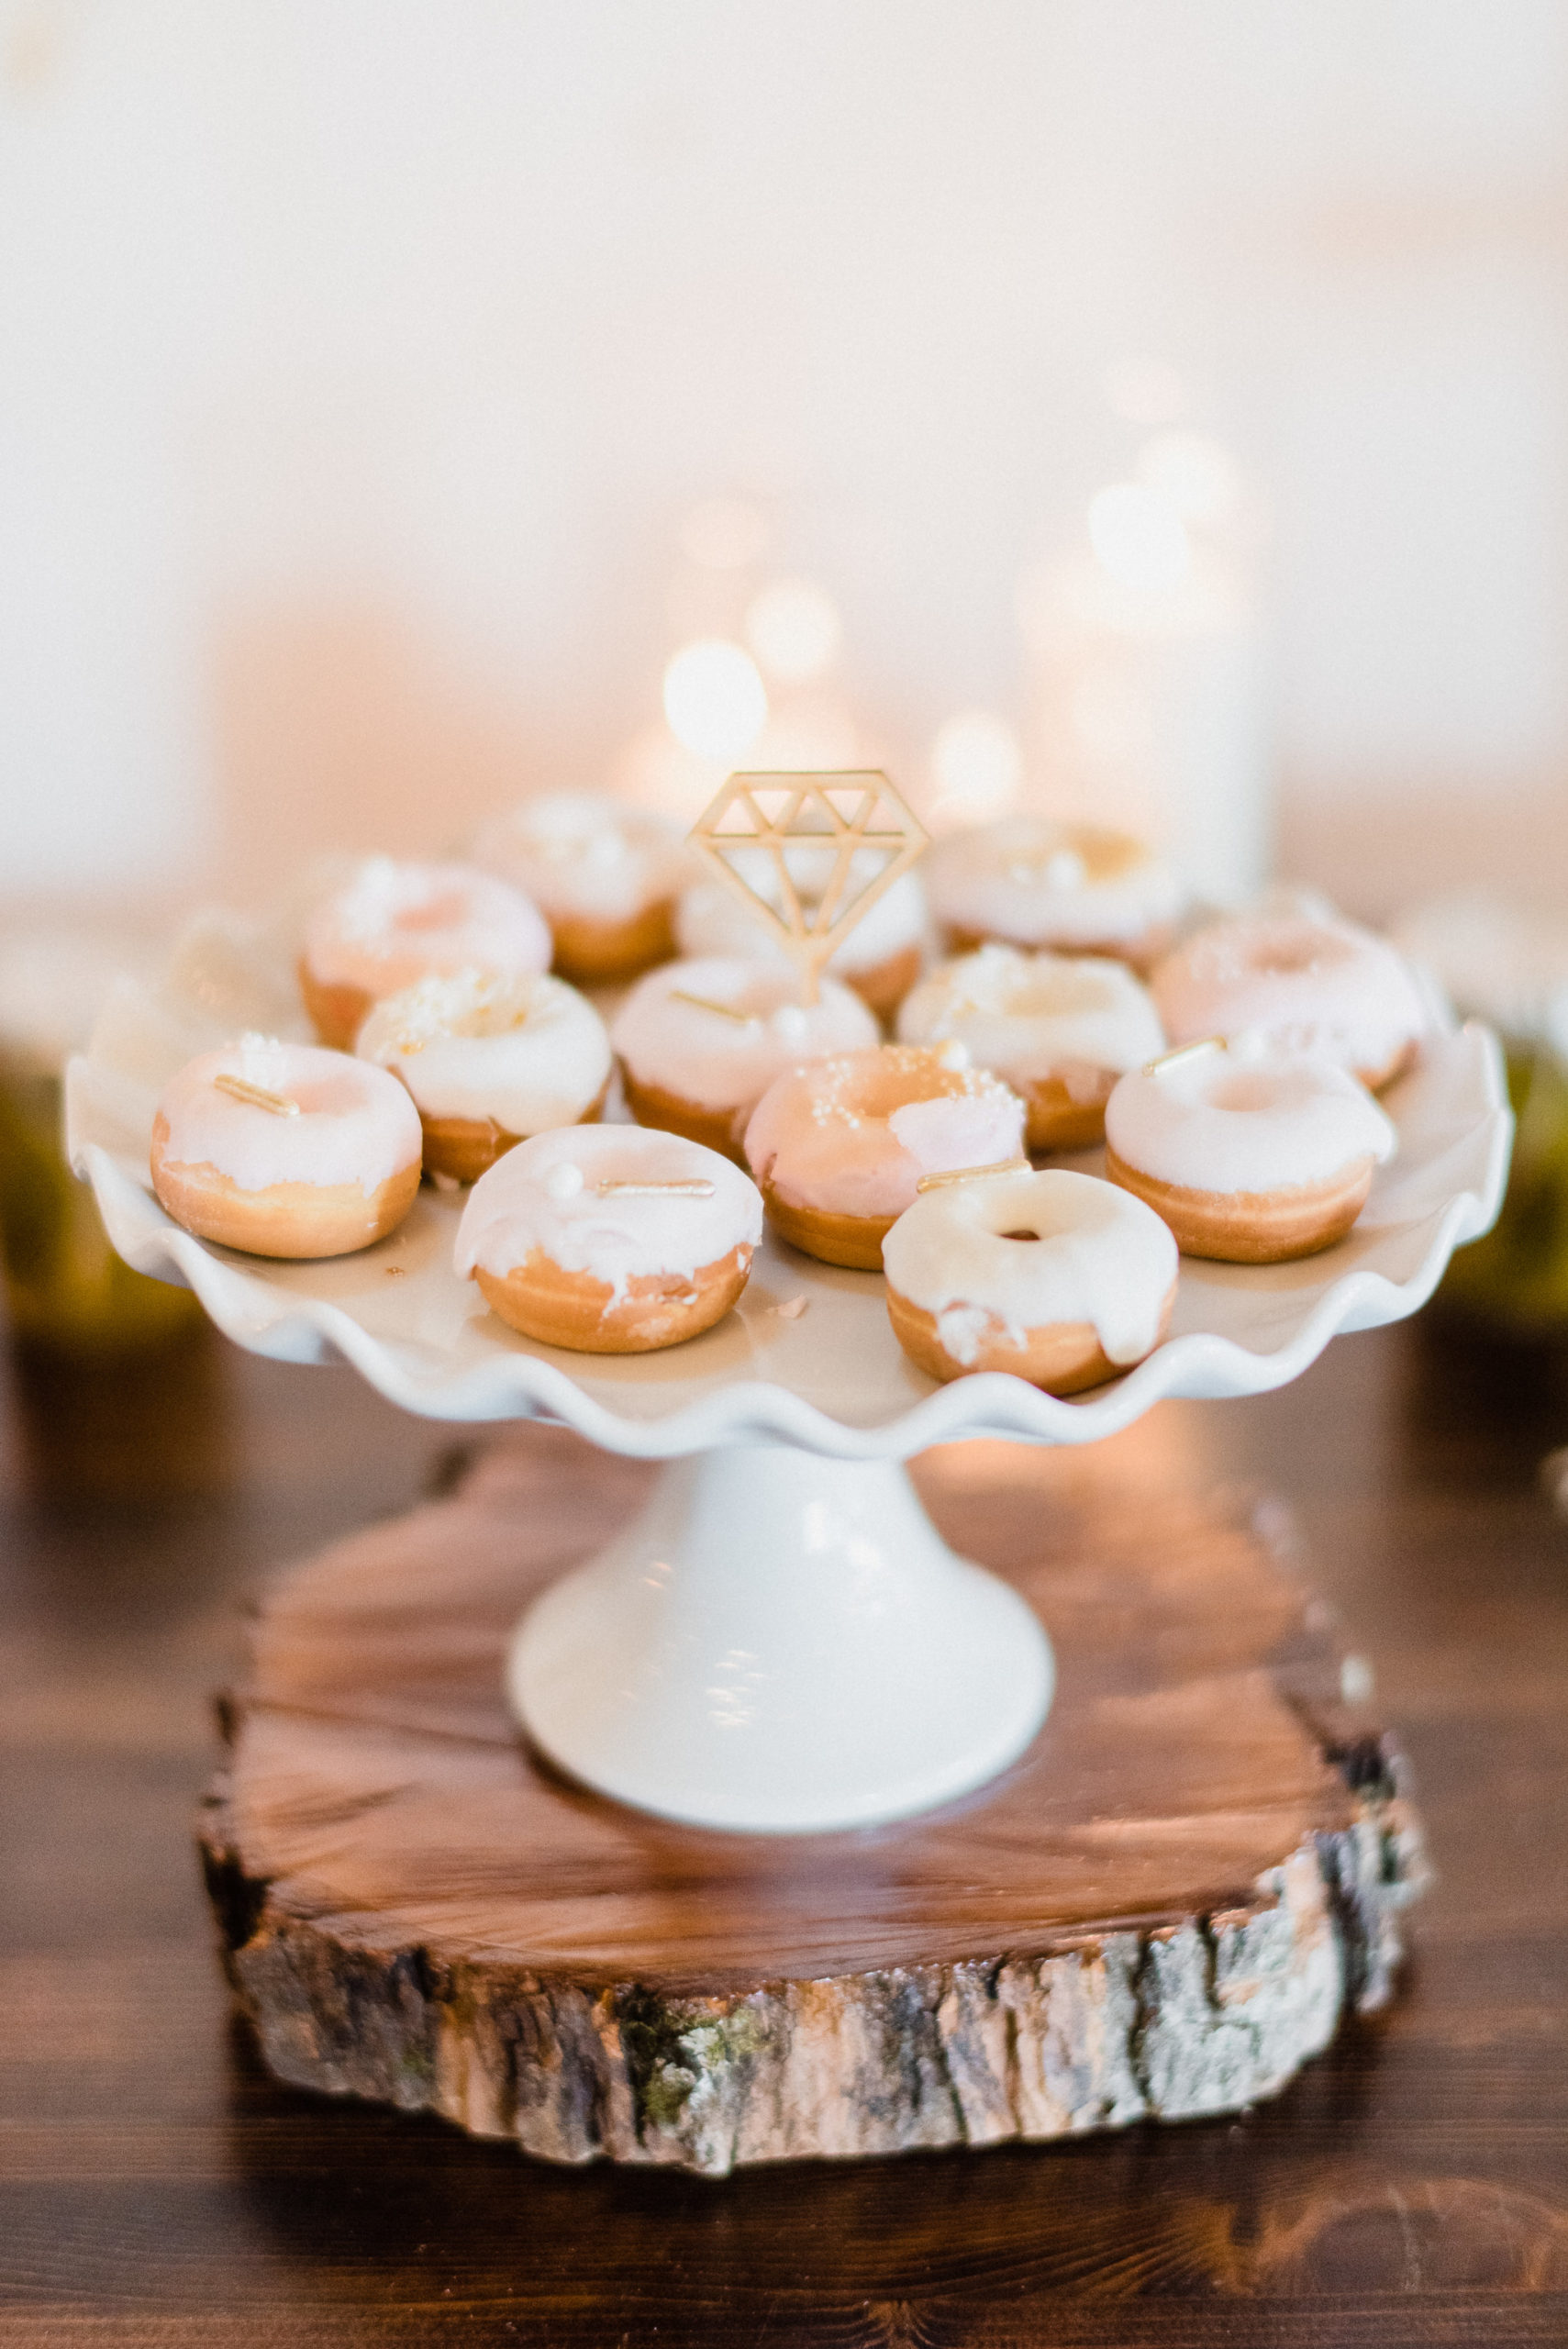
Dessert Table: Darling Donuts
Venue: Earth to Table: The Farm
DJ: Copeland DJ
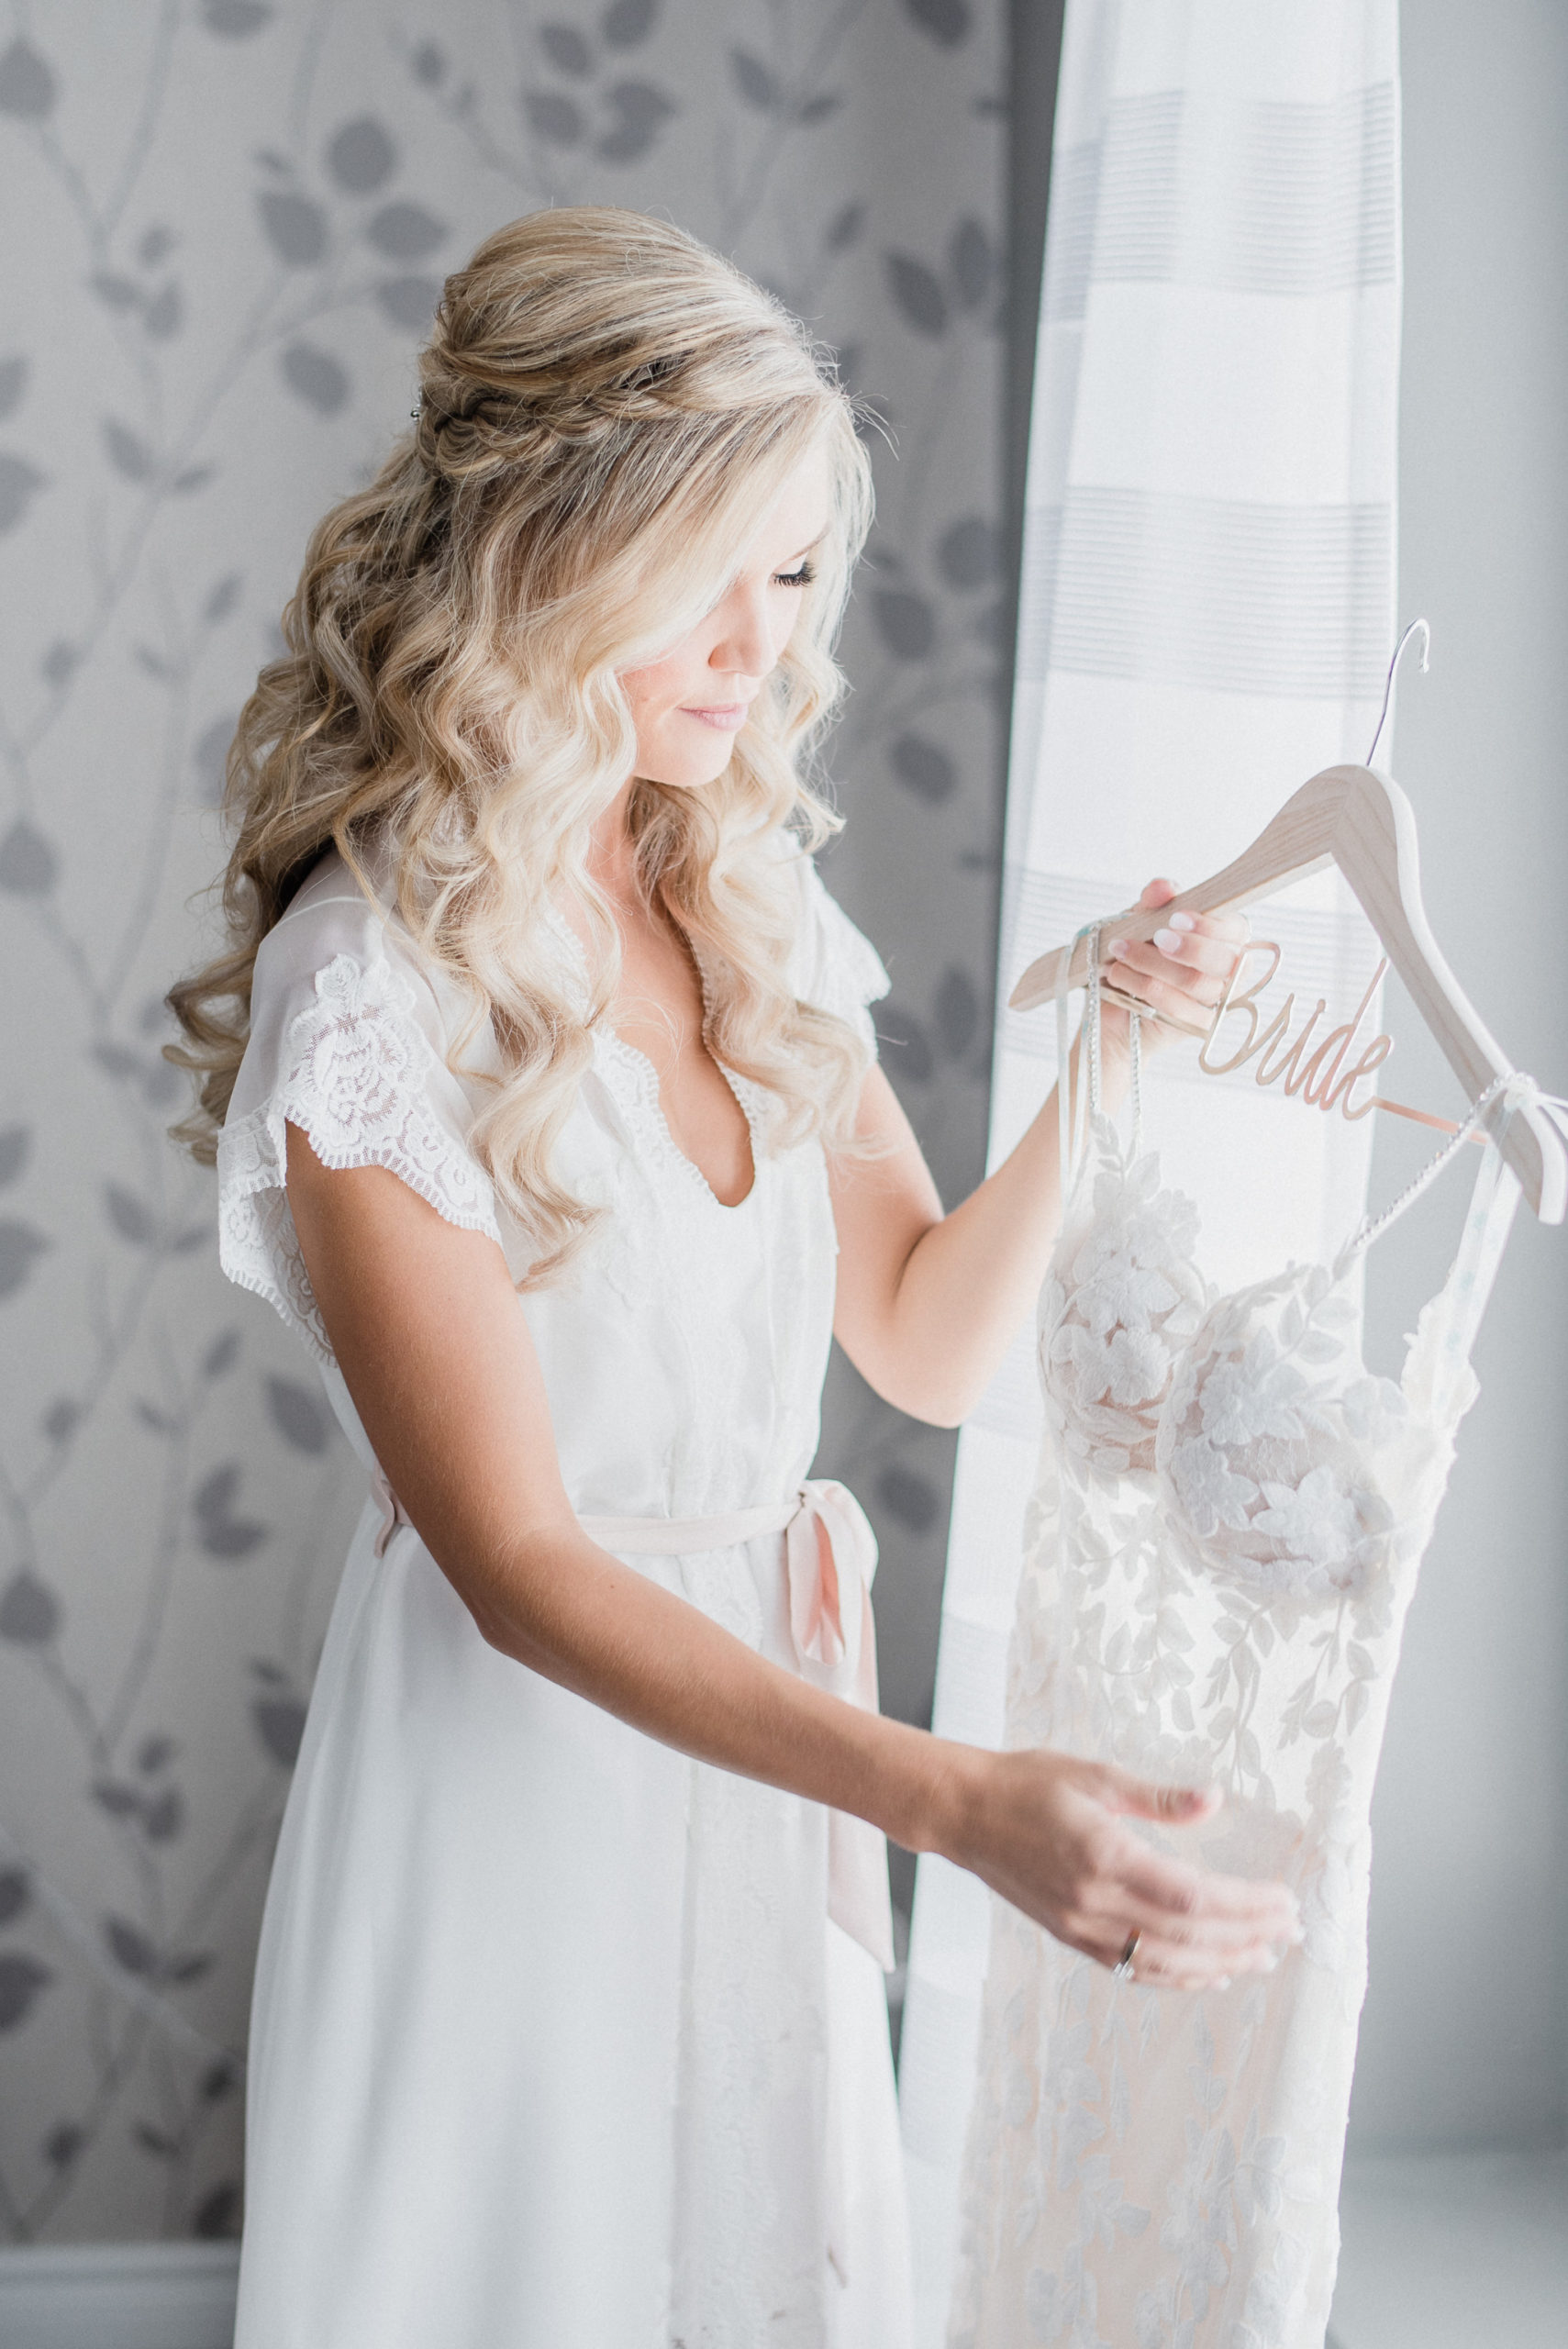
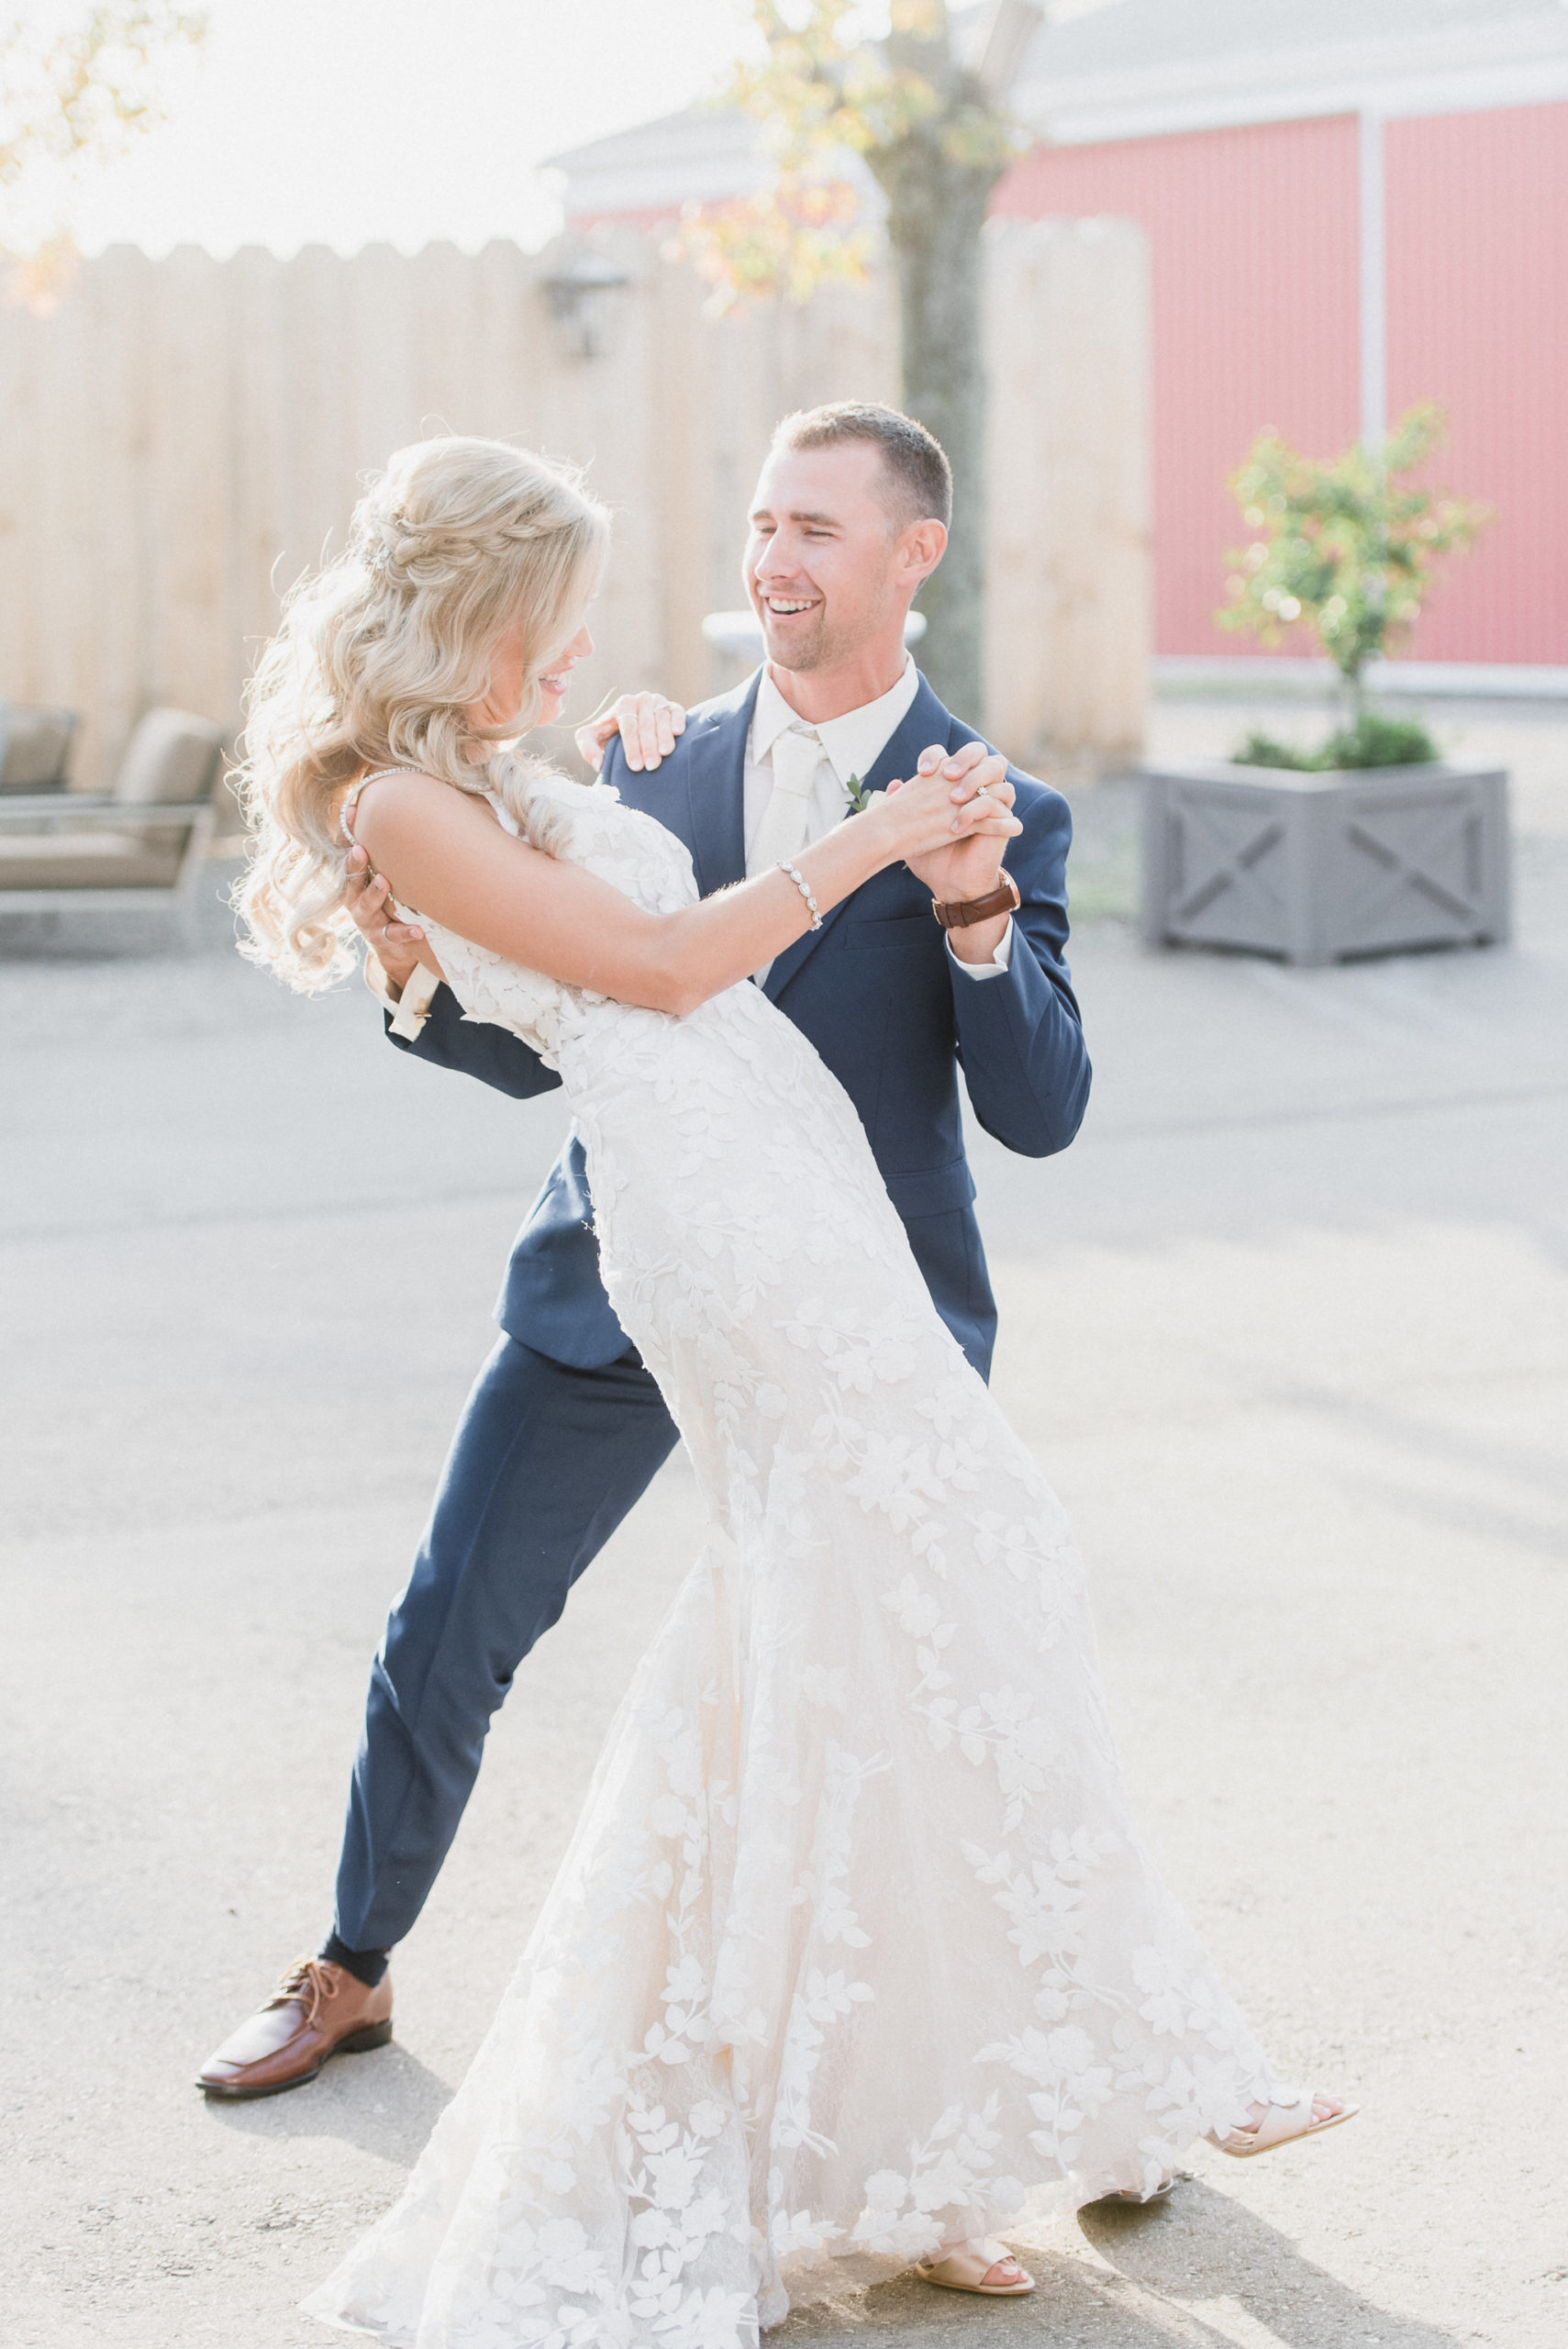
Bridal Gown: Enzoani via Becker’s Bridals
Hair Accessory: Sarah Walsh Bridal Jewellery
Veil: Custom made by Irene’s Studio
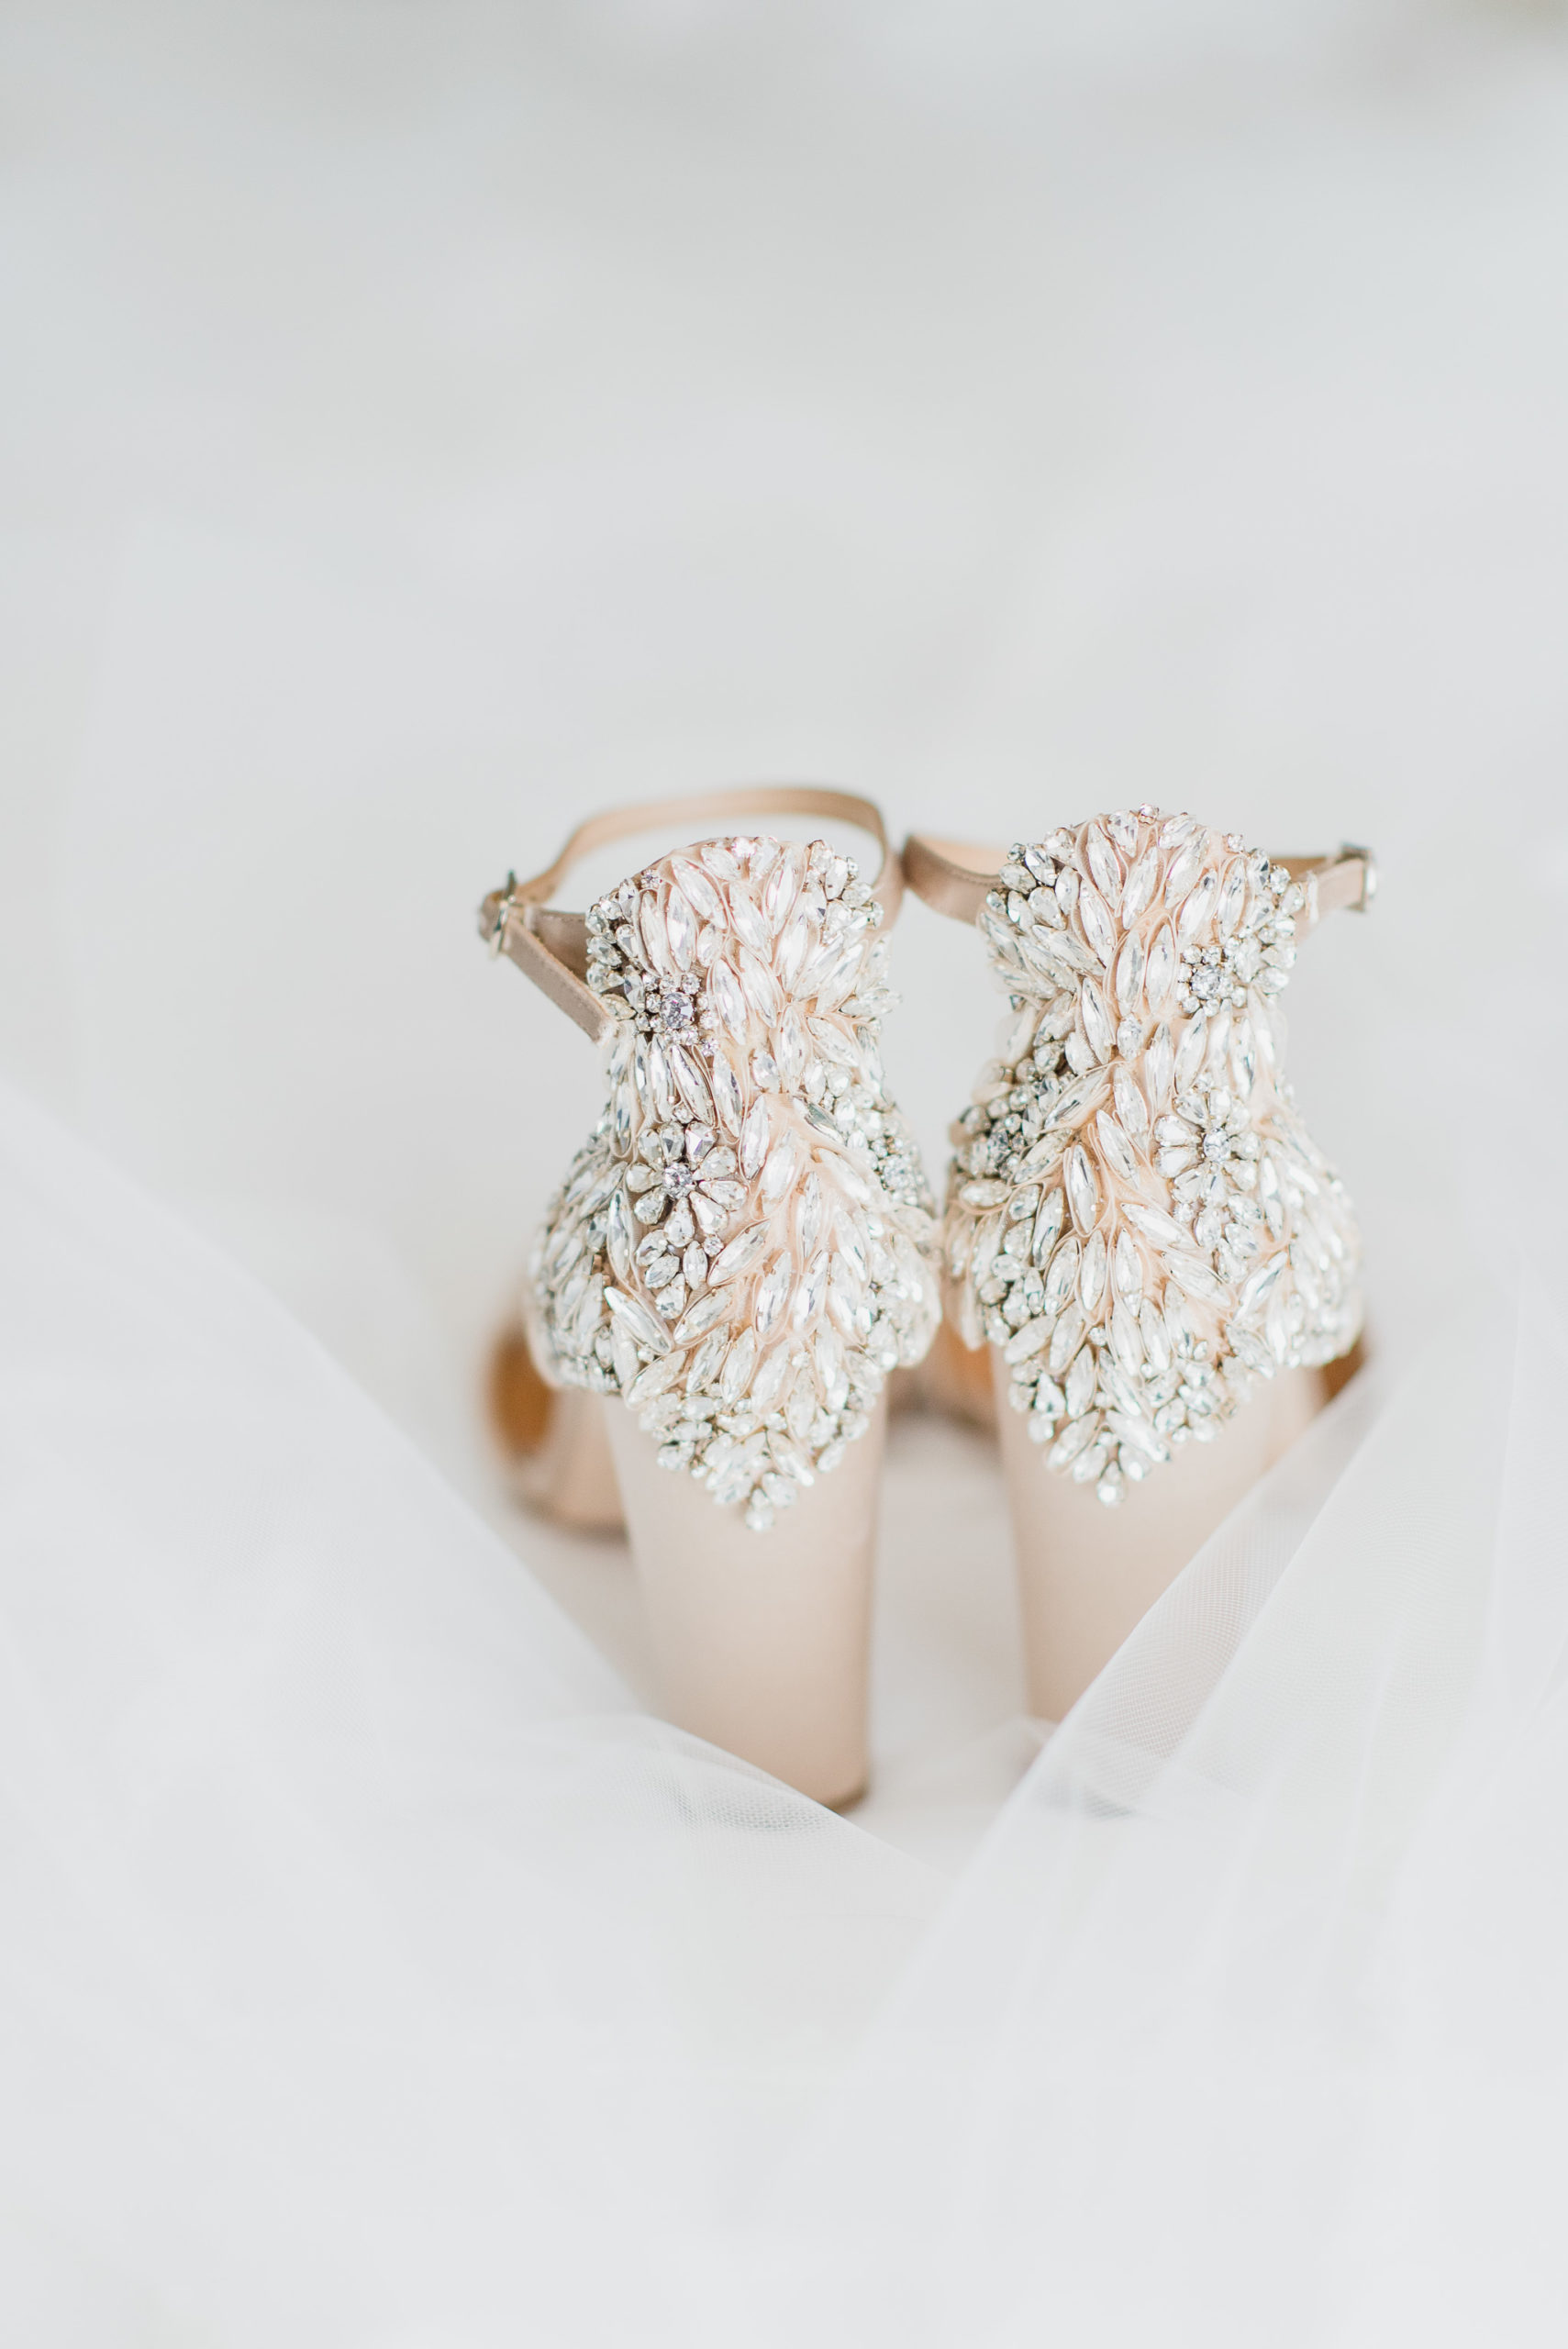
Bride’s Shoes: Badgley Mischka
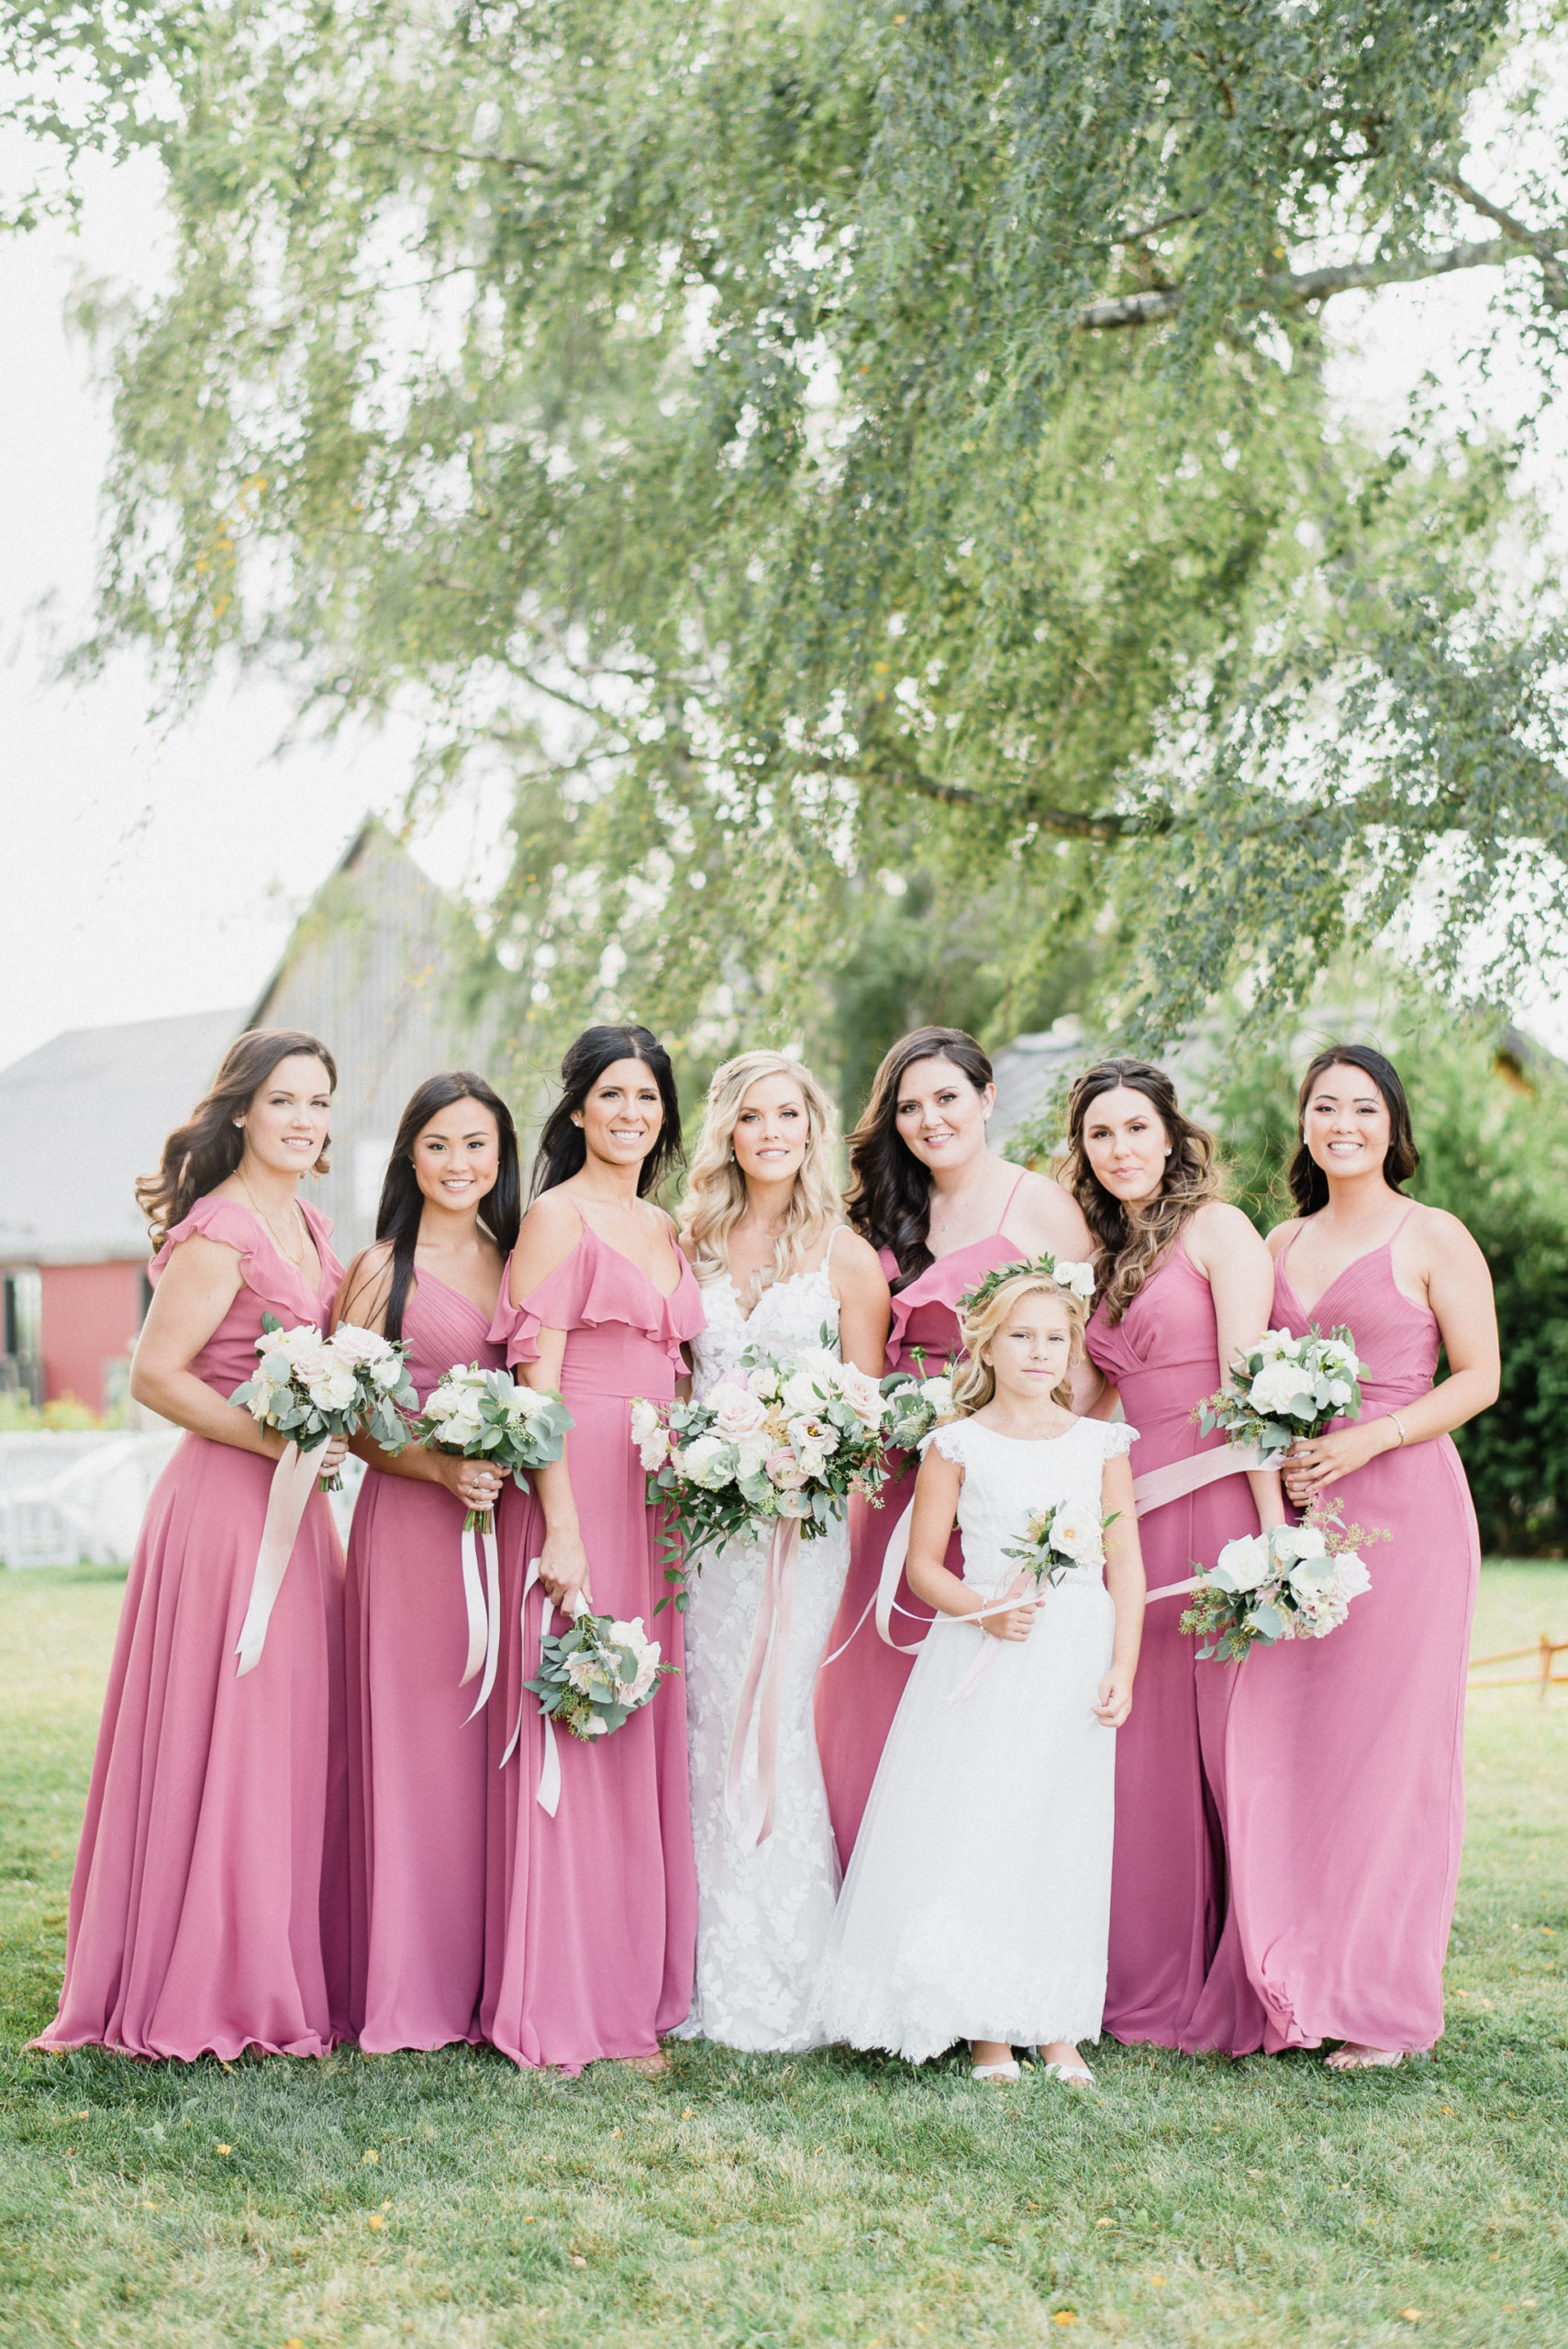
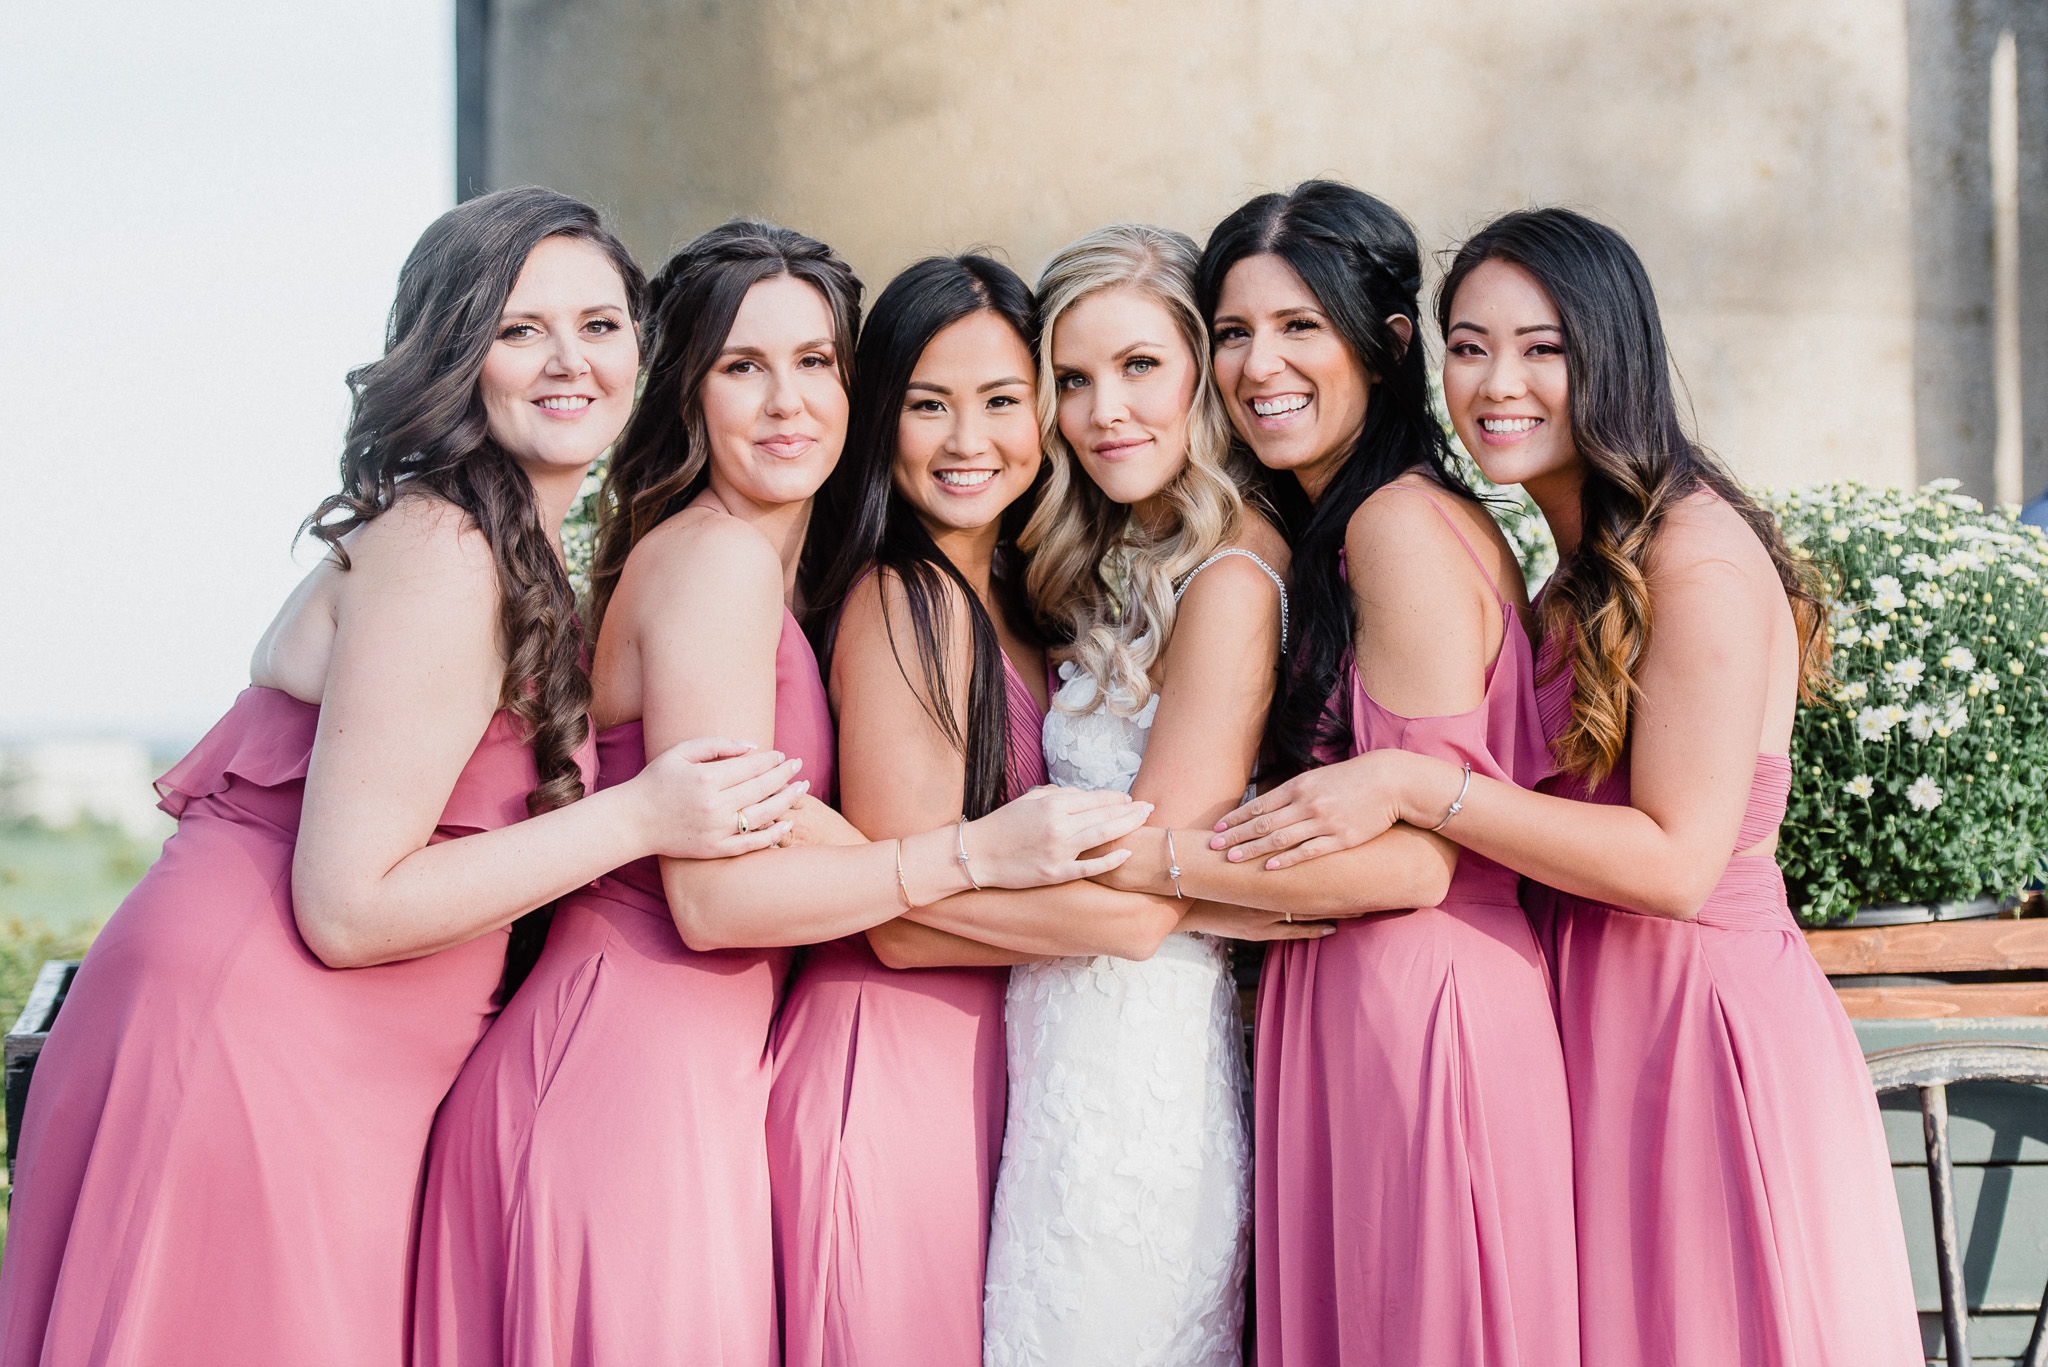
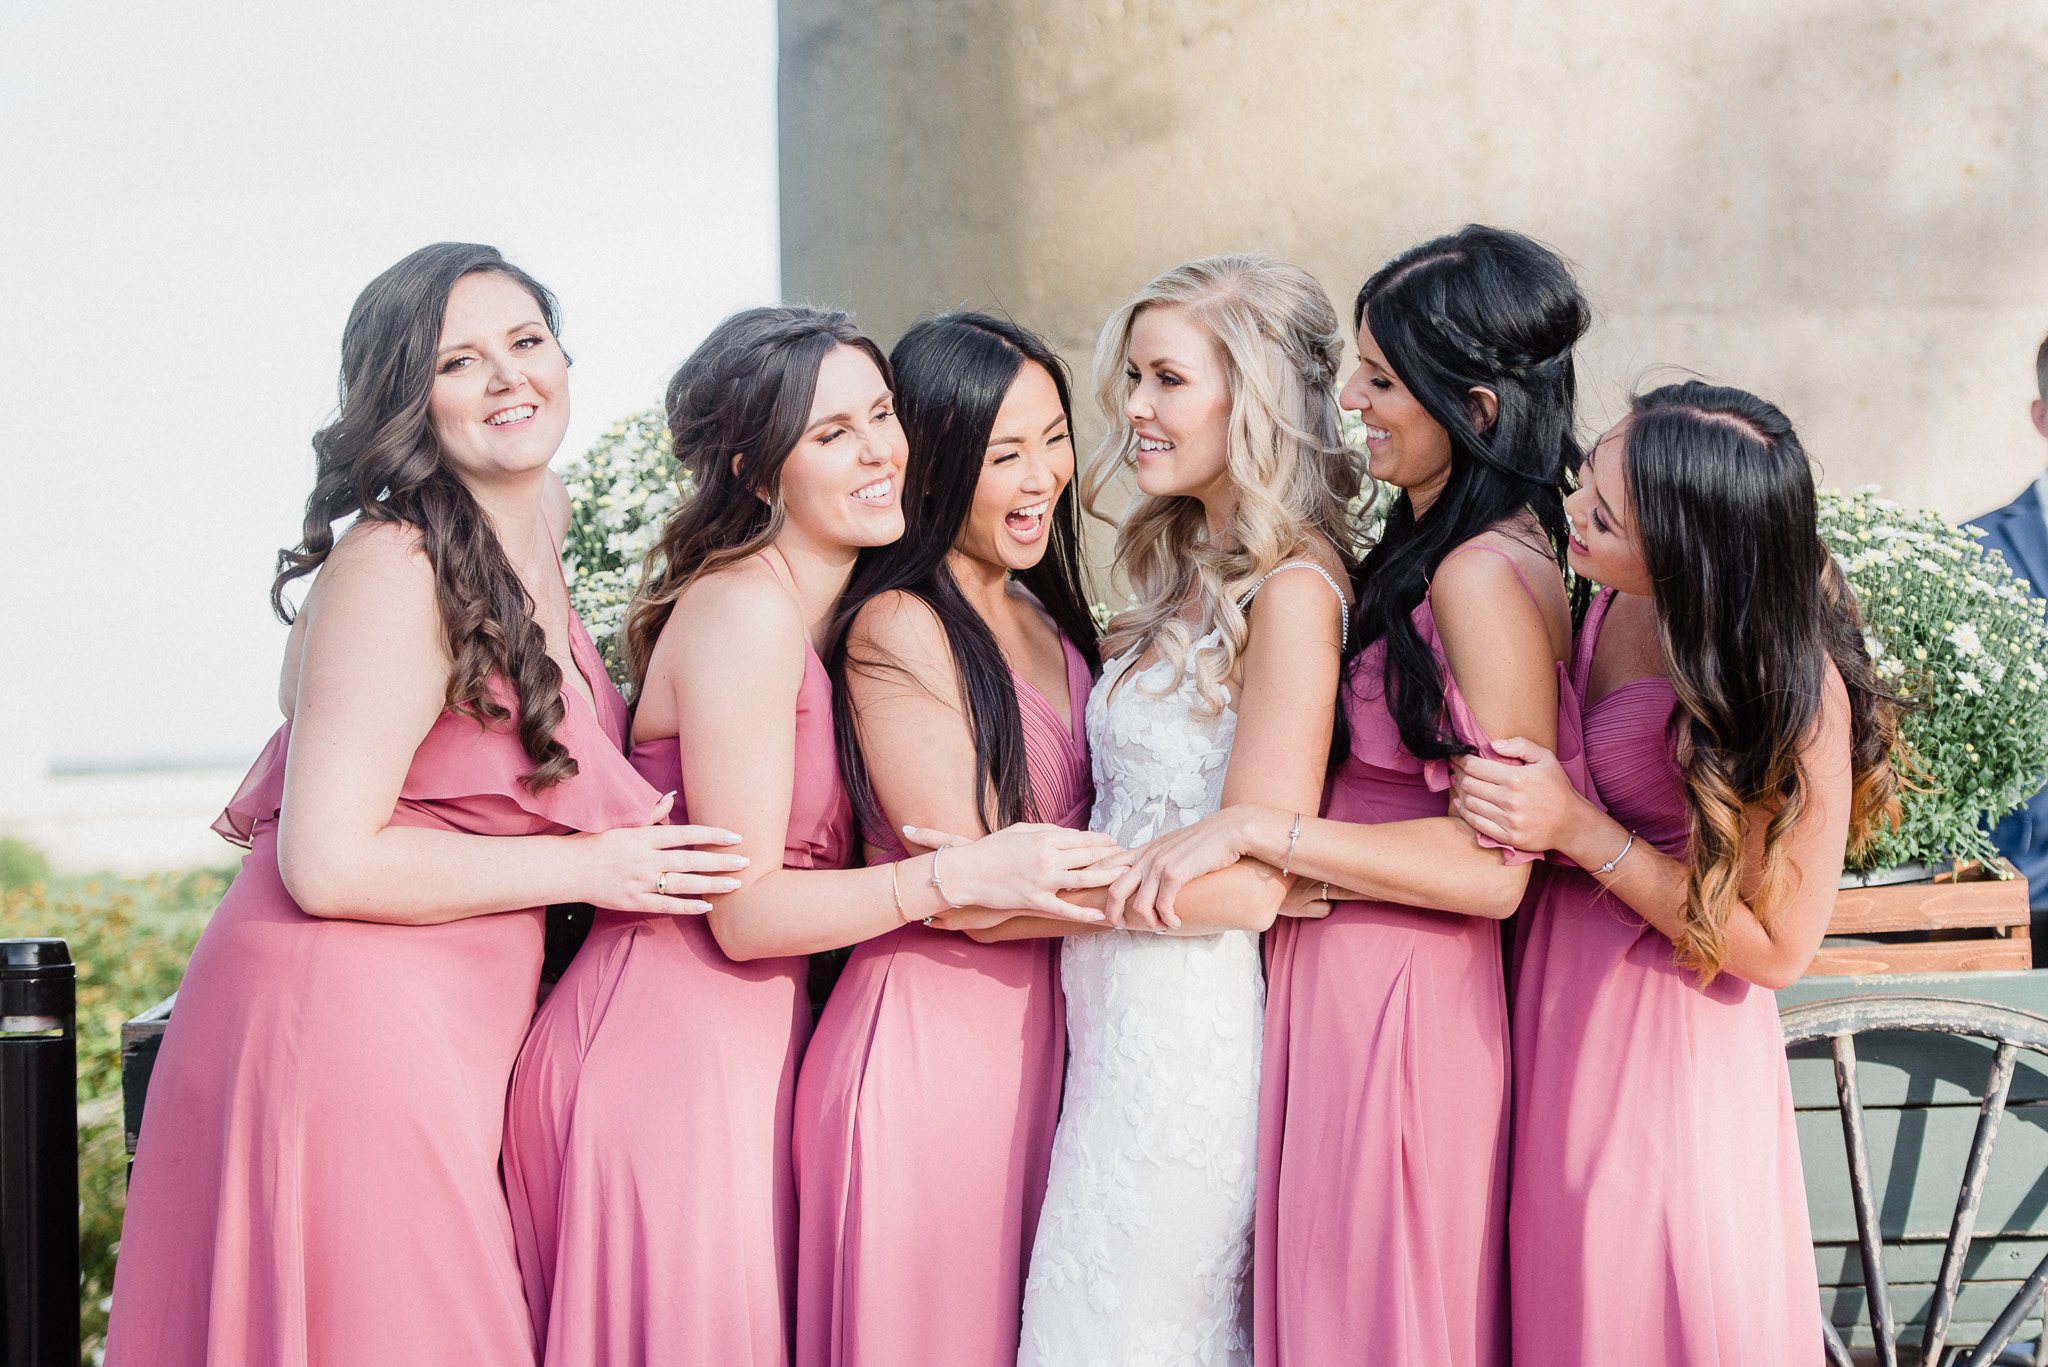
Bridesmaid Dresses: Morilee (in Rosewood Pink) via Best for Bride Hamilton
Robes: Le Rose Gifts
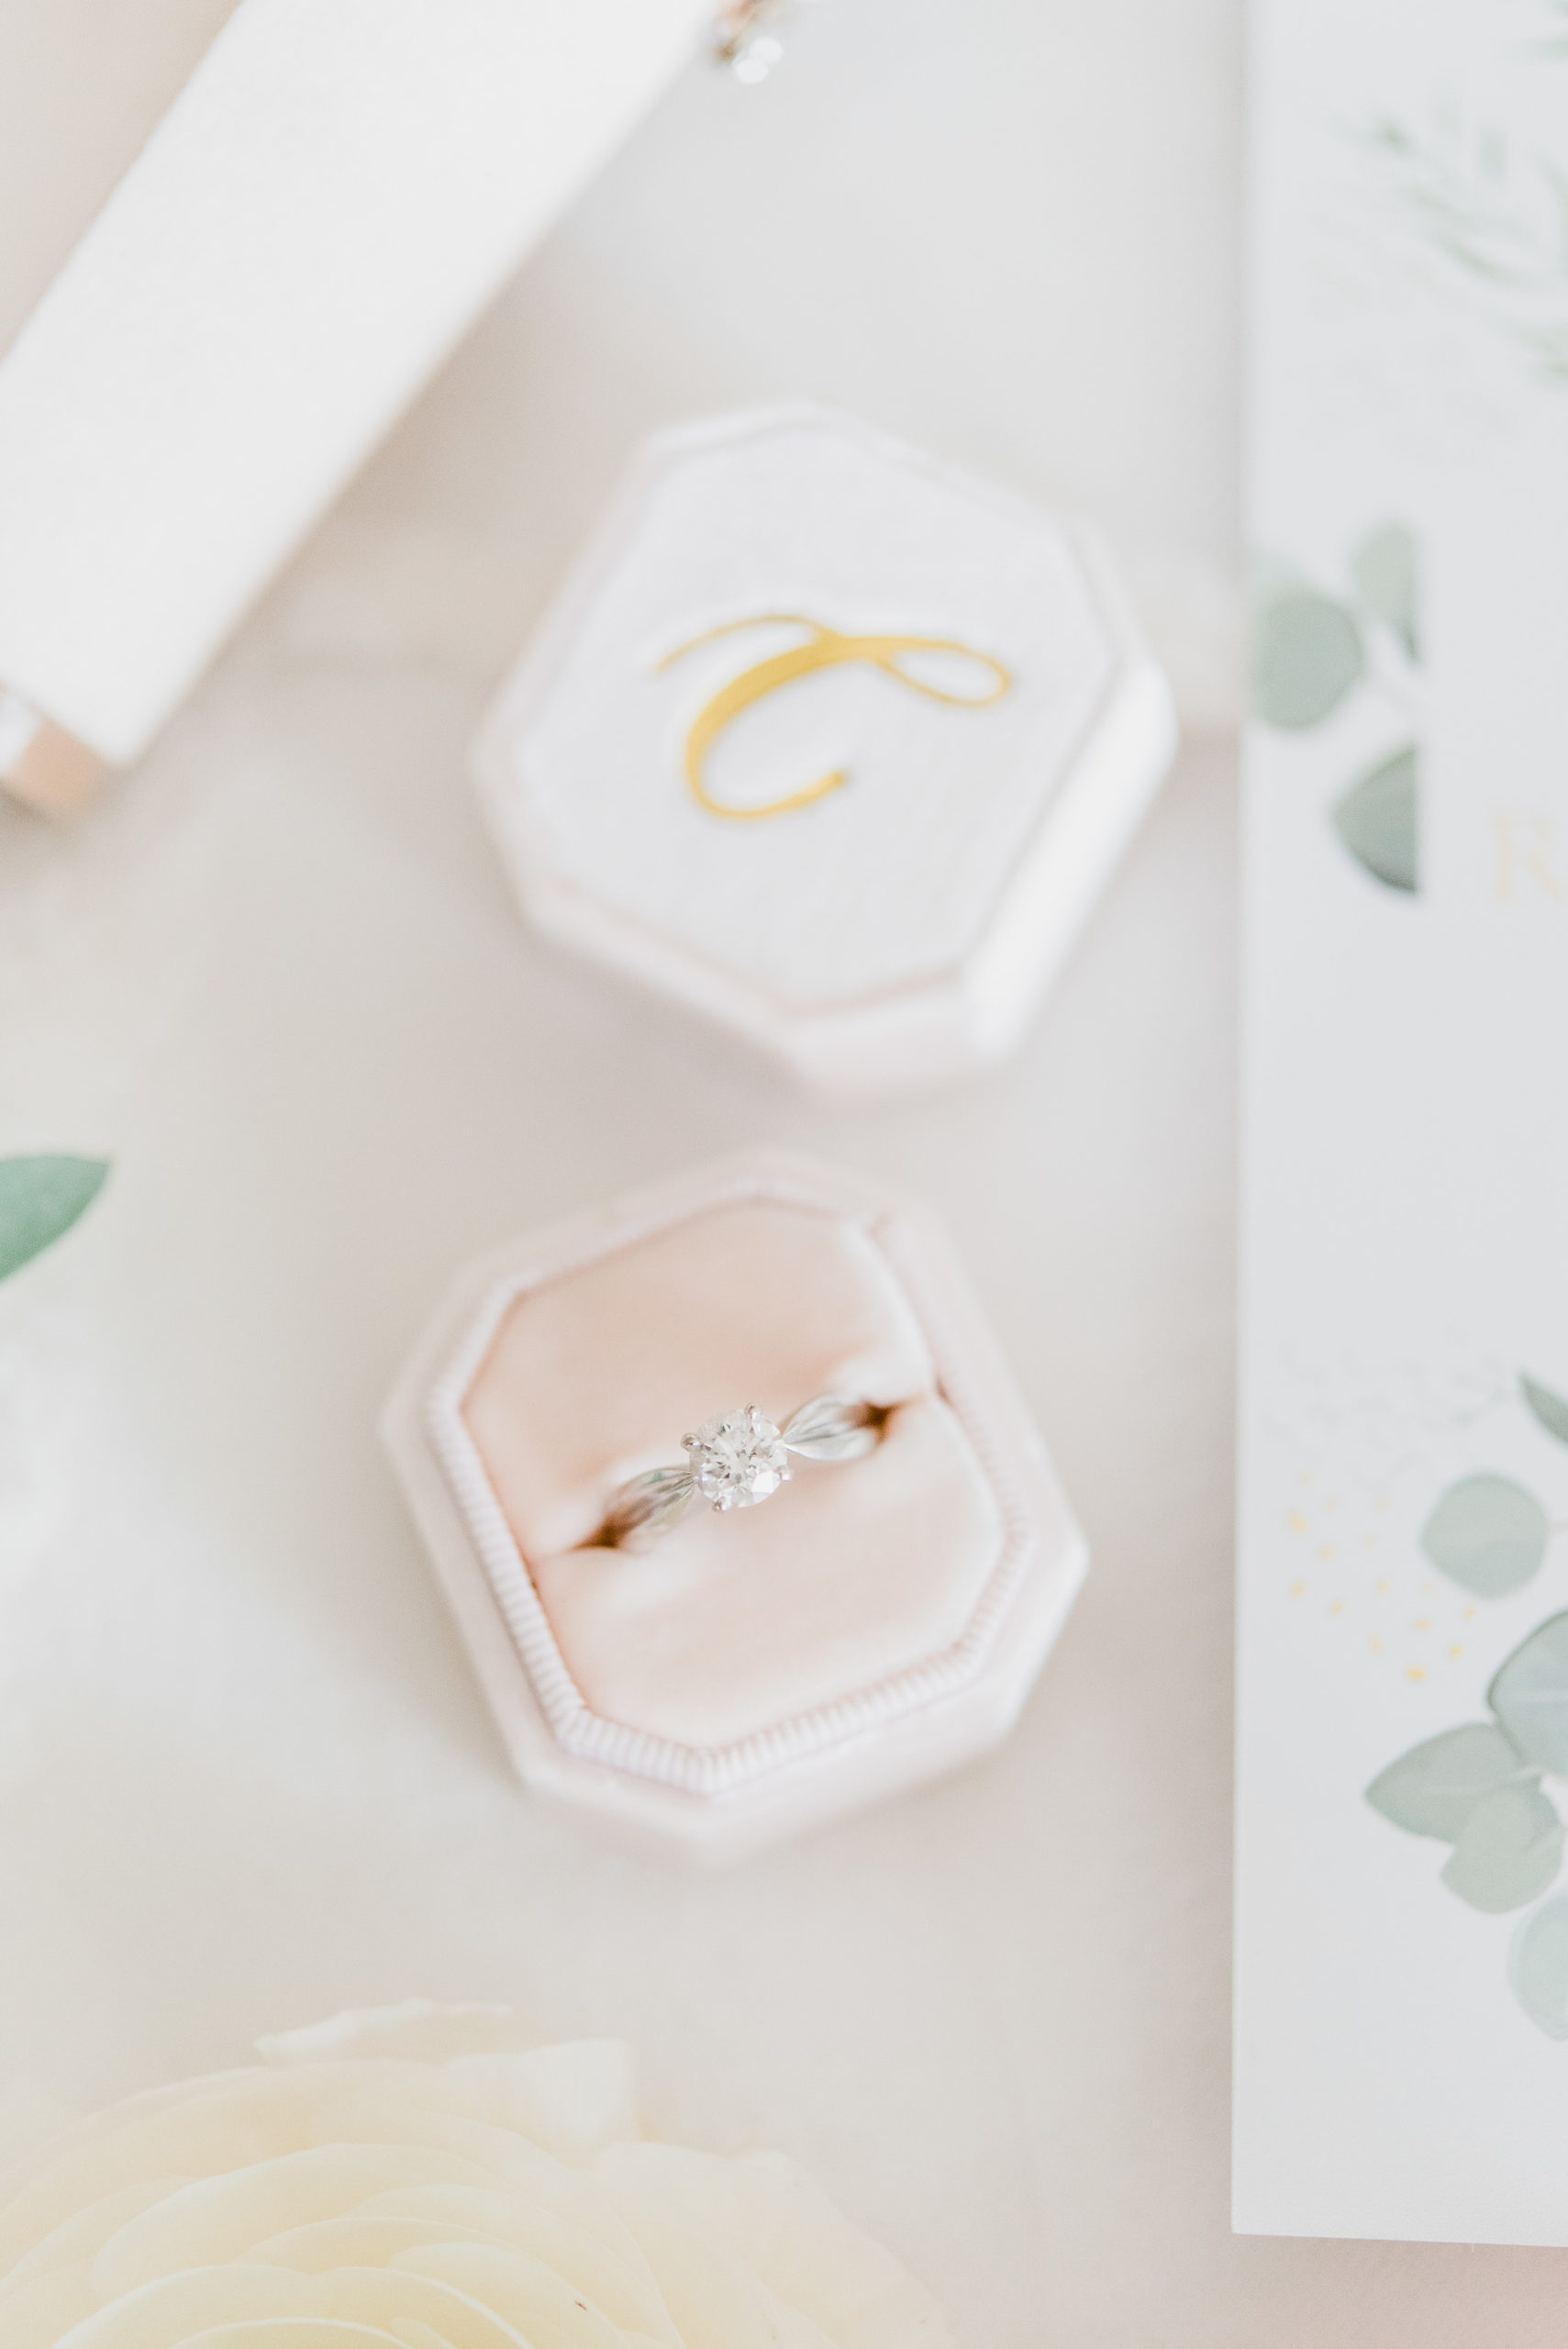
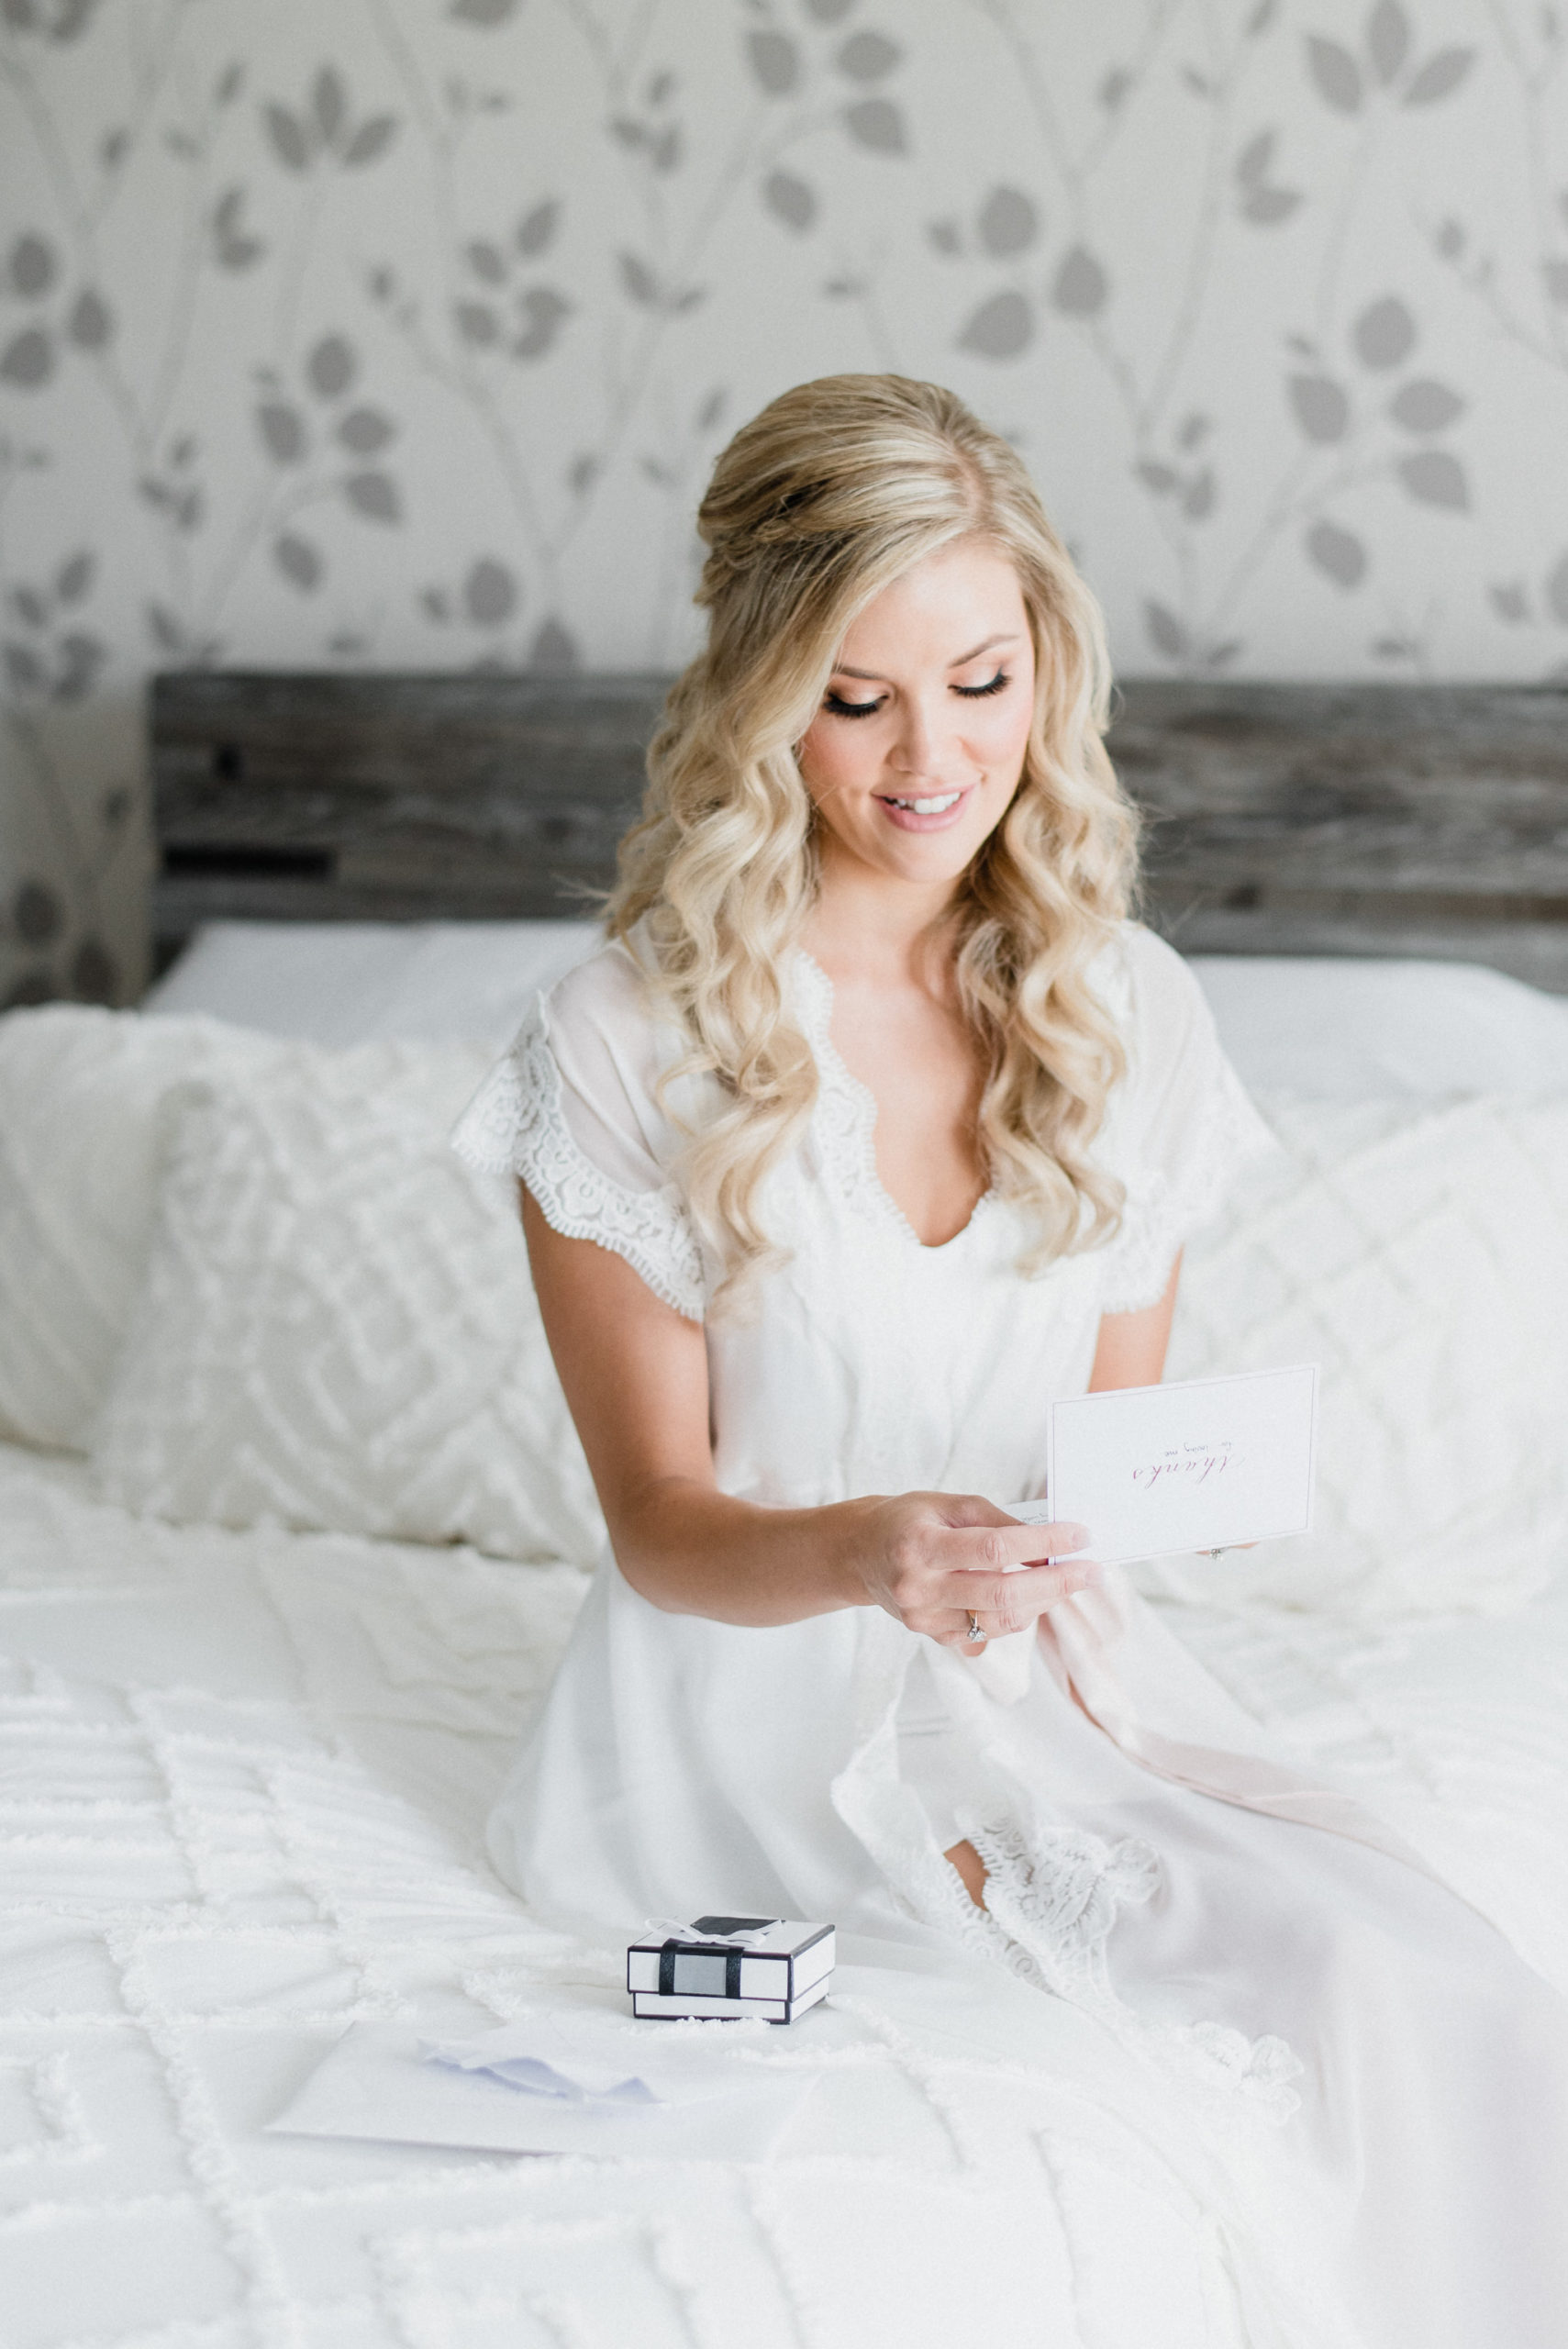
Ring Box: The Mrs Box
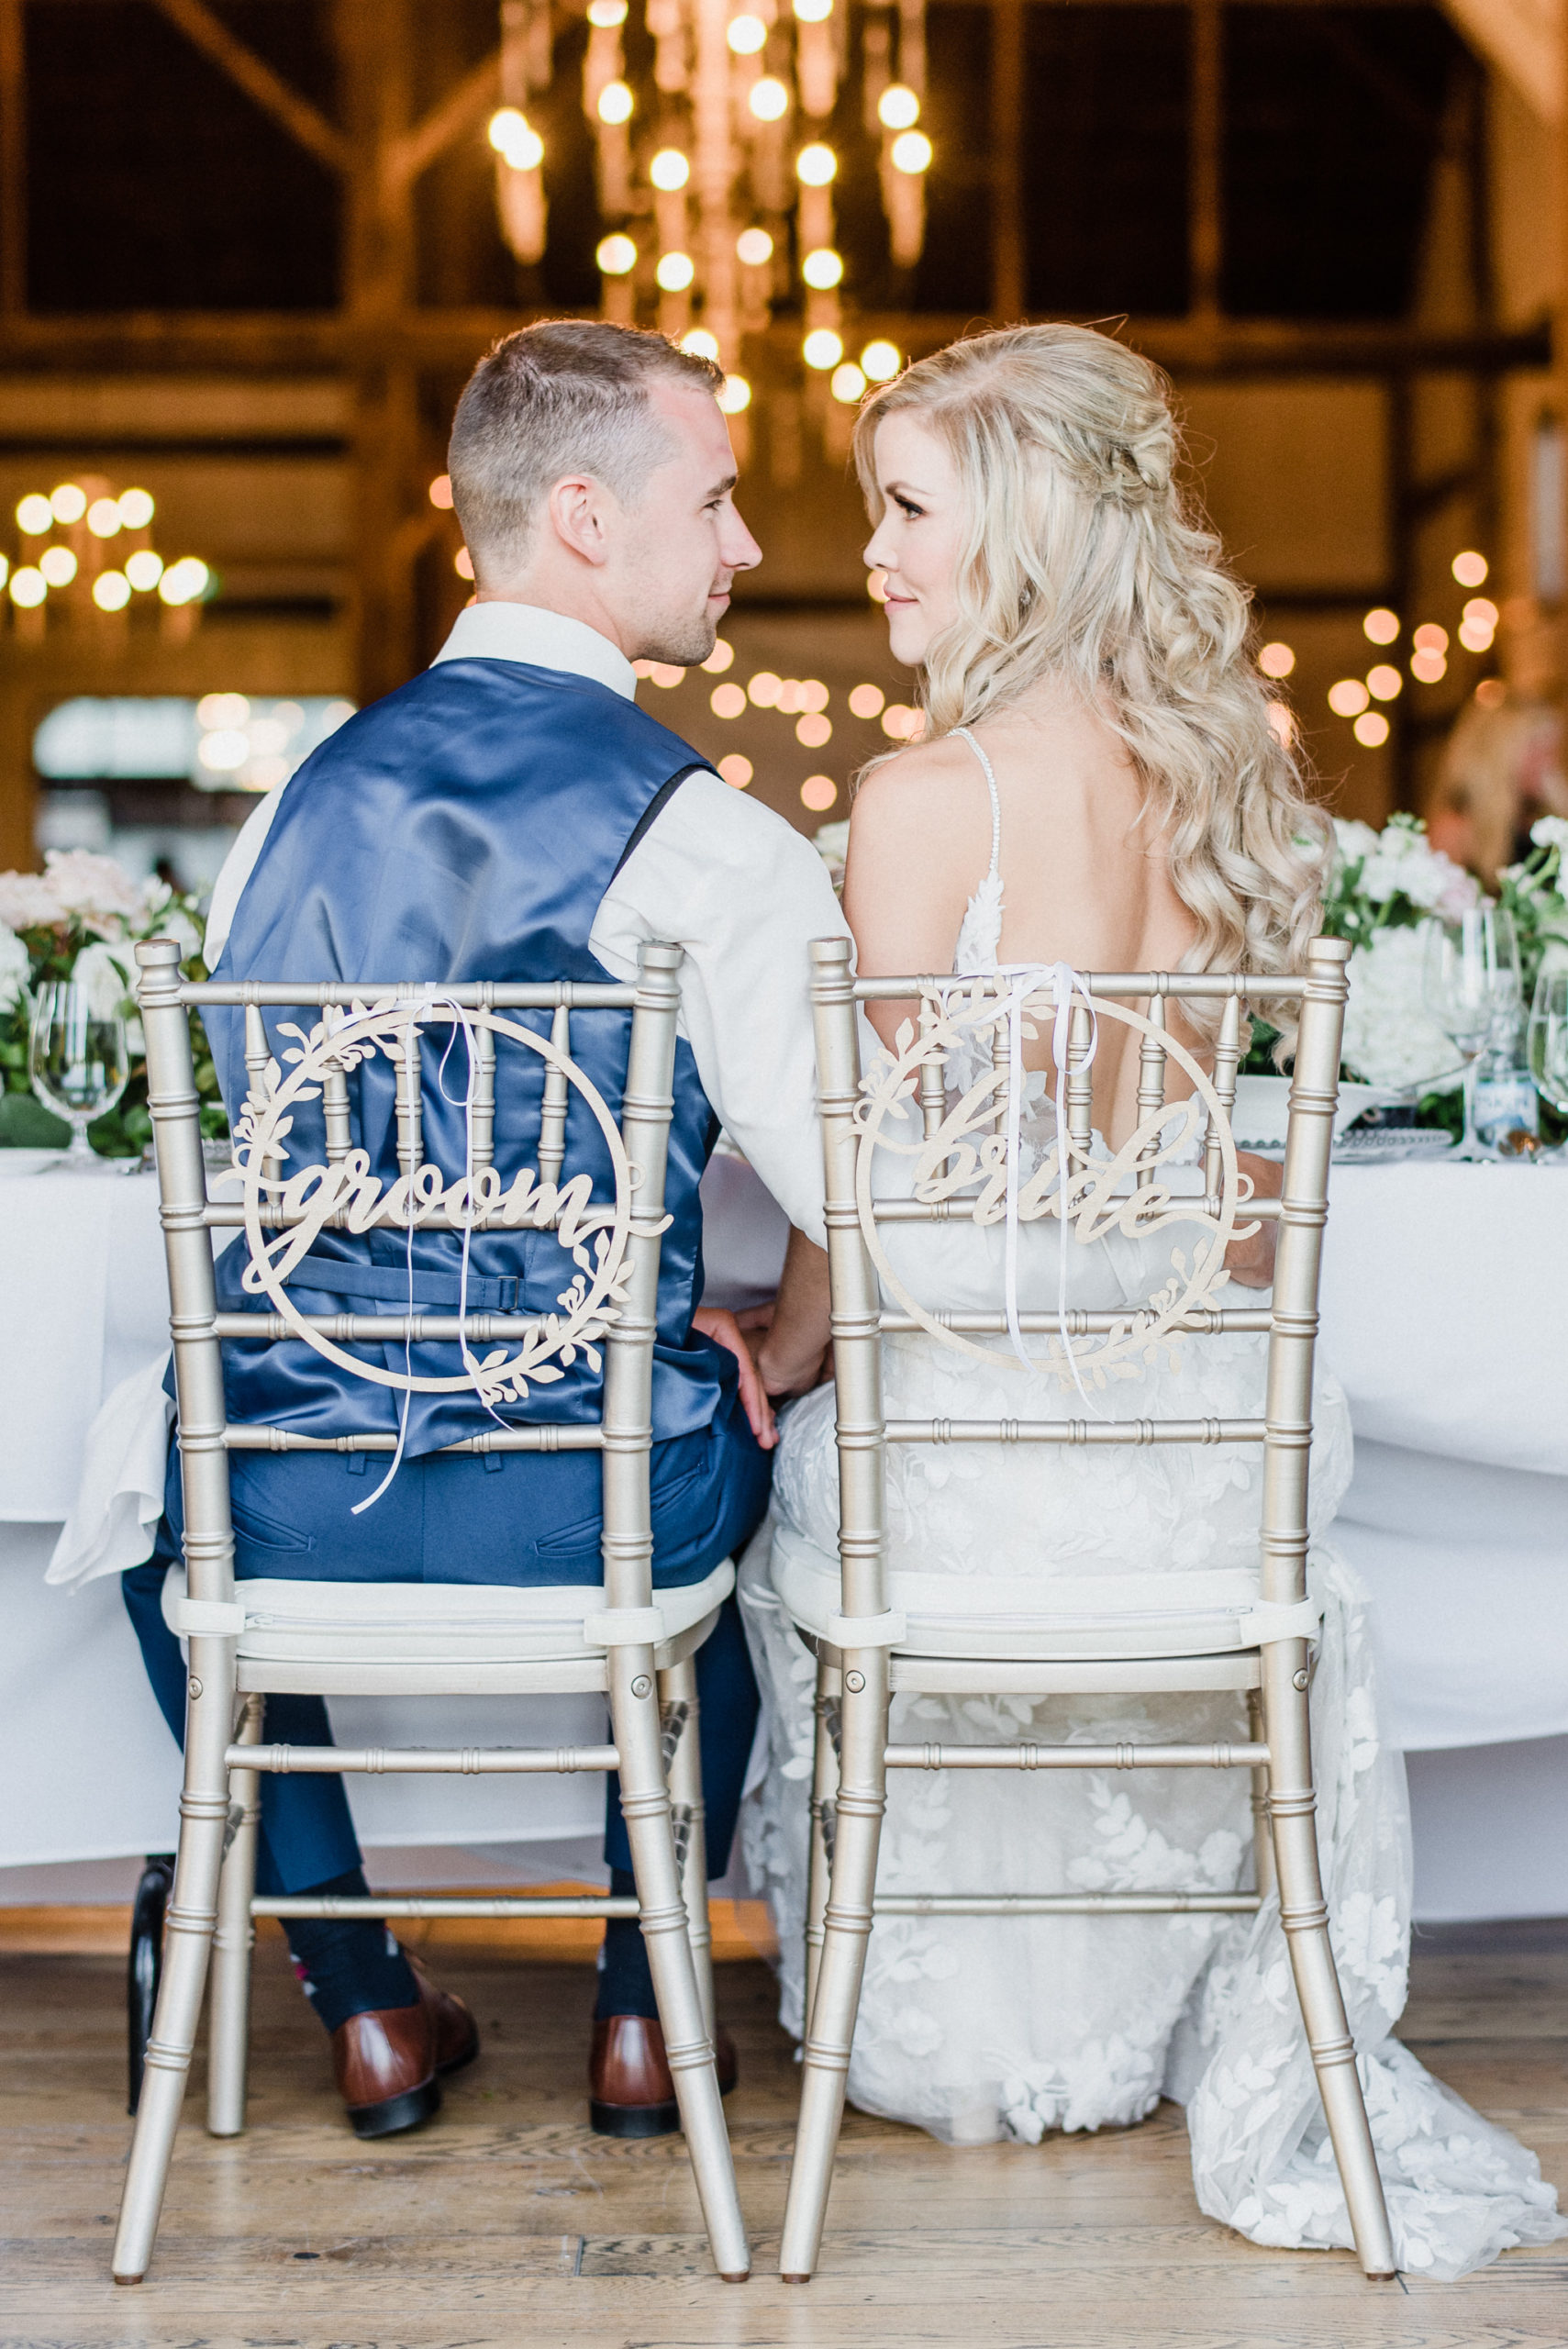
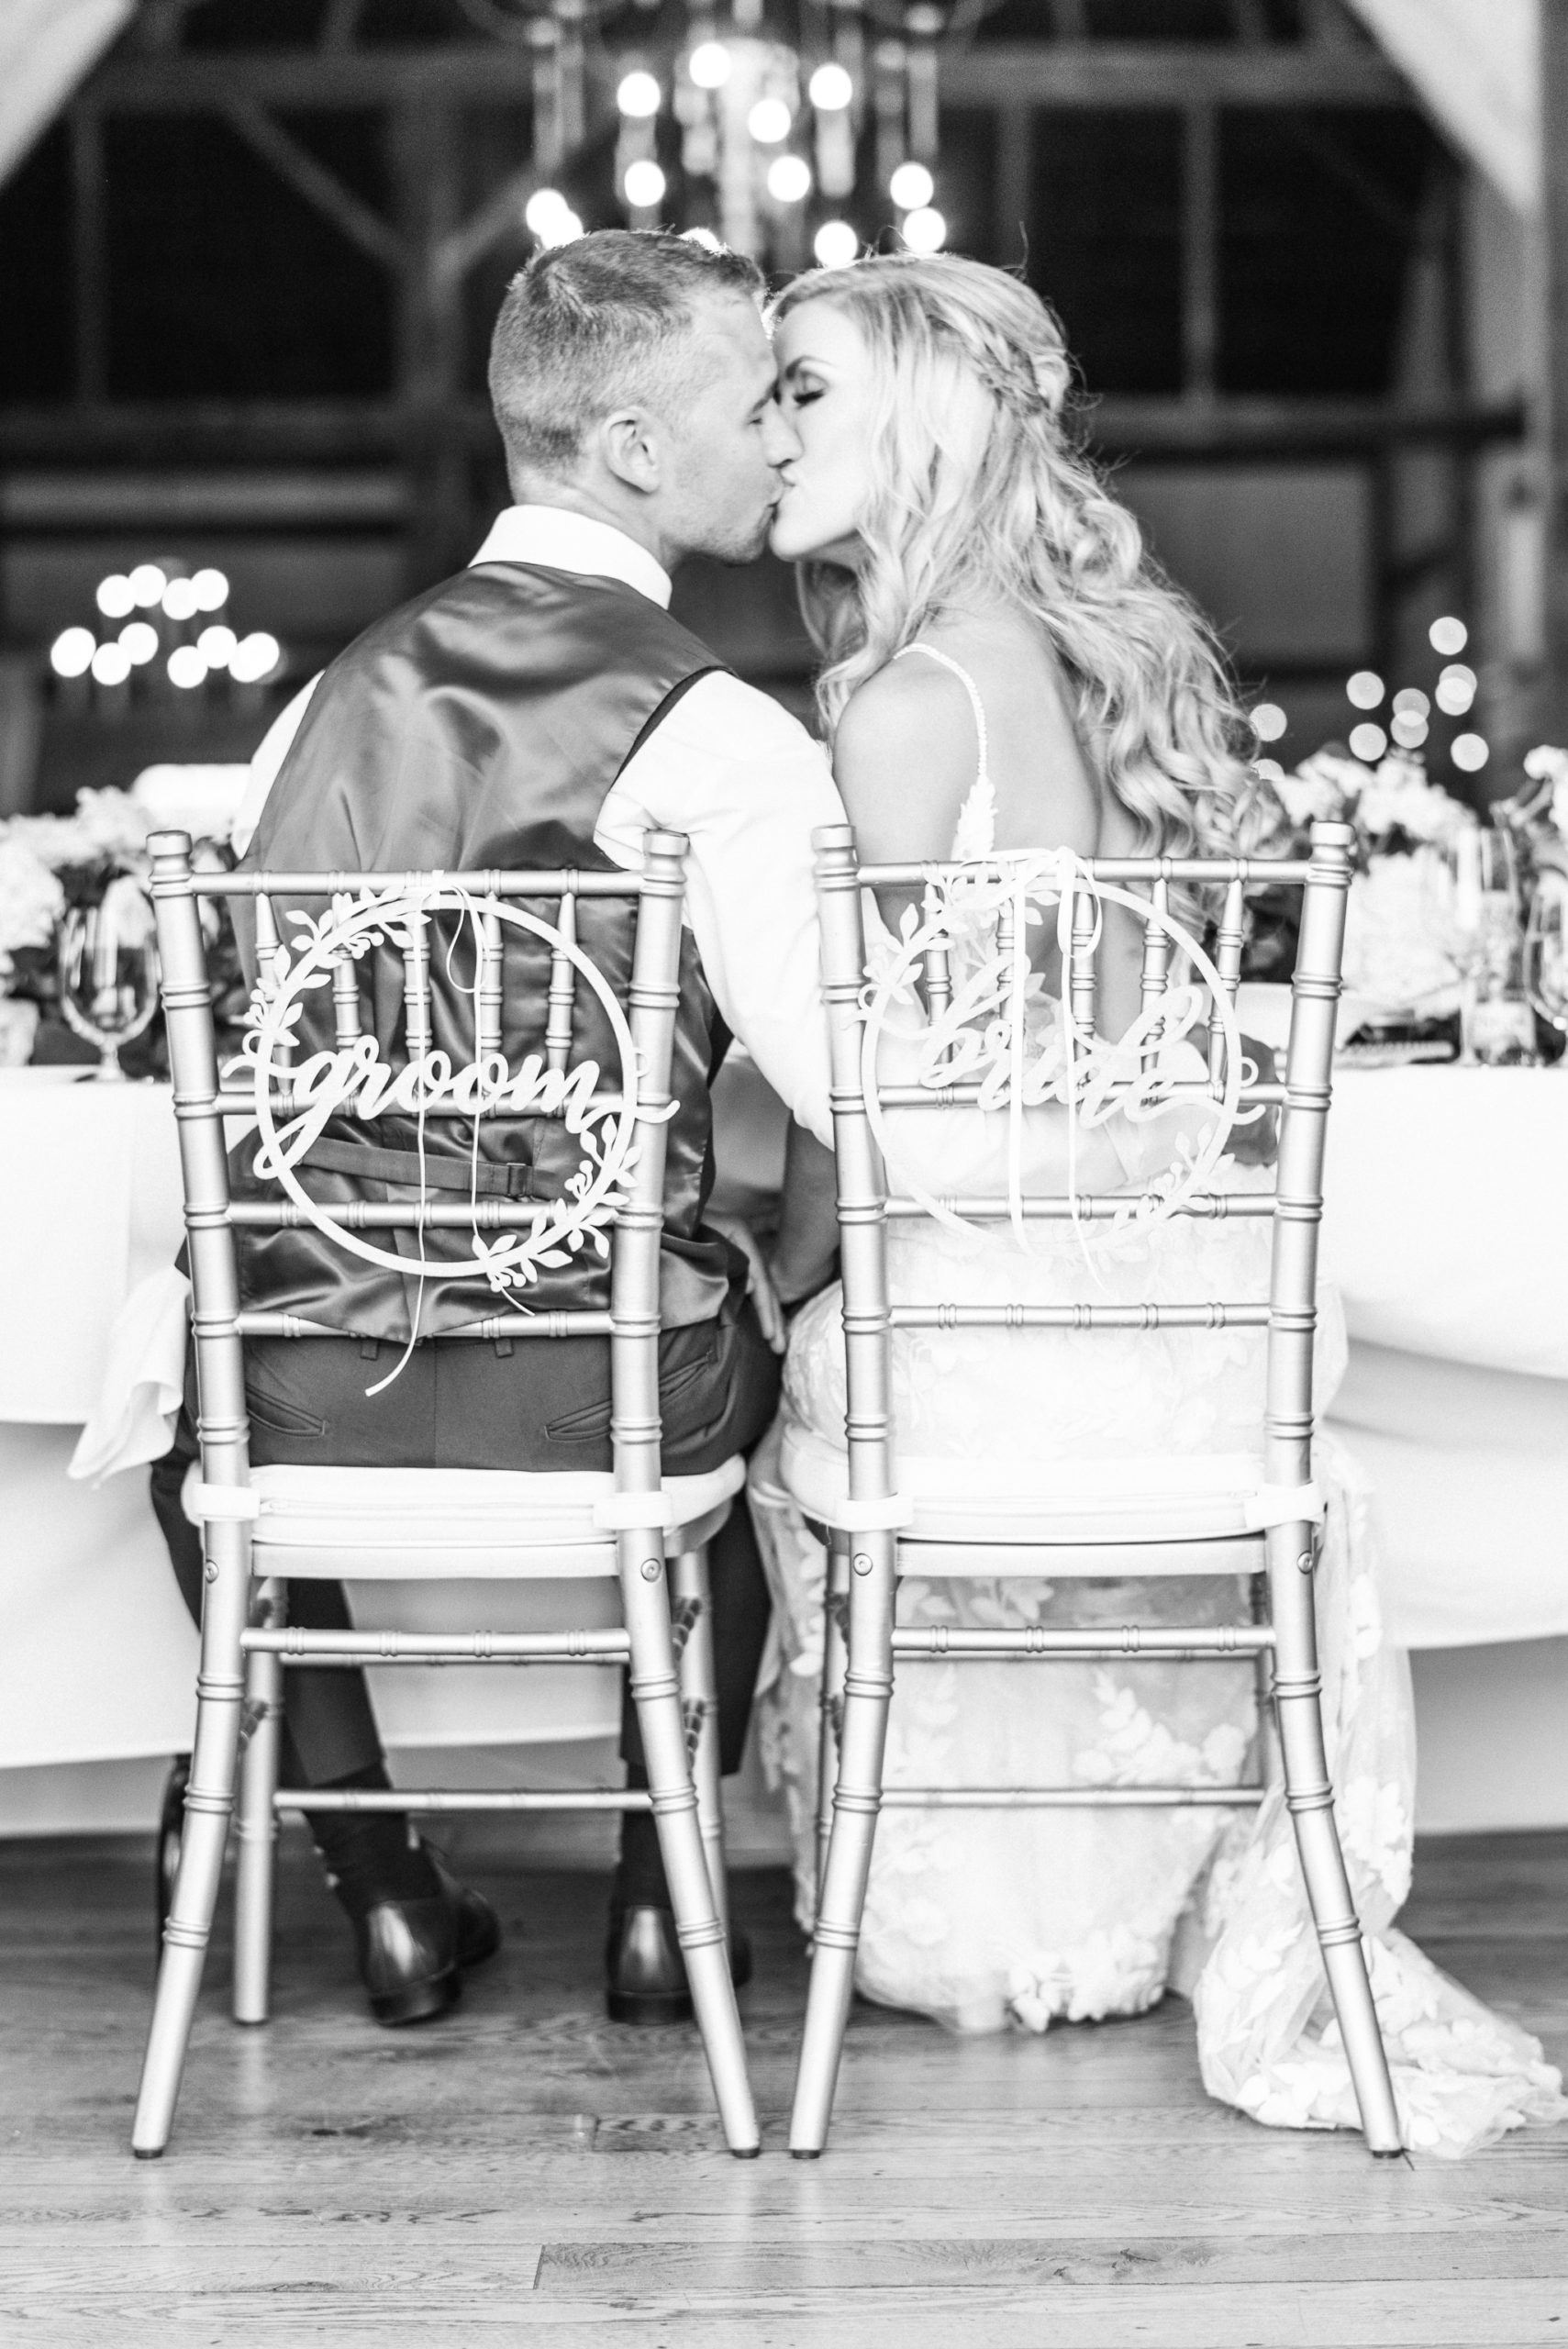
Chair Signs: Thistle & Lace Designs Inc
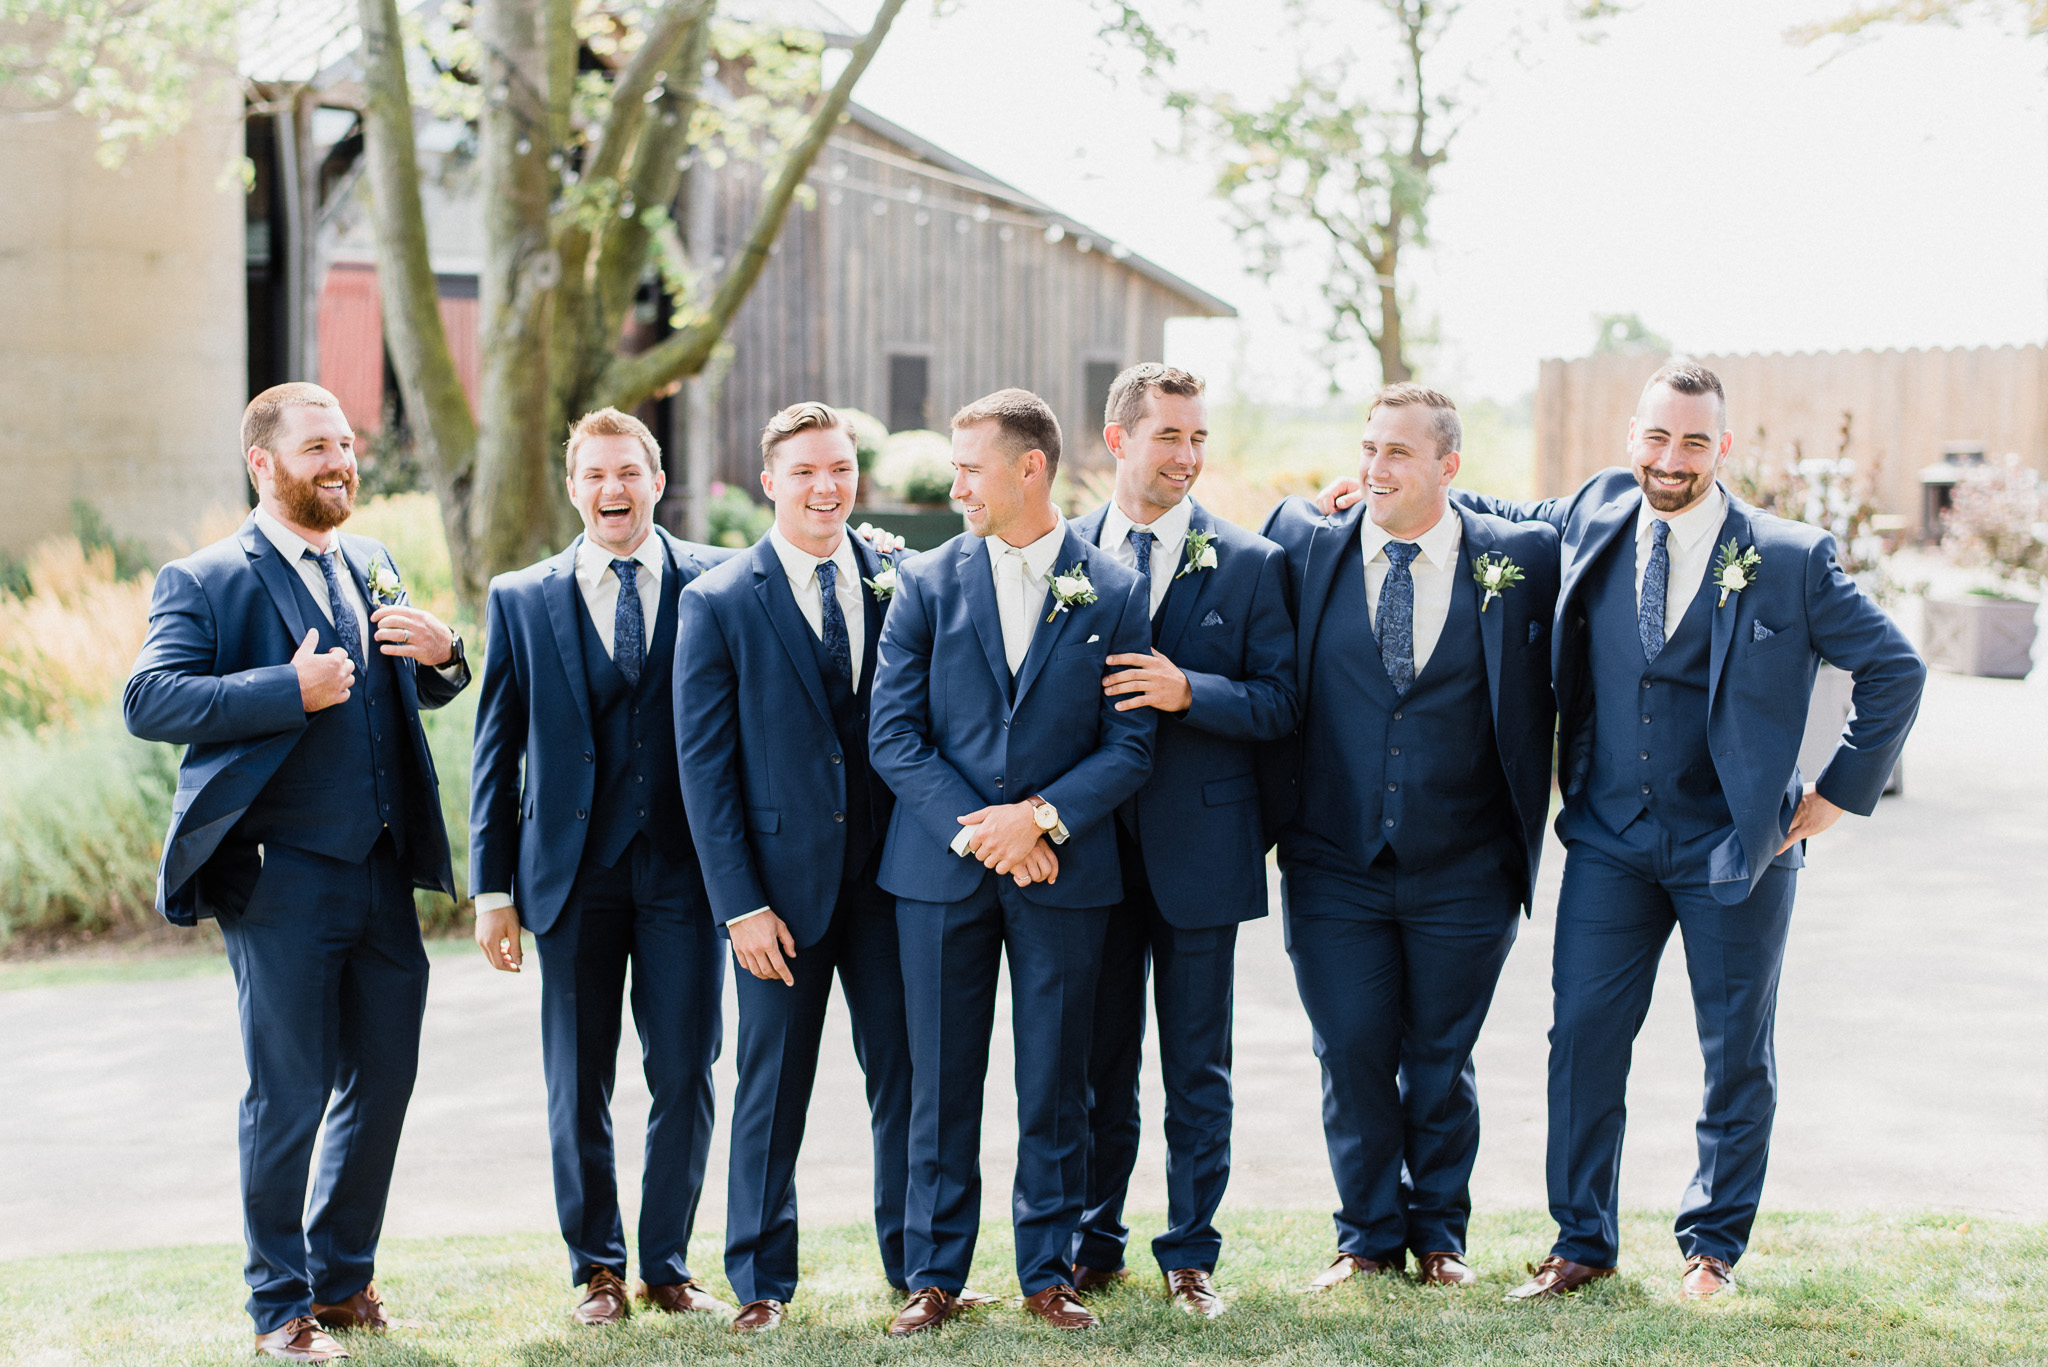
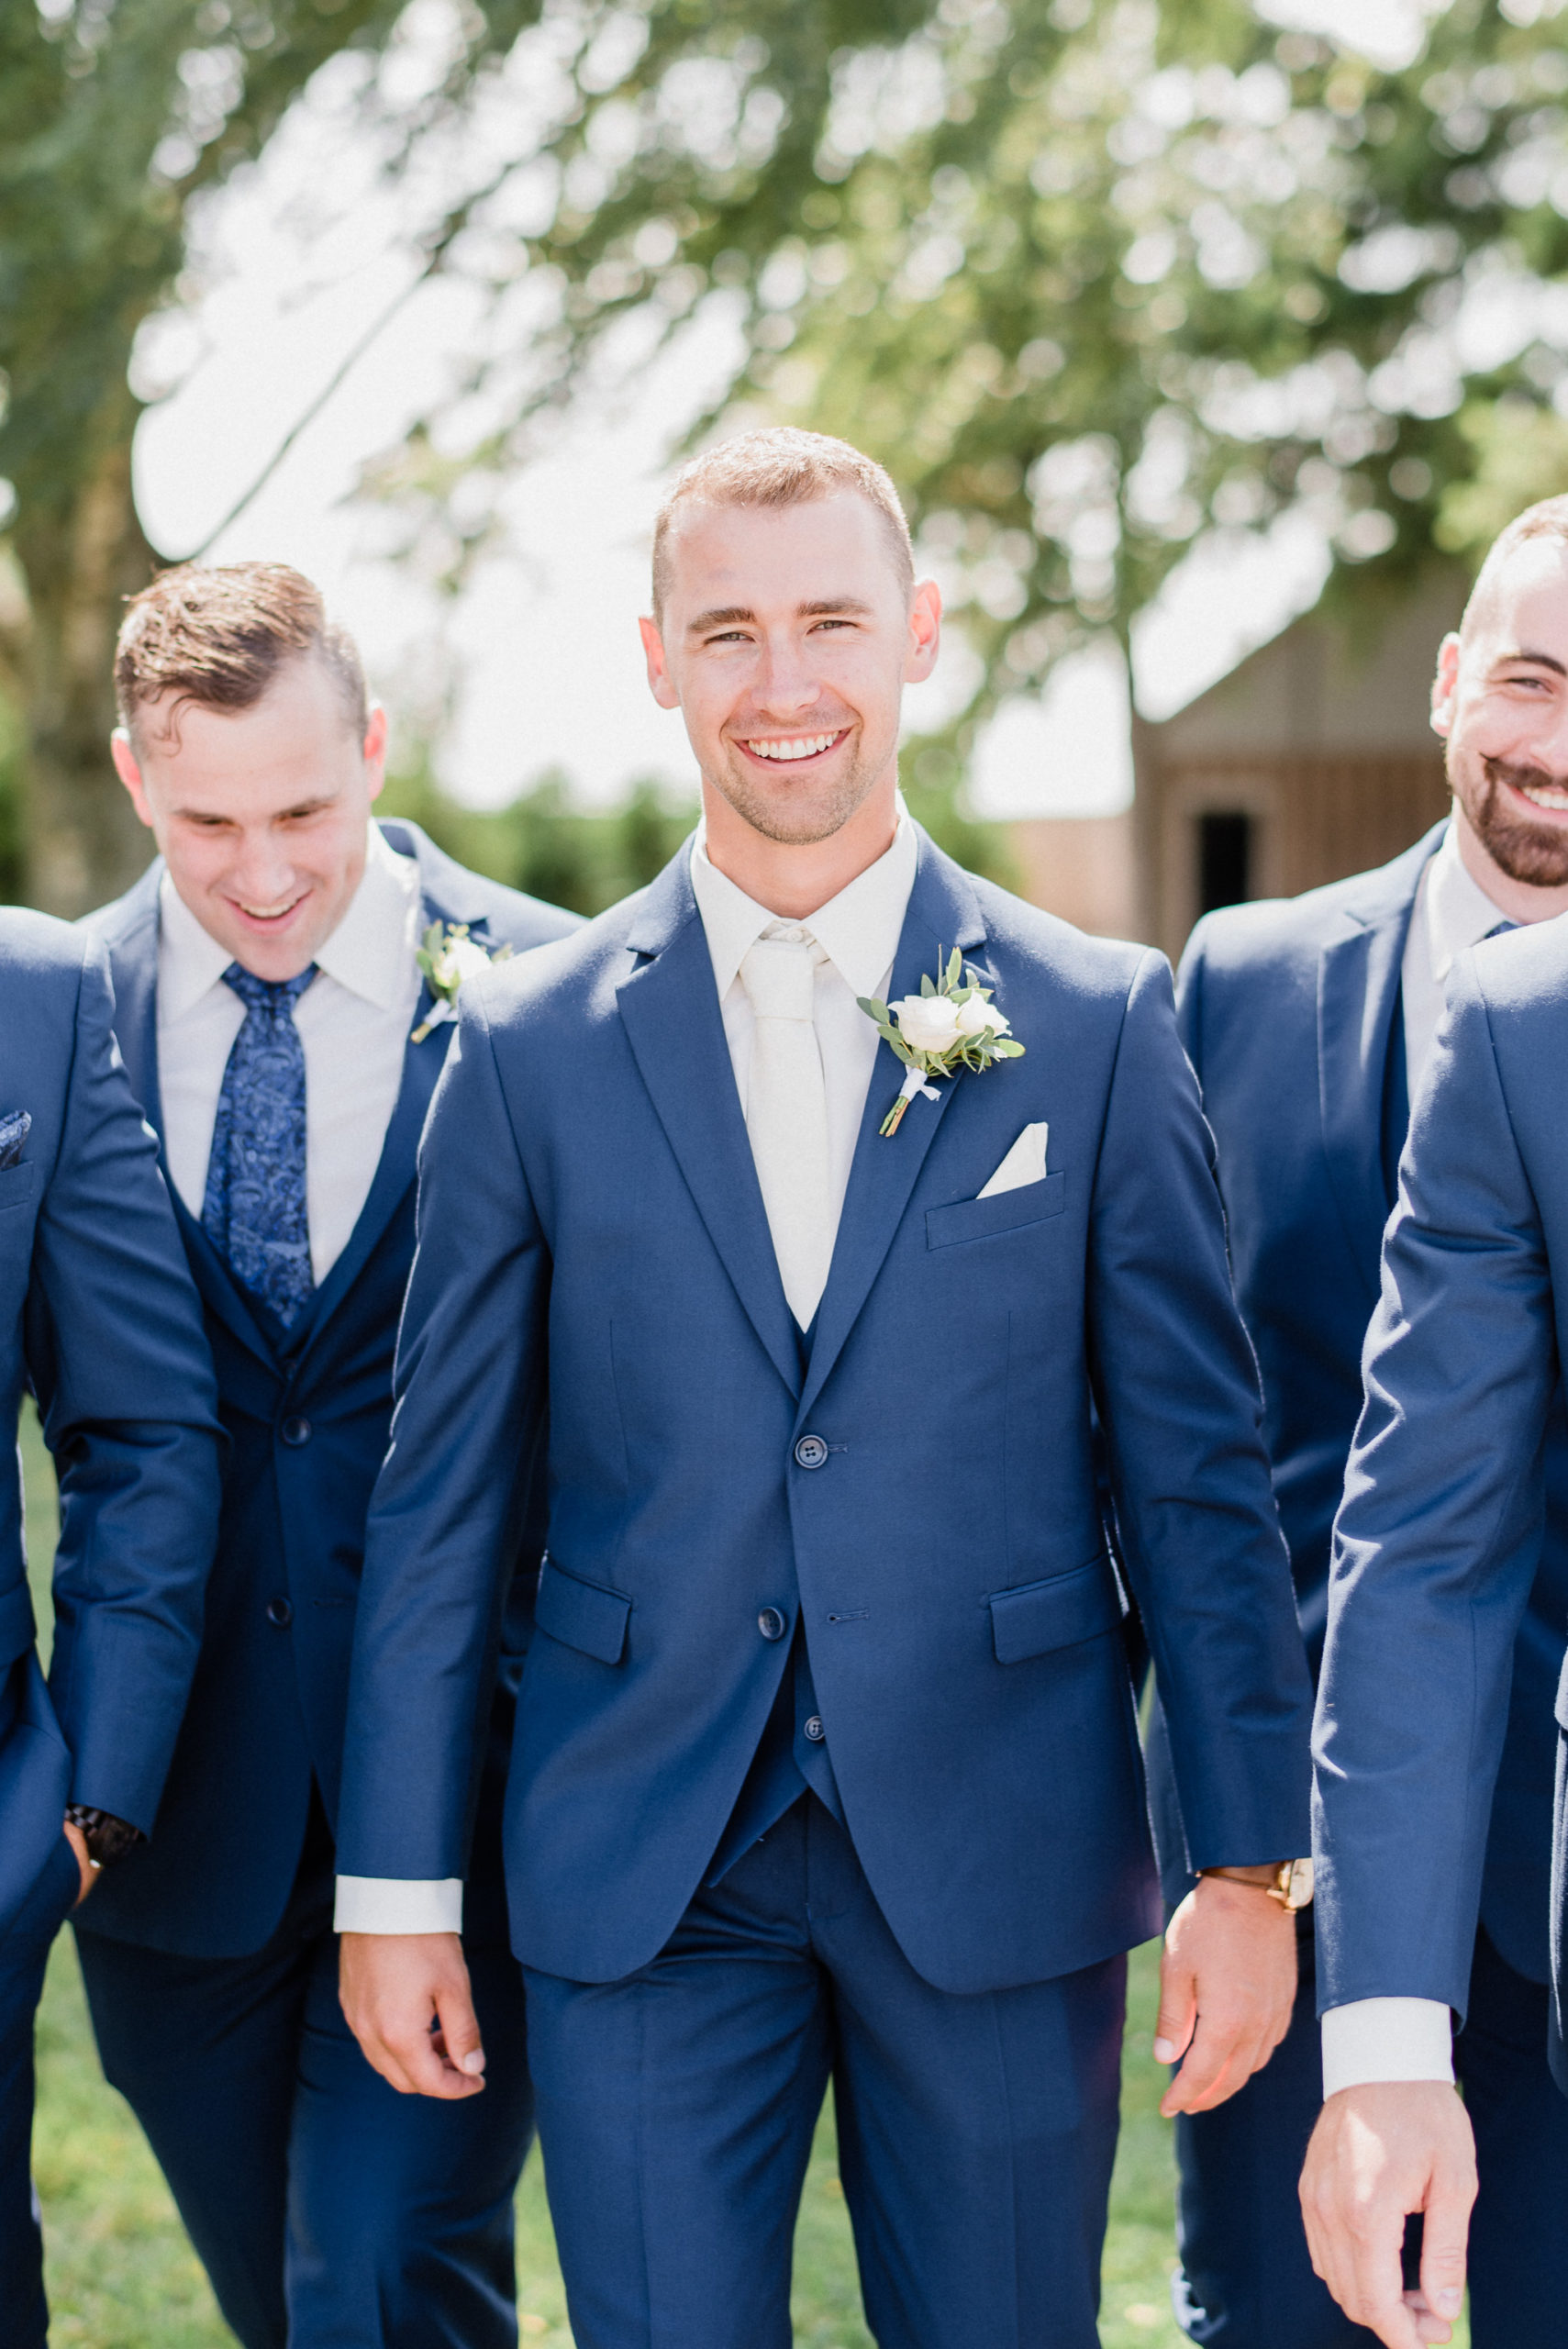
Suits: Collins Clothiers
Videography: Bright Sky Weddings
Officiant: Brianne Jourdin
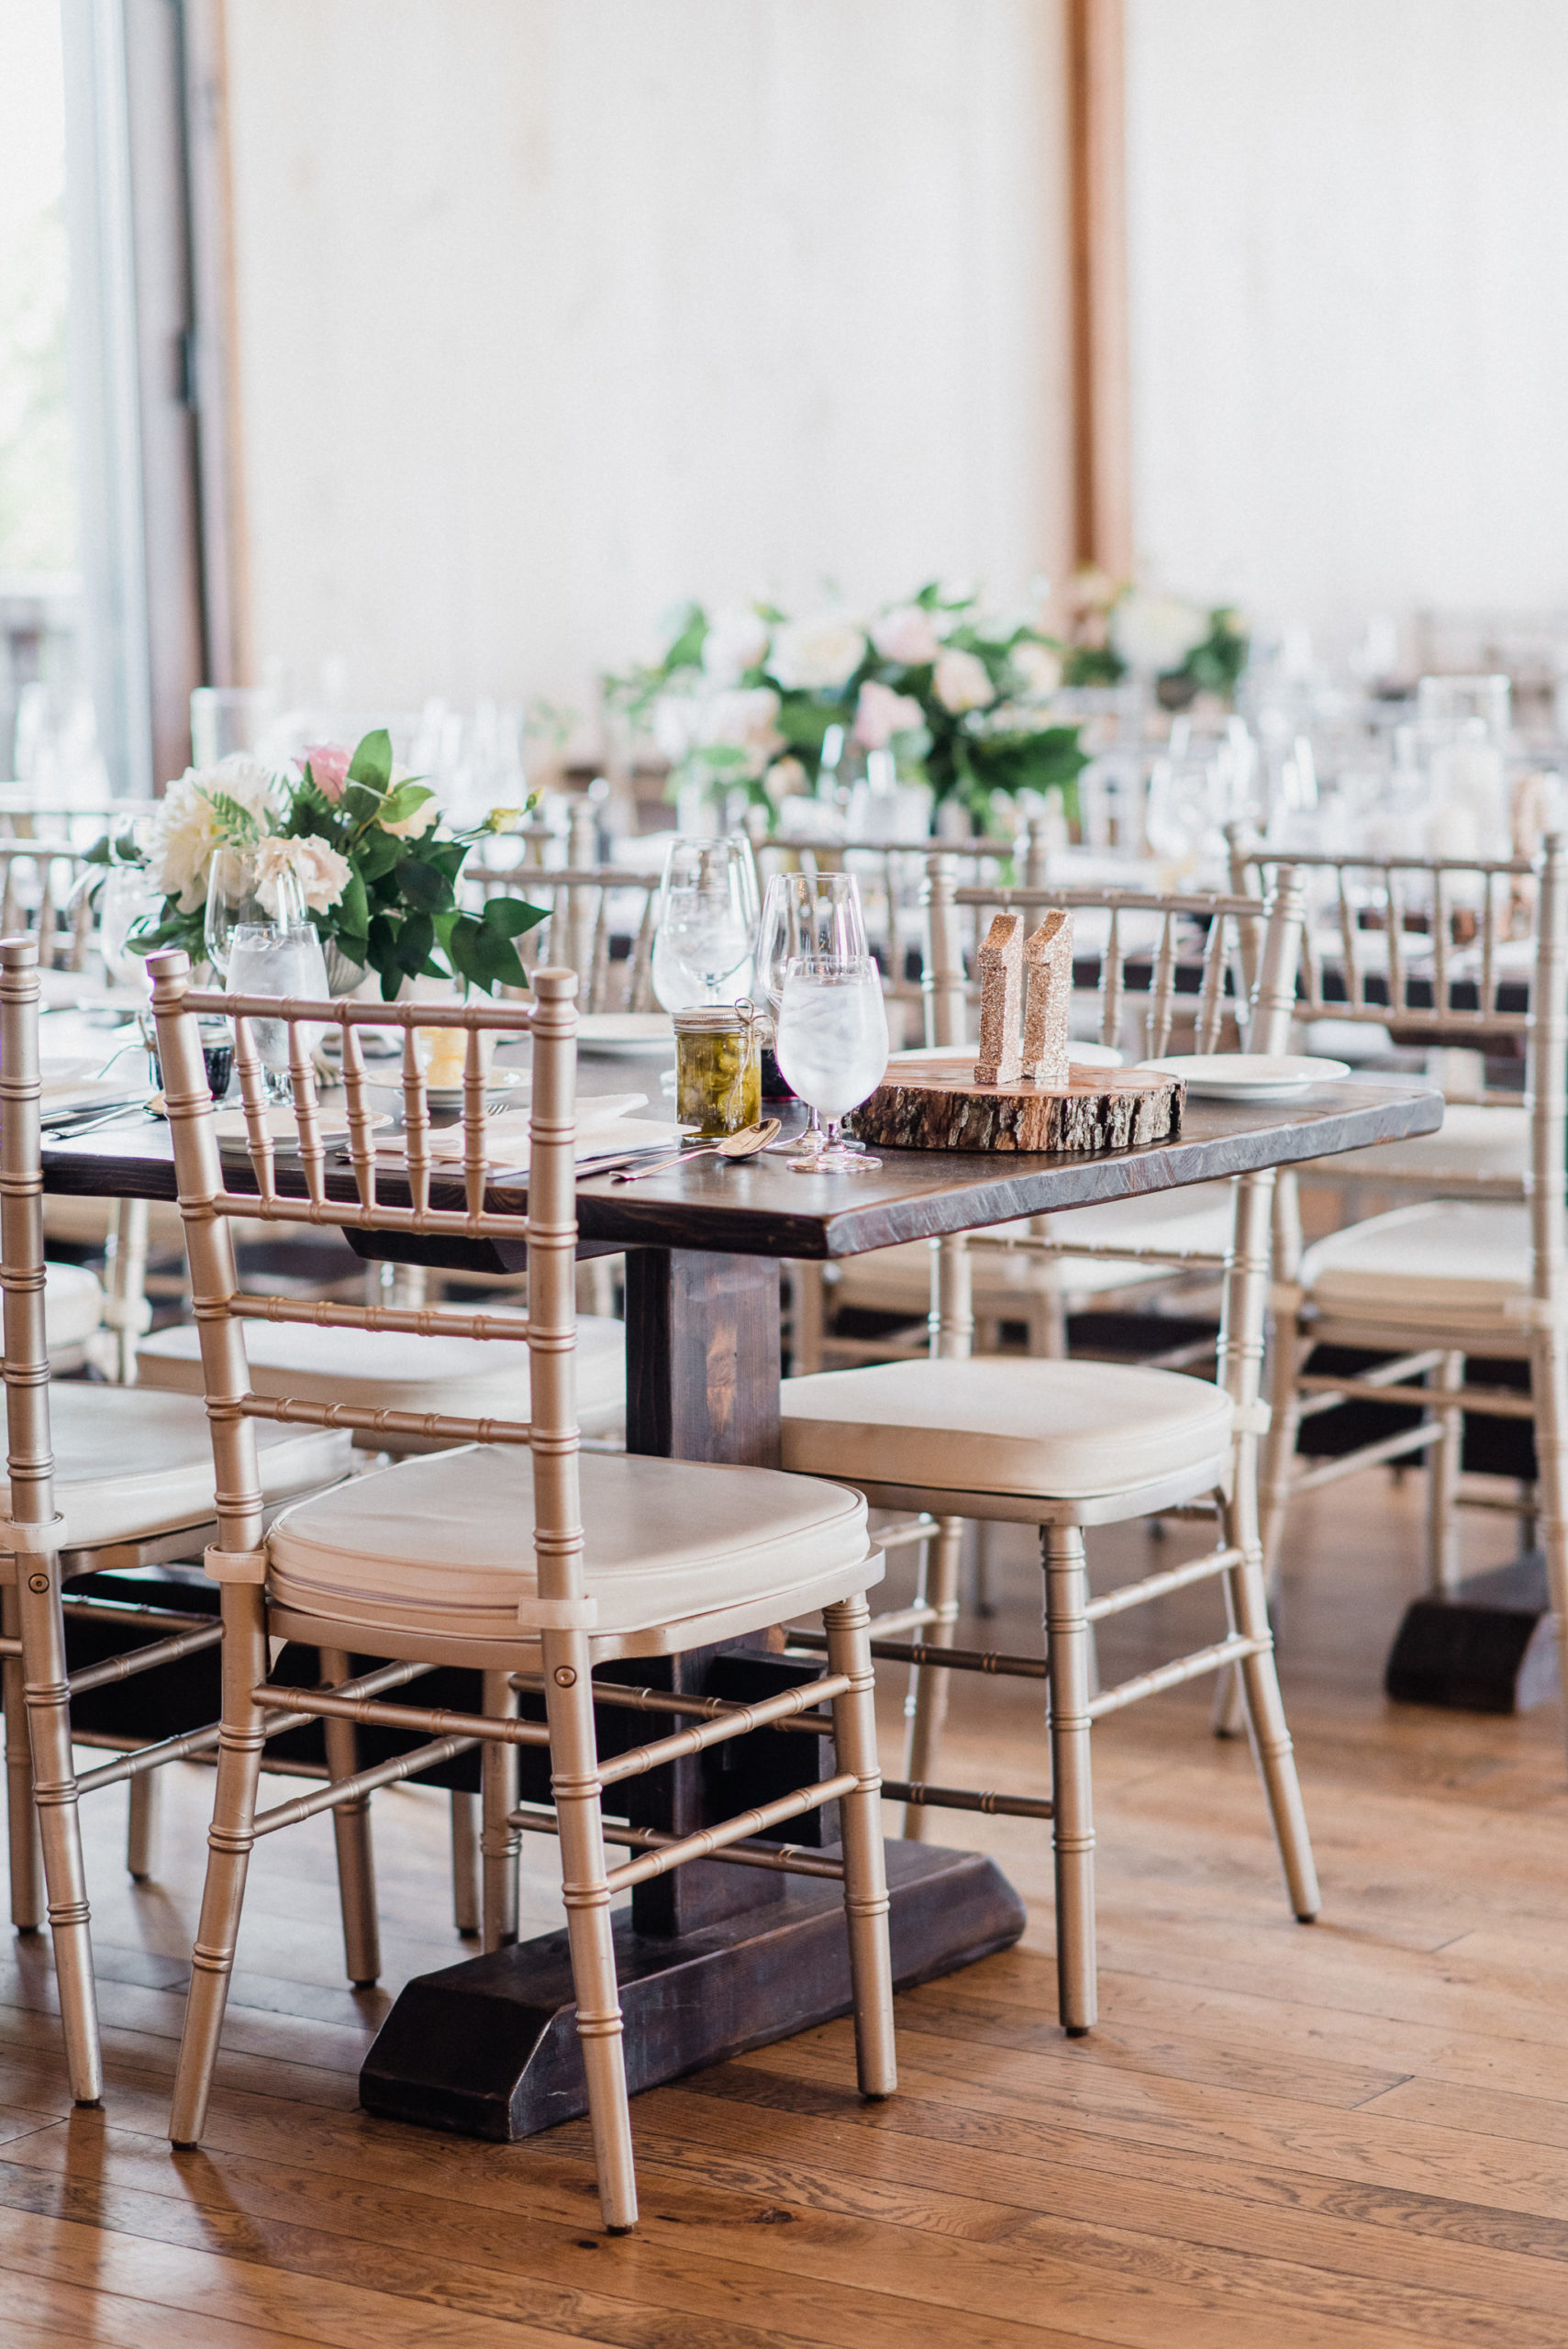
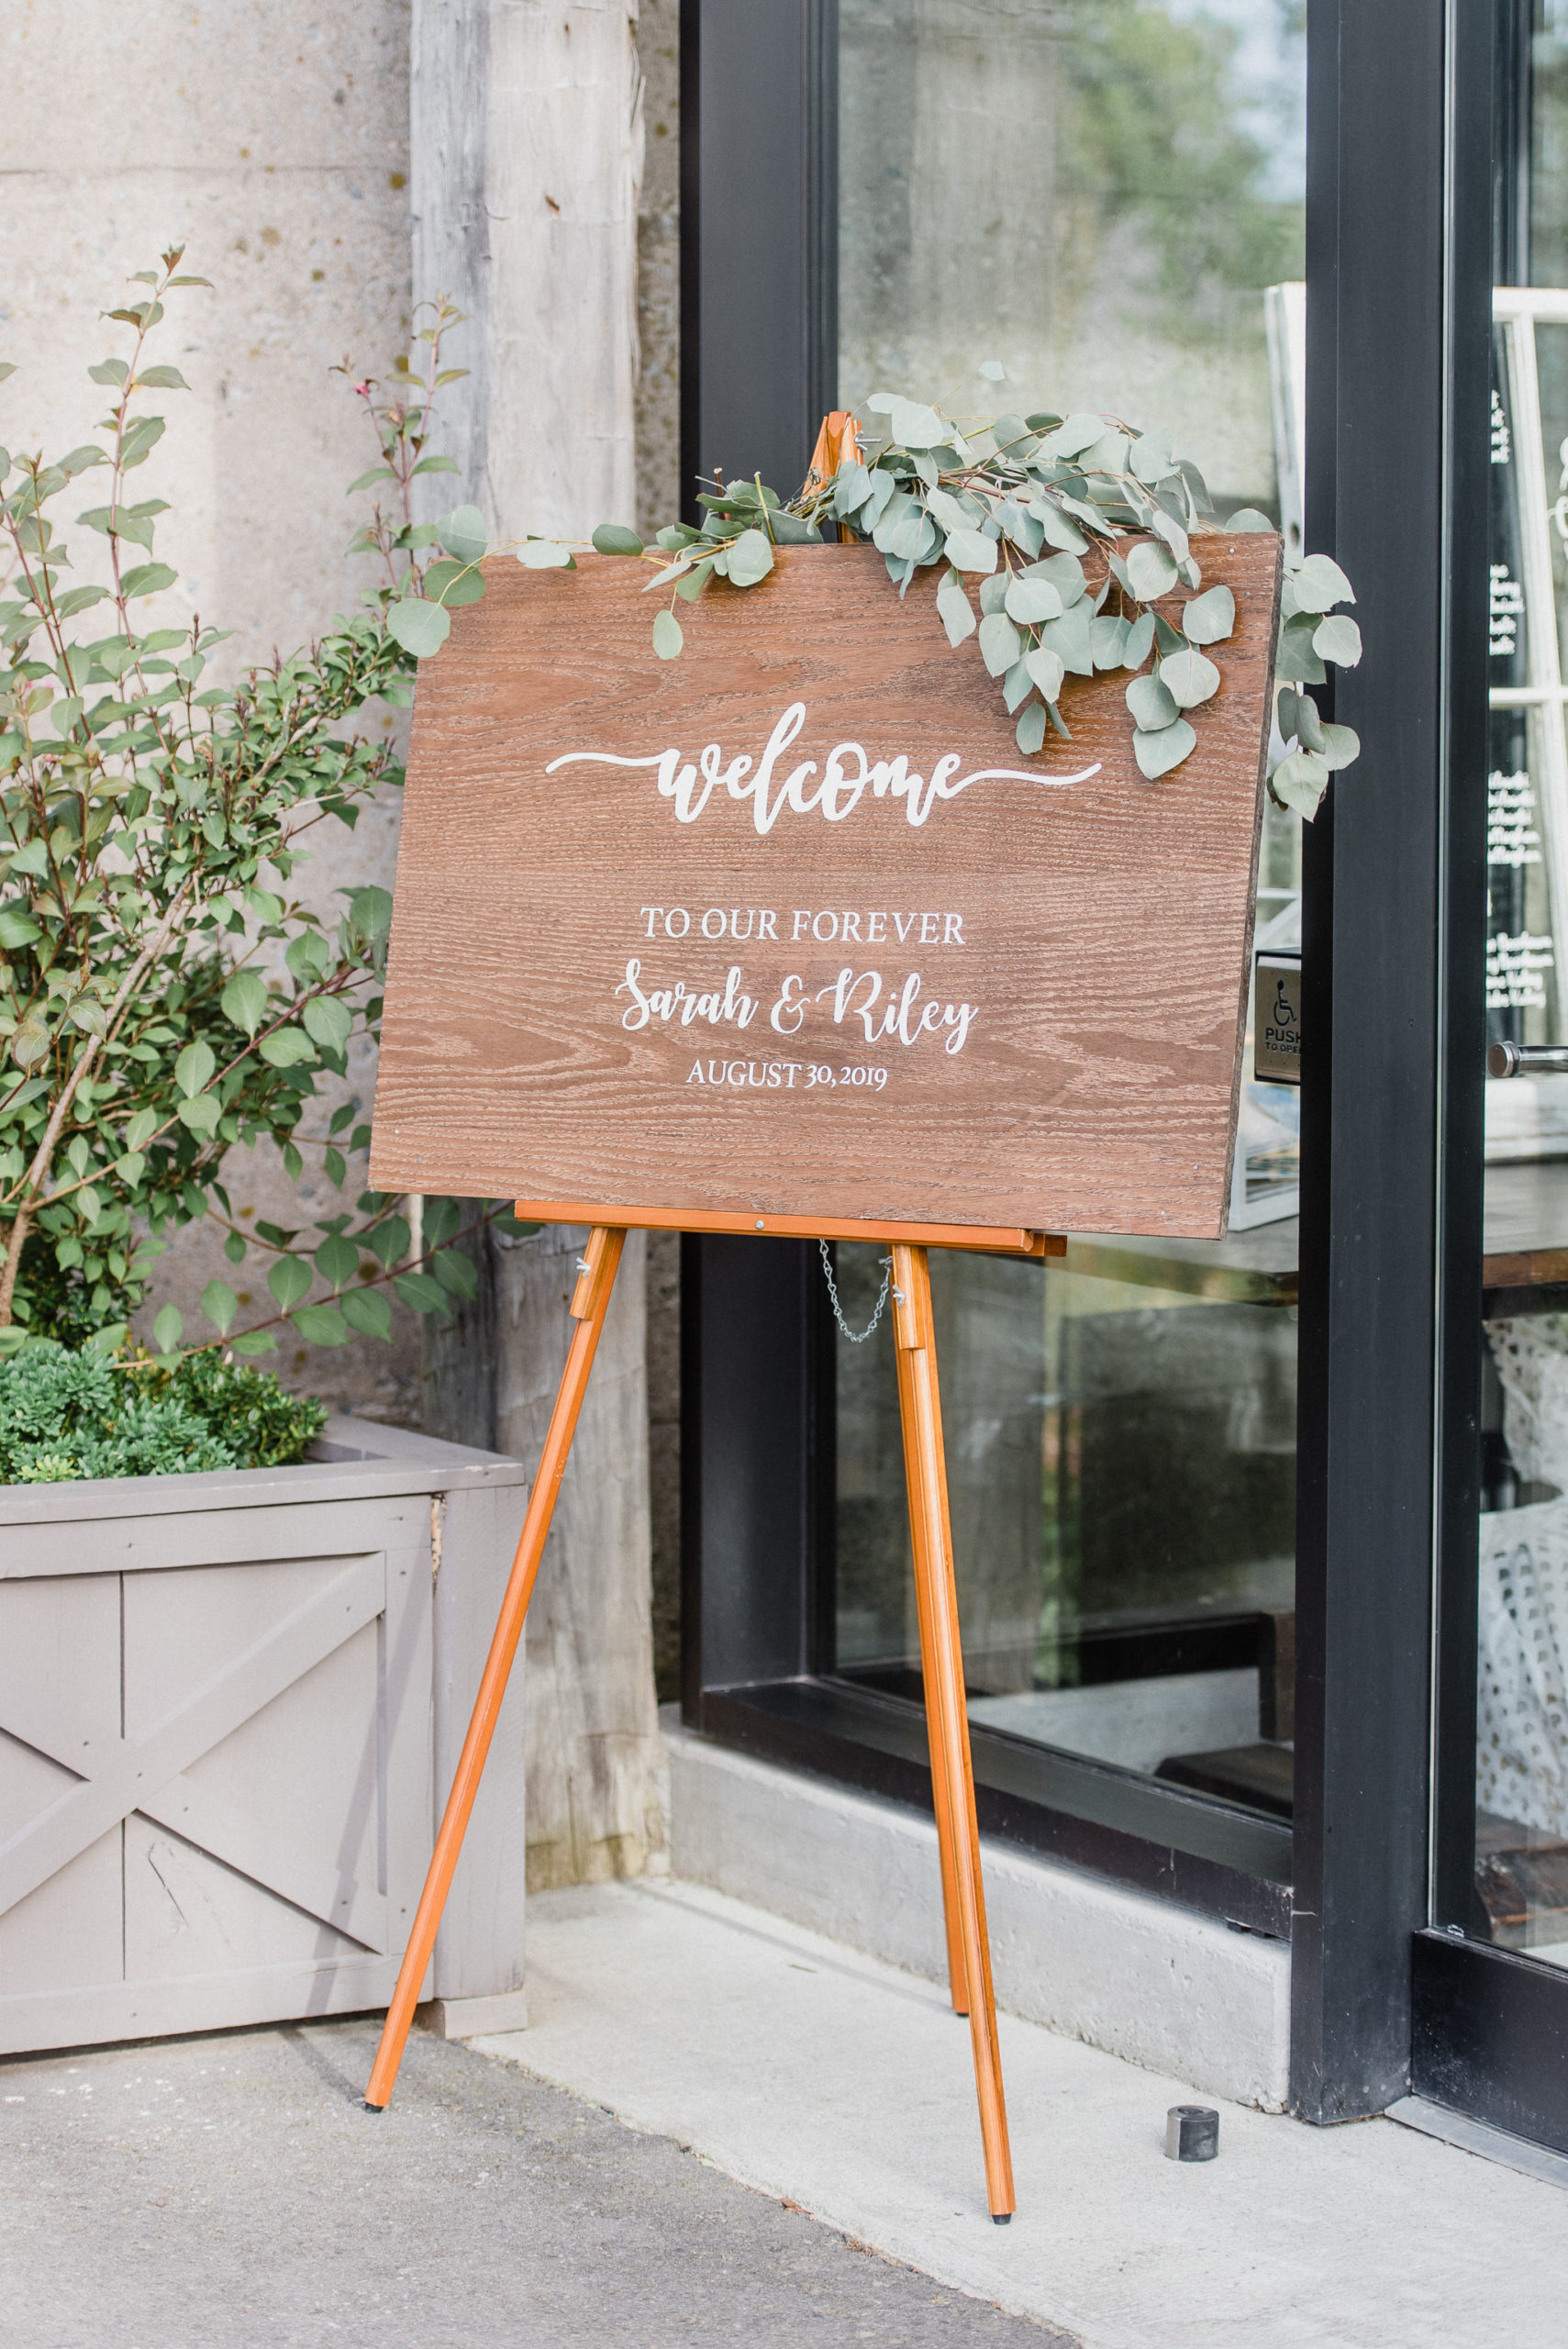
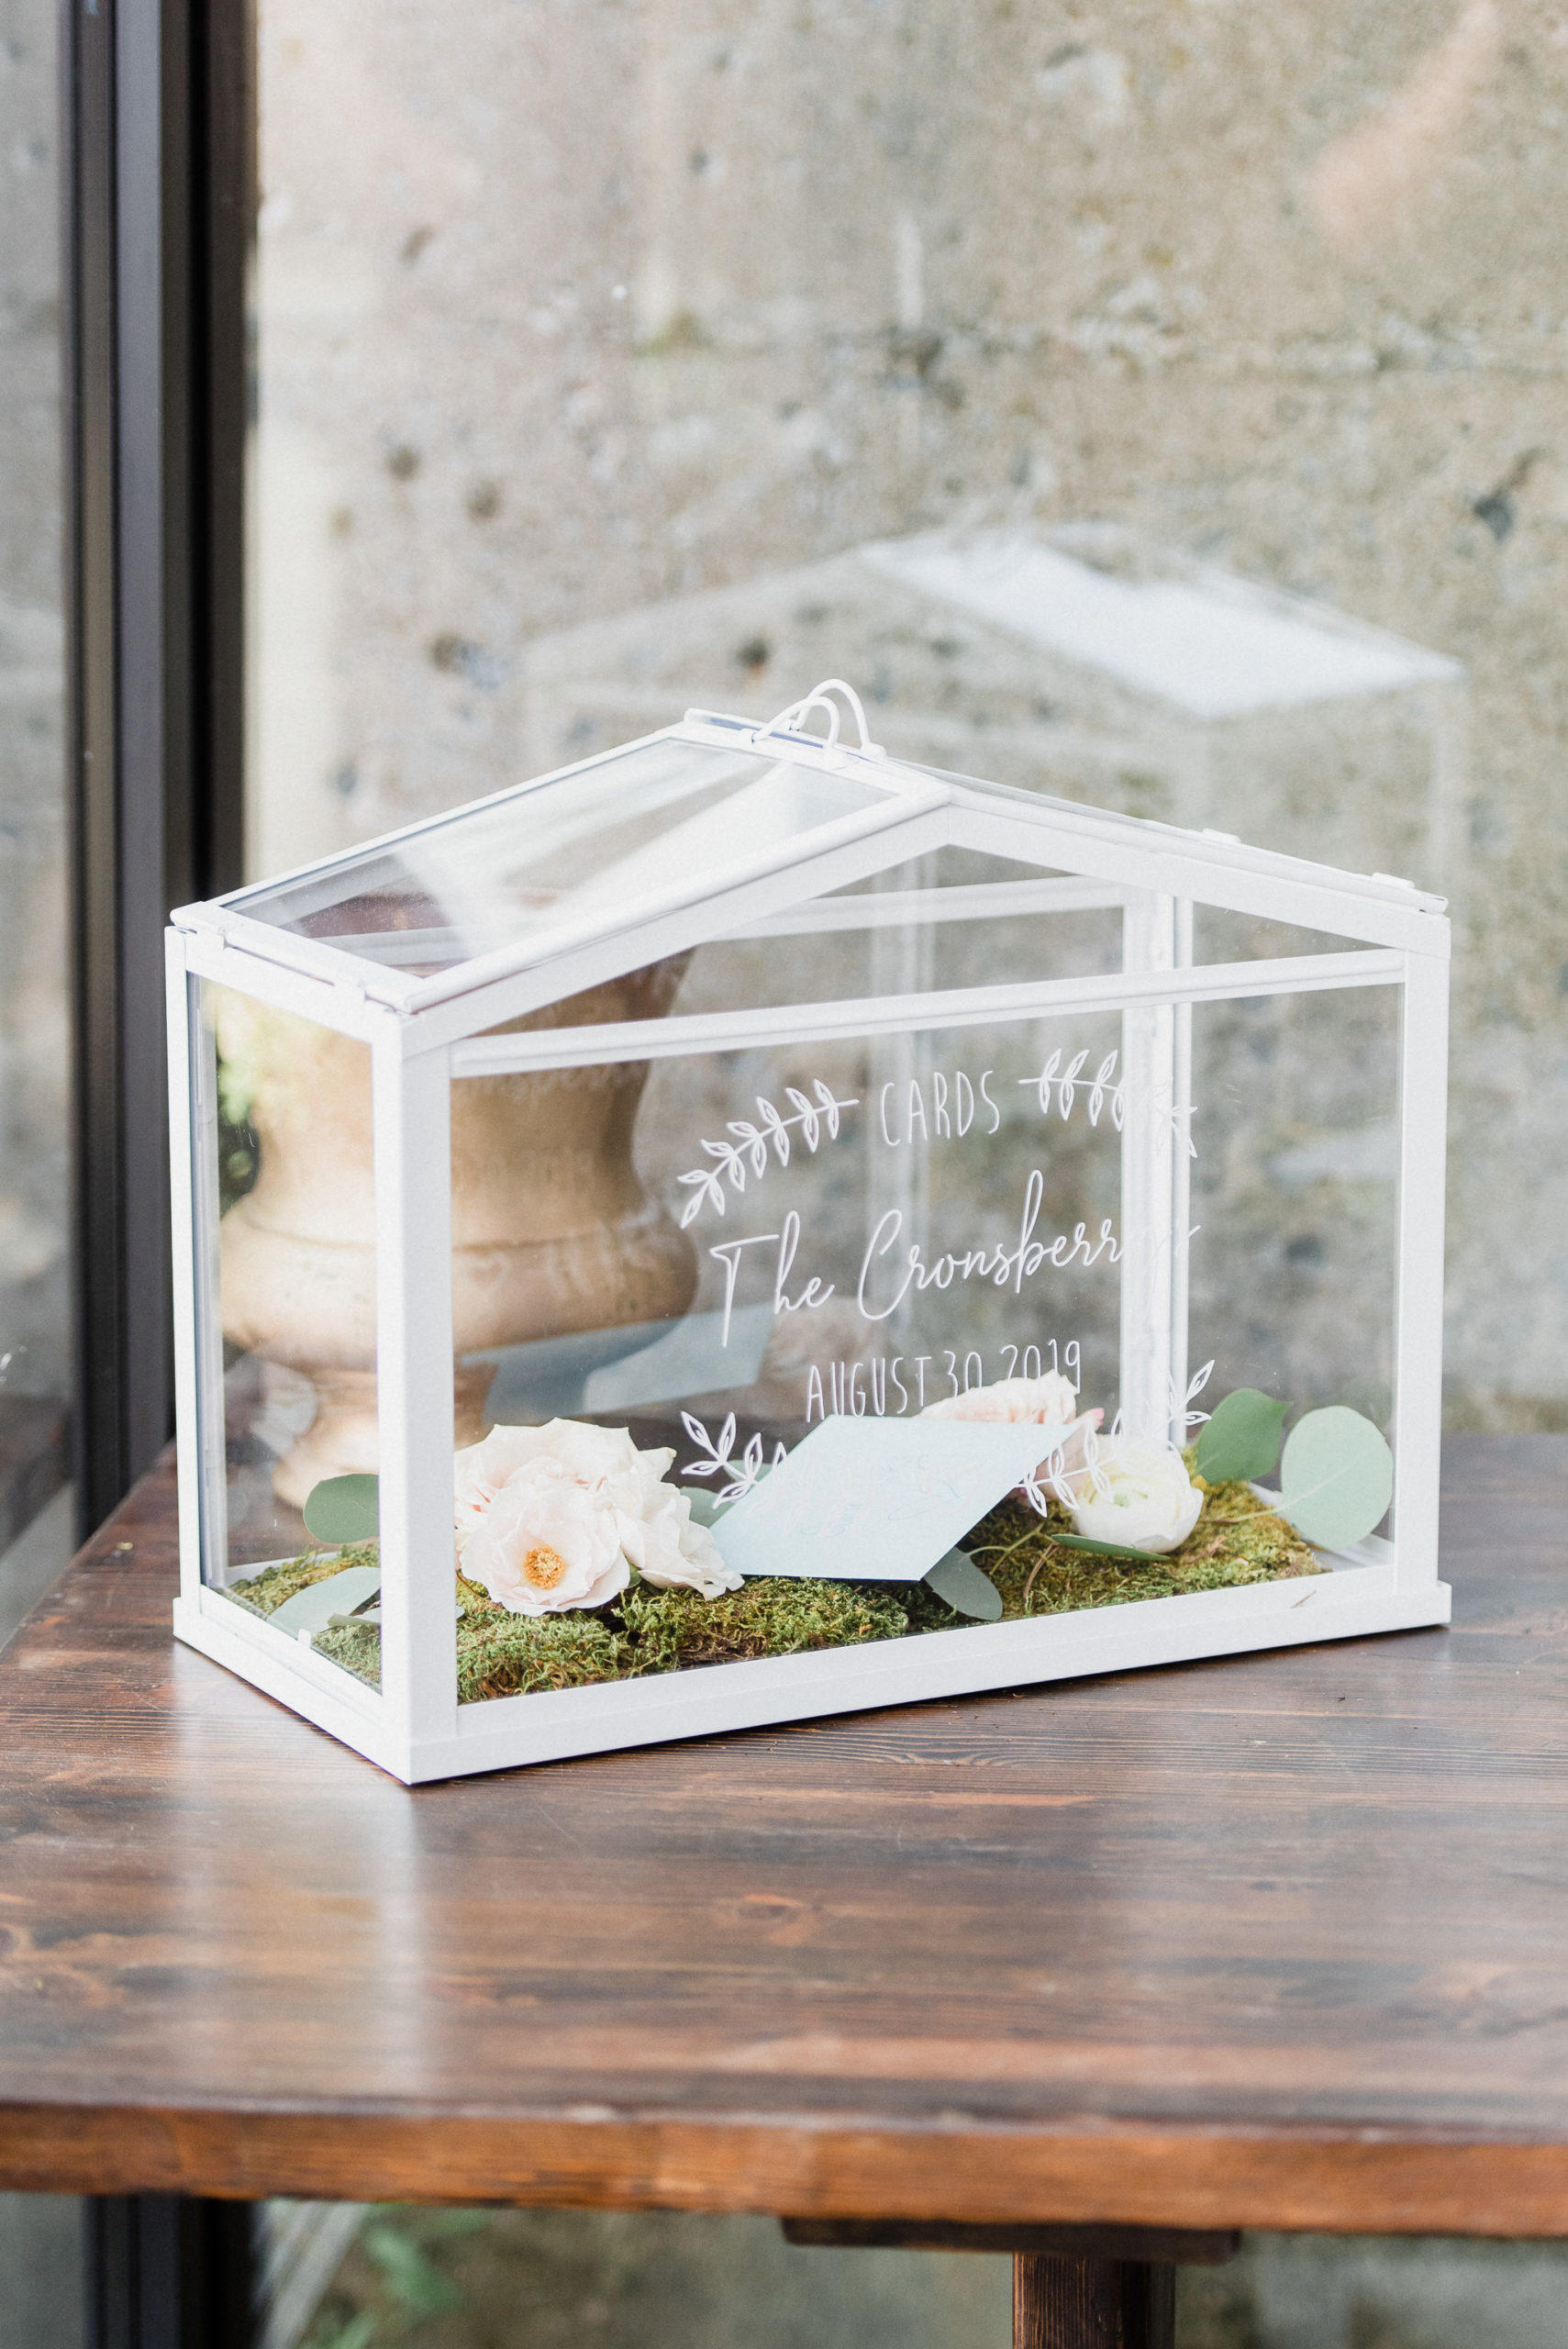
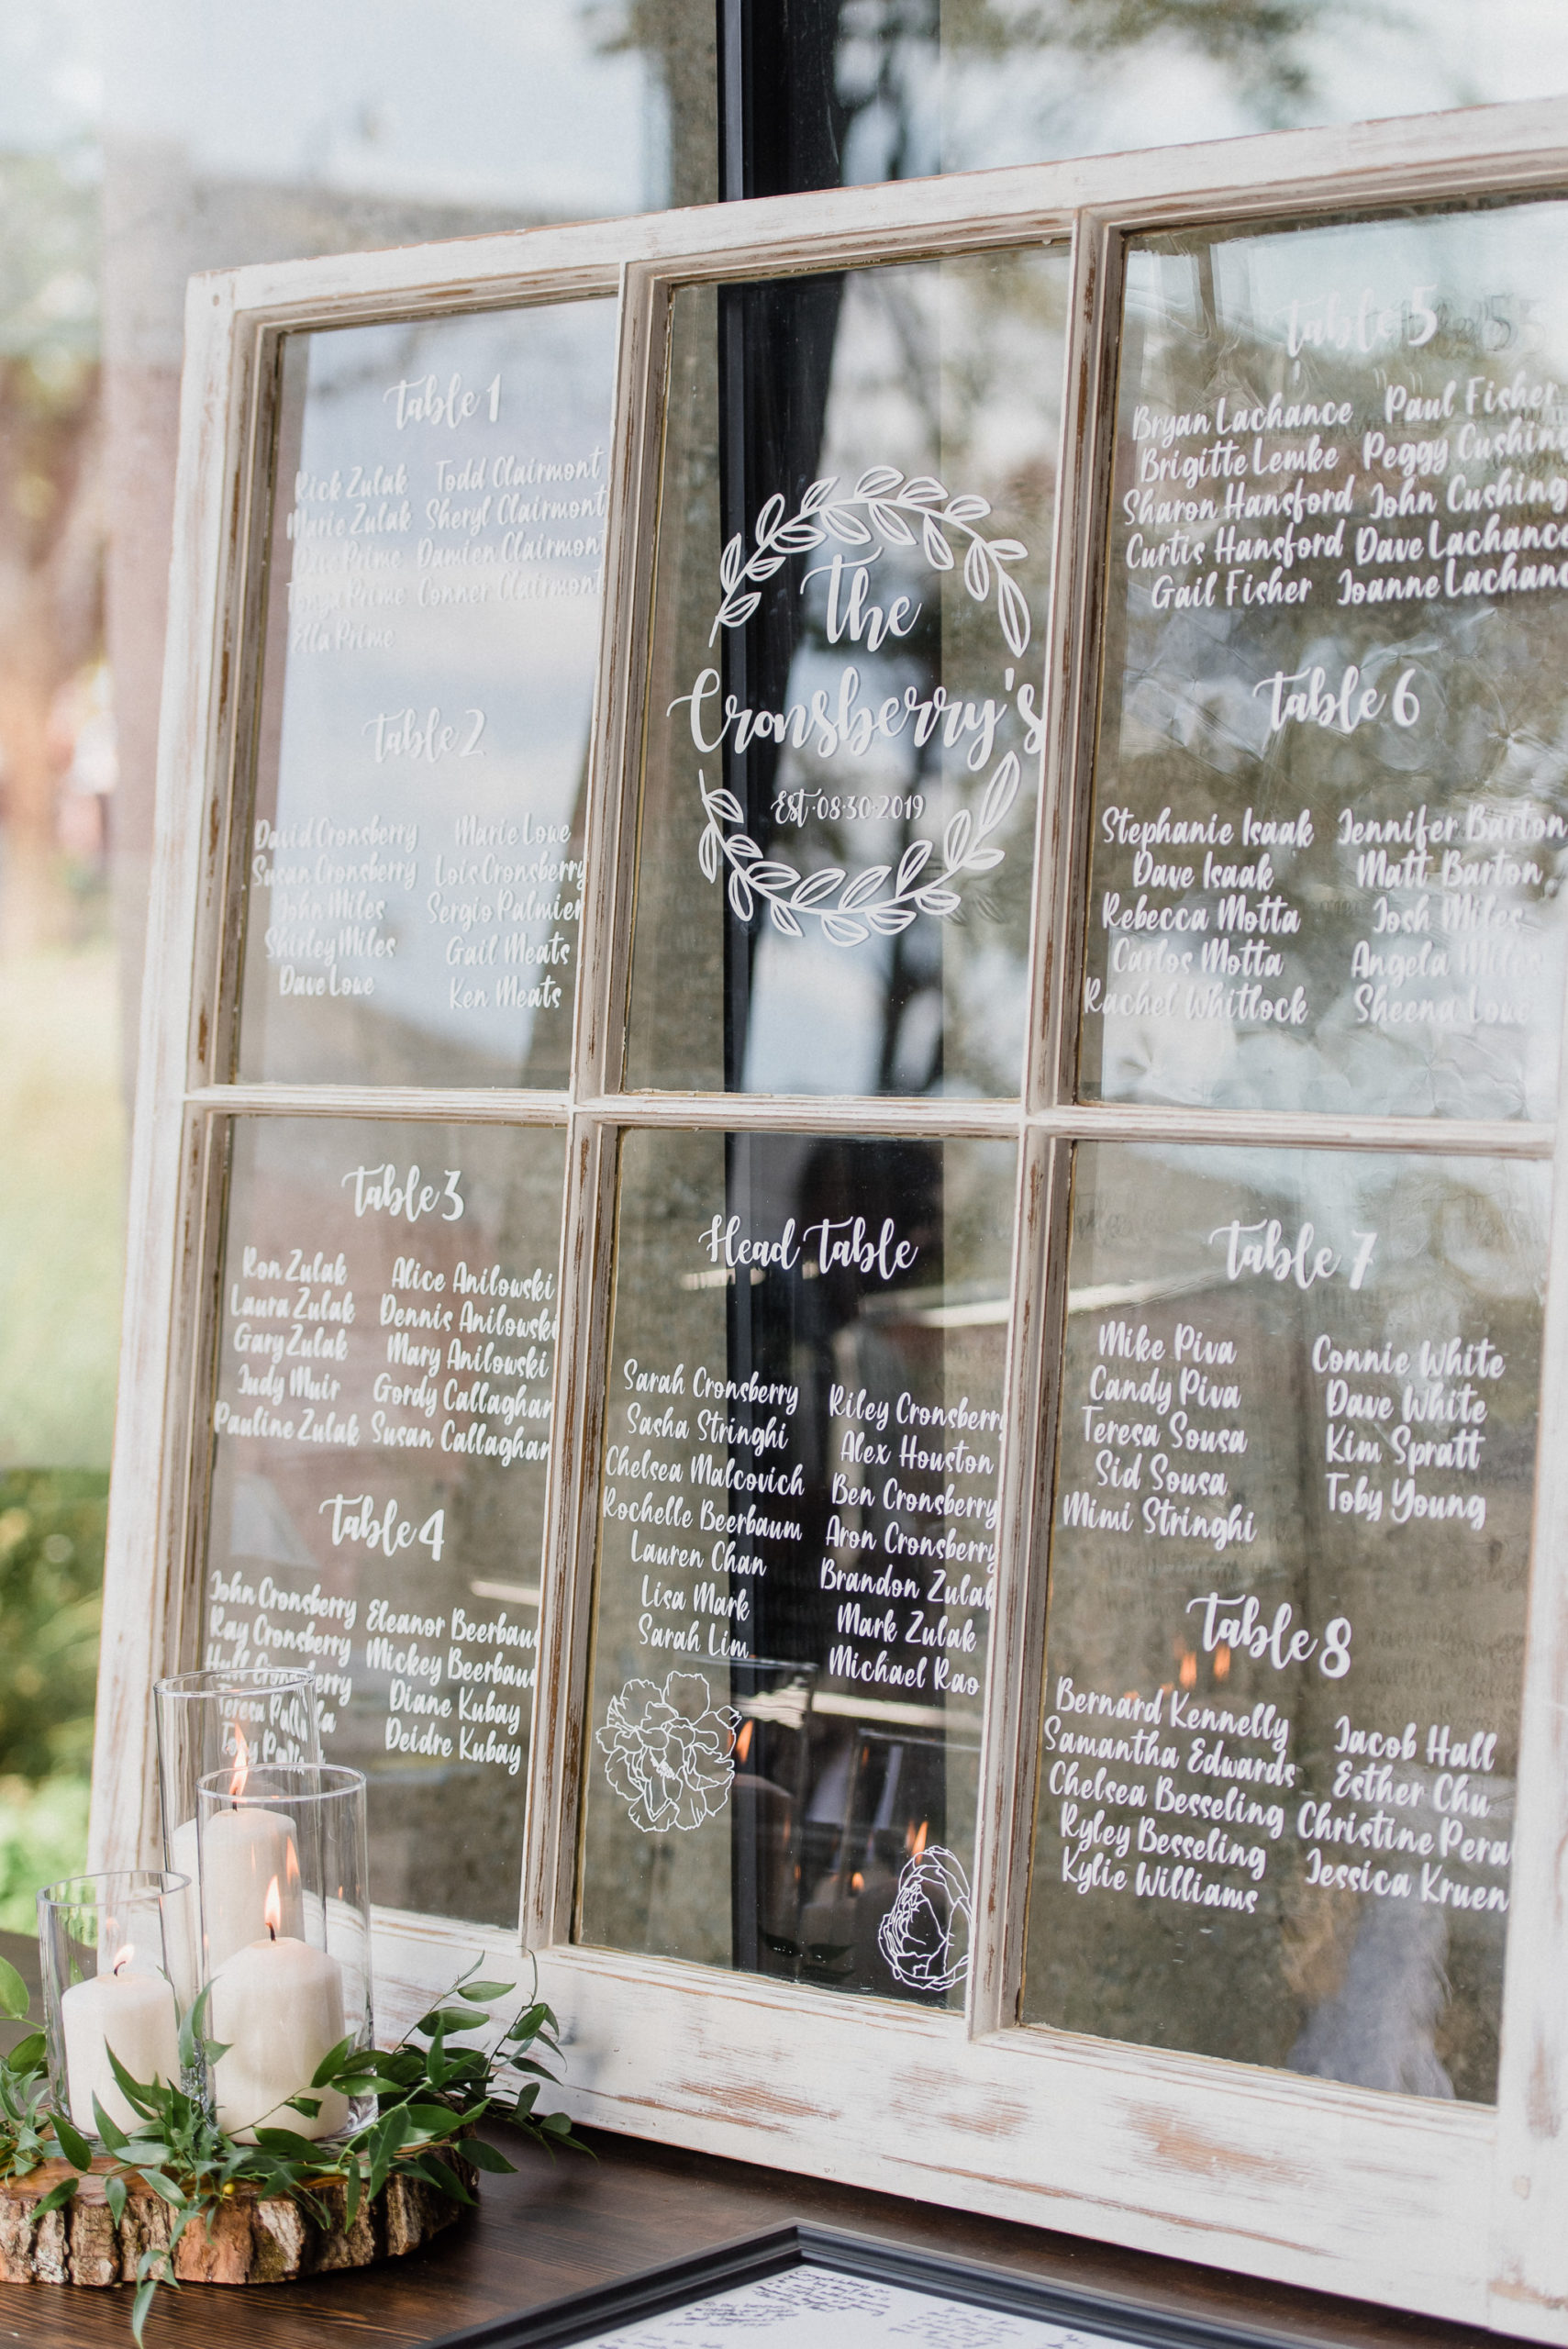
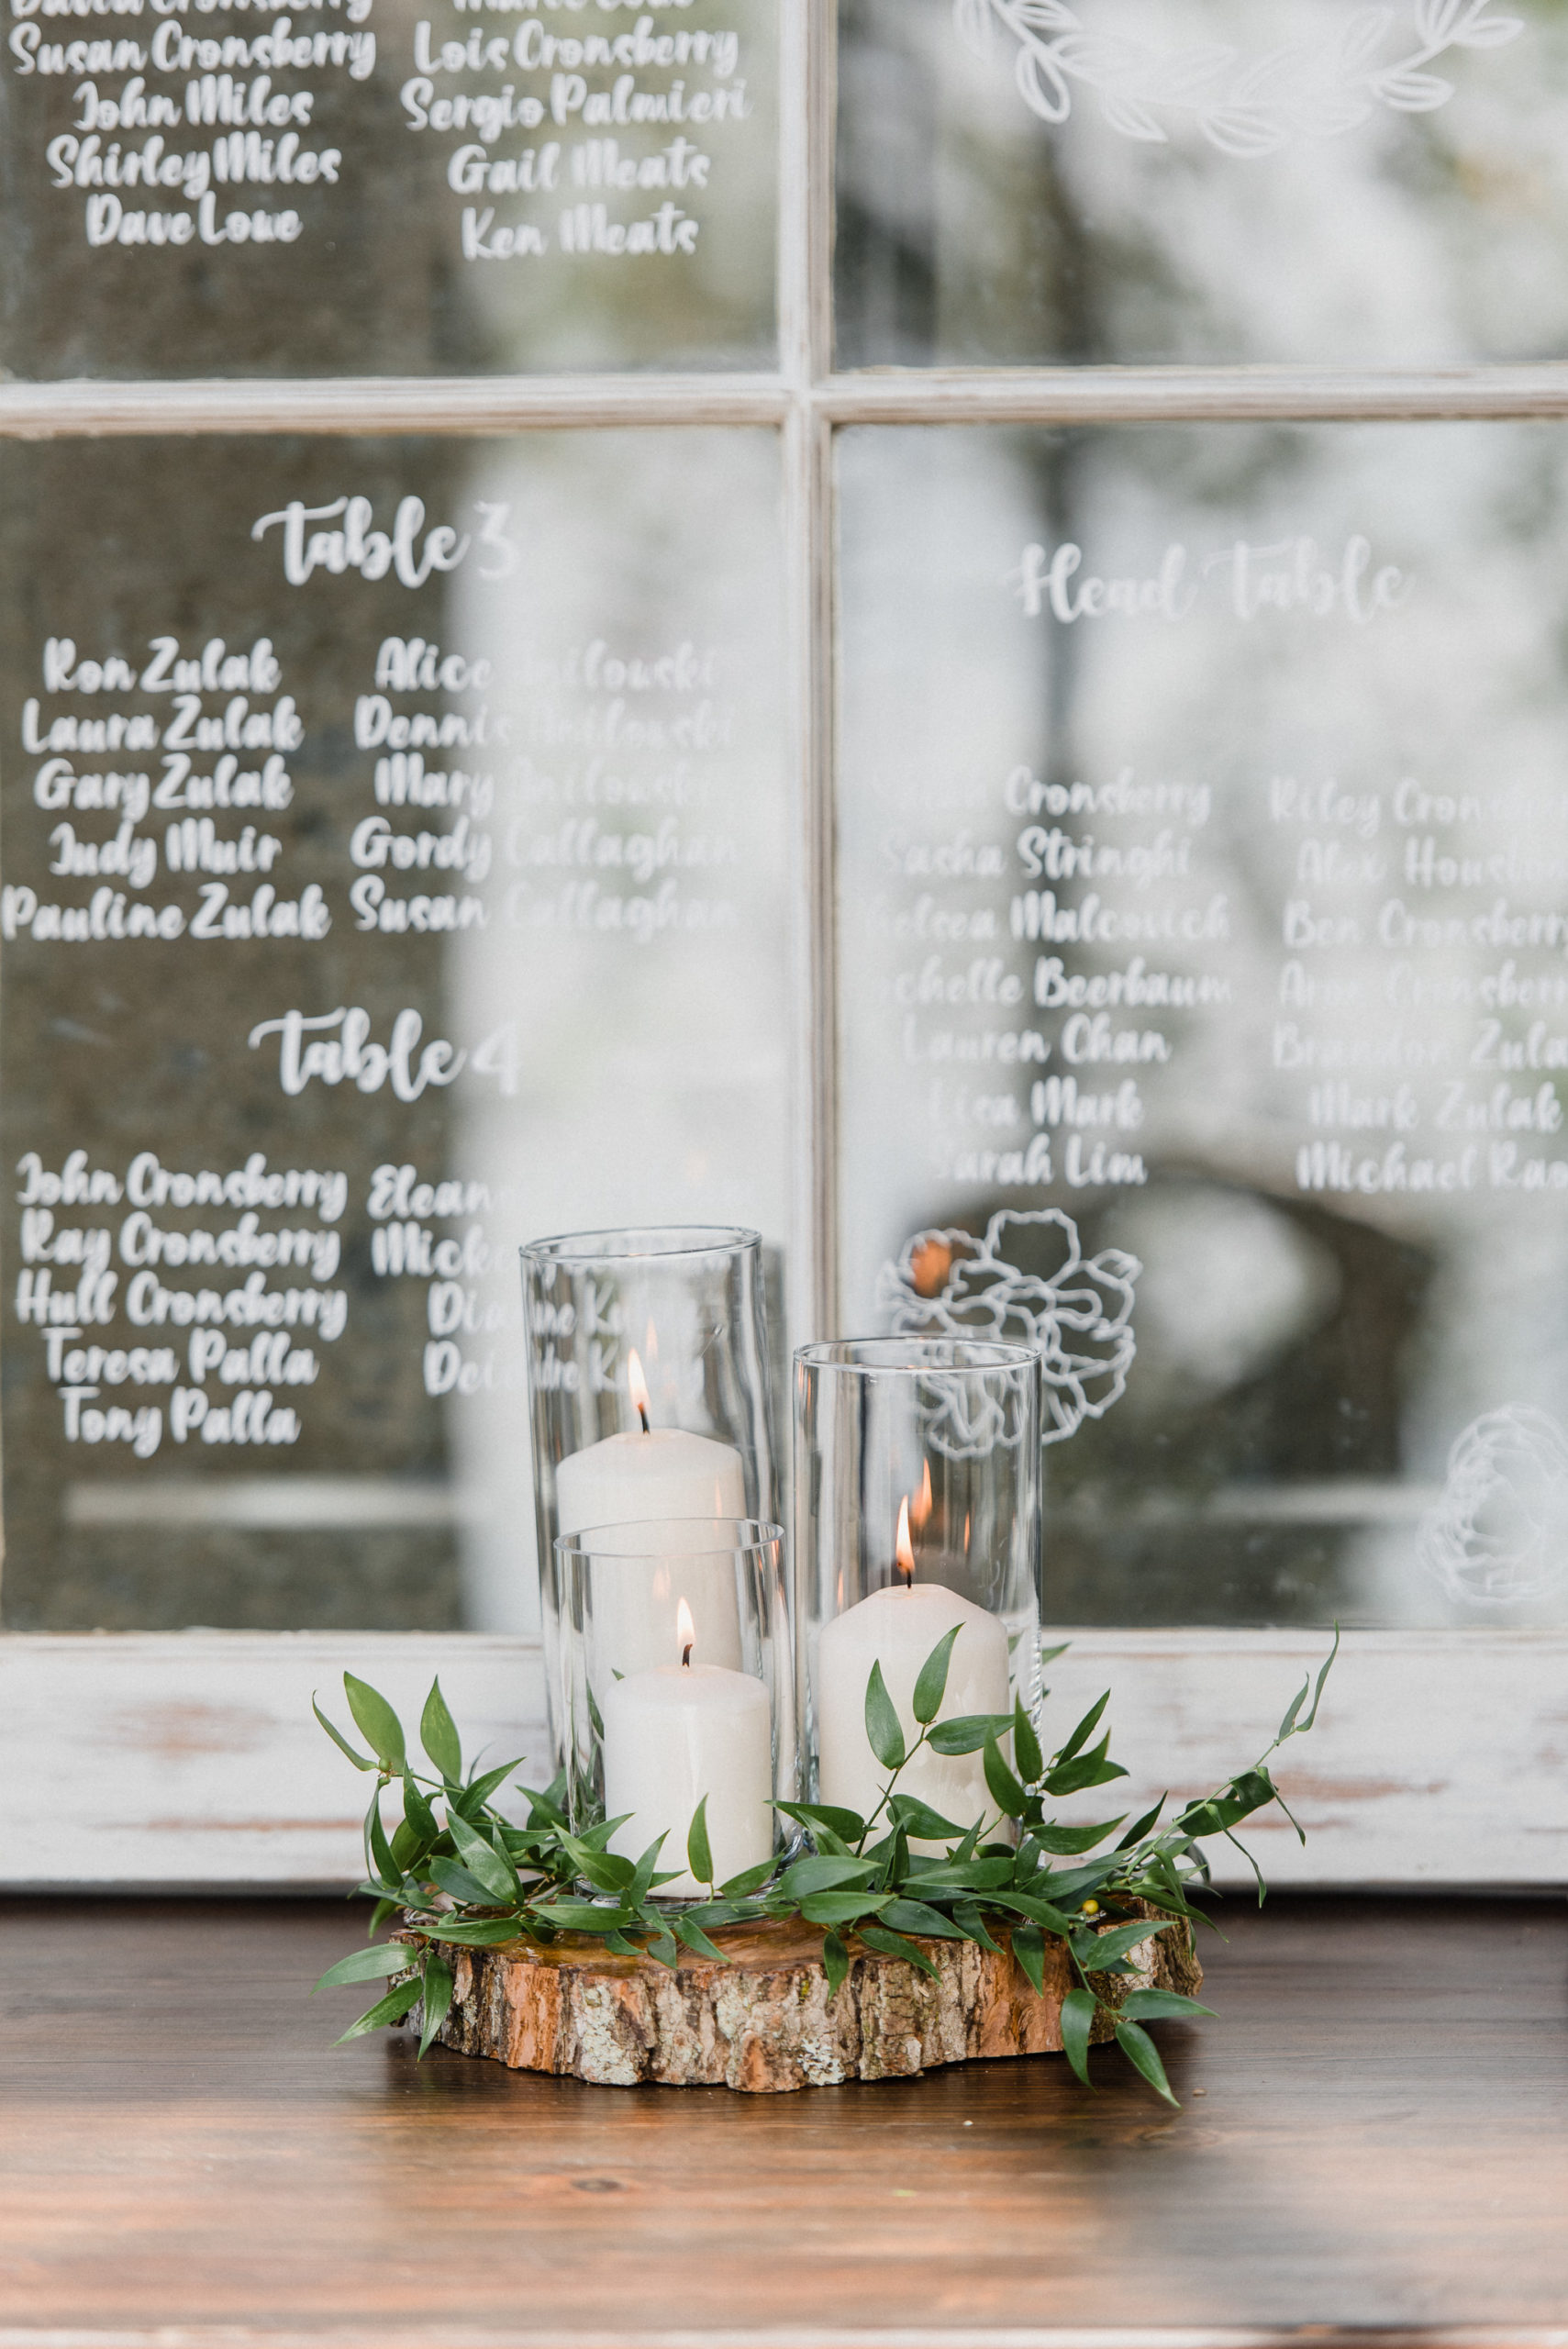
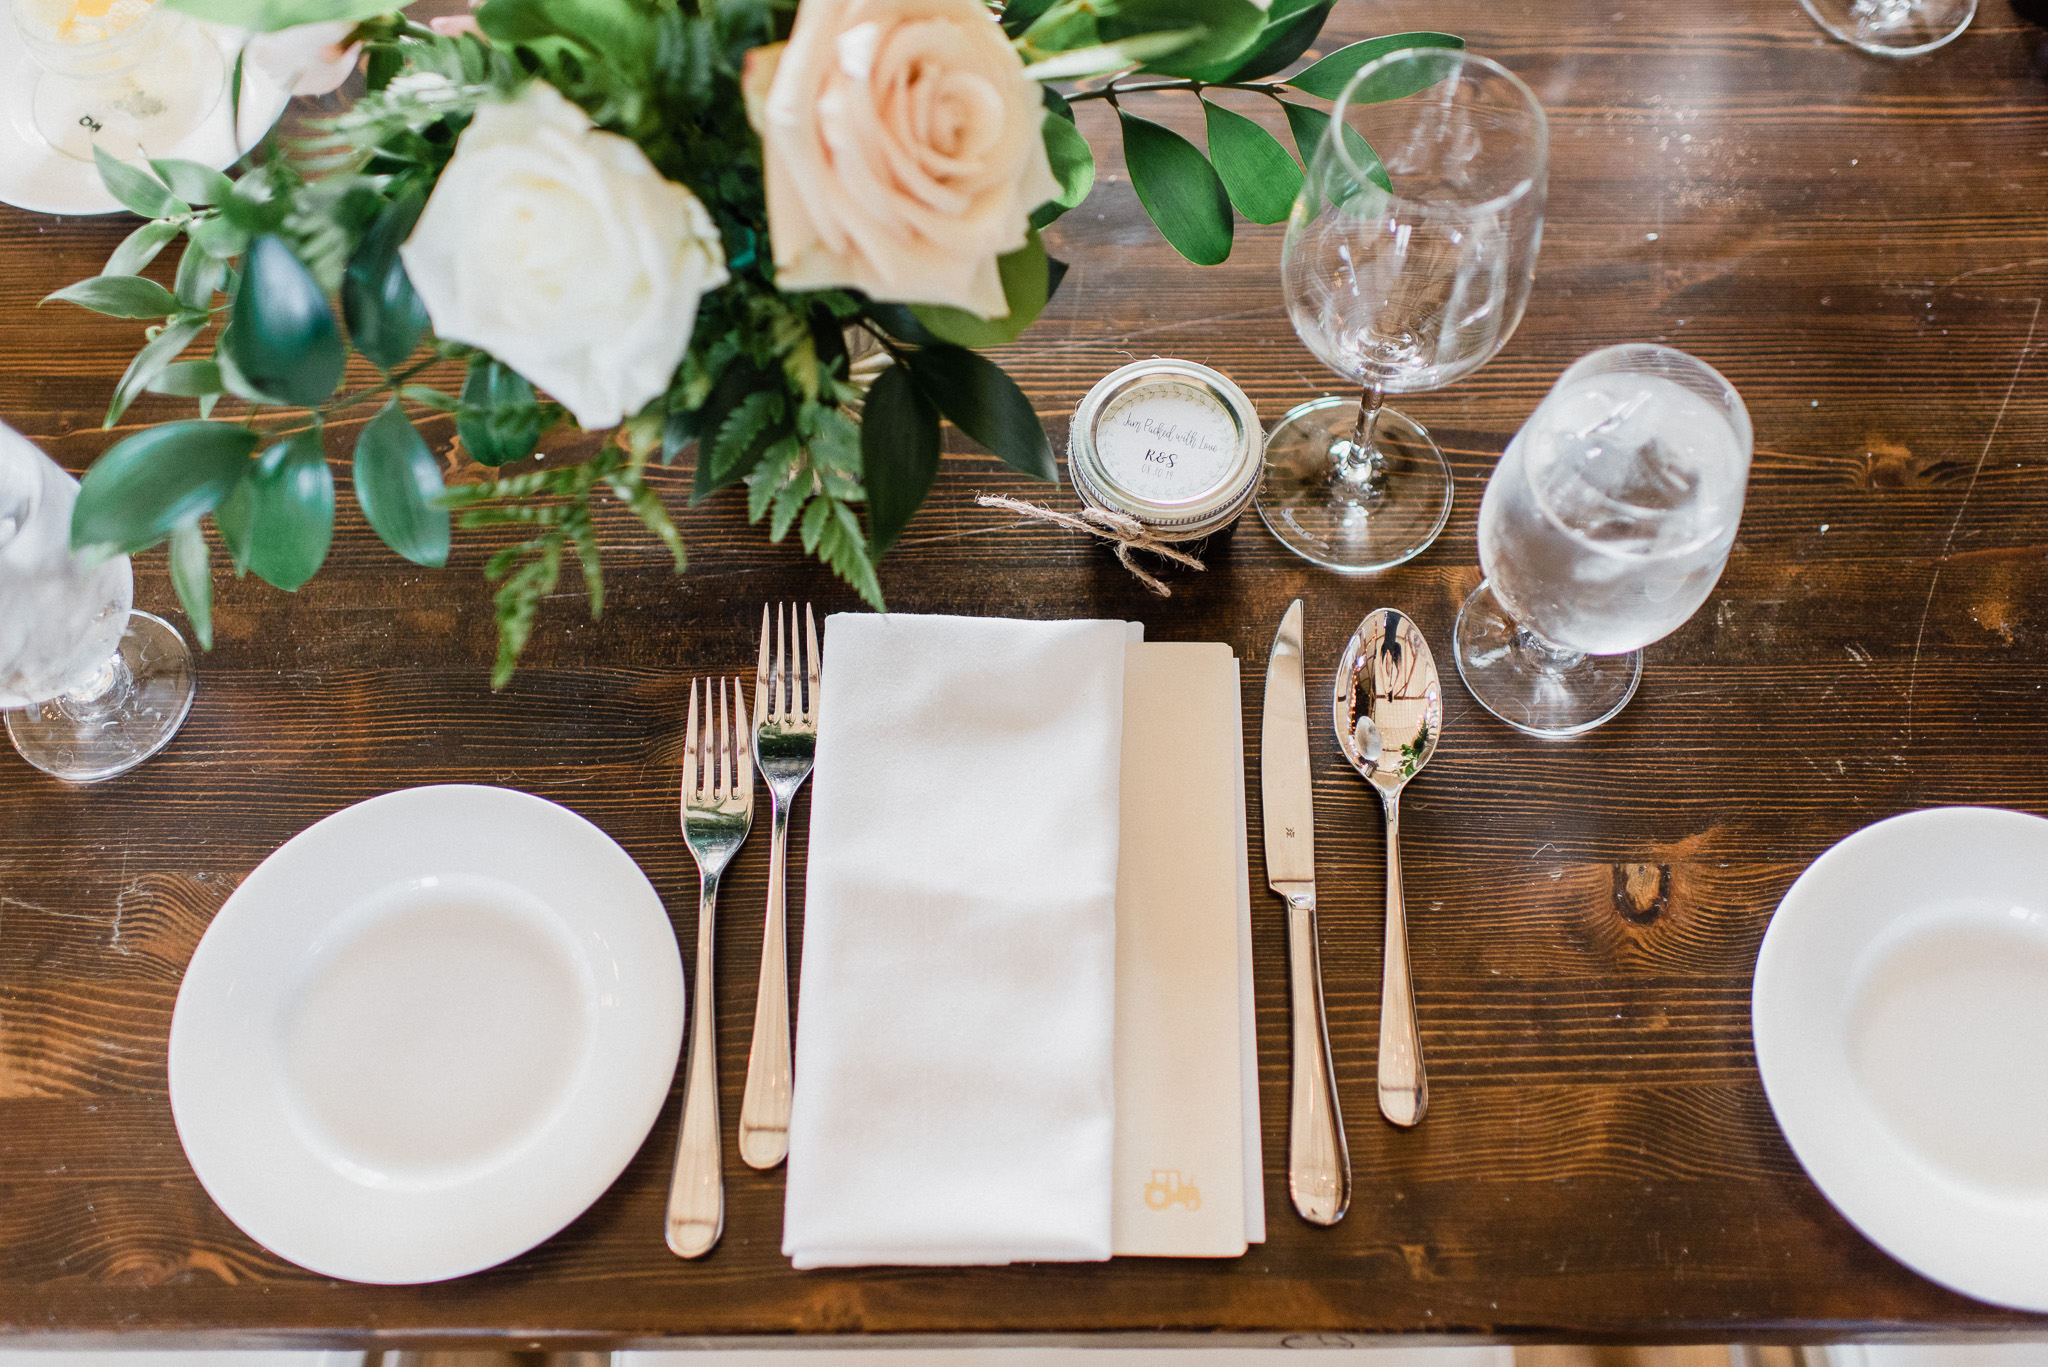
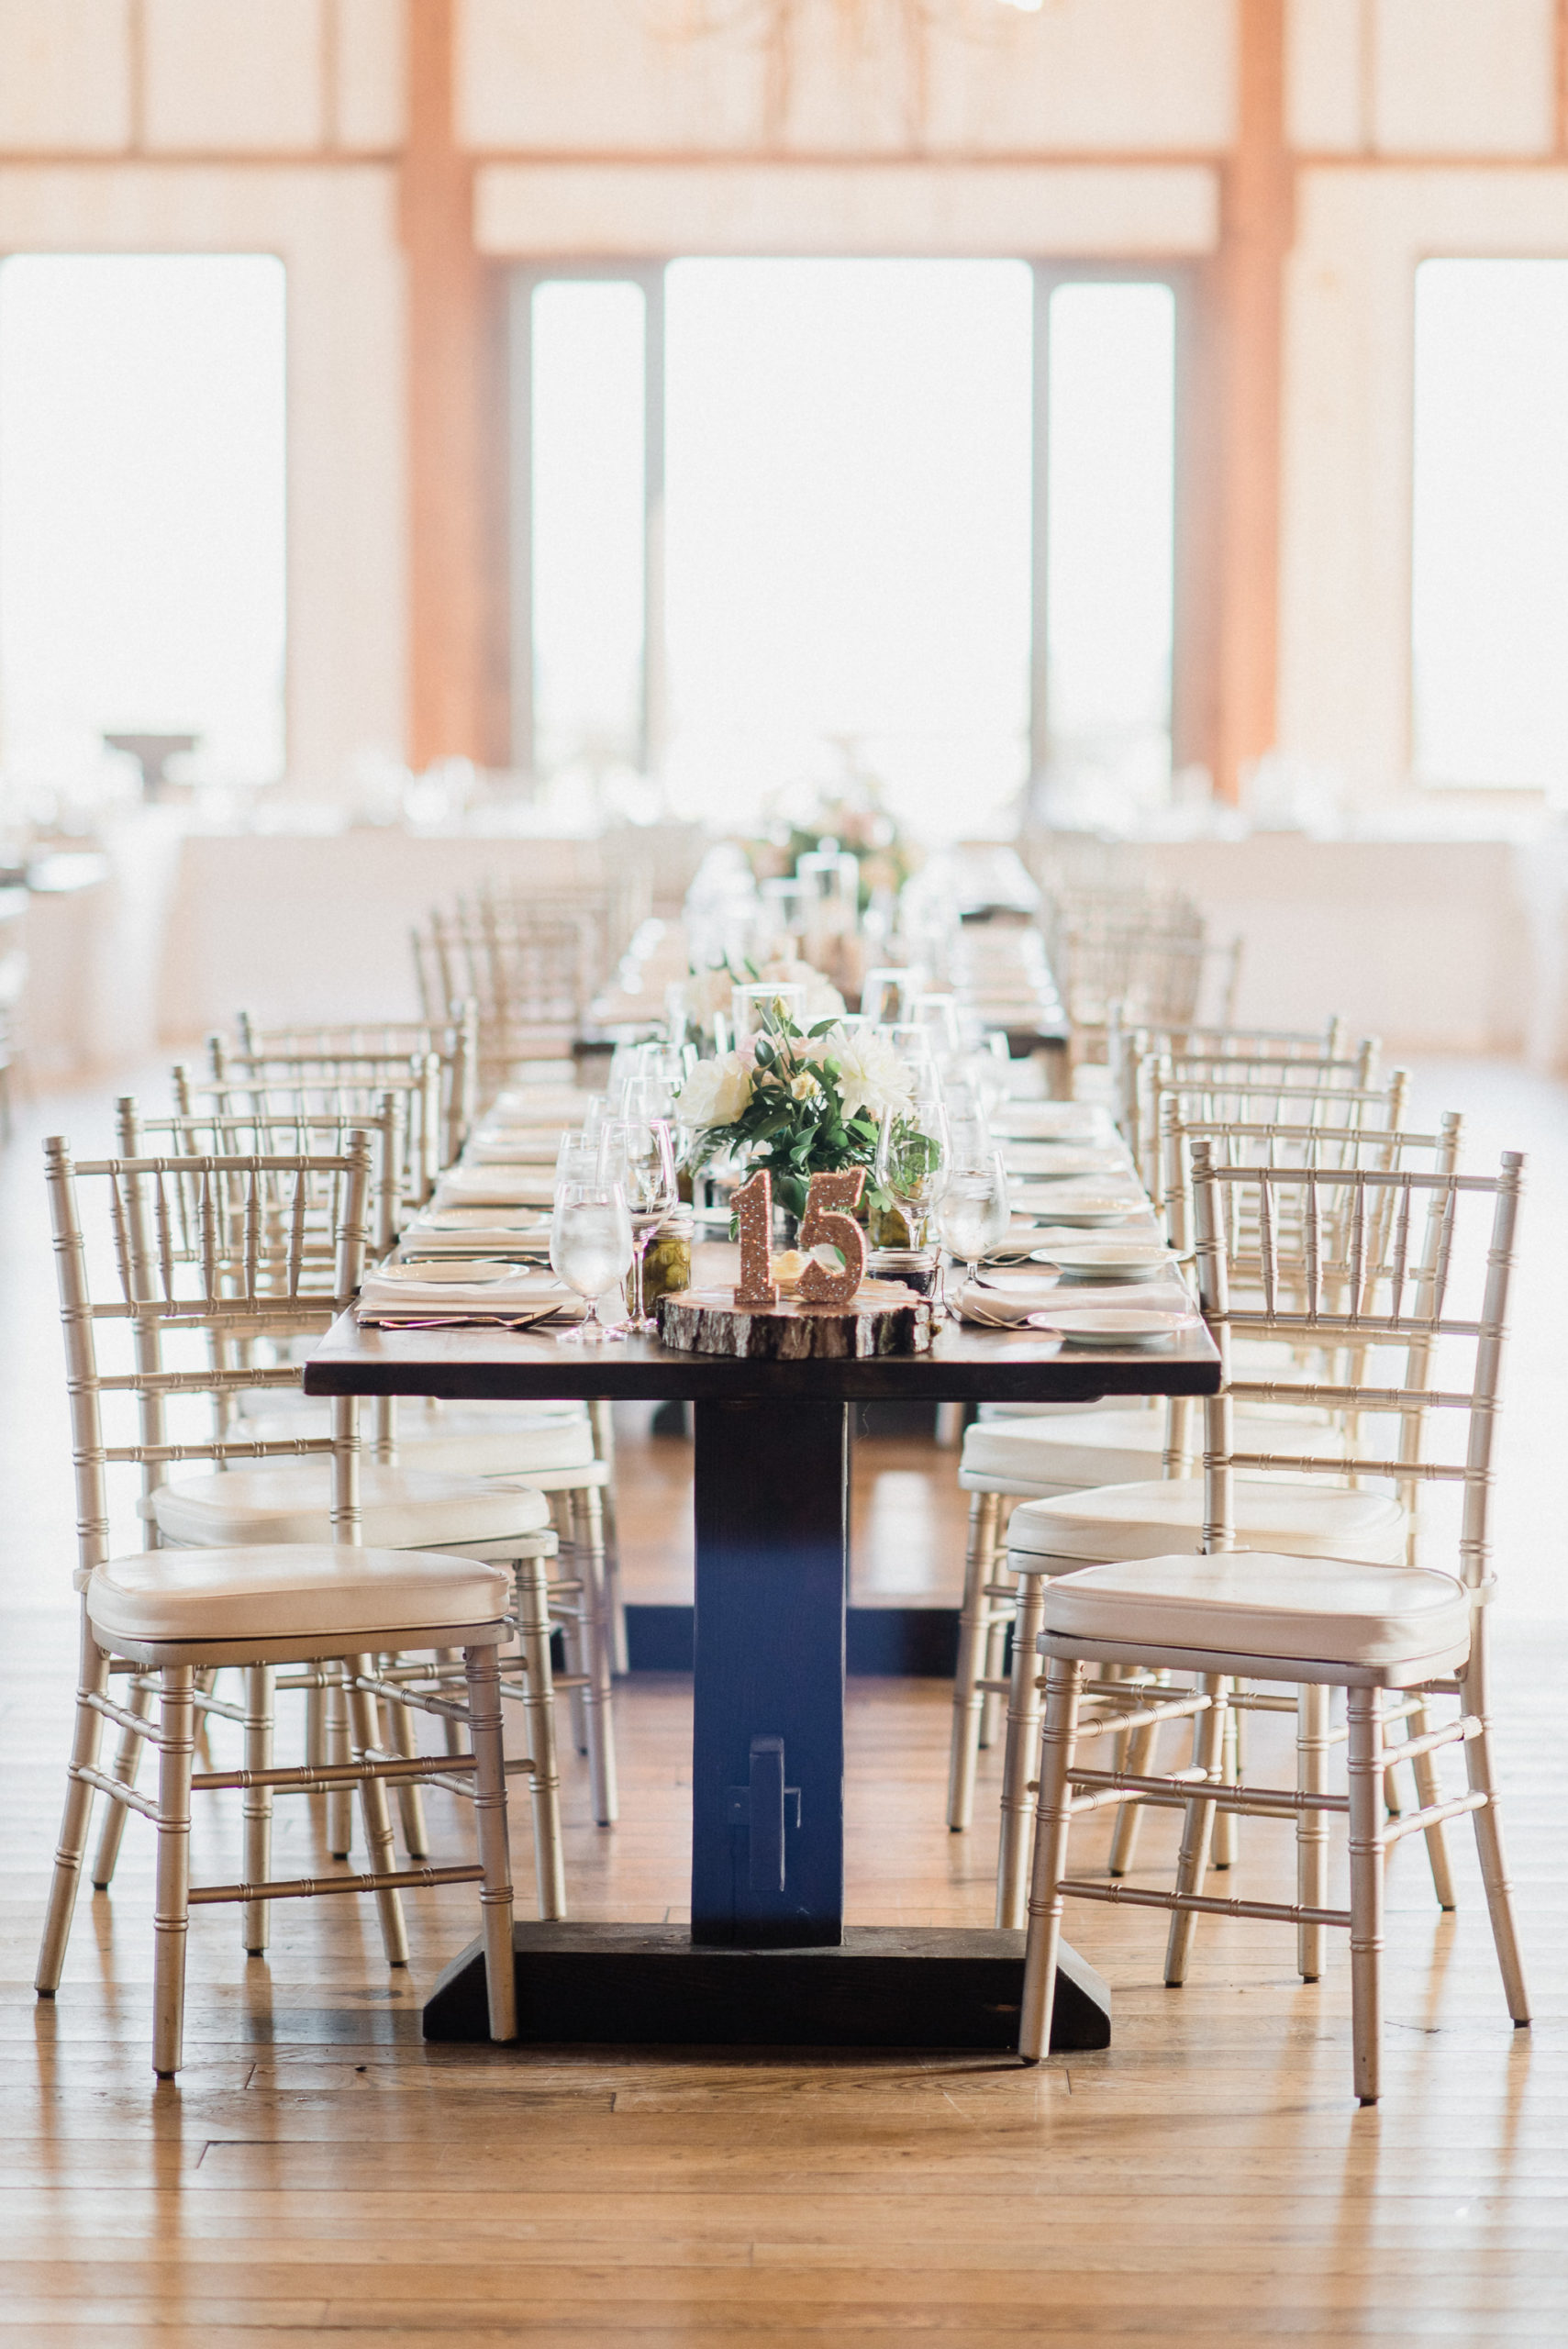
DIY Decor: Welcome sign, table slabs, card box, & window seating charts were made by the bride, Sarah! And a very handy groomsmen made the tiered donut display!



 Colour


